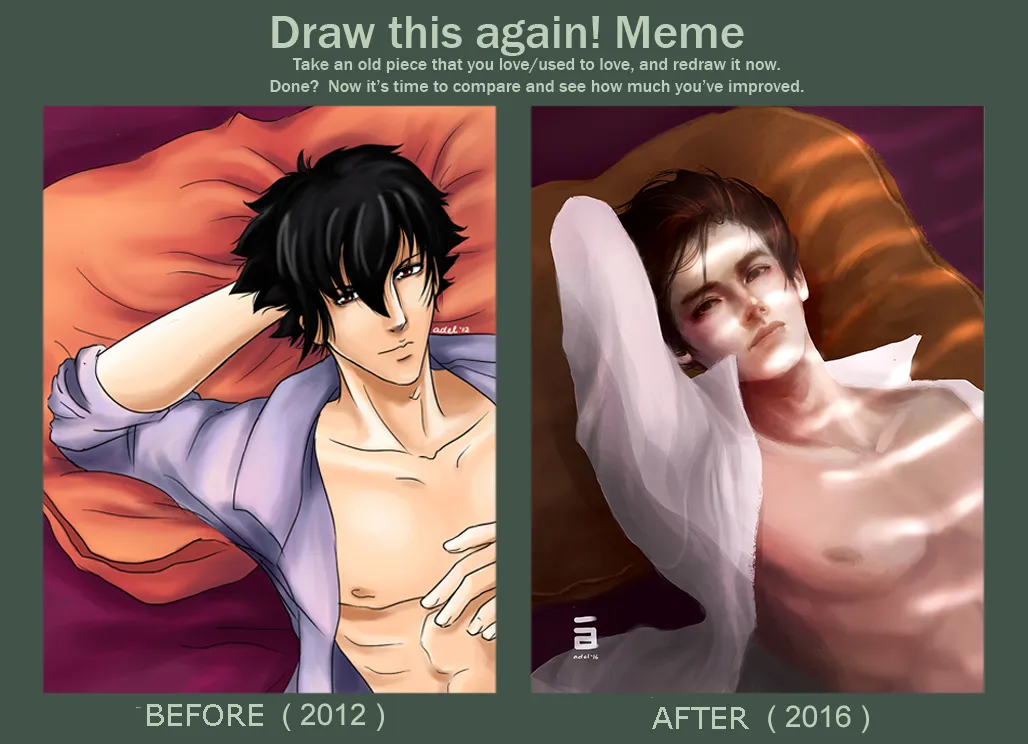
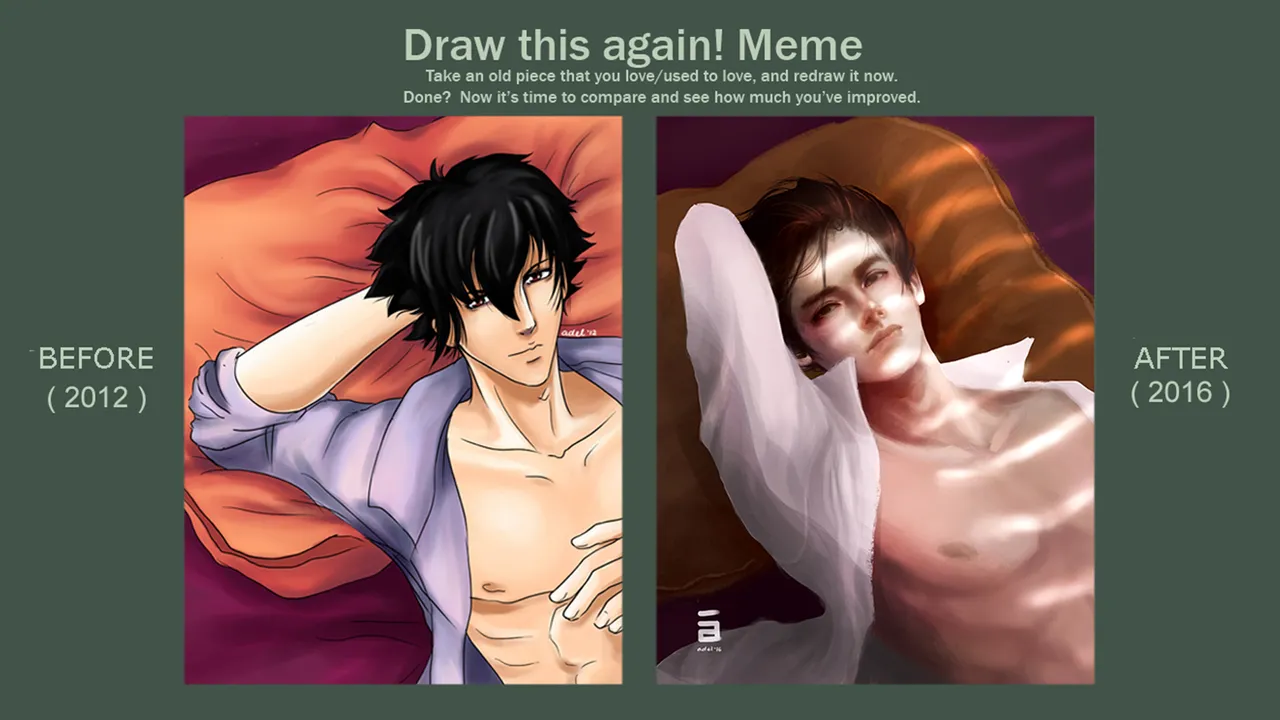
I will be sharing to you how I painted the 2016 version of this 2012 illustration :D
Software I used:
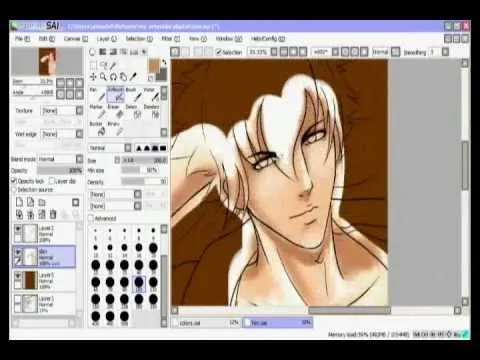
2012 illustration - Paint Tool SAI2016 illustration - Adobe Photoshop CS6
If you are familiar with Deviantart, you probably know this “Draw
This Again Meme”. I got this template from Bampire
Last 2012, I created this guy
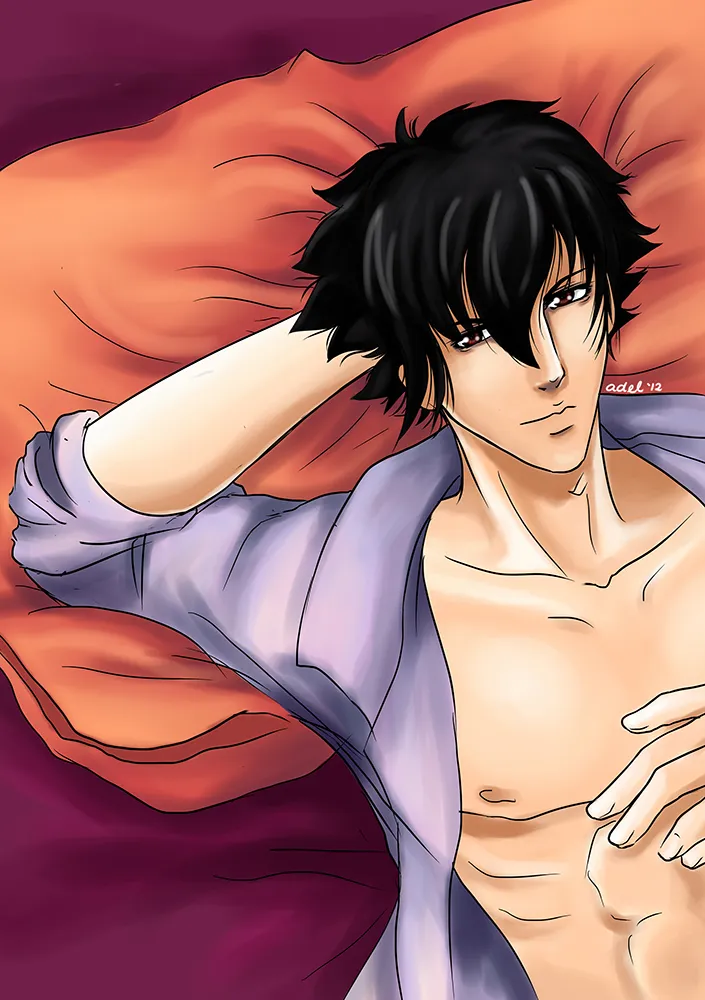
I was not able to record every process but here is the video on how I colored his skin
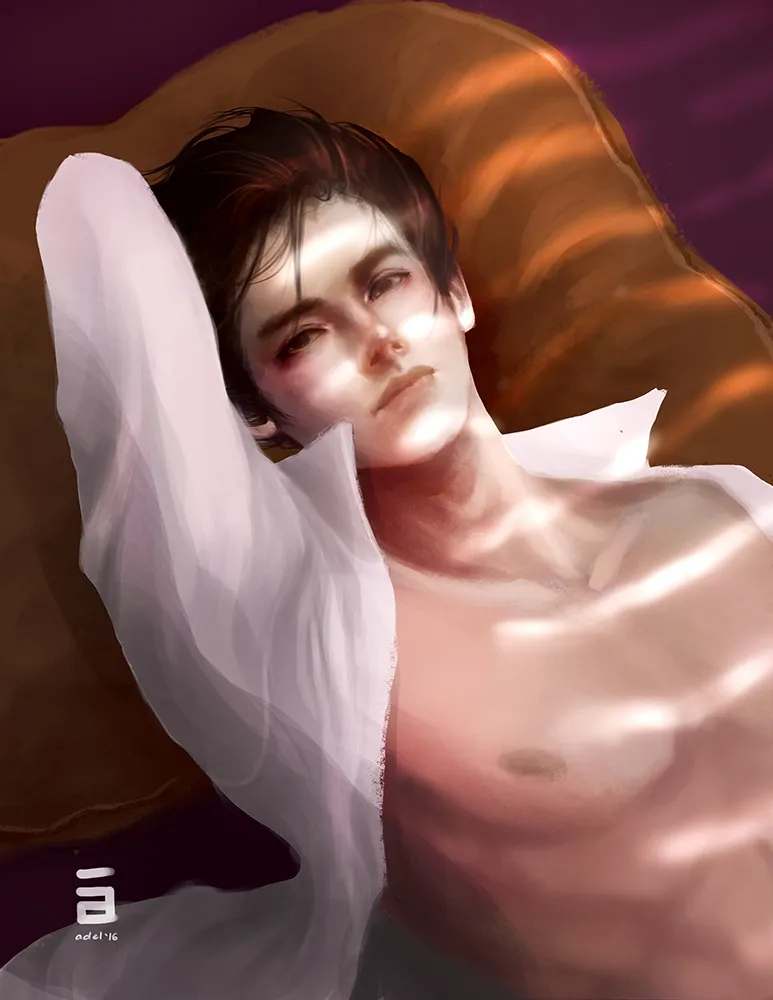
Years had passed and a lot of things happened to me as an artist, I decided to recreate this piece with the skills I had at that moment (2016)
This was the result
Luckily, I was able to keep my work in progress while painting this.
I will explain each step :)
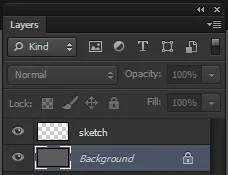
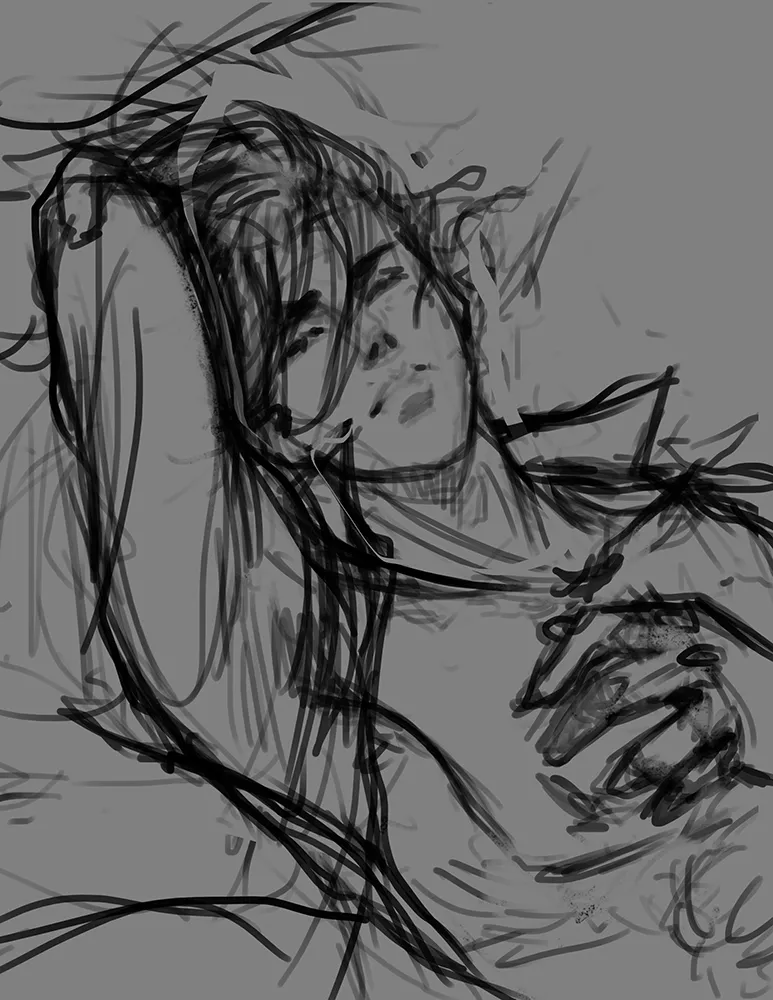
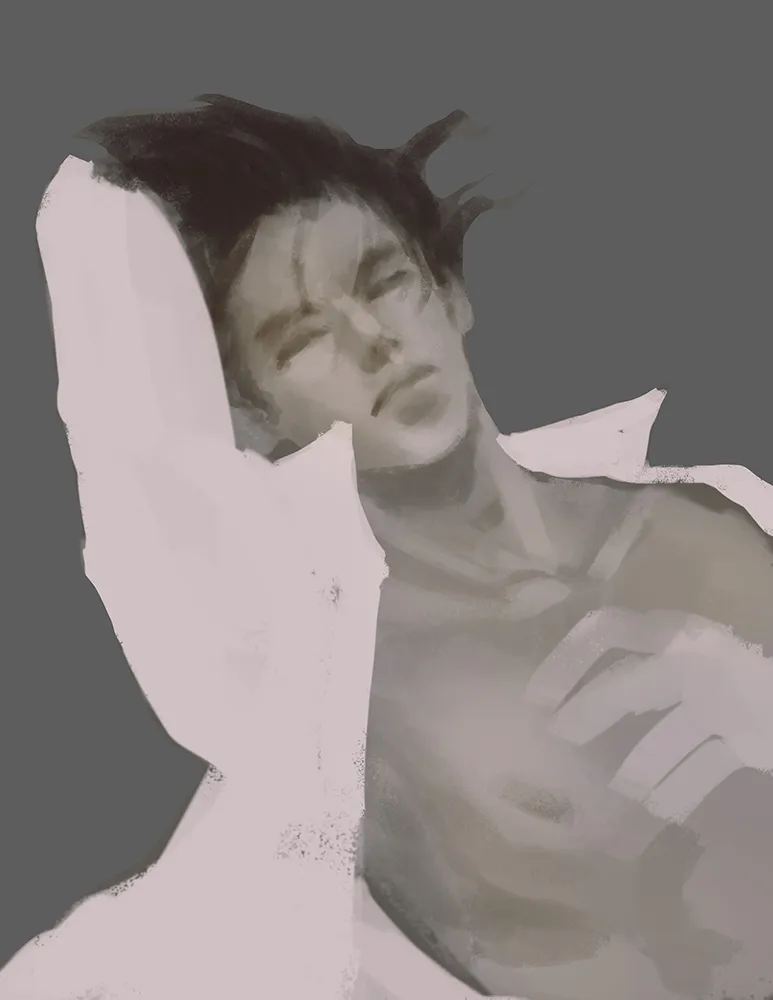
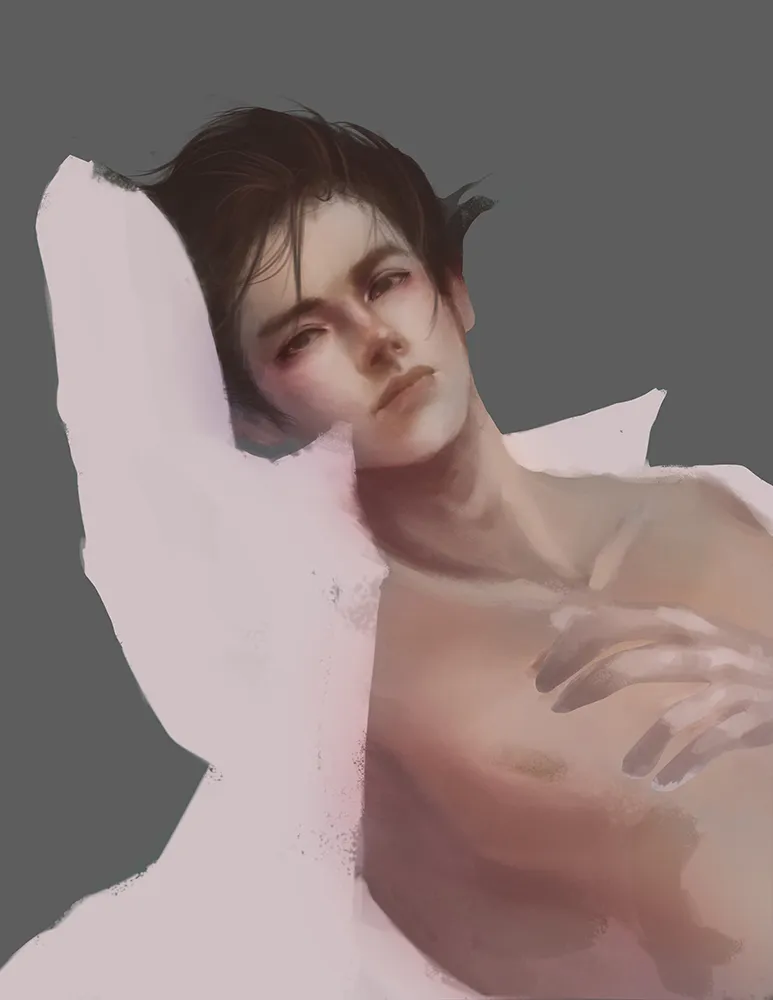
- (1) First, I created a very rough sketch, I decided not to clean the lines since I’m painting it with semi realistic style.
I make sure the sketch is in new layer (this will make the next step easier)
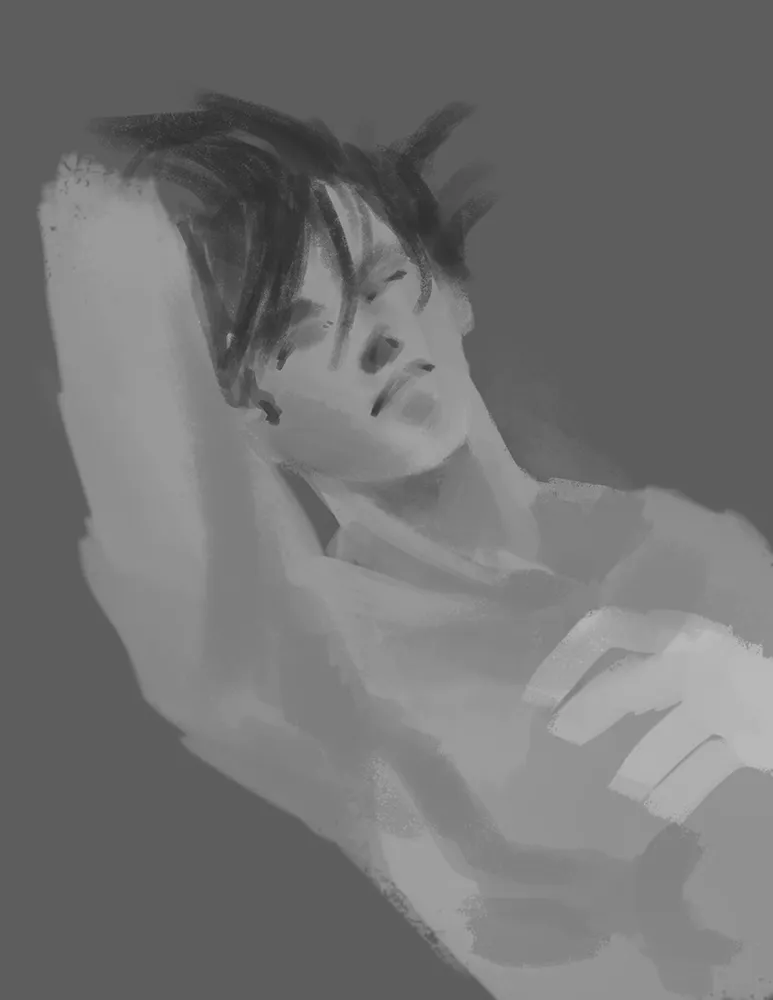
- (2) Create a new layer below the sketch layer.

Paint with gray [808080] or any shade of gray that you prefer depending on how light the skin tone of your character is.
Just follow your sketch, ex. If hair, dark gray, etc.
- (3) Above the that layer, create a new layer and change the layer mode into “color”

Paint it with the base color
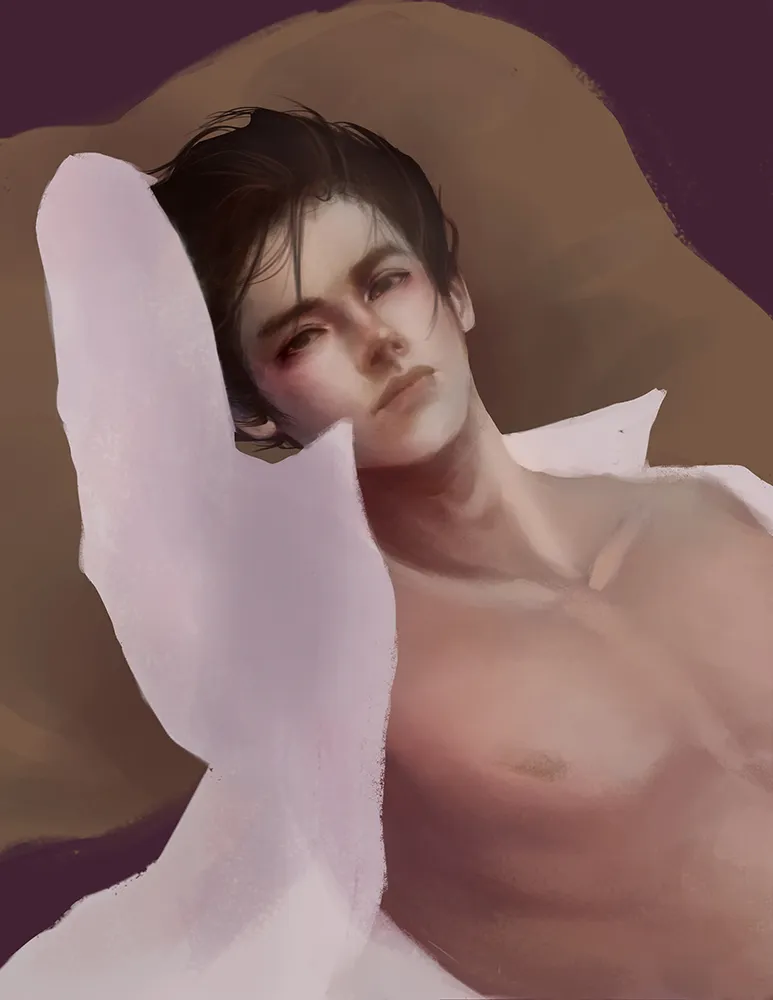
- (4) Merge color layer and the bnw layer, add a new layer above and change it’s mode into “soft light” and create clipping mask (you can right click on the layer > create clipping mask)
At this stage, it is up to you if you wanted to separate the layers of the hair, polo and skin, but basically the application on each layer will still be same on this next step
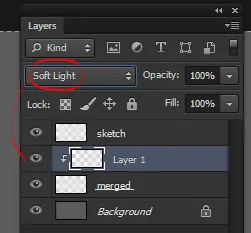
Add more colors on this layer, ex. Hair; rich flesh color; blush on cheek- nose, lips and parts of the body
And then merge the layers
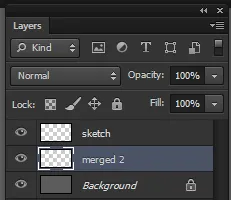
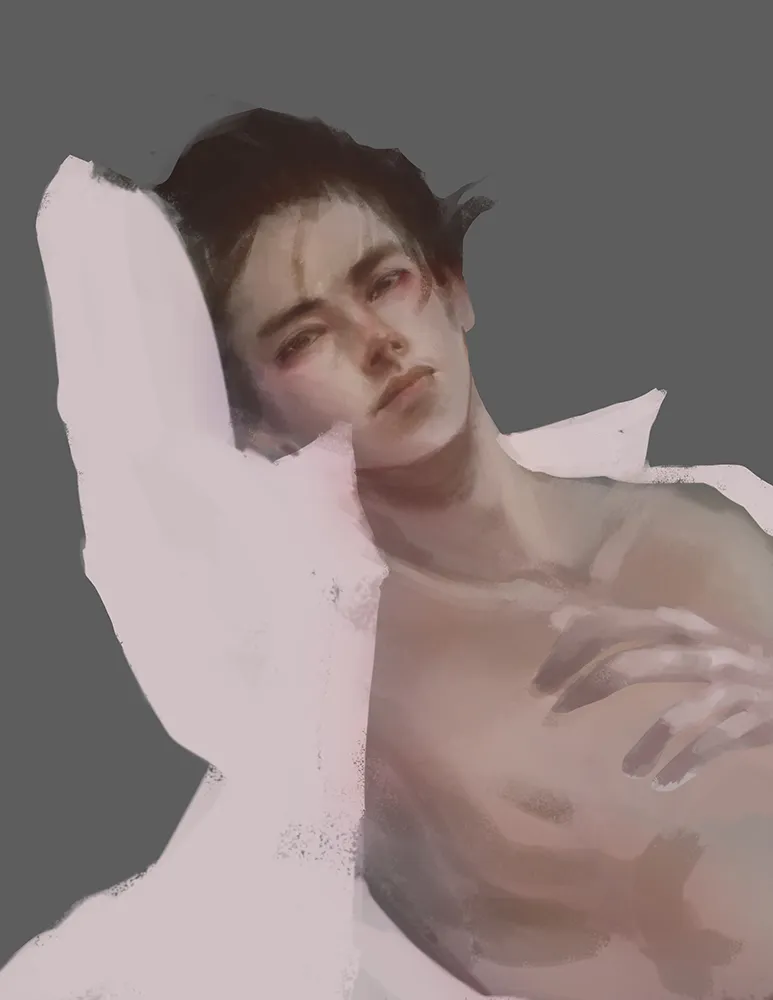
- (5) Follow step 4, and add details as you progress
- (6) Keep on adding details, and apply the earlier steps for the other elements in the illustration
ex. pillow, blanket
Add more details
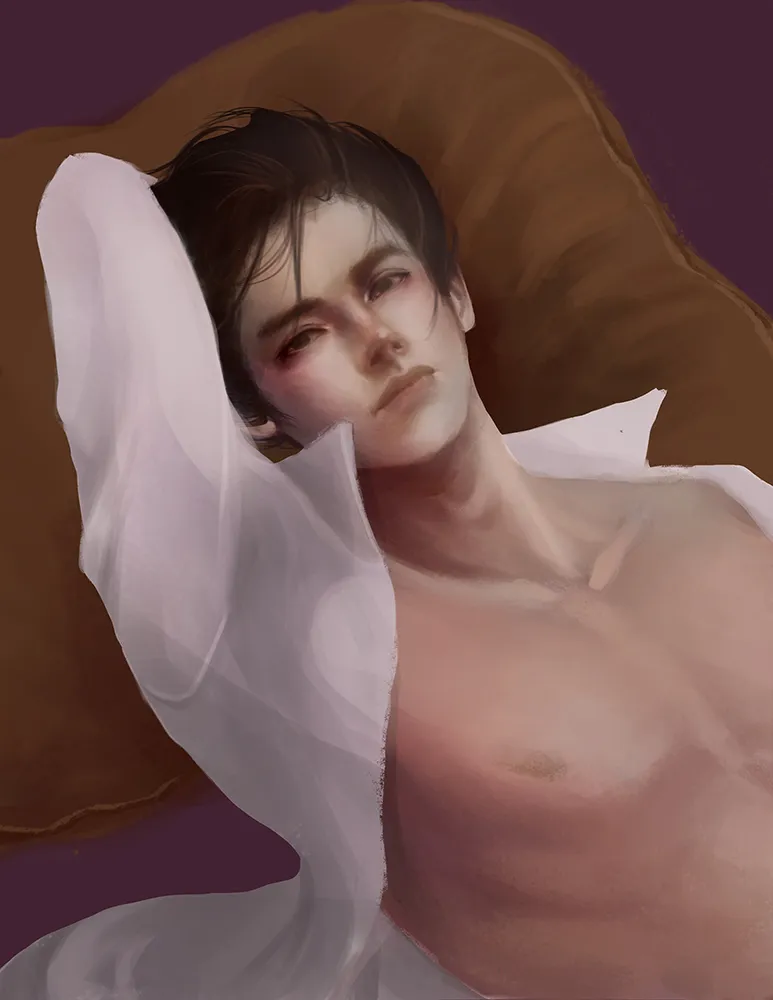
Furnish the details more and more, add secondary lights ex. window lights for more interesting mood.
Keep furnishing until you are satisfied
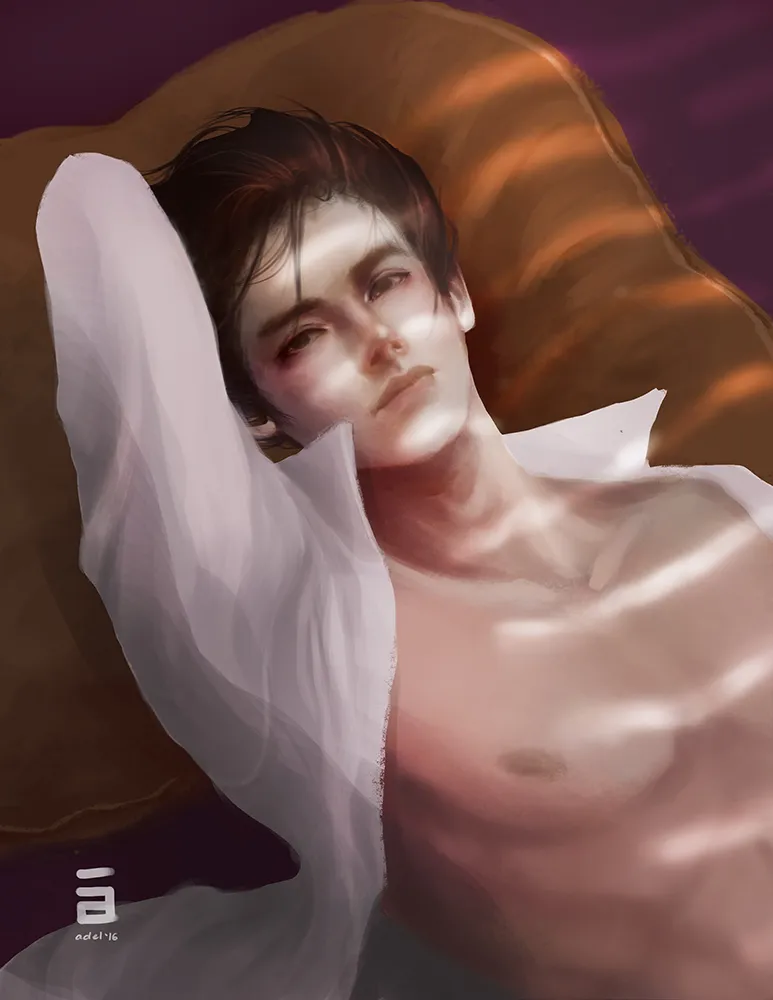
I decided to play with the levels / curves to achieve a popping look

And it’s done! :D
I hope the explanation helped you understand this kind of coloring style :) you may try it out with your work as well!
Have fun painting!
Adelair