We all remember where we were on 9/11. It was a shocking day for all the world and like something out of a movie staring Bruce Willis. I was in Duncannon, Ireland with Fergus Mulvany (a fellow Irish sculptor) creating the subject of this post. I bring this up, not because I believe I need an alibi for that day but just to let you know what was going on at the time.
With 9/11 I don't think we will ever know what exactly happened that day. The official story is like a movie starring a young woody Alan where as I'm sure the truth itself is more of a Tom Cruise sort of deal. With this post I hope to give a full picture of how this piece came to be with all of the ins and outs and no conspiracy theories. I have decided to make it a two parter because it will be far too long and I believe it can be broken into two processes which may be useful on their own.
We were asked by a Duncannon Local Brendan Power who had previously invited us do to make a sand sculpture to create something more long lasting for the village. The budget was small but it was a nice opportunity to make something that would live on longer than our ephemeral work. It would also give us the possibility to try some new techniques.
With the small amount of money we were offered the material of cement seemed like a good candidate but it's limited working time wasn't an option. So we had to invent a new process.
When you only have a hammer every problem is a nail.
It is a material we were really accustomed to so we decided to make our work from sand and then find a way to make it permanent.
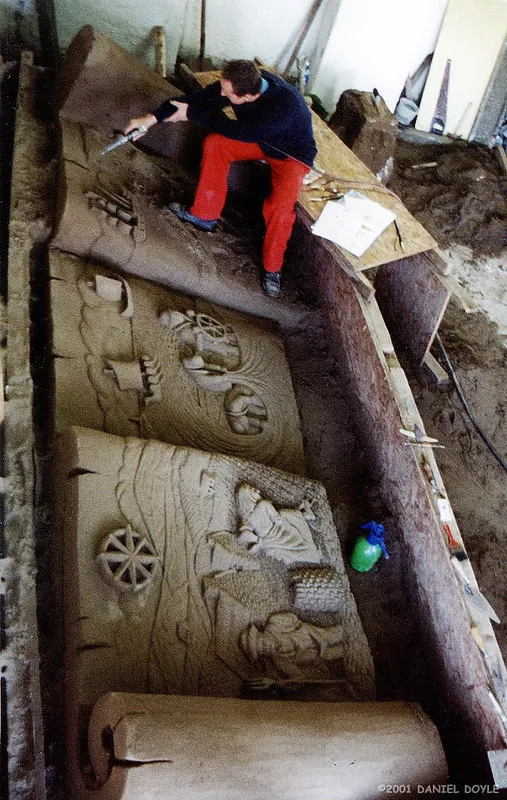
We compacted a big wall of sand hoping that we could make a relief sculpture at a nice working angle. This compaction stood around 6ft/ 2m tall and we were happy at seeing it finished to this stage. We had opted to bring the sand inside an old building in Duncannon Fort to give a nicer working environment, but dragging so many tonnes of sand into the building was a pain in the arse. Seeing the big block of sand standing there ready for carving was a great sense of achievement until we opened our forms and the whole thing crumbled to the ground. Reverting to plan B we had to carve the sculpture as we leaned over it on the floor. This was a horrible way to work for our backs and also the loose sand needed to be lifted away after each cut.
We made it as comfortable as possible and eventually got an air blower to remove the loose sand.
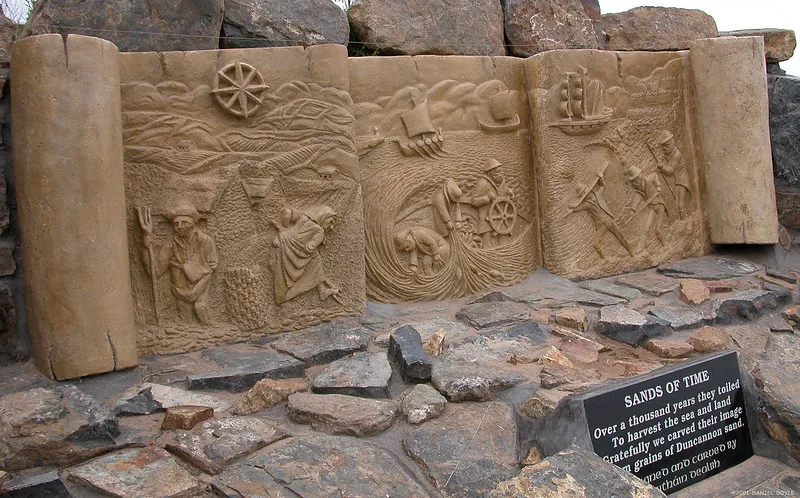
Finally the sculpture was done. Three different panels representing different aspects of the important histories of Duncannon. Farming, Fishing and a historic entry point of invaders. I liked the details we put in, sand is great for that. Now came the part where we had to make things up as we went along. Even though I had heard @elportugal had been doing something similar I wasn't sure of his process.
What follows are the steps we took to create a mold
Step 1
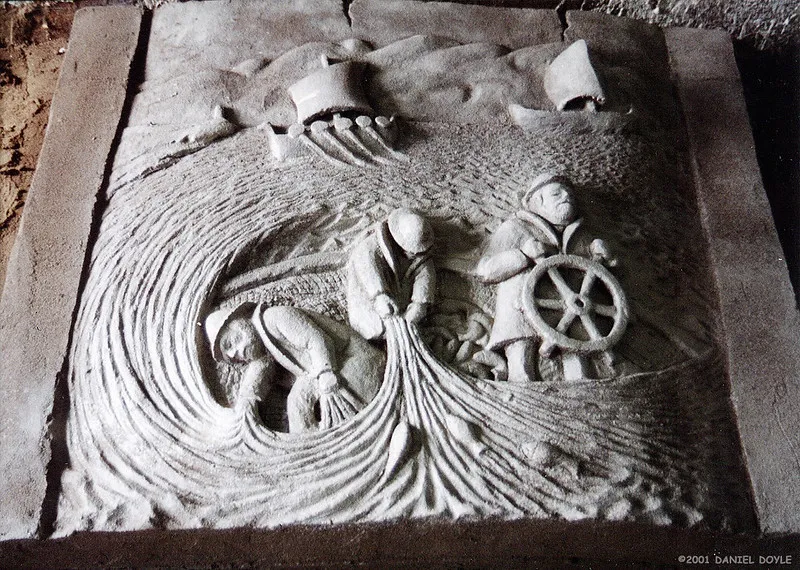
We broke the sculpture in 5 sections and cast them one by one. First the Scrolls and then each of the panels. I will explain how with the center one as it was the last and we seemed to have mastered our process at that point.
First we made sure the sand sculpture had a good spraying of PVA glue. This would hold the surface together just enough to accept the next steps. We thought it a good idea to Spray the whole thing with liquid clay as a release agent for a mold we were going to form over the surface. This would hopefully stop the sand from sticking to the plaster.
Step 2
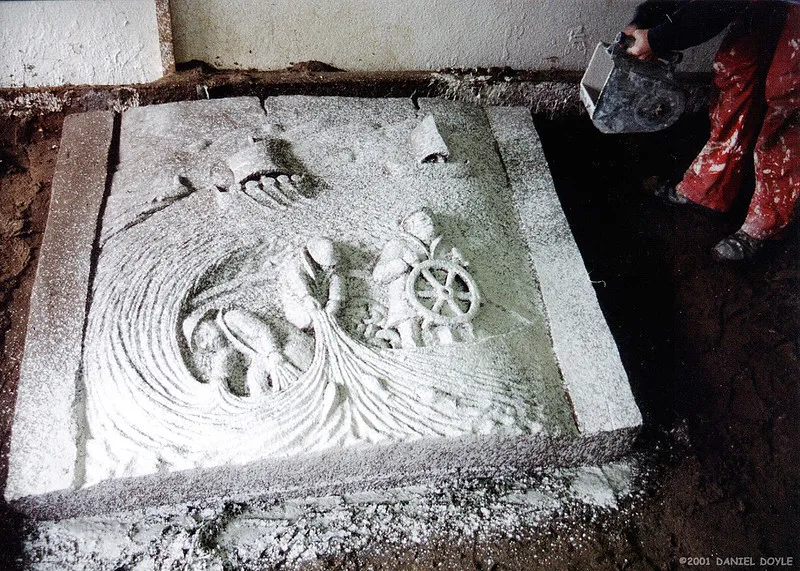
Next we had to get plaster onto the sand. It was still very soft and the detail would be effected if we poured of brushed it on. My Father (who was a genius) suggested we use a Tyrolean flicker he had used to render the walls of our house that he built in the 50's. It flicked a fine spray of plaster onto the delicate surface giving us a thin shell to work over.
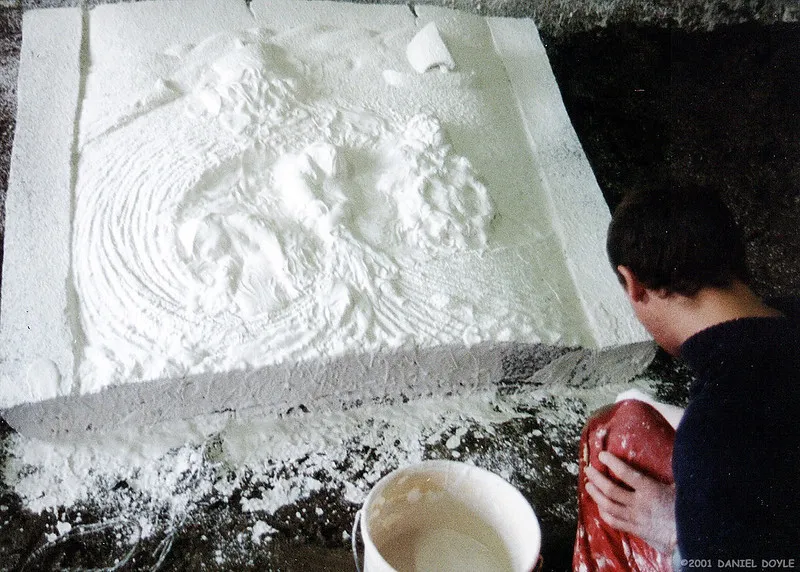
Step 3
We could then be a bit more aggressive with our next layer of plaster that we splashed on by hand. Making sure to not leave any air bubbles or exposed sand.
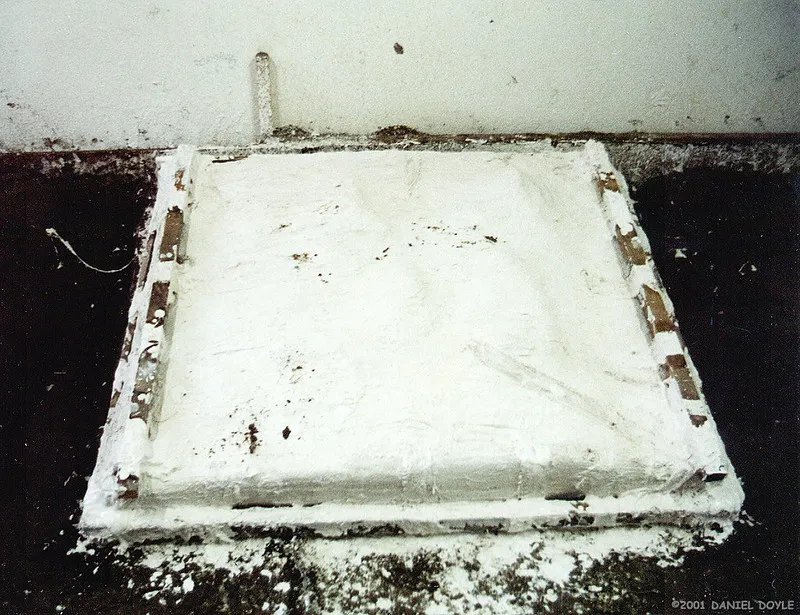
step 4
Then a good build up of plaster with hessian bandage and wooden framework was added to give the mold solidity.
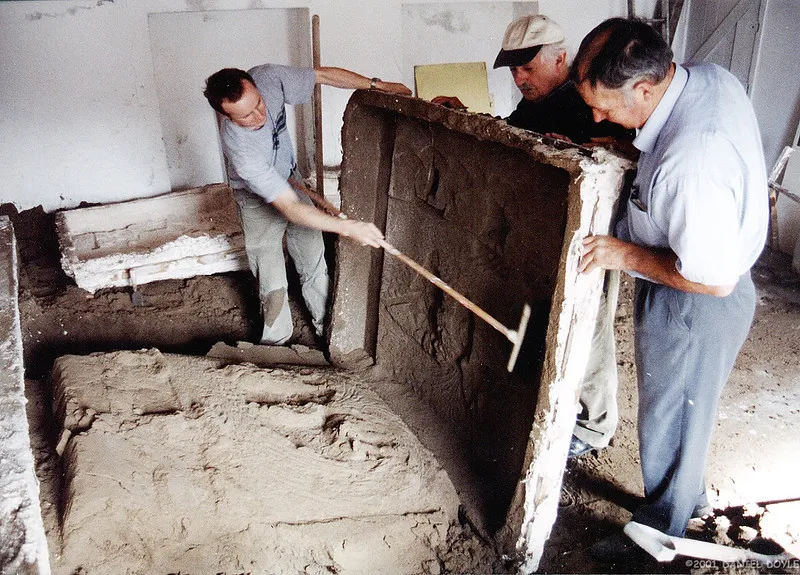
Step 5
It was always exciting and terrifying to raise the mold away from the sand. If it didn't work it would be all the way back to plan B but luckily for us all the molds worked out nicely and most of the sand came free with a simple brushing.
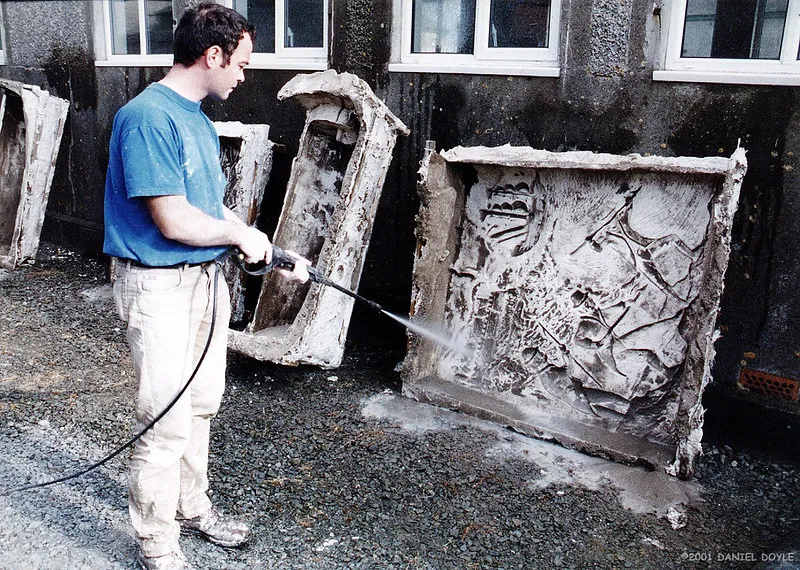
Step 6
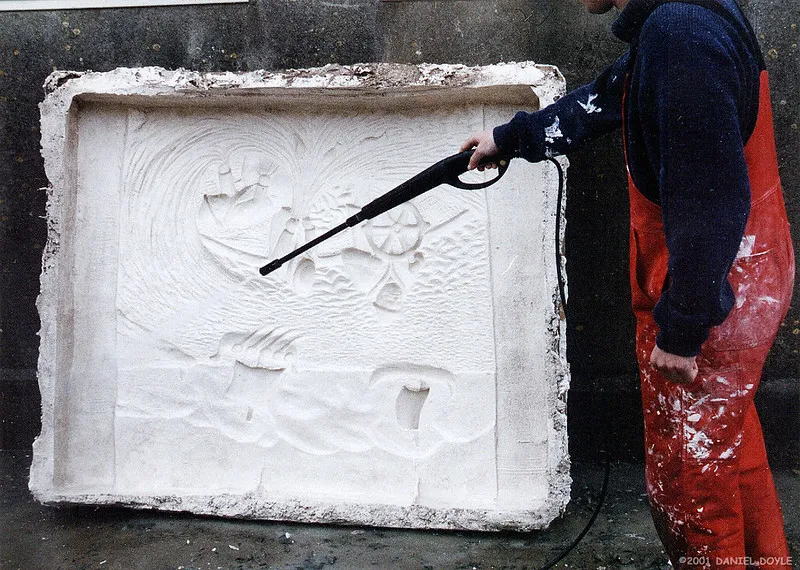
The molds were then taken outside for a good power washing. The clay we used as a release agent did its job and very little sand was stuck to the plaster.
Step 7
I was quite impressed by how they worked out and the detail that was captured. Even the texture of the sand itself was visible.
Step 8
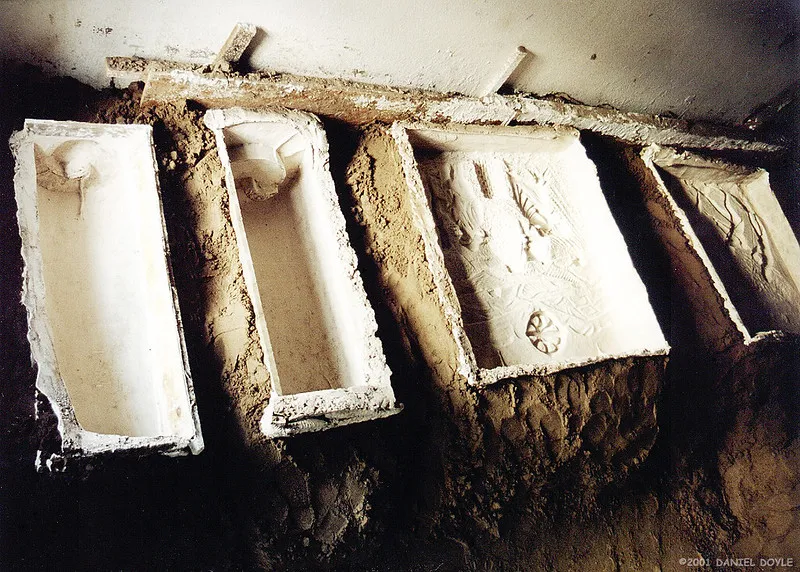
Not wanting the molds to warp as they dried out we brought them back inside and used the sand to surround and support them.
Their drying out would give us time to contemplate the next stage of our process and to work out how the hell we would turn this very negative sculpture into a positive.
I'll leave it there for now but tune in soon where I will be explaining our made up way of cement casting


Ps
Thanks for reading. I use Steemit to document my work as an ephemeral Sculptor of sand, snow and ice. This will hopefully give it a new life on the Steem blockchain. I am doing them in chronological order so there are many more to come. Below you will find some of my recent posts.

The holey Demo- sand sculpture

Atlantis with tentacles - sand sculpture

Apathy (Part 2 sculpting) - sand sculpture
I hope you'll join me again soon.
@ammonite