
My Latest Rose Study and Its Development.
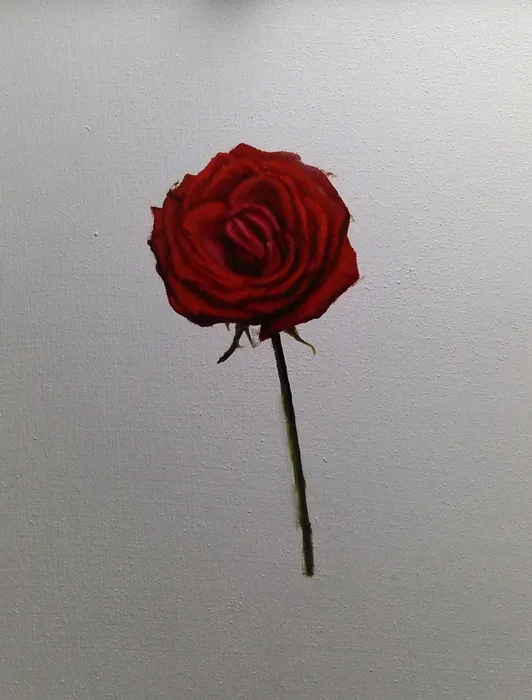
Rose Study
9” x 12”
Oil on birch panel
2018
Greetings Everyone,
In this post I thought I would share my latest flower study of a single rose and how it developed.
I have to say that it took a strange way of progression as compared to the methods in which I'm normally accustomed to.
I'm not sure at this point how or if I should carry this further.
Maybe I'll save this for later and continue to add additional studies when more free flowers are coming my way? :)
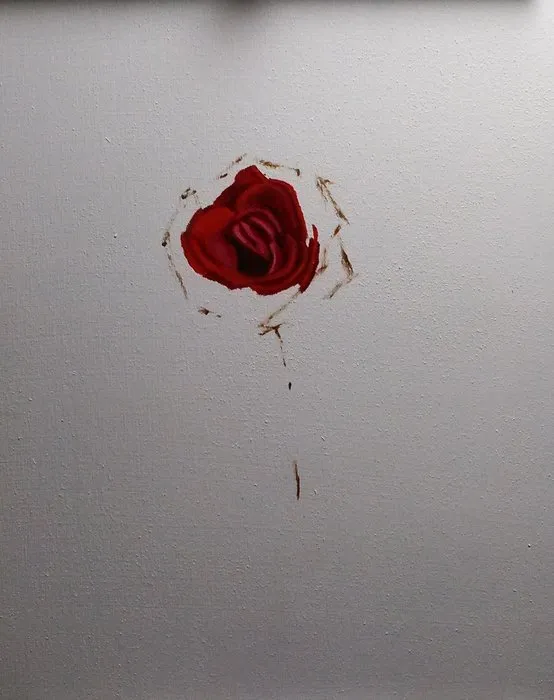
At first I began with a hazily defined placement of the single rose with “tick” marks.
I knew right off from the beginning that if I didn’t want any evidence of construction lines or developmental errors to show, that I needed to make sure that they were placed more on the inside of the flower as I was predominantly working from the inside to the outside. This way I’d have no problem eventually covering them up.
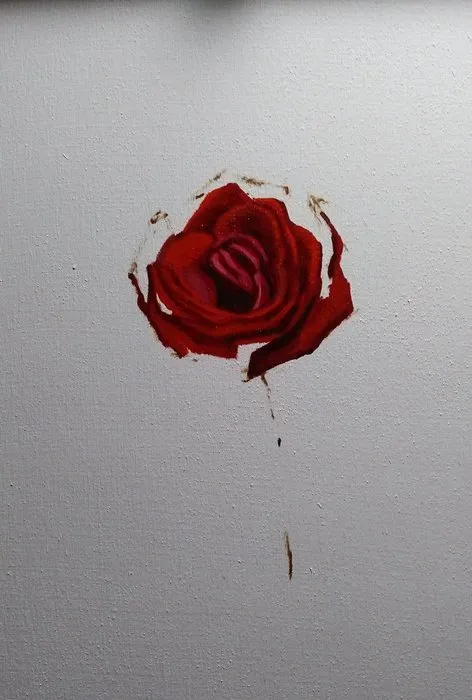
Continuing to work from the inside out, I methodically aimed aimed at nailing the darkest darks and navigated myself towards finding each of the petal’s local color. Reaching for a direct finish is definitely the key here.

..Working in this manner definitely ensures quality edge control throughout the progress of the study..
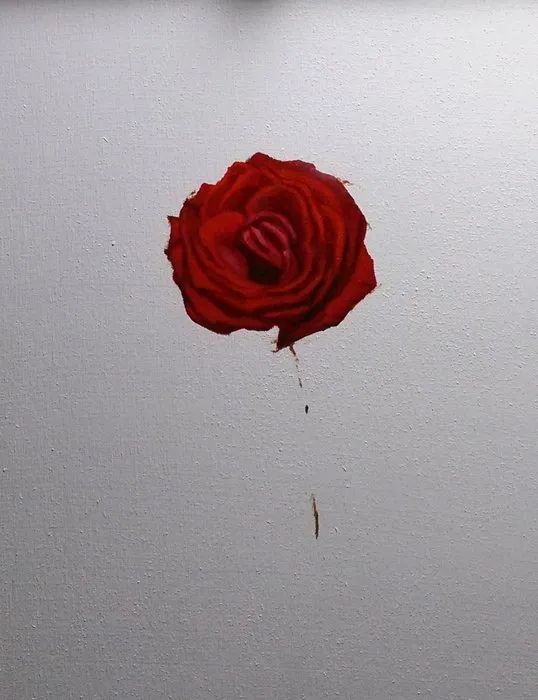
..At this stage I went back to double and triple check to see that if the painting is moving along like I wanted it to. I continued to push the lights as much as I could without building up too much of a mess. Of course I still wanted to build up texture and sharp edges, but I also had to be very strategic about it.
.
..Aaaand it’s finished!!