What we are going to see today is Anatomy. As I mentioned in the previous post, it is up to one to apply this knowledge to draw manga or not, what we will learn can be used for any style.
I found it fascinating to see that such a cartoonish style starts from concepts that are so real, but that's the way it is. Manga artistic licenses require a strong knowledge in anatomy, seeing characters in impossible positions have to be credible in some way and therefore depend on it.
Chapter 2: How to draw the body
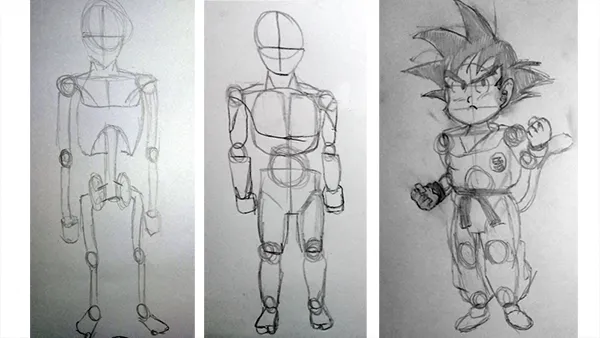
The authors affirm that in order to draw the body, the essential thing is to know the skeleton. We are going to analyze two methods of drawing, one is using the skeleton (the most precise) and the other is using blocks (the fastest).
Structure and Movement
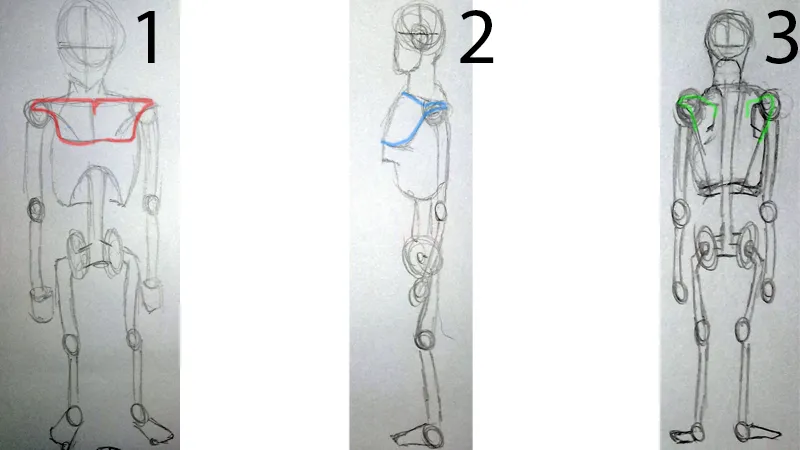
It begins by drawing the skeleton, the pectorals are drawn from the shoulders.
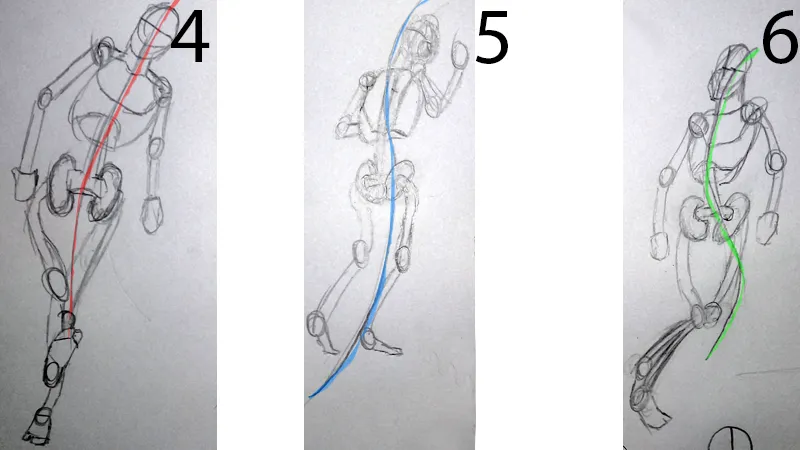
The lower part of the skeleton allows to express the natural movement of the body, that will give us the indication of the body's turns and where to concentrate its weight. In colors, we can see the curved line of movement.

The male body in blocks. The authors suggest imagining the joints and abdomen as spheres and drawing the muscles in the form of blocks. This allows us to understand the three-dimensional structure of the body.
7 red color Deltoids, green Biceps.
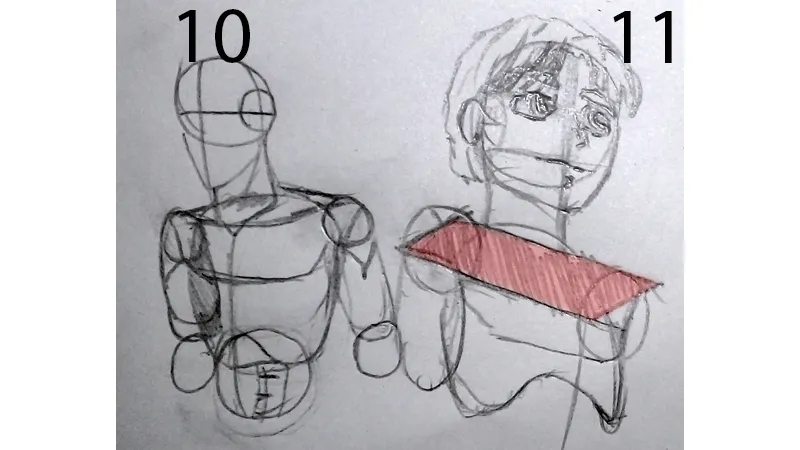
We have to be very careful in the position of the opposite shoulder when the angle of the drawing hides it, for that you can draw a 3-d box gently in pencil. 11
The female body. It's easy to appreciate the differences but let's see them in more detail.
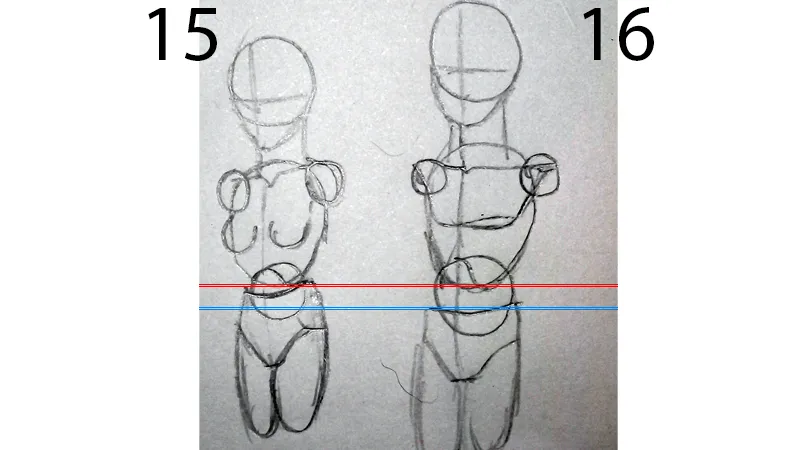
We can notice the differences between the female and male body. The little separation of the torso and the lower body, and different thoracic cages sizes.
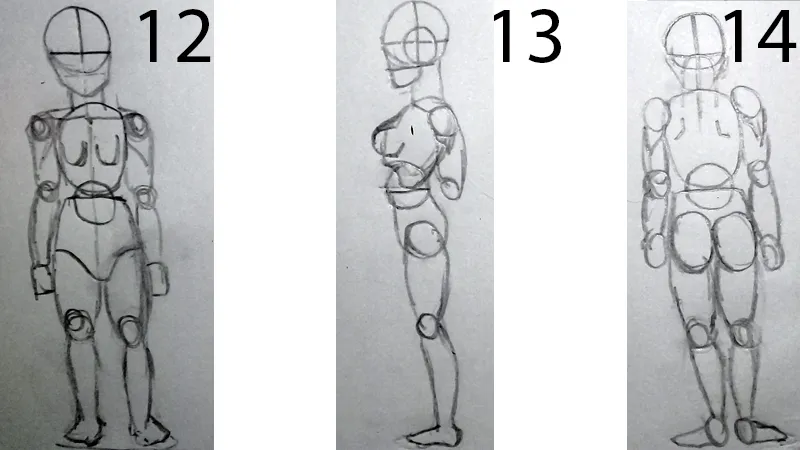
Giving movement
The authors go on to detail how to draw body movements by combining the block method with the curved line of movement.
The center line allows balancing the left and right sides of the body, one is used for the front and another for the back. 19 and 20.
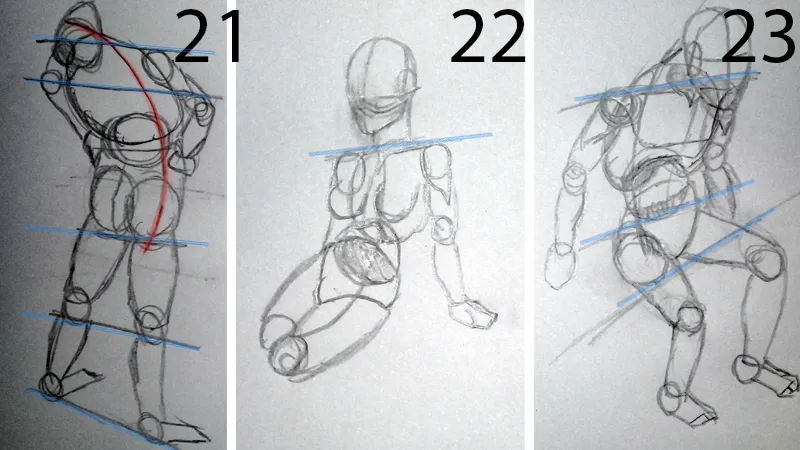
It can happen that the visible line is distorted by the posture, in those cases, it's convenient to imagine a central line that follows the movement.
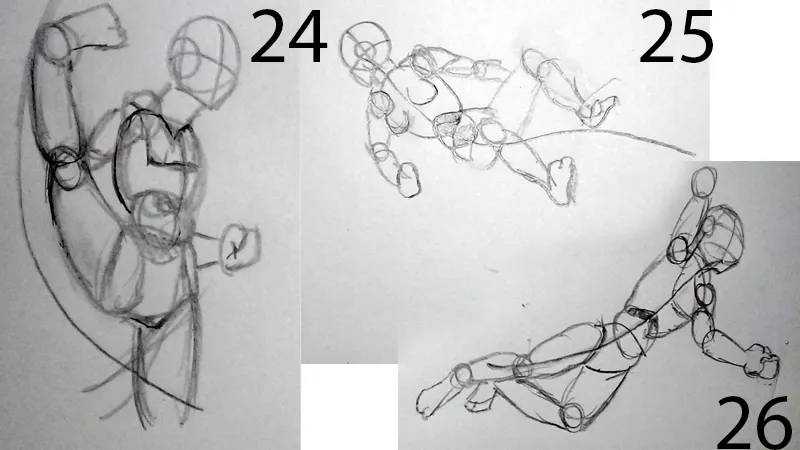
24 The elements that are in the foreground are drawn larger to achieve the balance of the figure.
25 and 26 The central line of the body can also be curved.
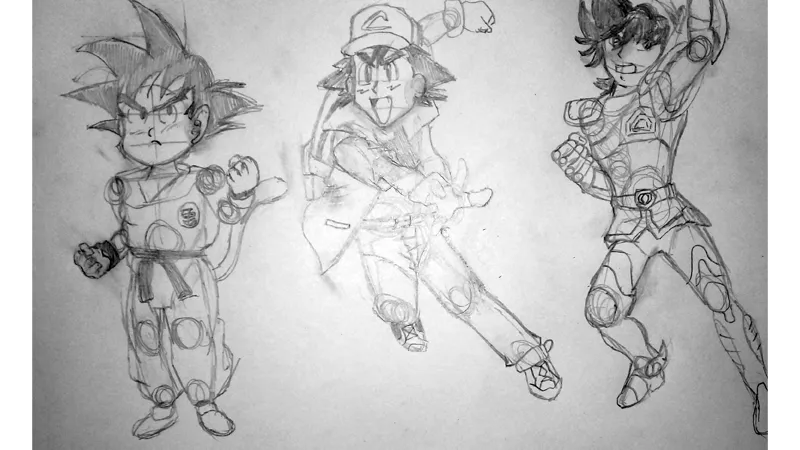
I wanted to try and take advantage of these techniques to continue the illustrations I did in the first part.
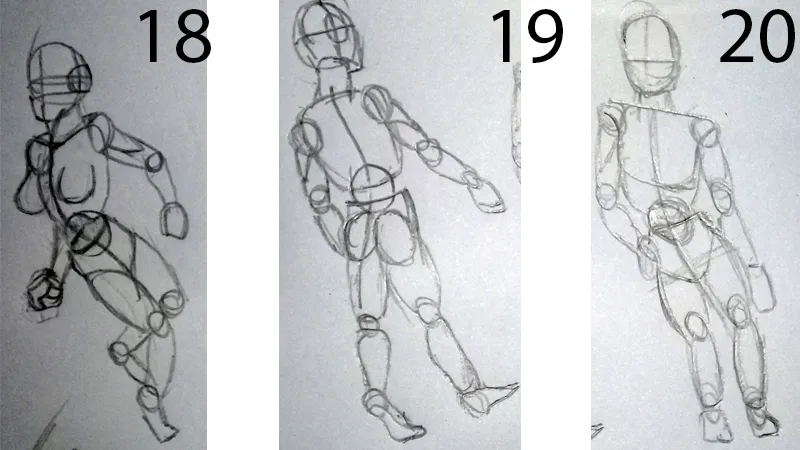
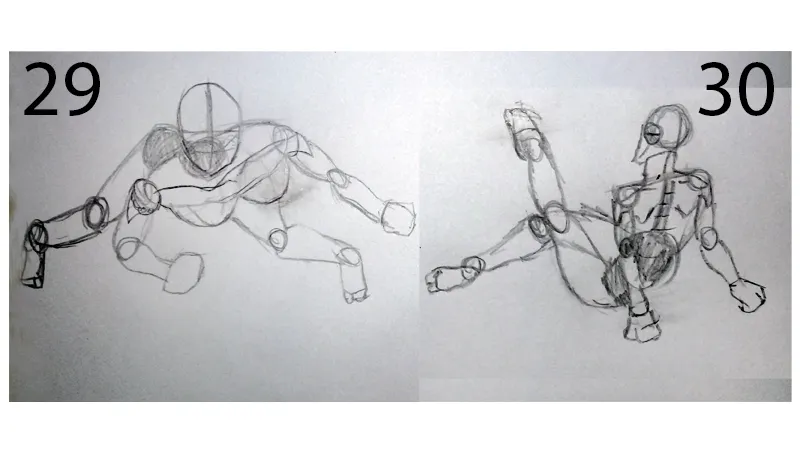
Drawing from complex angles
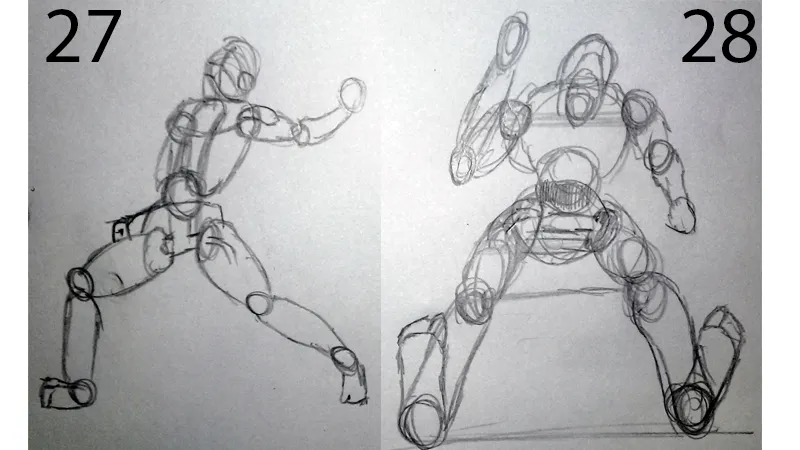
For complex angles, it's easier to use the skeleton method.
There is still a lot to see about anatomy but for today we have enough to practice and I continue to encourage you to leave your results in the comments, it is more fun if we learn all together.