
Hello dear Steemians! Today, I'm going to share how to paint Monstera plant leaves using water colours. As the name suggests monstera means monstrous and the plant is called so because it can grow large all the way up to 30 feet high. It is usually found in tropical forests. It is also cultivated as an indoor plant and people keep it in the their homes and sometimes in public buildings as interior decoration. Though it doesn't flower when it is kept indoors, it still looks great as an interior piece of decoration. I learned how to make this artwork along with the techniques used through Makoccino's tutorial. My artwork is not exactly the same as Mako's, but feel free to check her's out if you like.
Tools and Materials
- A good quality artblock that can absorb water
- Buncho water colours
- A round paint brush
- 2 containers of water (one to mix paint and one to clean brush)
- A tissue paper to absorb excess paint / water
Step by Step Tutorial
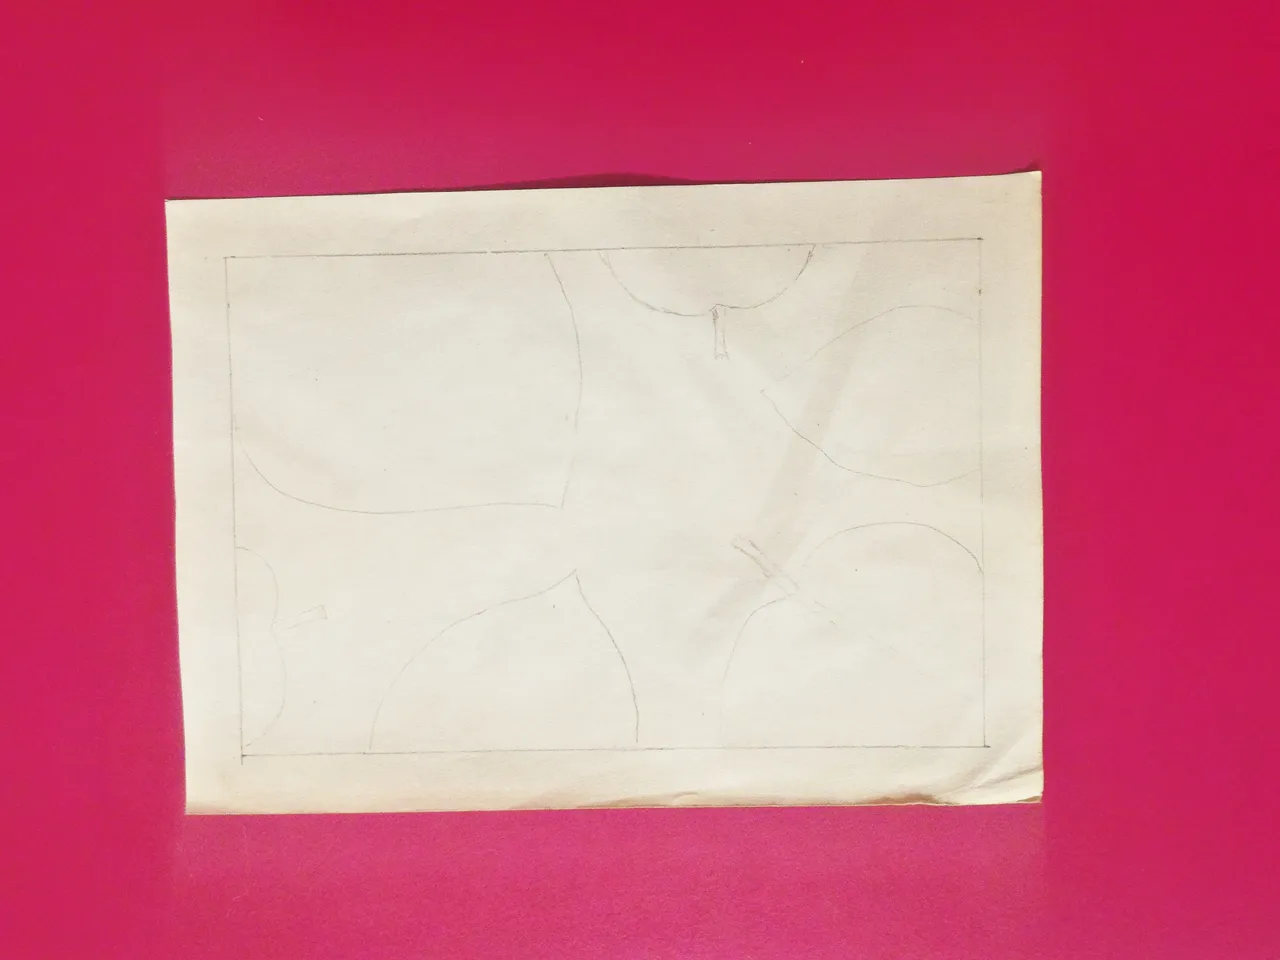
First of all, I drew the basic shapes of the Monstera leaves. It is like the normal leaf shape but it must be large and wide. I would recommend you to look up for the pictures of the Monstera plant leaves. It will give you a basic idea on how they look. Depending on the size and resolution of your paper, it is up to you how many leaves you would like to paint in your artwork.
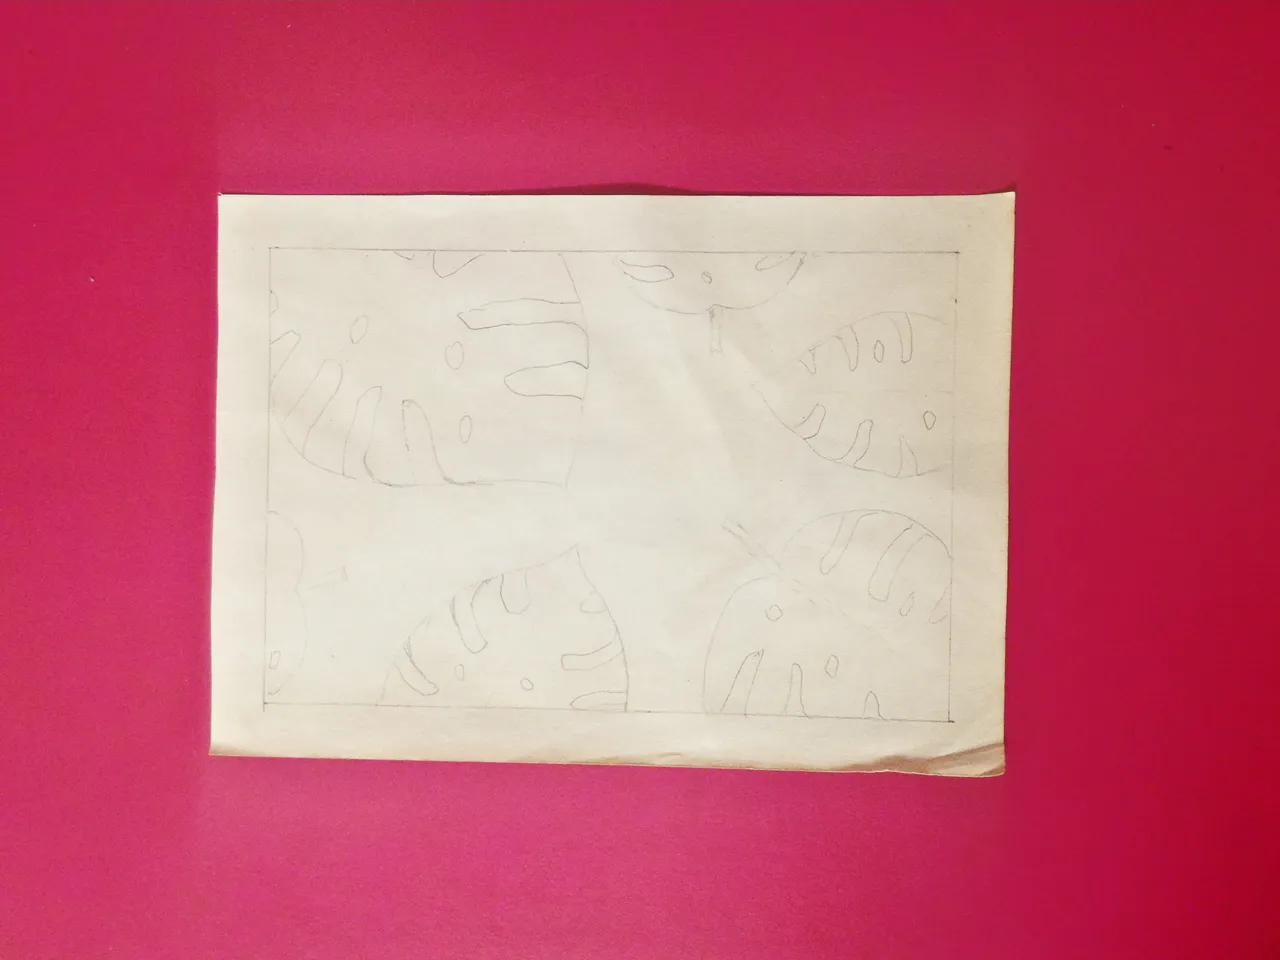
Then, I drew some large slit-like shapes in the leaves. These are the parts of the leaves that we don't need. I also drew some holes on the leaves to make them look more natural.
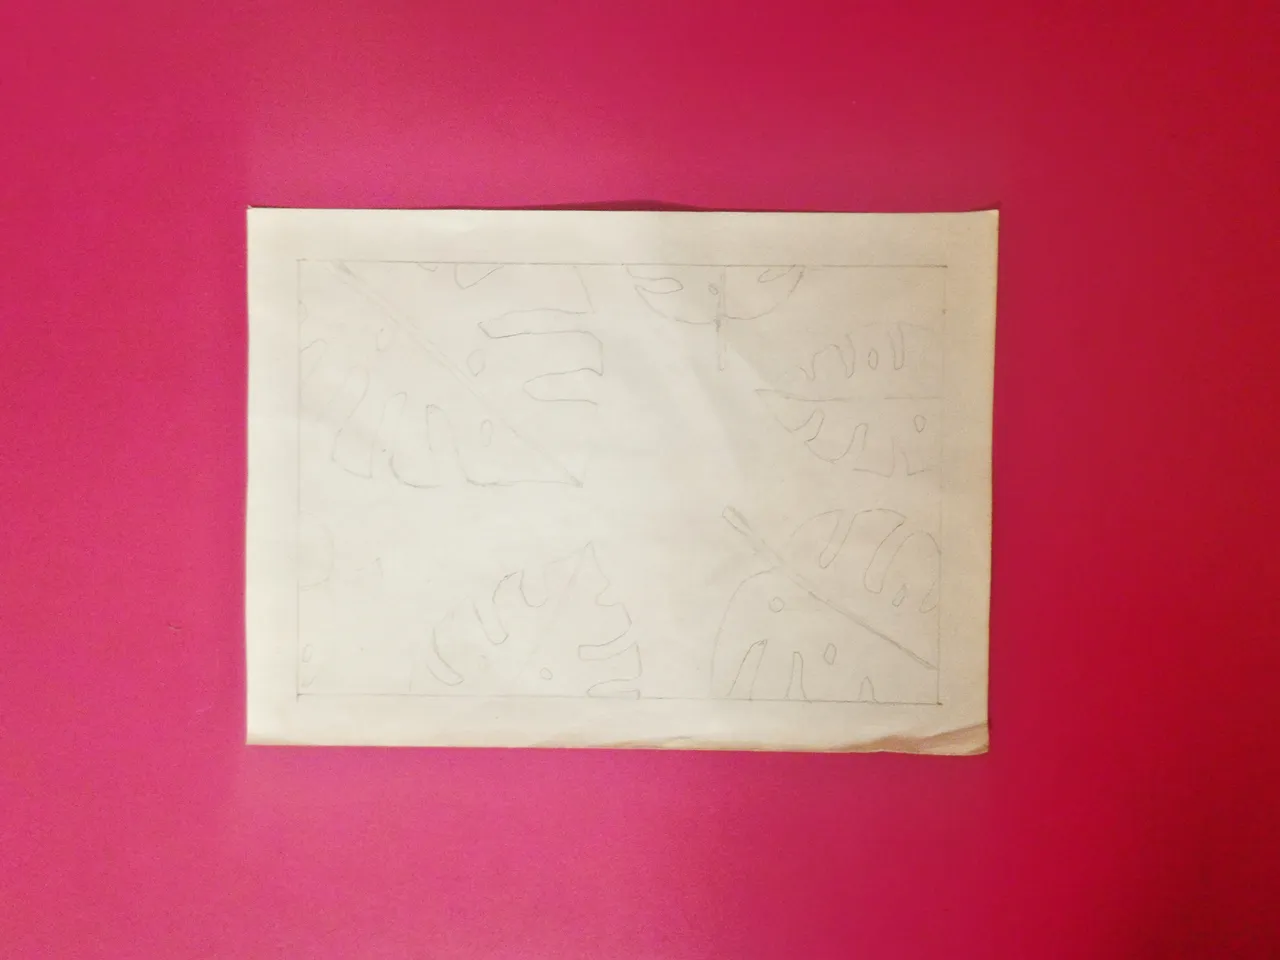
I erased the guidelines of the large slits I drew earlier because I don't like those lines getting in my way while painting. Now they look like normal Monstera leaves.

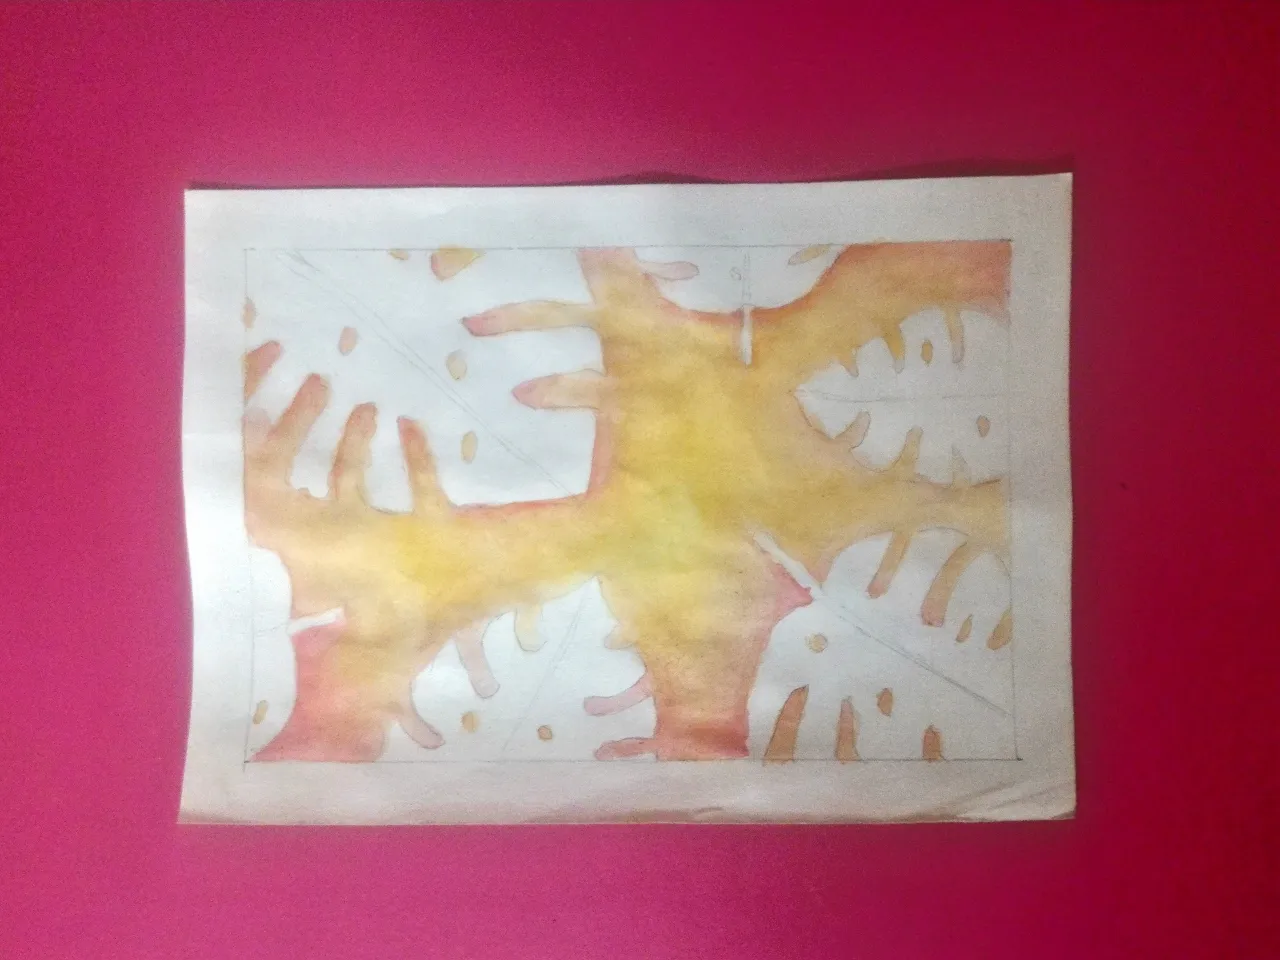
If you have been following my other painting tutorials, you might have seen me mentioning that I like to start my artwork with the lighter colours. So, I did the same thing here by painting the background first because I wanted it to be lighter so that the leaves can stand out. I painted the background in red and yellow. You are free to use any colour you like. I prefer red and yellow because they are at the opposite of green on the colour wheel, especially red. Keep in mind that water colour paint dries lighter. The picture above was snapped right after I painted them while it was still wet.
This is after the background has dried. I hope that you can notice that the paint has dried lighter. So, don't mix your paint too light, test it on a scrap paper if you need and you will get a hold on how much water to mix as you keep making more water colour paintings.
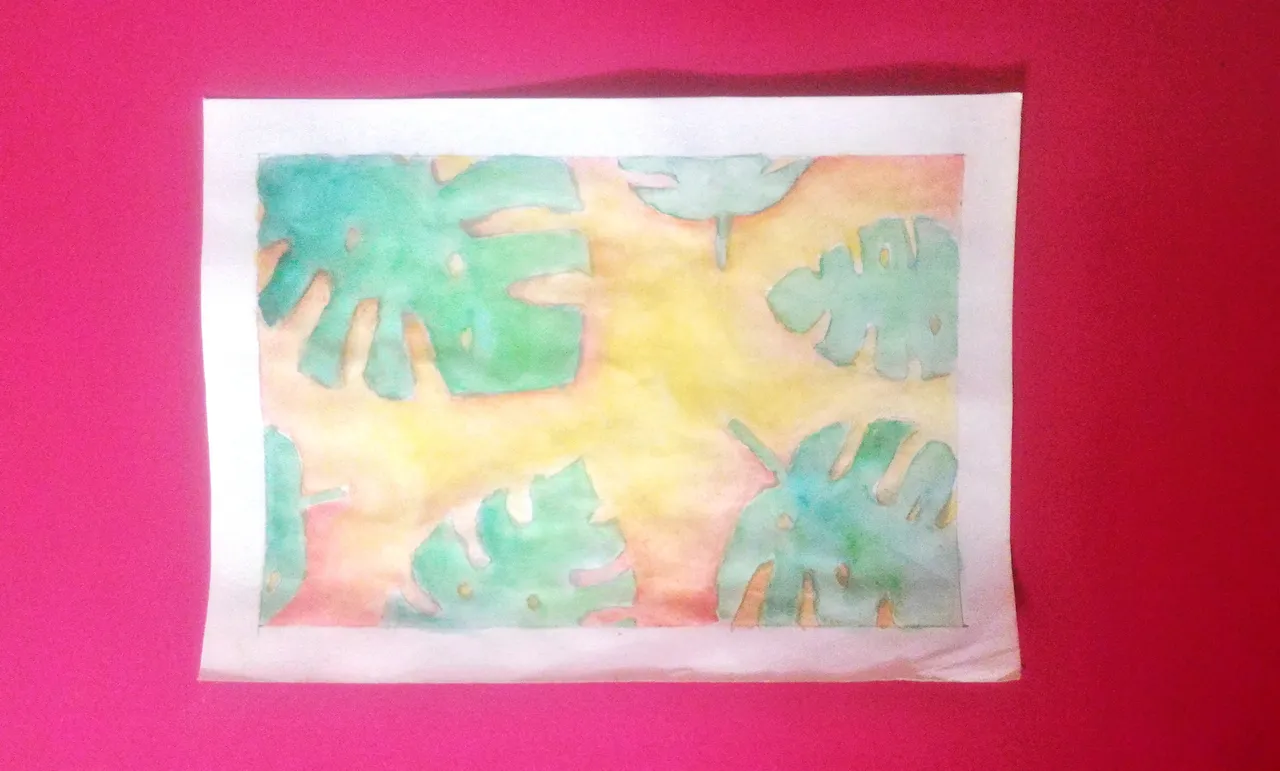
I painted the basic colours i.e. light and dark green on the leaves. As it is the first layer, they are flat colours and I waited for it to dry so that I can proceed to the next layer.
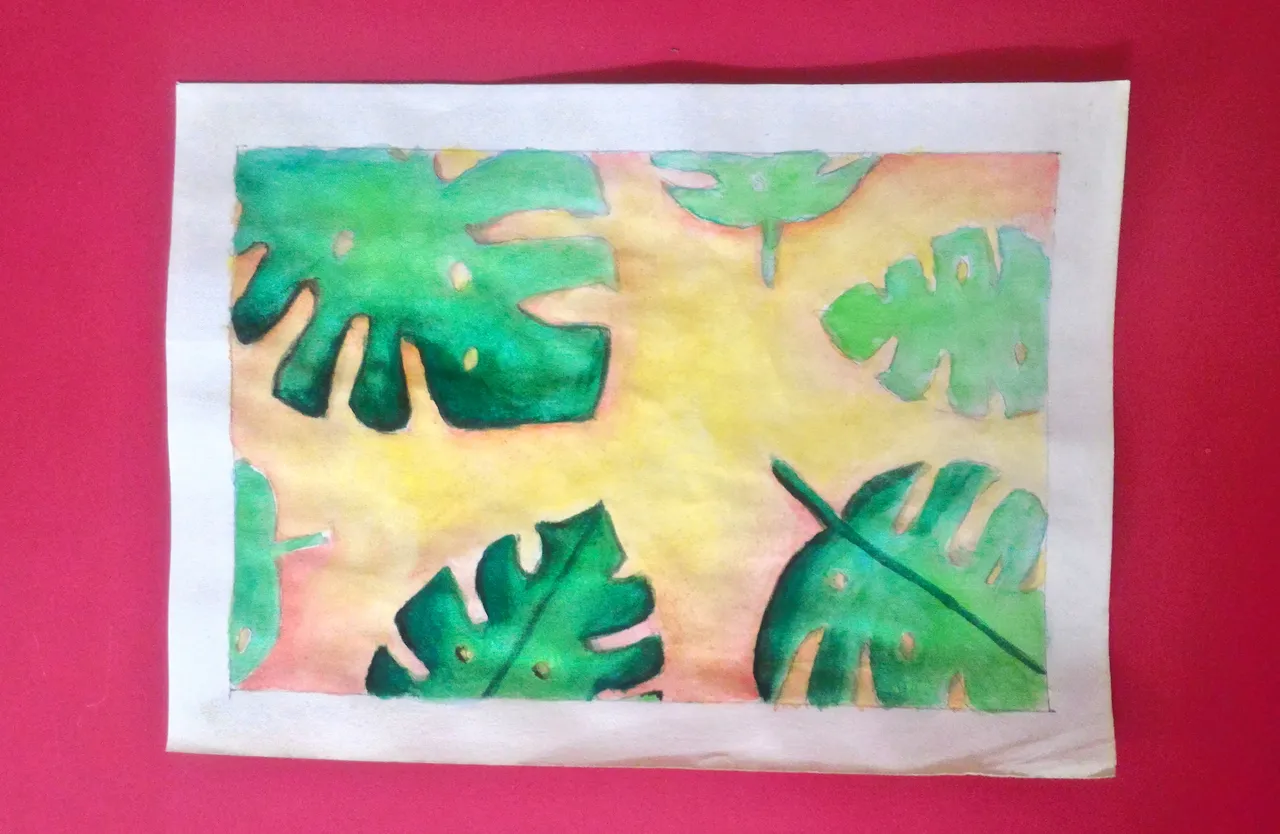
It is time to add some dimensions to the leaves. What I did was I painted the dark green with less amount of water this time at the parts where there will be less amount of light hitting. I also mixed some black with the dark green directly on the paper to create darker areas. You can use a palette if you like or afraid that you don't get the colour of the paint right.
I added more dark green wherever I thought was appropriate. I also used it to line the leaves and around the holes. Then, I painted some dilute light green in some parts of the leaves so that it will appear more vibrant unlike the first layer. I also added some extra details as you can see in the picture above. If you are worried that you will make mistakes you can add some guidelines in the beginning and paint over them later.
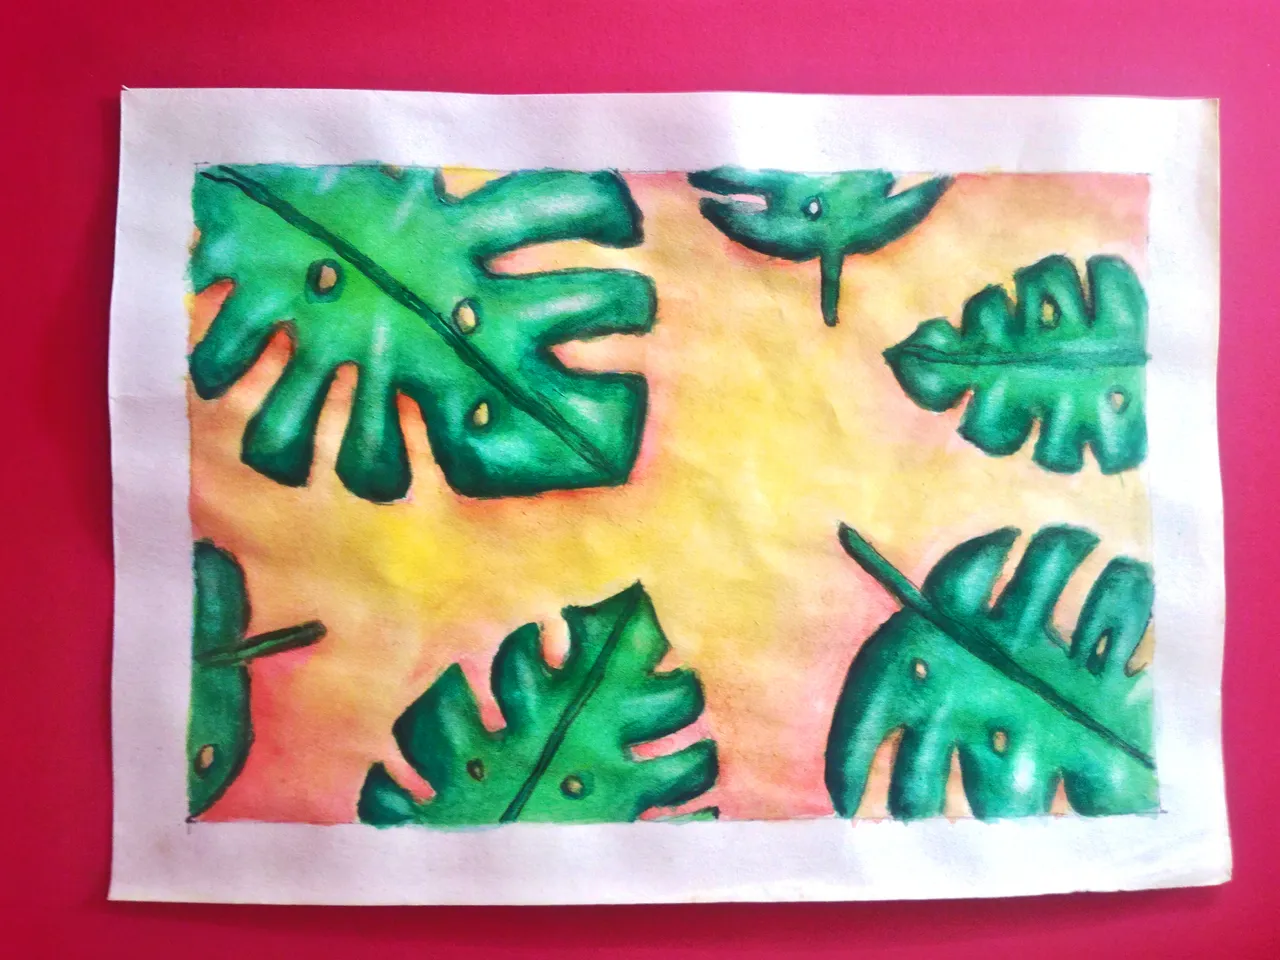
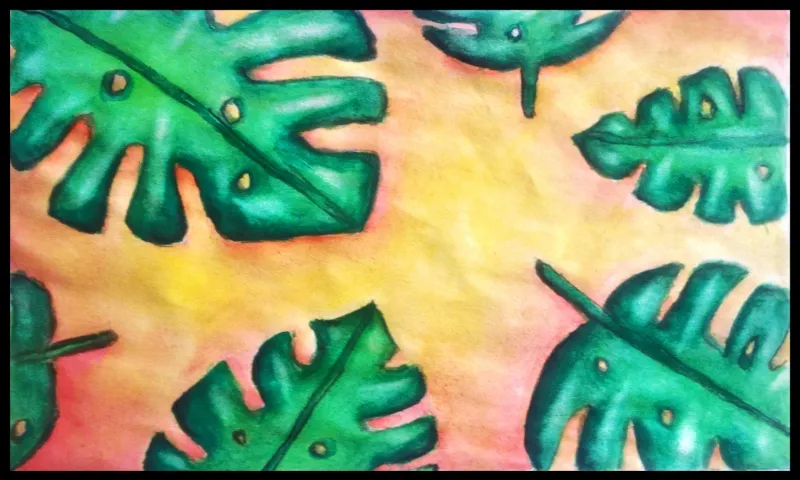
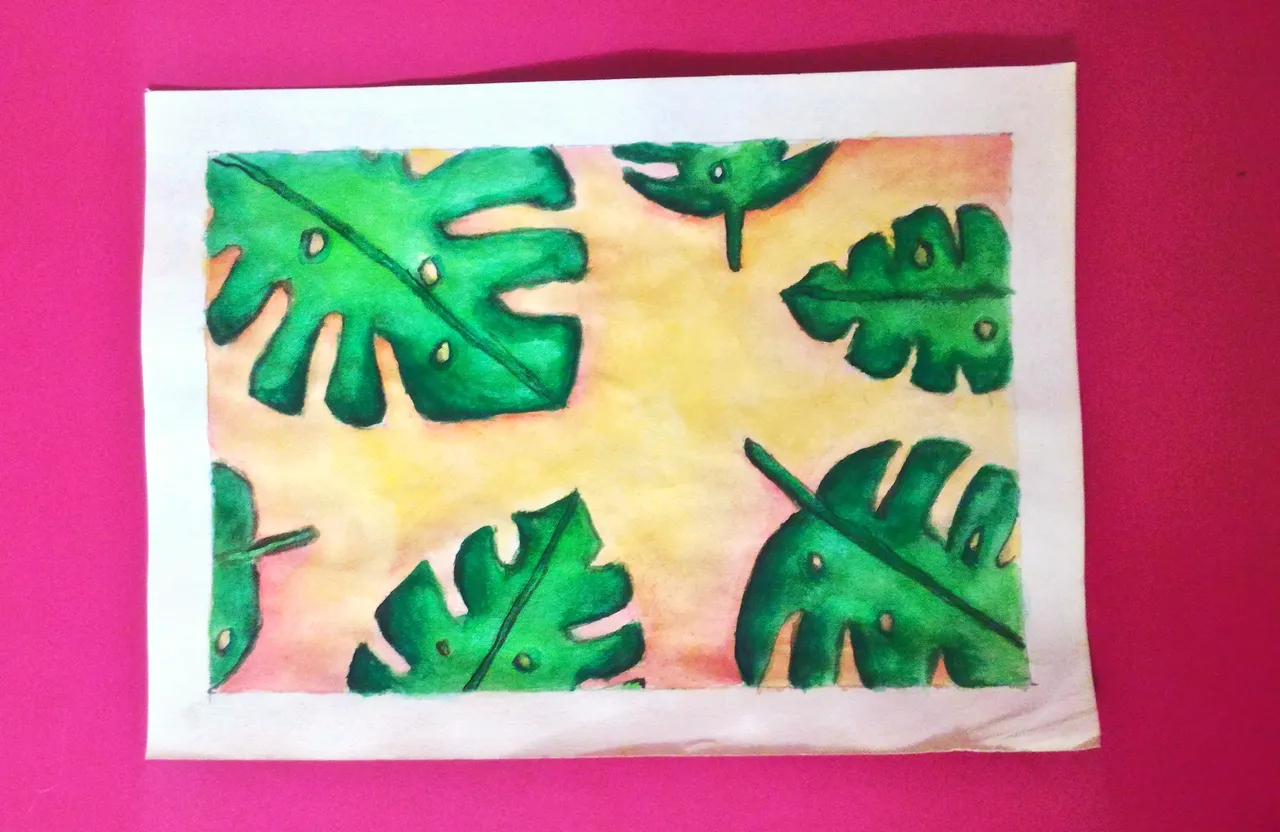
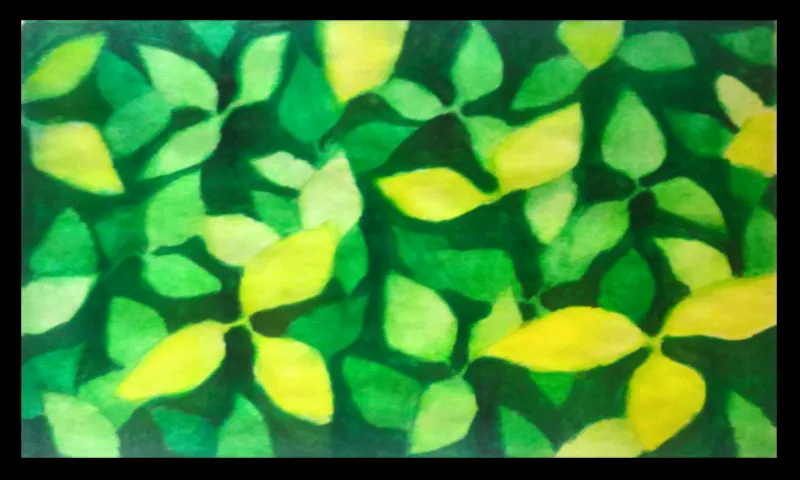
Lastly, I added some highlights on the leaves using the lifting technique. Just dip a clean brush in some water and run it on the areas where you want your highlights to be, most probably areas where the light hits. This will activate the paint on the paper and you can brush the paint to the darker areas or just use a tissue to absorb the excess paint. That way, your artwork will have more shape and it gives an illusion of a 3 dimensional work. I also did some minor touch ups, for instance, I added some diluted red at the edges of the slits of the leaves to add some depth. The picture above is the completed painting of Monstera leaves. I hope that you enjoyed reading this post and I wish that this tutorial is helpful to you especially if you are a beginner. Thank you for reading and blessings xx

If you like this post, please upvote and leave your feedback below.
If you would like to see more posts from me, follow me.
Stay tuned! xx
Click the Images to View My Recent Posts:
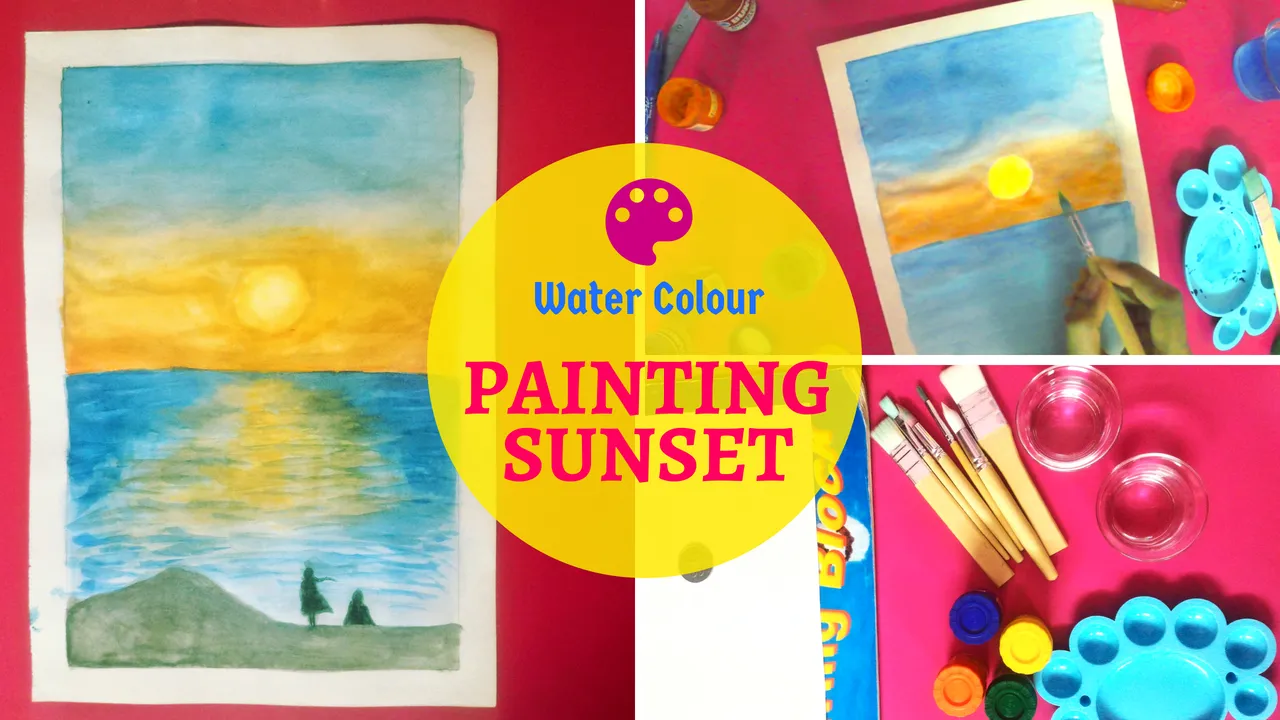
Sunset Painting | Step-by-Step Tutorial | Water Colour Painting
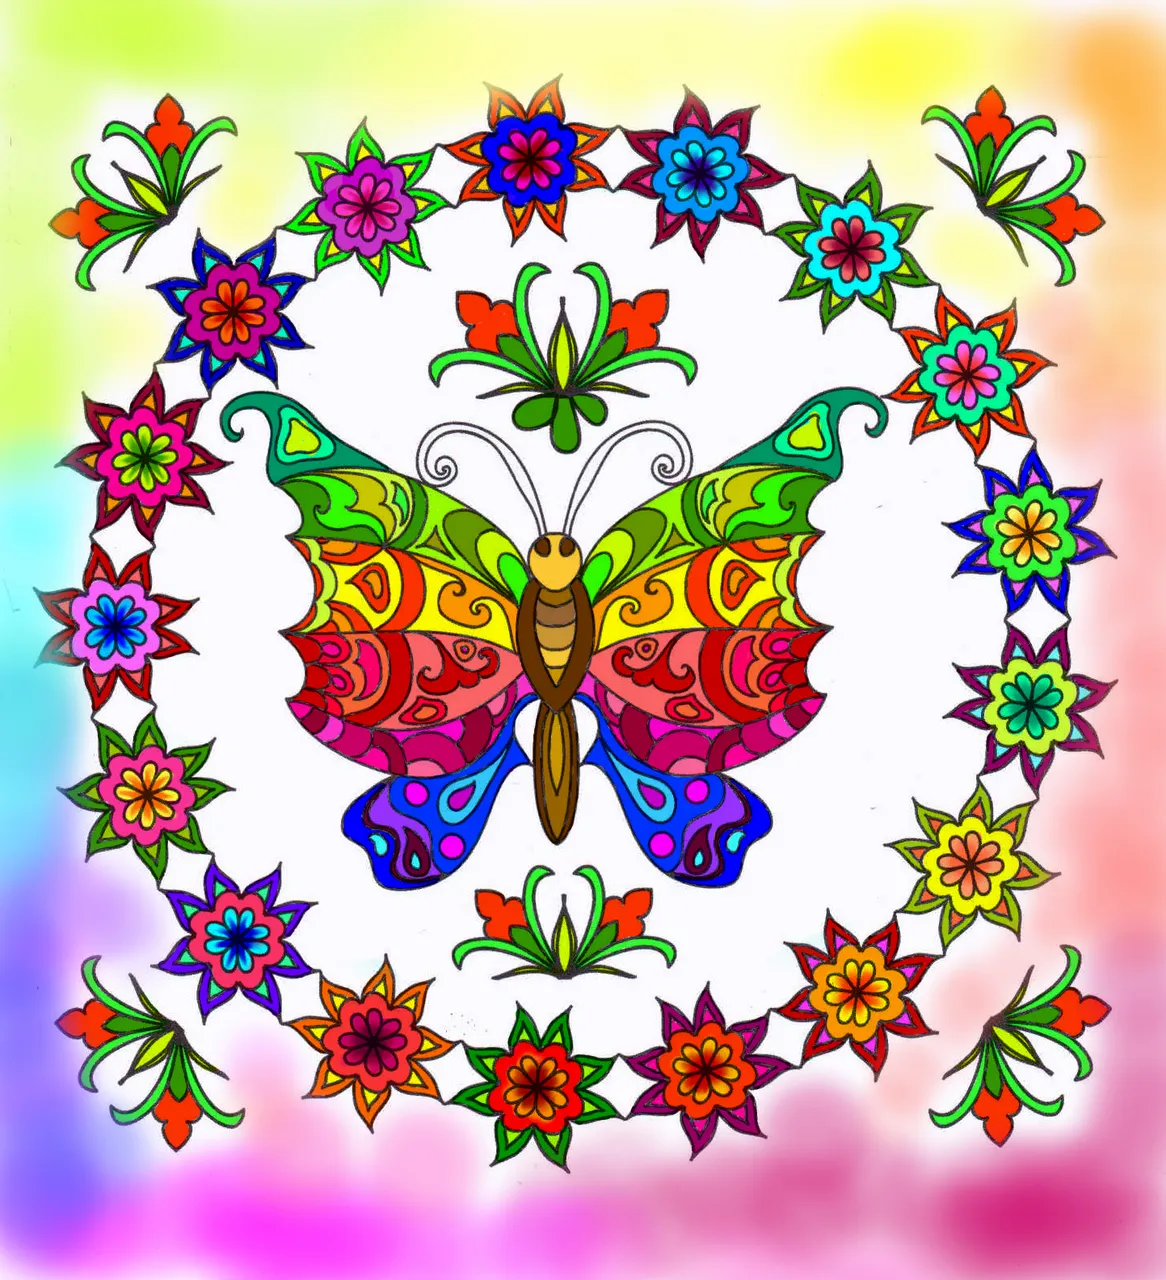
Butterfly Colouring Contest #3

How to Treat Cough at Home | Cough Home Remedy | Traditional Ayurvedic Medicine
Painting Leaves with Depth Adding Technique | Step by Step Tutorial | Water Colour Painting
HOW TO MAKE YOUR OWN WASHI TAPE! | DIY Planner Supplies
Plan With Me | HARRY POTTER RAVENCLAW THEME | DIY Planner
Video: Indian Spicy Chilli FIsh Cooking Recipe

Follow me: @yashny
My Dtube Channel: Yashny
About me:
I'm a chill, happy go lucky person. I am a feminist. I love food, art, books, numbers, psychology and occult science. I am in the process of healing and diving into spirituality. I think life is a gift and we should appreciate the little things of life more. Everything that I post is a little piece of my life. I believe that everyone is carrying their own cross, so don't judge anyone and be kind!
♥♥♥♥♥♥♥♥♥♥♥♥♥♥♥♥♥♥♥♥♥♥♥♥♥♥♥♥♥♥♥♥♥♥♥
Thank you for your support and encouragement
♥♥♥♥♥♥♥♥♥♥♥♥♥♥♥♥♥♥♥♥♥♥♥♥♥♥♥♥♥♥♥♥♥♥♥
If you would like to see more posts from me, follow me.
Stay tuned! xx
Click the Images to View My Recent Posts:
Sunset Painting | Step-by-Step Tutorial | Water Colour Painting
Butterfly Colouring Contest #3
How to Treat Cough at Home | Cough Home Remedy | Traditional Ayurvedic Medicine
Painting Leaves with Depth Adding Technique | Step by Step Tutorial | Water Colour Painting
HOW TO MAKE YOUR OWN WASHI TAPE! | DIY Planner Supplies
Plan With Me | HARRY POTTER RAVENCLAW THEME | DIY Planner
Video: Indian Spicy Chilli FIsh Cooking Recipe
Follow me: @yashny
My Dtube Channel: Yashny
About me:
I'm a chill, happy go lucky person. I am a feminist. I love food, art, books, numbers, psychology and occult science. I am in the process of healing and diving into spirituality. I think life is a gift and we should appreciate the little things of life more. Everything that I post is a little piece of my life. I believe that everyone is carrying their own cross, so don't judge anyone and be kind!
♥♥♥♥♥♥♥♥♥♥♥♥♥♥♥♥♥♥♥♥♥♥♥♥♥♥♥♥♥♥♥♥♥♥♥
Thank you for your support and encouragement
♥♥♥♥♥♥♥♥♥♥♥♥♥♥♥♥♥♥♥♥♥♥♥♥♥♥♥♥♥♥♥♥♥♥♥
Thank you for your support and encouragement
♥♥♥♥♥♥♥♥♥♥♥♥♥♥♥♥♥♥♥♥♥♥♥♥♥♥♥♥♥♥♥♥♥♥♥