

Bitshares UI Theming/Modification guide!
This is a draft guide for an older version of the Bitshares-UI, subsequent updates will increase the accuracy/quality of the guide. This guide is MIT licensed & open source on GitHub, I'd appreciate input on the guide & will hapily merge pull requests.
Getting started
Note: This pre-req section was copied from the Bitshares-UI readme.md, thanks to svk31, valzav, wmbutler, jcalfee and noisy for contributing towards this information!
BitShares-UI depends node Node.js, and version 6+ is required. It has not yet been tested with v7.
On Ubuntu and OSX, the easiest way to install Node is to use the Node Version Manager.
To install NVM for Linux/OSX, simply copy paste the following in a terminal:
curl -o- https://raw.githubusercontent.com/creationix/nvm/v0.30.2/install.sh | bash
nvm install v6
nvm use v6
Once you have Node installed, you can clone the repo:
git clone https://github.com/bitshares/bitshares-ui.git
cd bitshares-ui
Before launching the GUI you will need to install the npm packages for each subdirectory:
cd web
npm install
Running the dev server
The dev server uses Express in combination with Wepback 2.
Once all the packages have been installed you can start the development server by going to the
webfolder and running:npm startOnce the compilation is done the GUI will be available in your browser at:
localhost:8080or127.0.0.1:8080. Hot Reloading is enabled so the browser will live update as you edit the source files.Production
If you'd like to host your own wallet somewhere, you should create a production build and host it using NGINX or Apache. In order to create a prod bundle, simply run the following command:
npm run buildThis will create a bundle in the /dist folder that can be hosted with the web server of your choice.
Installable wallets
We use Electron to provide installable wallets, available for Windows, OSX and Linux Debian platforms such as Ubuntu. First, install the required packages in the
electronfolder. Then go to thewebfolder and runnpm run electron. This will compile the UI with some special modifications for use with Electron, and copy the result to the rootelectron/buildfolder. Now go back to theelectronfolder and runnpm run releasein order to build a wallet for your platform.
Header
The Header.jsx file is where changes to the navbar can be made!
web/app/components/Layout/Header.jsx
Changing the logo
Within the header.jsx file, the logo is defined as:
var logo = require("assets/logo-ico-blue.png");
Either change the code to point towards a new logo file, or overwrite the 'logo-ico-blue.png' file with your own logo.
For reference, the default BTS logo dimensions are 50px × 66px.
Adding new elements to the navigation
For an example we'll copy the accountsDropDown menu to create our own dropdown menu within the header.jsx file:
Create the dropdown menu actionsheet data
LET ourDropDown =
<ActionSheet>
<ActionSheet.Button title="">
<a style={{padding: "1rem", border: "none"}} className="button">
Our DropDown
<Icon className="icon-14px" name="chevron-down"/>
</a>
</ActionSheet.Button>
<ActionSheet.Content >
<ul className="no-first-element-top-border">
<li>
<a href="https://www.steemit.com">Steemit</a>
</li>
<li>
<a href="https://www.google.com">Google</a>
</li>
</ul>
</ActionSheet.Content>
</ActionSheet>;
}
Call the actionsheet from within the returned HTML
<div className="grp-menu-item overflow-visible account-drop-down">
    {ourDropDown}
</div>
Footer
web/app/components/Layout/Footer.jsx
You can add messages or contact details for your DEX; Openledger for example has added links to support, newsletters and how to add new coins, alongside the BTS network information.
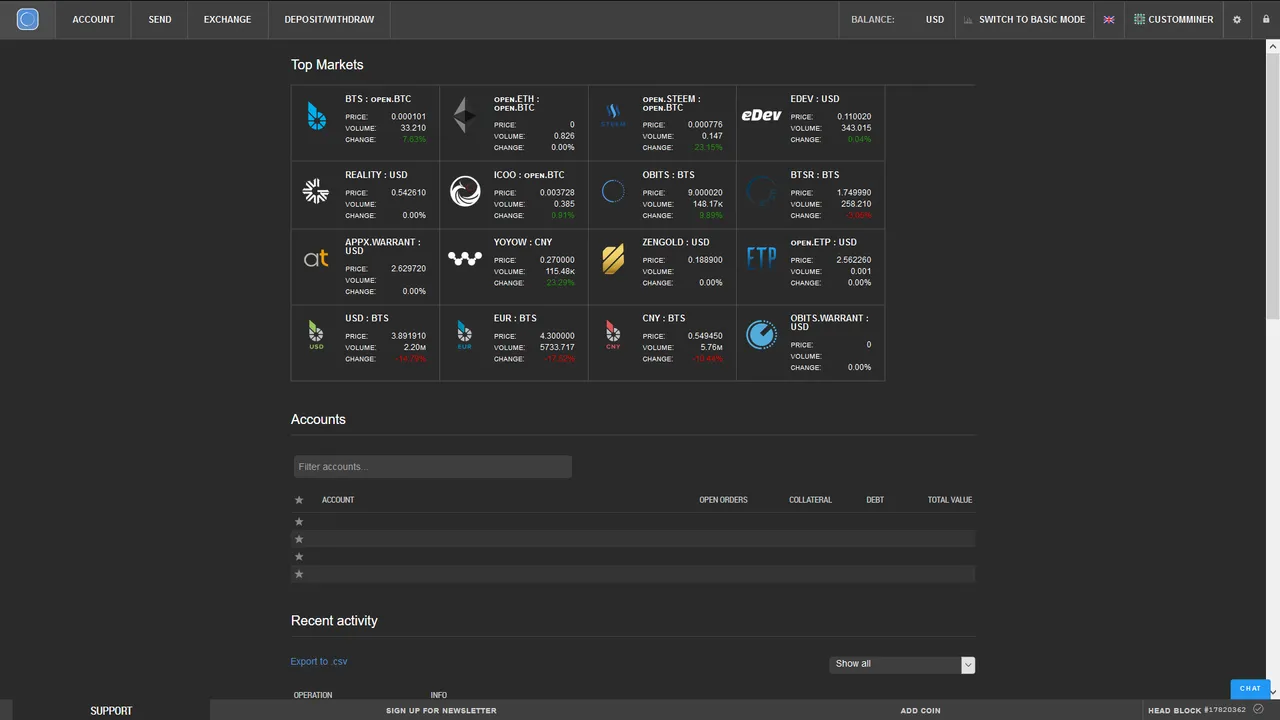
Dashboard/Index
Change the favicon, title/metadata, and throw in any neccessary analytics/scripts.
web/app/assets/index-dev.html
web/app/assets/index-electron.html
web/app/assets/index.html
Don't change CORE_ASSET
BTS is set as the CORE_ASSET default to BTS to prevent loading issues when used with BTS chain which is the most usual case currently.
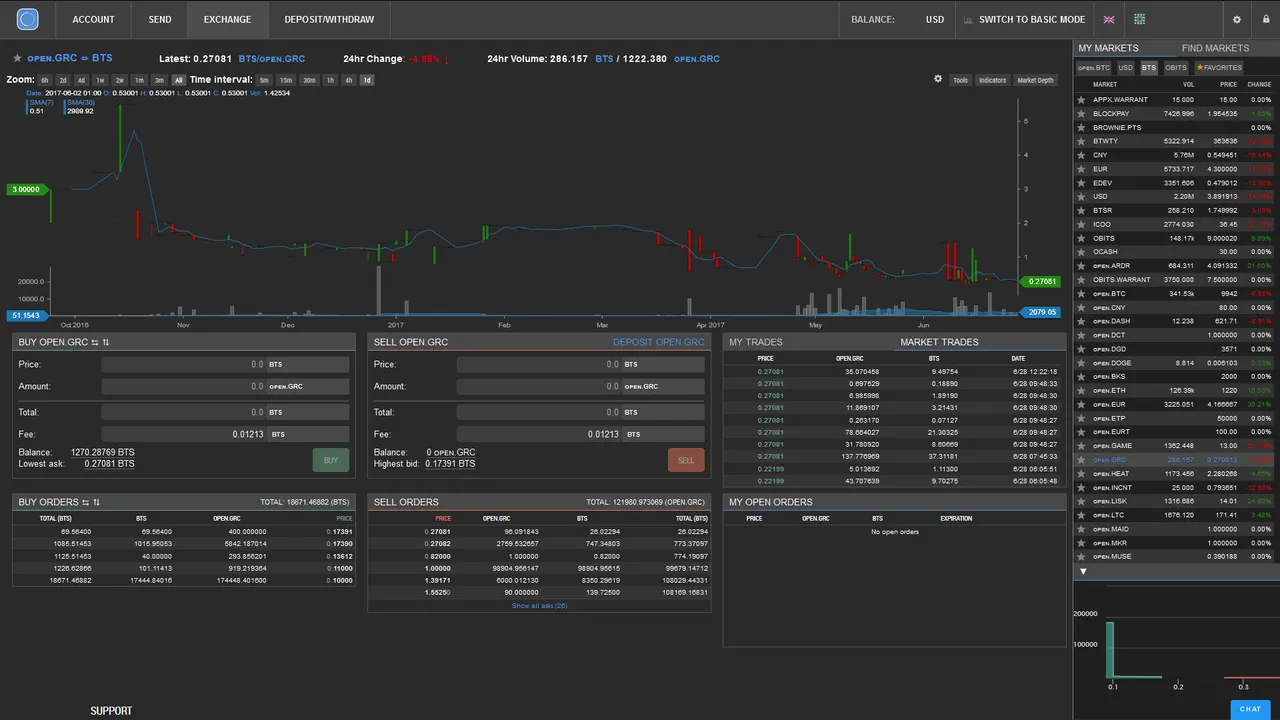
Exchange trading pairs
web/app/stores/SettingsStore.js
You can add/remove as many tokens as you wish, just remember to add logos for new tokens.
Note that "4018d784" means mainnet, and "39f5e2ed" means testnet.
let topMarkets = {
    markets_4018d784: [ // BTS MAIN NET
        "OPEN.MKR", "BTS", "OPEN.ETH", "ICOO", "BTC", "OPEN.LISK", "BKT",
        "OPEN.STEEM", "OPEN.GAME", "OCT", "USD", "CNY", "BTSR", "OBITS",
        "OPEN.DGD", "EUR", "GOLD", "SILVER", "IOU.CNY", "OPEN.DASH",
        "OPEN.USDT", "OPEN.EURT", "OPEN.BTC", "CADASTRAL", "BLOCKPAY", "BTWTY",
        "OPEN.INCNT", "KAPITAL", "OPEN.MAID", "OPEN.SBD", "OPEN.GRC", "YOURASSET",
        "YOYOW", "HERO", "RUBLE"
    ],
    markets_39f5e2ed: [ // TESTNET
        "PEG.FAKEUSD", "YOURASSET", "BTWTY"
    ]
};

let bases = {
    markets_4018d784: [ // BTS MAIN NET
        "USD", "OPEN.BTC", "CNY", "BTS", "BTC", "YOURASSET"
    ],
    markets_39f5e2ed: [ // TESTNET
        "TEST", "YOURASSET"
    ]
};
        let defaults = {
            unit: [
                CORE_ASSET,
                "USD",
                "CNY",
                "BTC",
                "EUR",
                "YOURASSET"
            ]
};
Featured markets
web/app/components/Dashboard/Dashboard.jsx
You aught to add/remove trading pairs from the Dashboard.jsx file. You could make your asset (YOURASSET) the primary trading pair displayed throughout your DEX!
Note that "4018d784" means mainnet, and "39f5e2ed" means testnet.
let marketsByChain = {
    "4018d784":[
        ["USD", "BTS"],
        ["USD", "OPEN.BTC"],
        ["USD", "OPEN.USDT"],
        ["USD", "OPEN.ETH"],
        ["USD", "OPEN.DASH"],
        ["USD", "GOLD"],
        ["USD", "HERO"],
        ["USD", "YOURASSET"],
        ["CNY", "OPEN.BTC"],
        ["CNY", "USD"],
        ["CNY", "OPEN.ETH"],
        ["CNY", "YOYOW"],
        ["CNY", "OCT"],
        ["CNY", "YOURASSET"],
        ["OPEN.BTC", "BTS"],
        ["OPEN.BTC", "OPEN.DASH"],
        ["OPEN.BTC", "OBITS"],
        ["OPEN.BTC", "BLOCKPAY"],
        ["OPEN.BTC", "OPEN.DGD"],
        ["OPEN.BTC", "OPEN.STEEM"],
        ["OPEN.BTC", "YOURASSET"],
        ["BTS", "CNY"],
        ["BTS", "OPEN.ETH"],
        ["BTS", "HERO"],
        ["BTS", "OCT"],
        ["BTS", "RUBLE"],
        ["BTS", "GOLD"],
        ["BTS", "BLOCKPAY"],
        ["BTS", "BTWTY"],
        ["BTS", "OBITS"],
        ["BTS", "YOURASSET"],
        ["KAPITAL", "OPEN.BTC"],
        ["BTS", "SILVER"],
        ["USD", "OPEN.STEEM"],
        ["USD", "OPEN.MAID"],
        ["BTS", "OPEN.ETH"],
        ["OPEN.USDT", "OPEN.BTC"],
        ["BTS", "OPEN.STEEM"],
        ["OPEN.BTC", "OPEN.MAID"],
        ["BTS", "OPEN.MAID"],
        ["BTS", "OPEN.HEAT"],
        ["BTS", "OPEN.INCENT"],
        ["HEMPSWEET", "OPEN.BTC"],
        ["KAPITAL", "BTS"],
    ],
    "39f5e2ed": [
        ["TEST", "PEG.FAKEUSD"],
        ["TEST", "BTWTY"]
        ["TEST", "YOURASSET"],
    ]
};
Asset logos!
For the featured trading pairs you've set to display on the dashboard, you'll need to provide the Bitshares-UI a logo to display.
Logo dimensions: 140x140
Logo filetype: PNG
web/app/assets/asset-symbols/asset-logo.png
Add an entry for your asset in the symbols javascript file:
web/app/assets/asset-symbols/symbols.js
Theming
Create a new theme
When we talk about a 'theme' we aren't refering to the page content nor layout, but rather the colour scheme used throughout the BTS DEX. Every element can be changed within a theme file with relative ease.
It's rather easy to make a horrible looking theme, so put some thought into the colour palette you are going to use throughout the website and account for ease of readability/accessibility.
It may be worth temporarily changing each value individually to a highly visible colour so as to understand the changes that you're making, you can do this whilst running the dev web wallet as it instantly displays the changes you make to the code.
Contents of a theme file
@import "theme-template";

// variables

$light-text-color: #fff;
$dark-text-color: #444;
$primary-text-color: #ffffff;
$secondary-text-color: darken($primary-text-color, 20%);
$link-text-color: #4A90E2;
$error-text-color: #E3745B;

$bg-color: #2a2a2a;
$panel-bg-color: #3f3f3f;
$light-panel-bg-color: #6a6a6a;
$super-light-panel-bg-color: lighten($light-panel-bg-color, 8%);
$button-bg-color: #4A90E2;
$secondary-button-bg-color: #999999;
$input-background: lighten($bg-color, 8%);

$alert-color: $error-text-color;
$info-color: #A0D3E8;
$success-color: #50D2C2;
$warning-color: #FCAB53;
$fee-color: $secondary-text-color;

// Exchange colors
$bid-color: #6BA583;
$ask-color: #E3745B;
$call-color: #BBBF2B;
$positive-color: #258A14;
$negative-color: #DB0000;
$row-accent-color: #3C3C3C;
$header-color: #484848;

// Chat colors
$chat-text-color: #191A1F;

.yourTheme {
  @include theme(
    $primary-text-color,
    $bg-color,
    $dark-text-color,
    $link-text-color,
    $light-text-color,
    $secondary-text-color,
    $success-color,
    $info-color,
    $warning-color,
    $alert-color,
    $super-light-panel-bg-color,
    $panel-bg-color,
    $button-bg-color,
    $secondary-button-bg-color,
    $fee-color,
    $bid-color,
    $ask-color,
    $call-color,
    $light-panel-bg-color,
    $positive-color,
    $negative-color,
    $row-accent-color,
    $header-color,
    $chat-text-color,
    $input-background
  );
}
Adding a custom theme
You can list an additional theme within the Bitshares settings, alongside the existing dropdown theme options.
Providing theme name translations
Searching for the existing theme name 'olDarkTheme' showed entries within each of the translation files located at "\web\app\assets\locales".
Within each of the 'locale_xx.json' files (replace xx with language), you need to provide a translation for your new theme within the 'settings' section:
  "settings": {
    [ irrelevant text ]
    "themes": "Tema",
    "darkTheme": "Koyu tema",
    "lightTheme": "Açık tema",
    "olDarkTheme": "Openledger koyu",
    [ irrelevant text ]
  },
Use similar format:
"yourThemeName": "yourTranslatedThemeName"
Google translate should be sufficient, or if you're lazy you could just provide the english theme name as the translation.
If you do not provide a translation entry, then the theme dropdown will display a translate error!
Add an entry for your theme in the following files
web/app/assets/colors.js
web/app/assets/stylesheets/themes/_all.scss
web/app/stores/SettingsStore.js
Add your custom theme file to the theme folder
web/app/assets/stylesheets/themes/_yourTheme.scss
Examples of different Bitshares Web Wallets
There are several Bitshares web wallet implementations with different themes, layouts and languages.
Rudex


Openledger

BTSABC


Best regards,
@CM-Steem