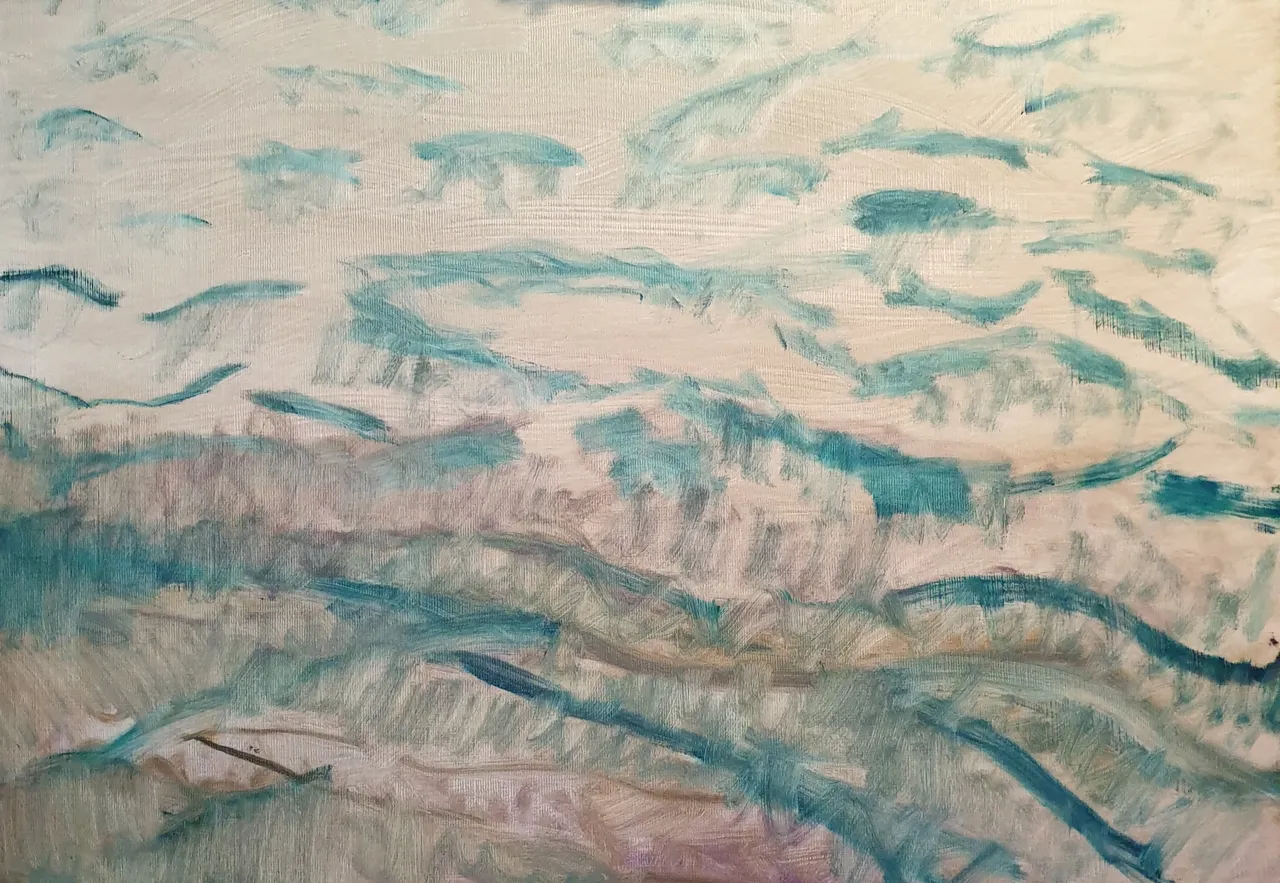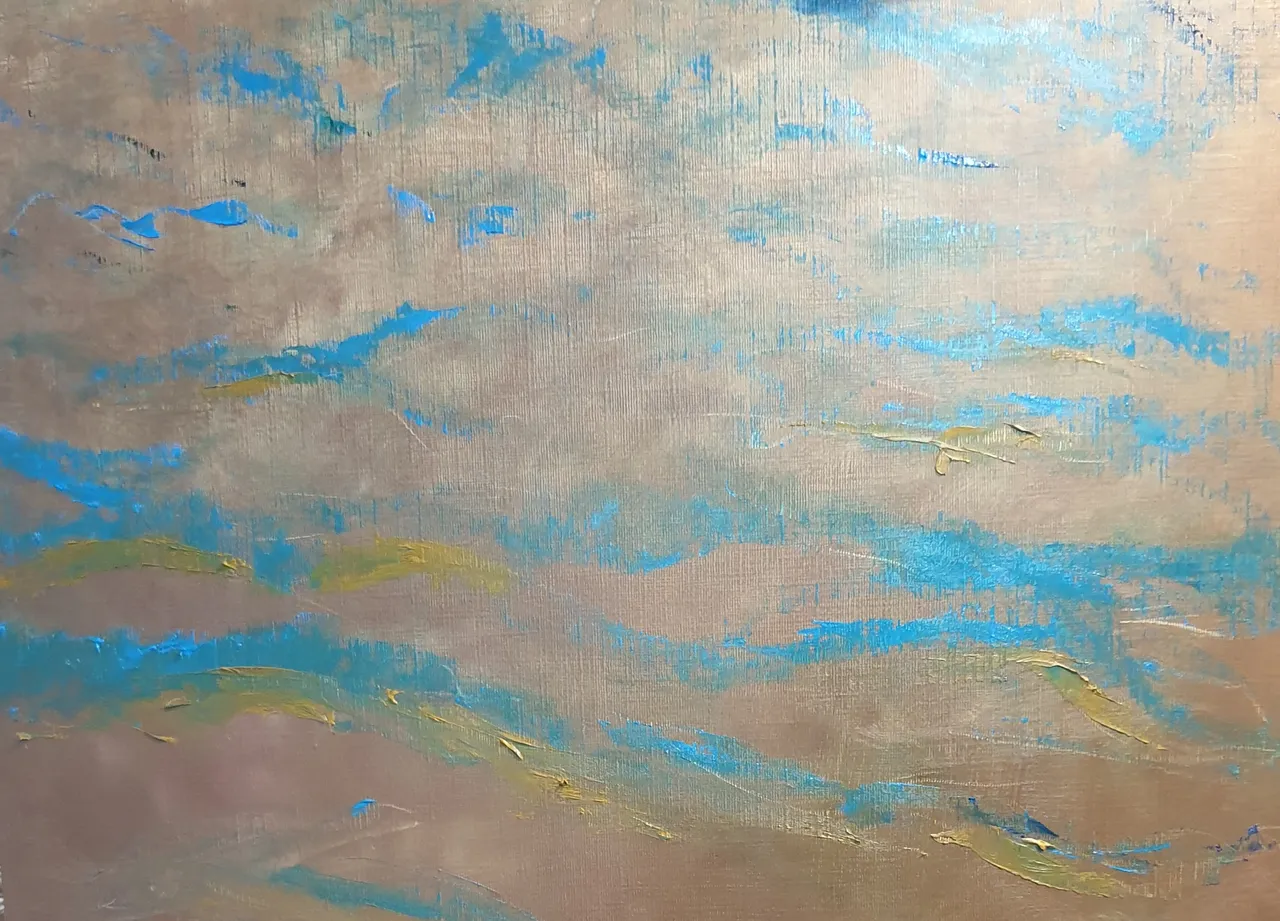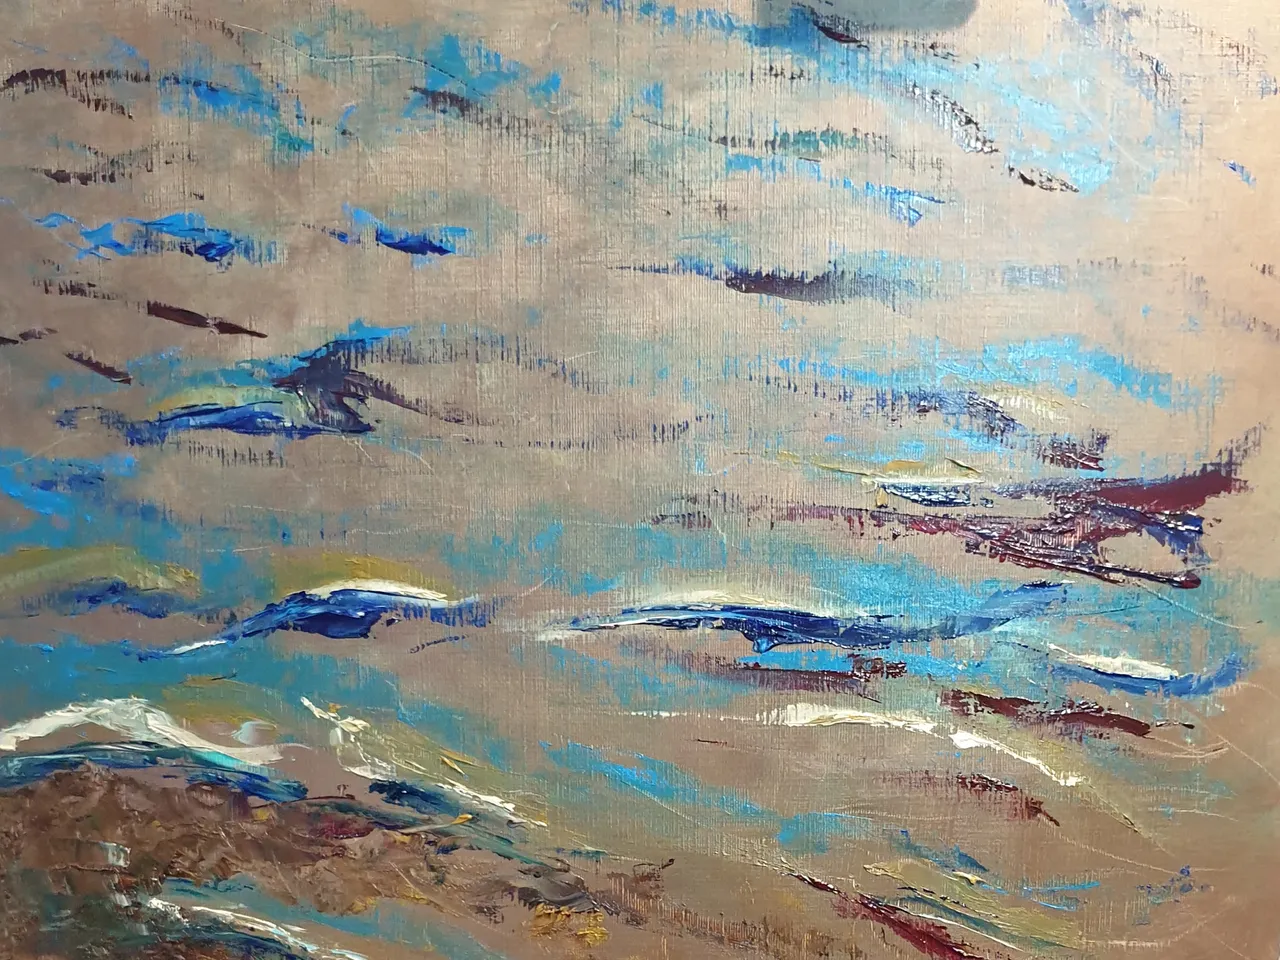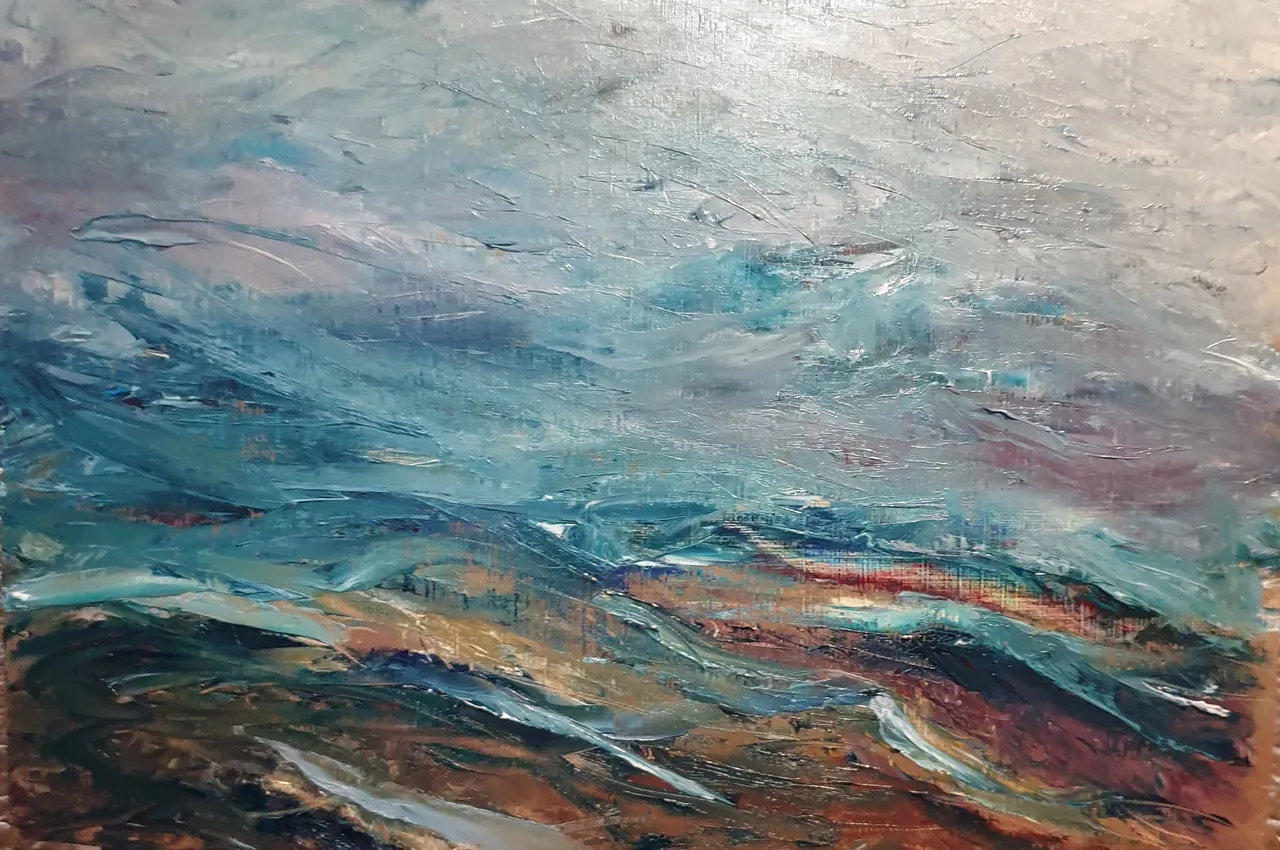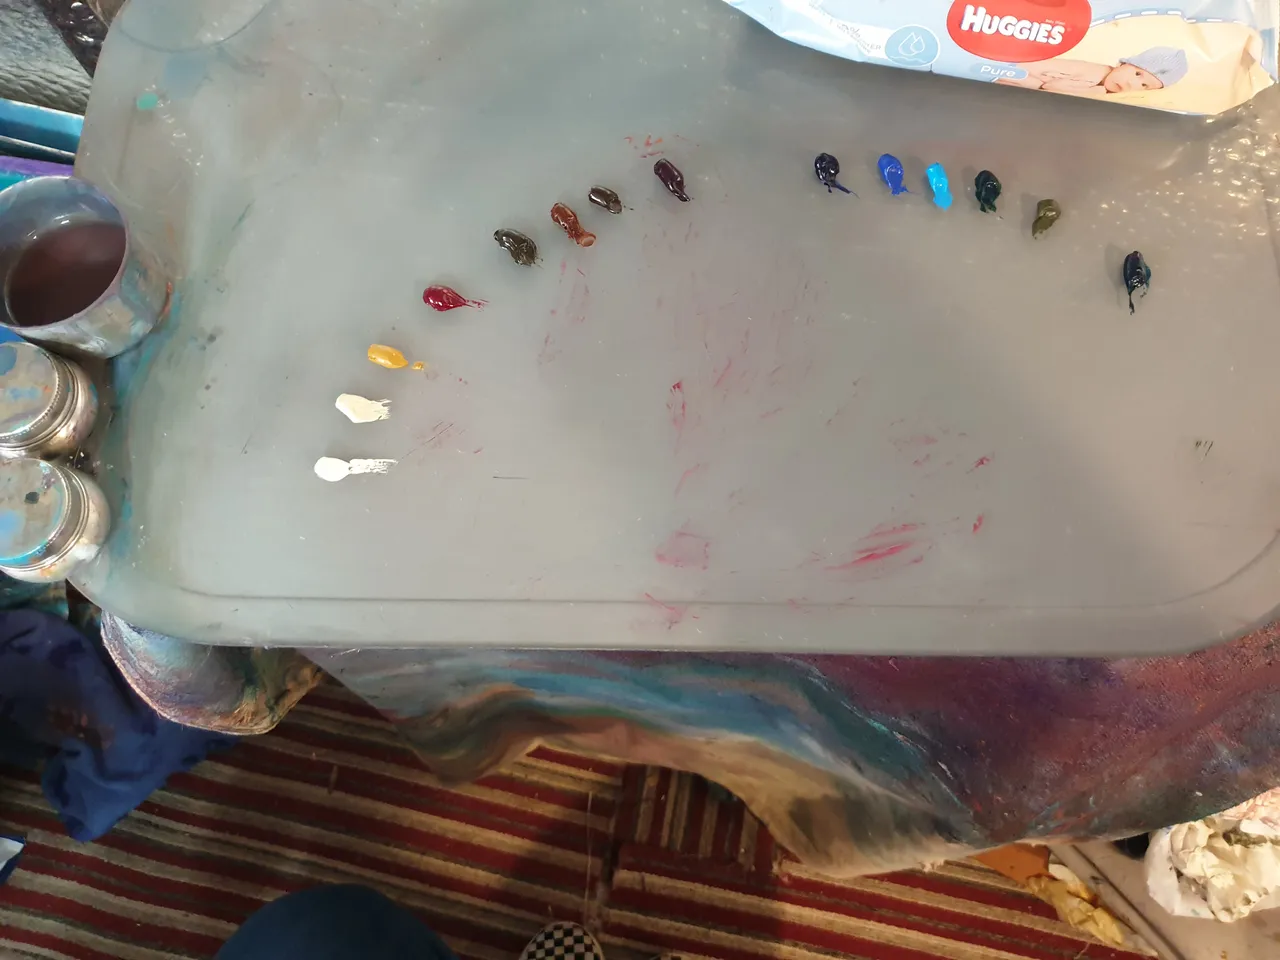
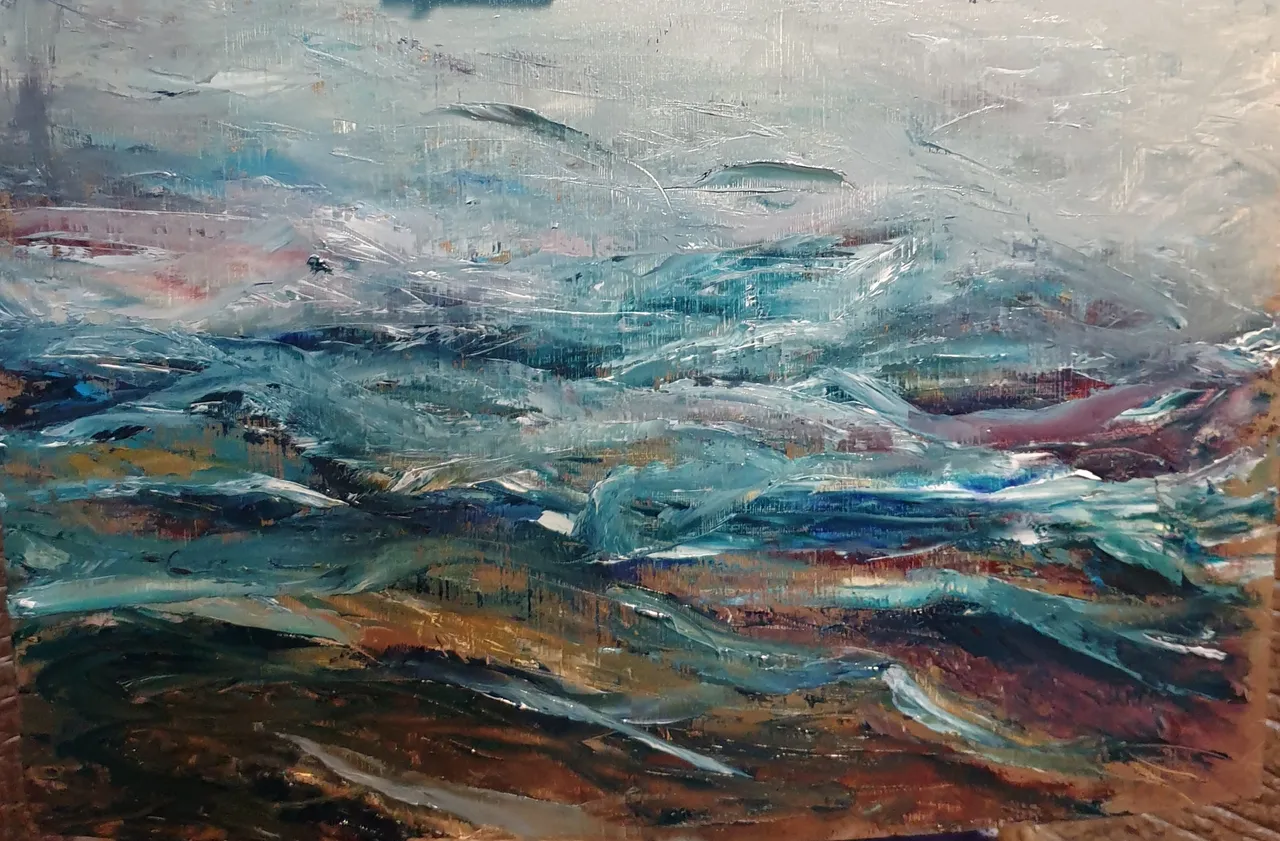
I am currently working on a series of different types of water pictures and will be posting clips showing the basic process I use when creating each picture. As I'm sure you will understand, as an oil painter I have to have several pictures running in the studio at the same time as I like to let layers dry and then paint with glazes or pallet knives to get texture or sometimes both. These processes can sometimes take up to a month to complete a painting and therefore although I'm concentrating on water effects in my main line of work at the moment the odd picture showing something completely different may be dry at a certain time and therefore will be posted seemingly out of sequence. In this picture I have painted it in two stages to try and get the effect of depth in my waves. I used a pallette knife to place the paint on the canvas and a set of fan brushes for each colour ensuring the fan brush was clean after every stroke. The blending always goes from the lights pionts to the darkest and the blend will generally run in the direction of the wave and away from the light source of the picture in my technique. I usually leave the paint to settle into the canvas for a day or two once complete so I know its not going to sink and need to be touched up... If and when there is an uneven look to the painterly look of the painting a second oiling out process is desirable to even out dry or uneven surface textures. Paint used is Micheal Harding range. I hope you like the picture.