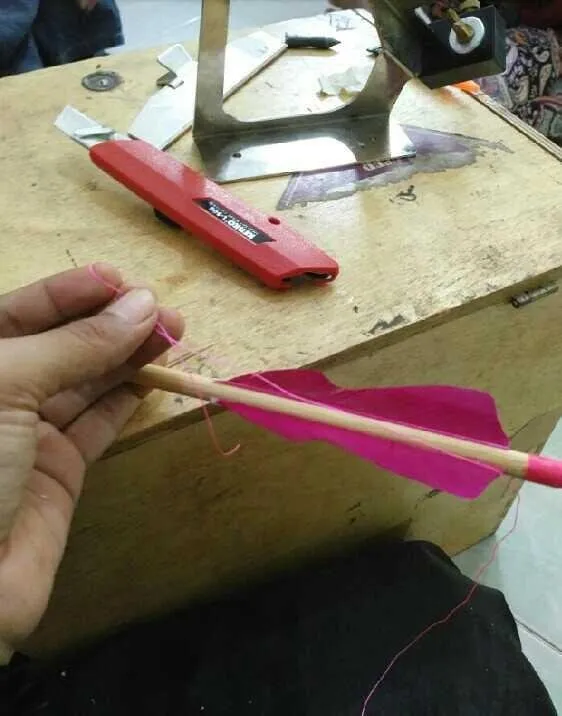
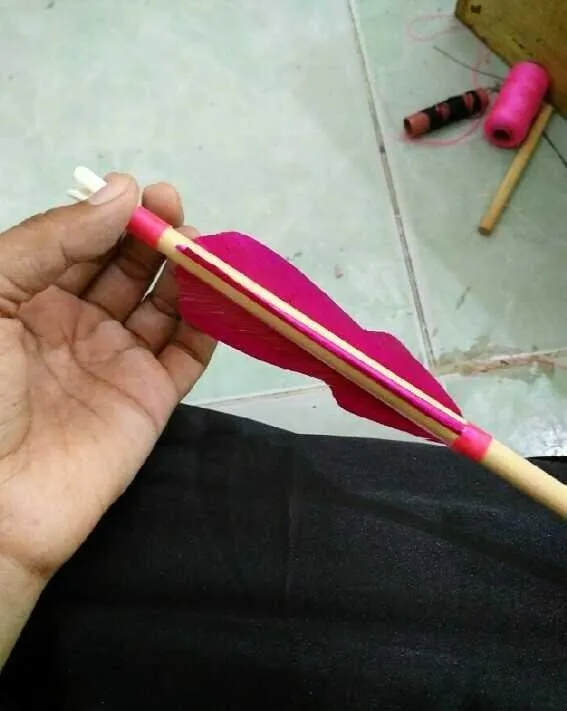
Hi everyone! Today I want to share you how to make a wooden arrow manually. I learned it from my coach at our horseback archery club in Aceh. So I have a ramin shaft and 3 pink feathers for fletching with me. And this time I will make arrows for a horsebow with draw weight 35 lbs @ 28.
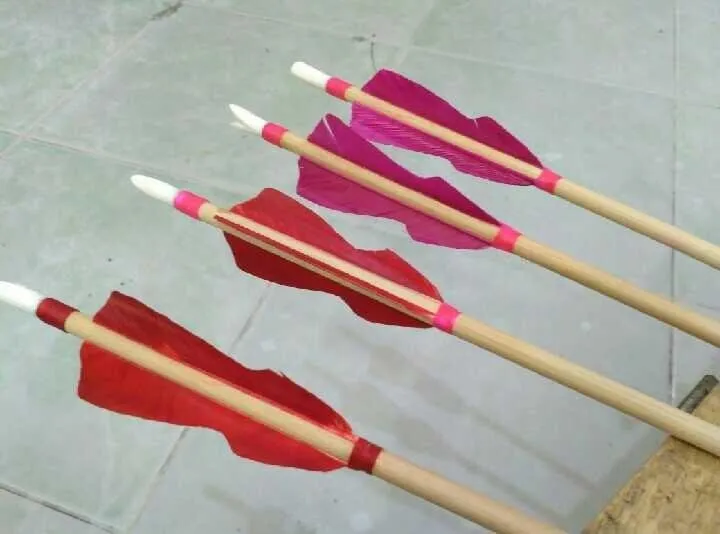
So the first thing we do is find out how much shaft weight and length, find out the GPP (grains per pound), peak poundage so that we can get a good spine. Why should it fit well, because if it doesn't match the specs, it can cause the broken arrow and dry fire, which is an empty pull on the bow that can cause accidents or injury. Dry fire is highly avoided by all archers because it can cause the horsebow break, opened the layer and so on which causes the performance of the bow to be unusable. Moreover, a good bow with lamination, the more expensive of the price of the bow is usually the more spoiled guard. Now with the specifications of the arrow that matches the bow, then that is the advantage that is sought by all archers, the arrow will accelerate steadily and right towards the target.
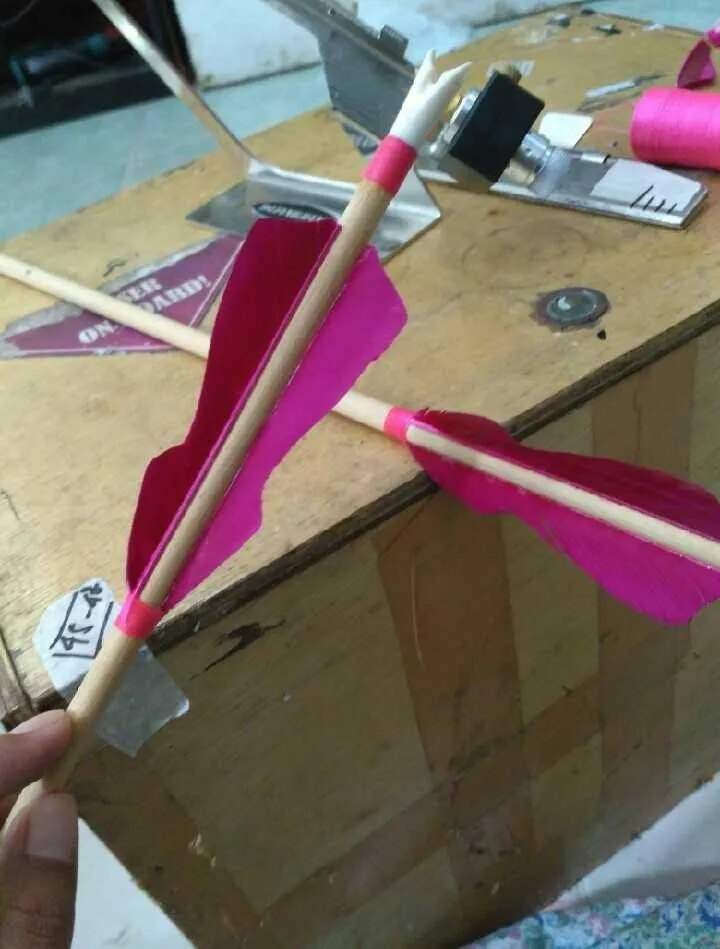
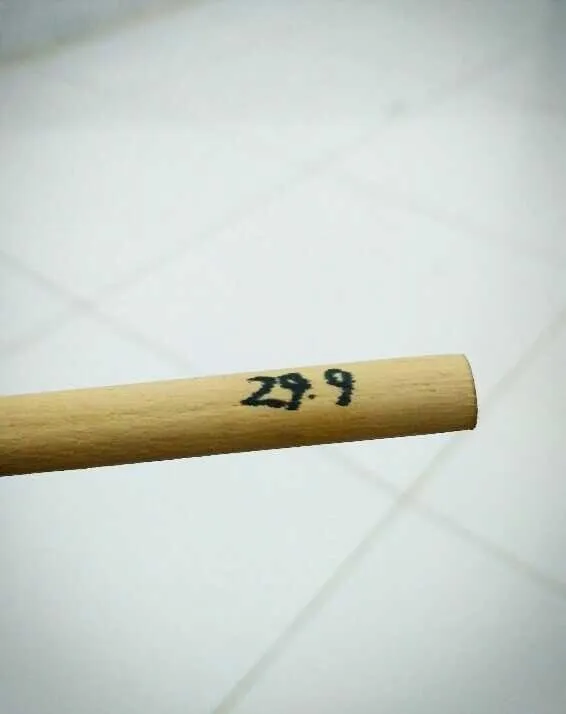
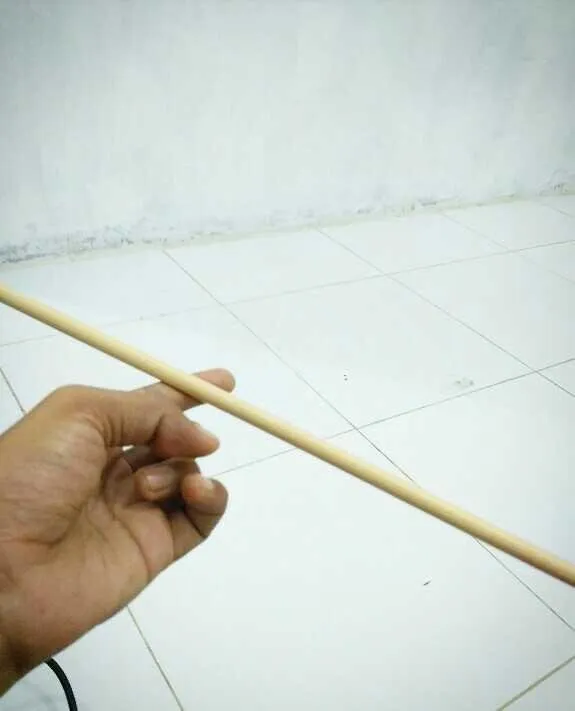
The first step is when you have got the appropriate shaft, then we will look for the heavy end of the falling stick on which side. So when it is later shooted it has a good falling direction. The trick is to weigh it right in the center of the shaft, you can also use a pen, we see which side the weight is good, then the tip of the shaft is the place to put the arrow point. While the other side is to put nocking and feathers.
Then, mark it with a circle marker around the shaft by measuring the length of the point, then cut it thin and then streamline it, so that the arrow point fits.
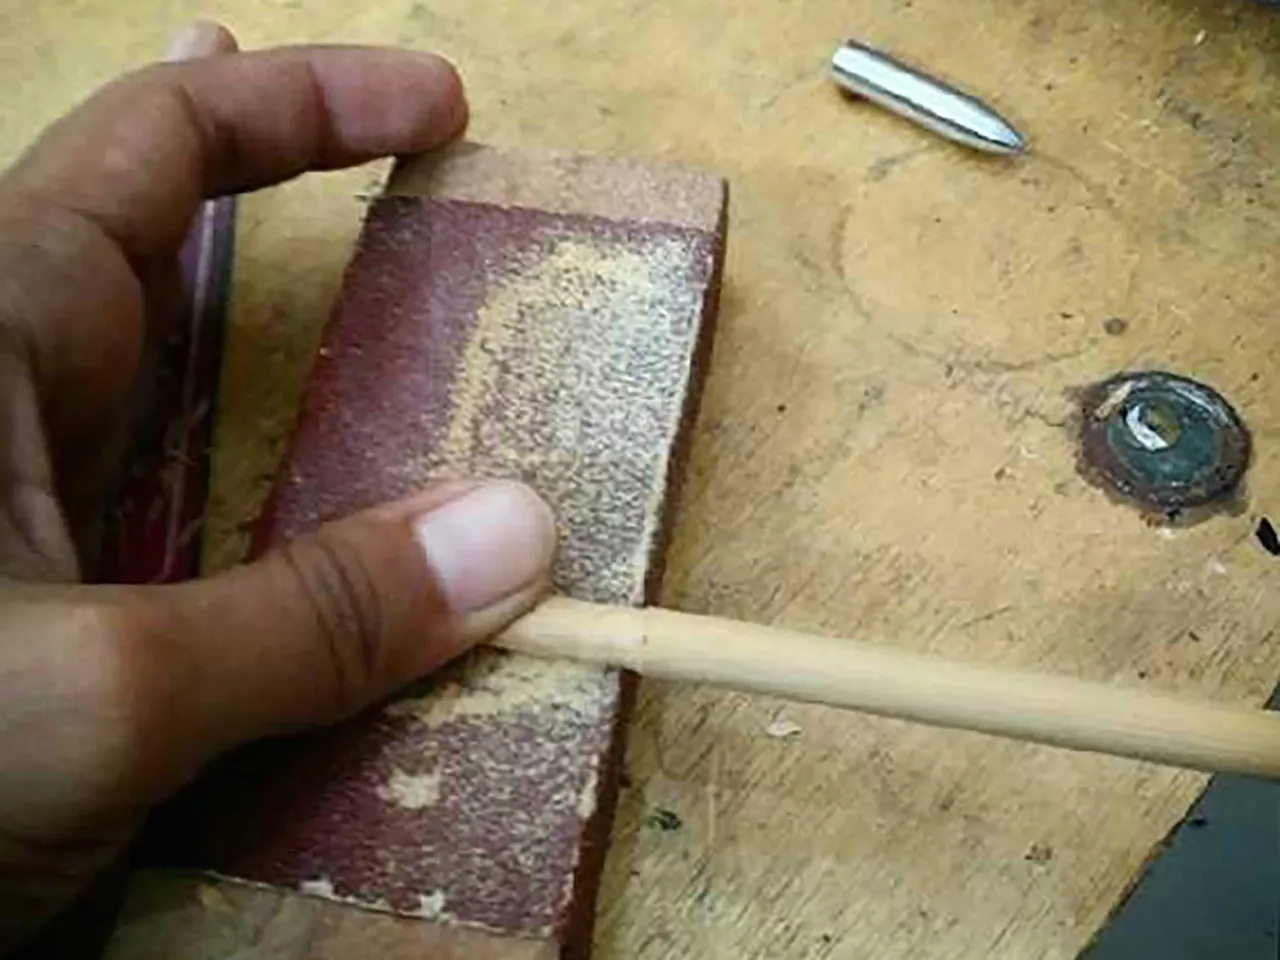
After the shaft has been formed, try installing the point whether it is right or not. Prepare the glue and put it around the shaft, not too much, not too little. After that let stand for a while. after the point is installed we can put it standing on a flat surface like the floor or table to see whether it is straight or not.
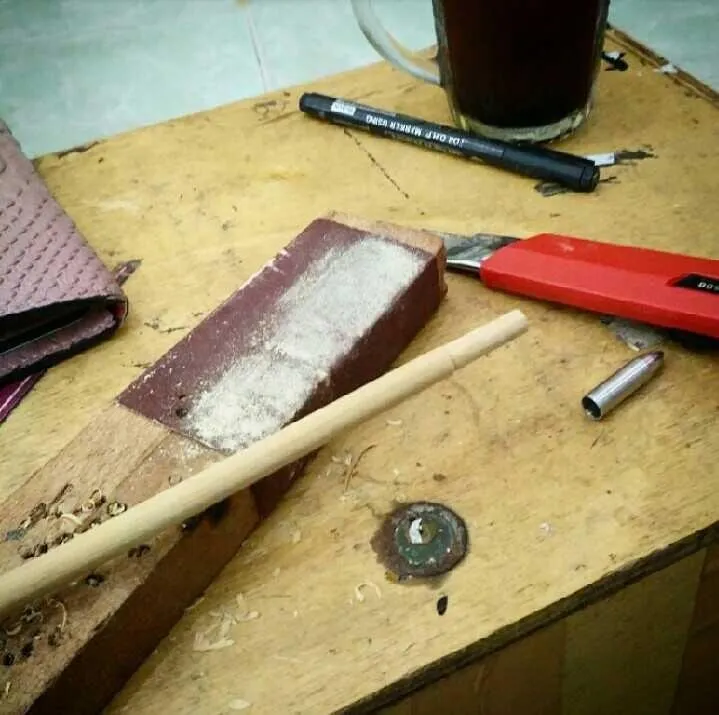
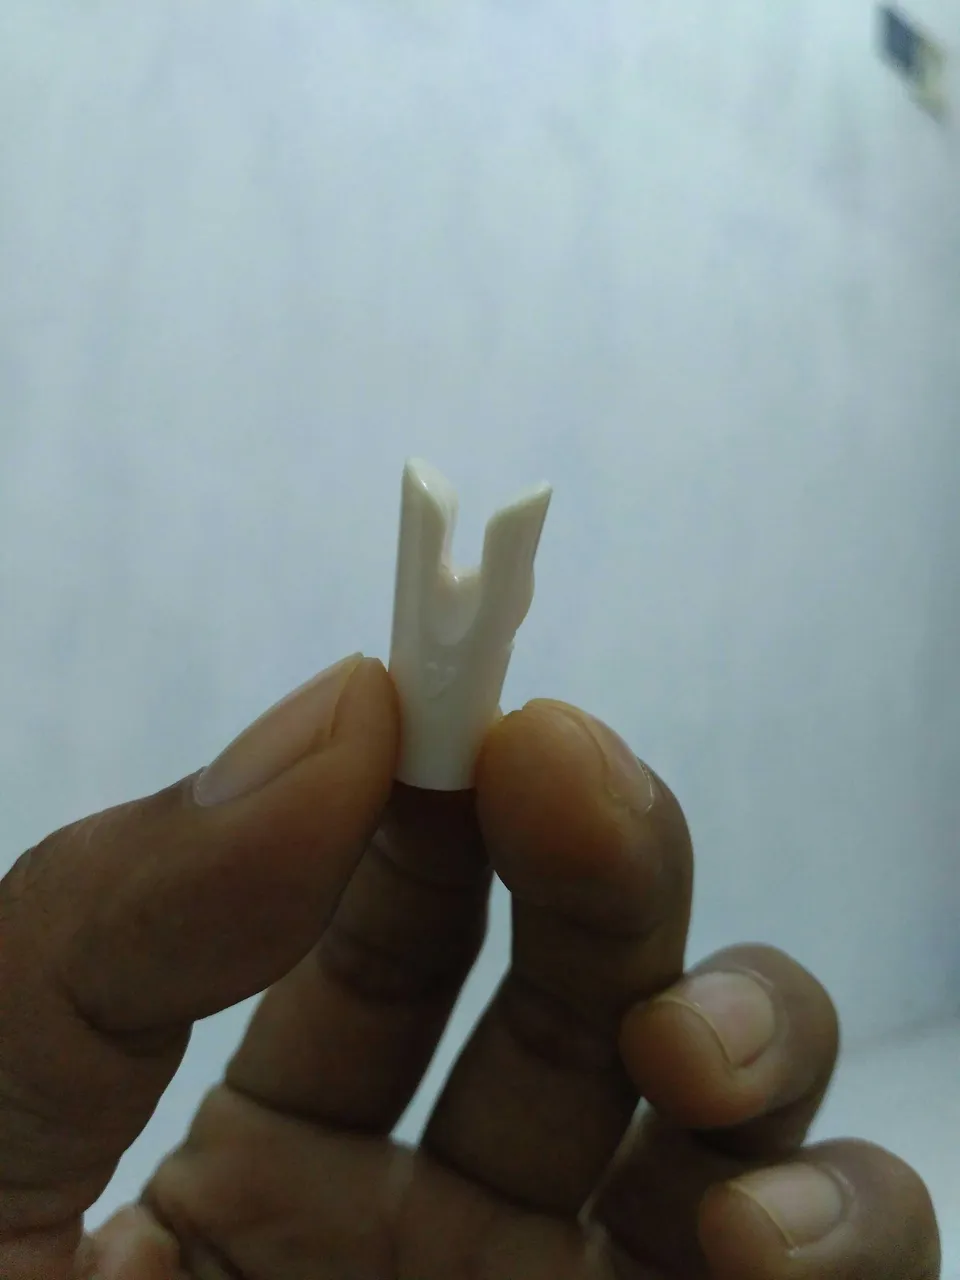
After that, measure the required shaft length of 28 cm. Cut the shaft. And cut the edges a little to place the nock. I use Nock from Vermil. Install it using burn glue too. Well then the shaft that has been attached to the point, the shift can be added with feathers.
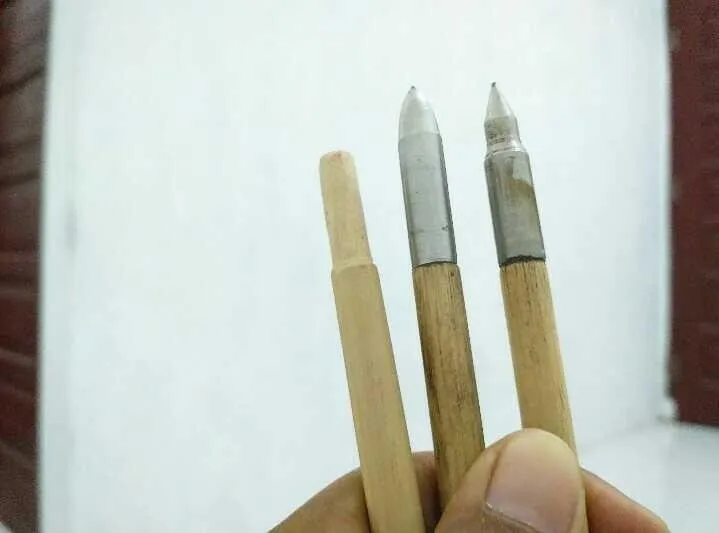
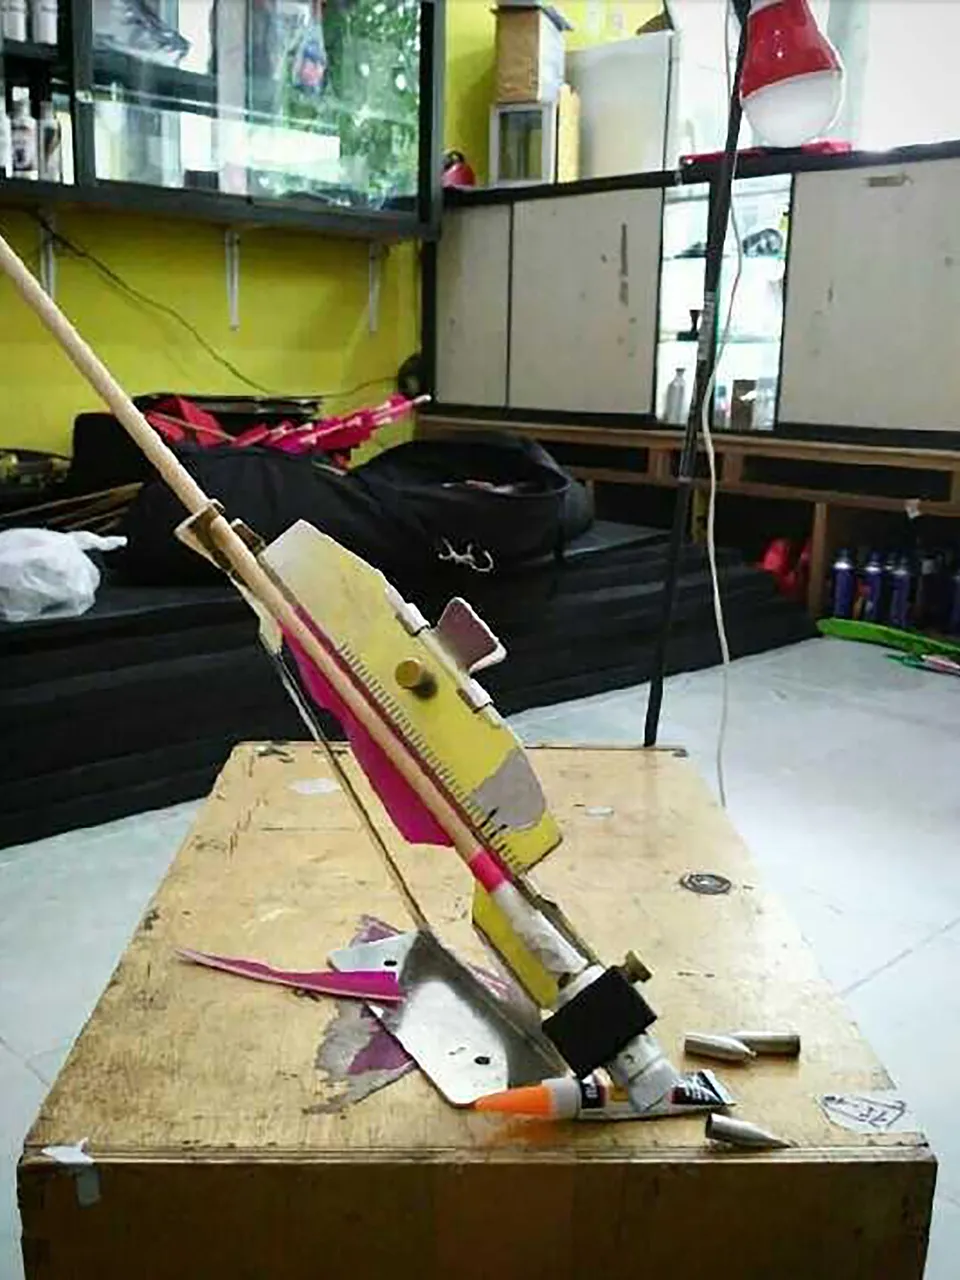
Next we put the shaft into the fletching tool to attach the feathers, take one feather with the inner side given the devil glue, place the feather into a fletching clamp. Place the fletching close to the arrow shaft and wait 1-2 minutes until the glue is firm and dry. Continue until the third feather. Now, after all the feathers are attached, tie them to the legs of the feather with a nylon yarn around 1 cm in length. Glue back to stick to be strong enough. This is the second point of defense after glue, so that the feathers is not easily released.
Cut and clean the nylon that are extended, and recheck try to look between the feathers and the shaft if there is nothing wrong. Now if it's already done, then the ramin wooden arrow is ready for flight testing. : D We see if its fly straightly to the target?
