
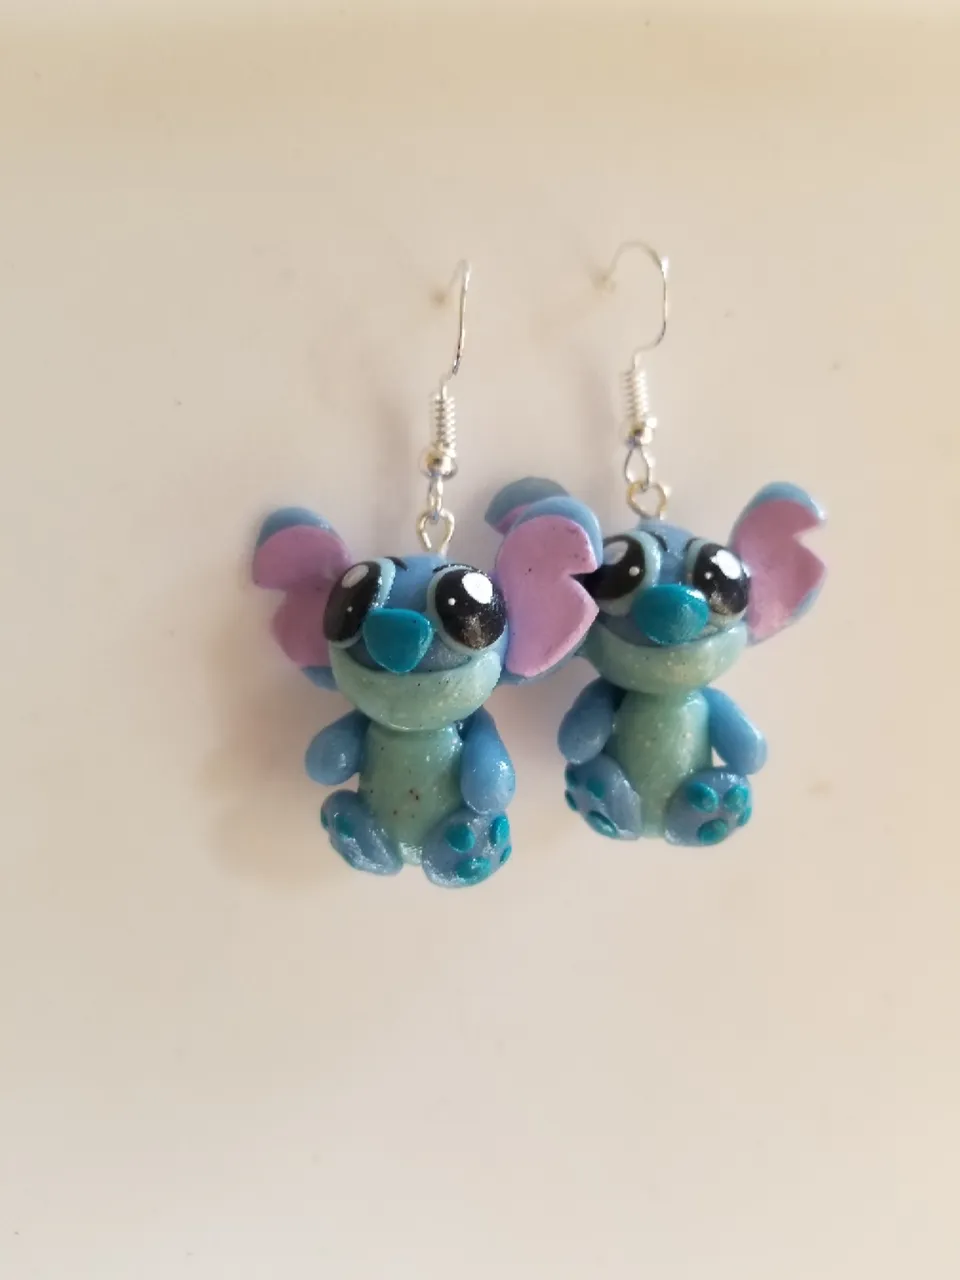
This is the first time im attempting to make these #earrings and took me 2 hours to get together . They are a custom order for a coworker 💙.
100% done by my hands😉.
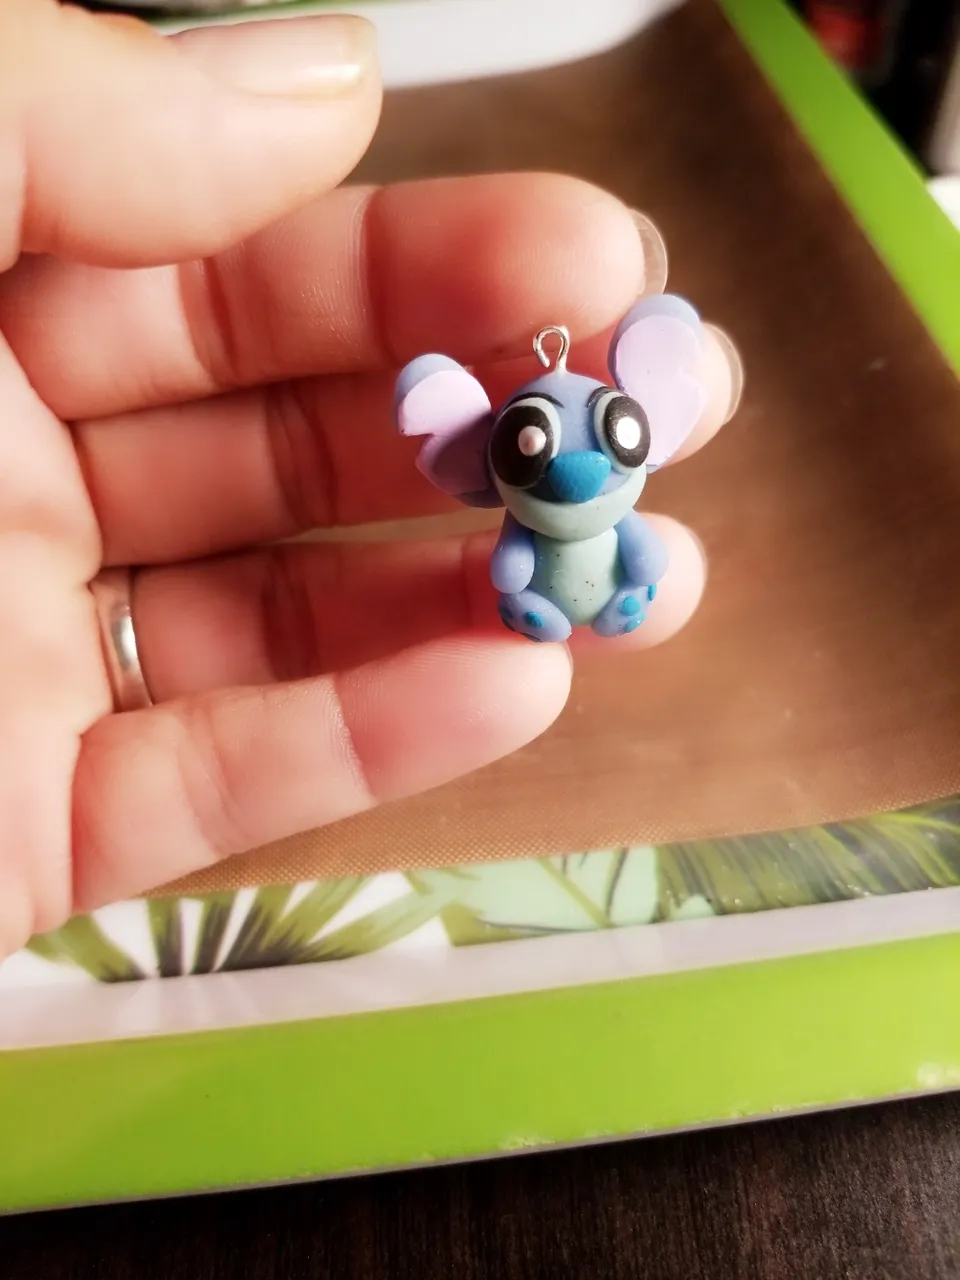
This is how they turned out. Again i used #polymerclay and #sterlingsliver earring hooks to finish them off. I do make and sell all my #jewelry and most of my earrings are $15 USD. Hope you enjoy this #diy 💜
A link to my online store here http://squareup.com/store/maui-seed-jewelry
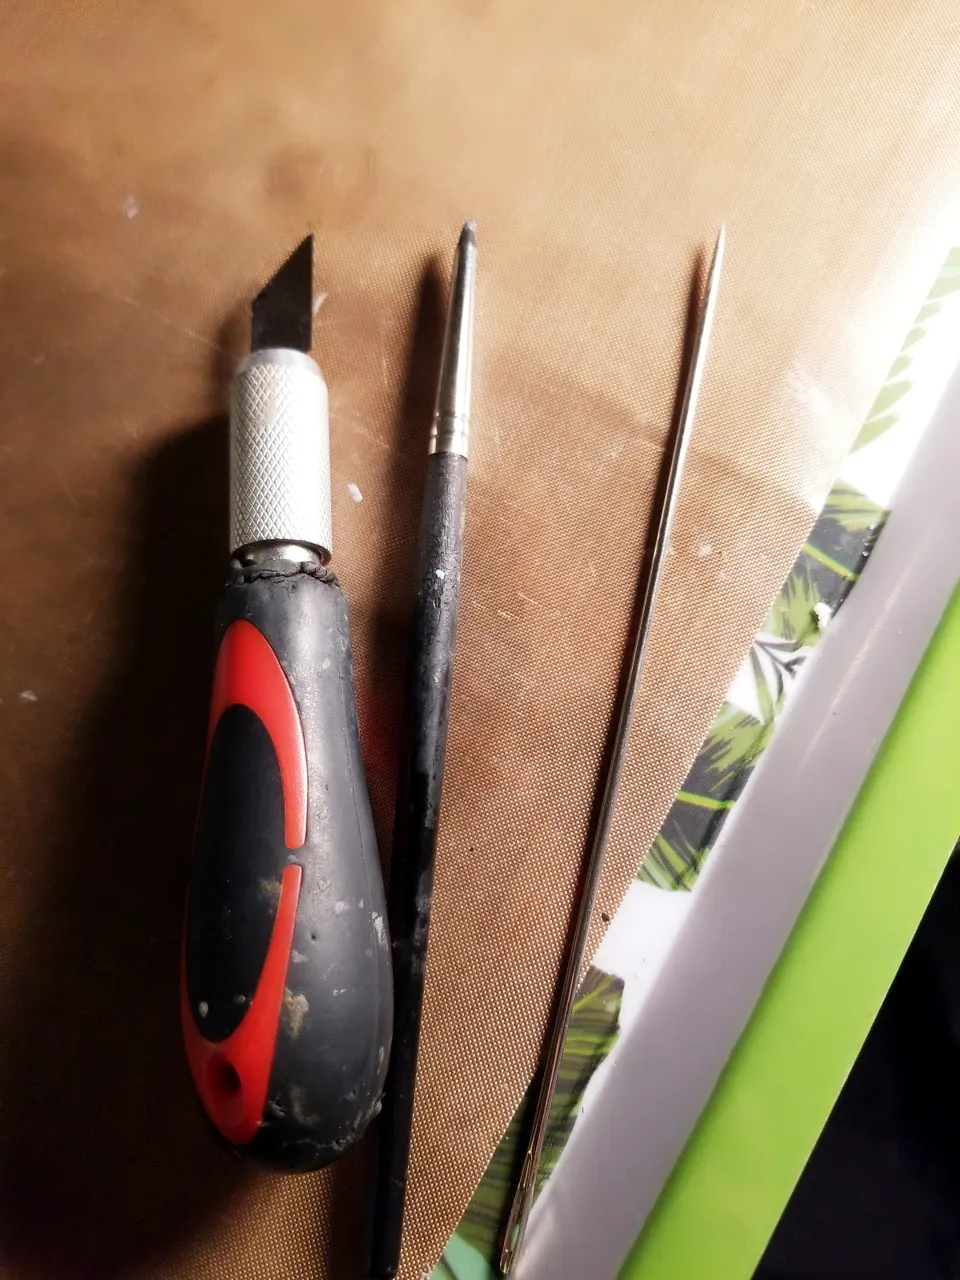
First here is a few things i used to make these.
my tools are simple a needle, knife and rubber tip tool.
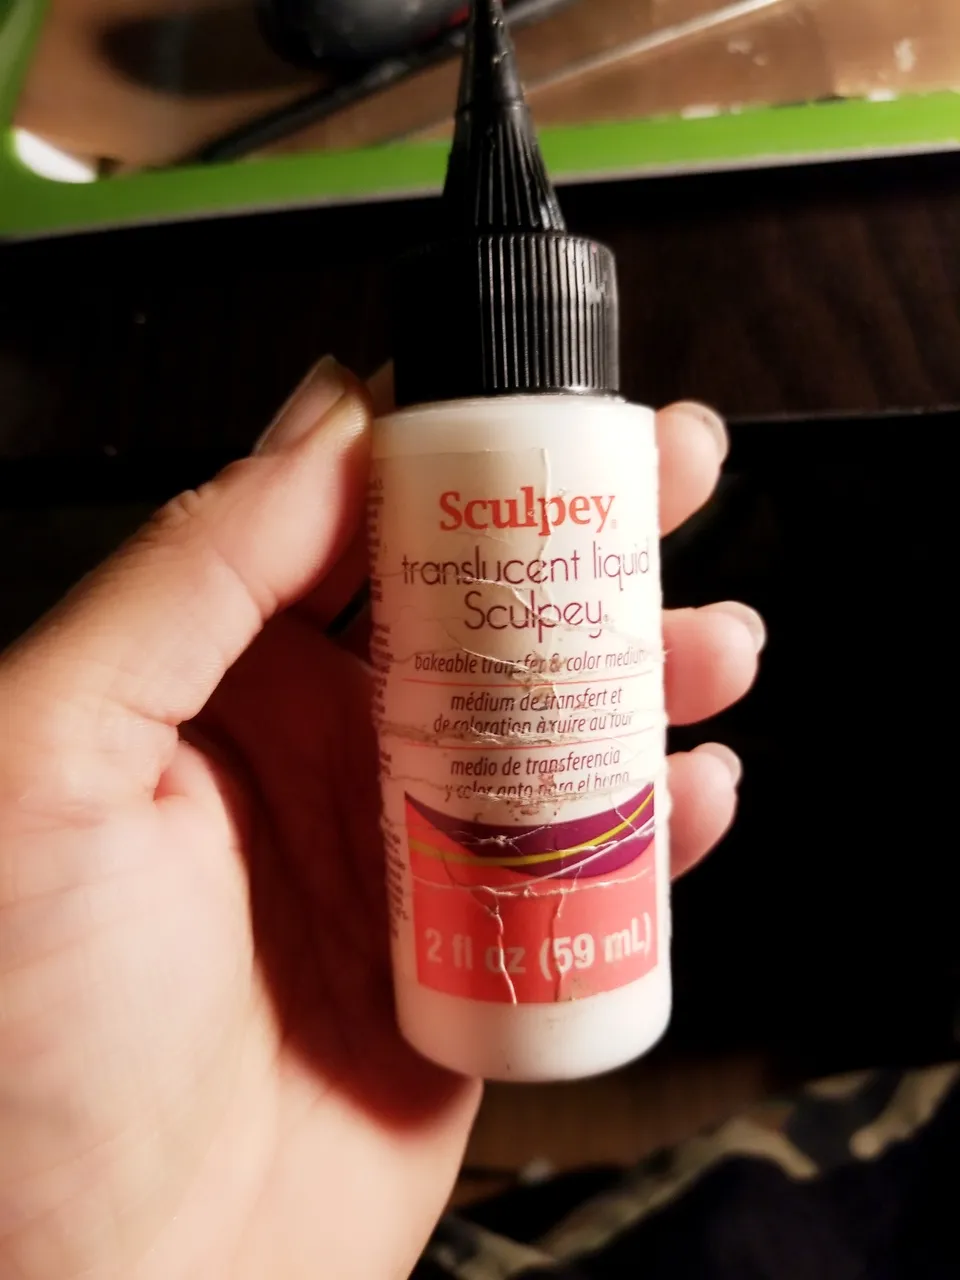
Liquid clay to seal the head pins in and use some around the ears.
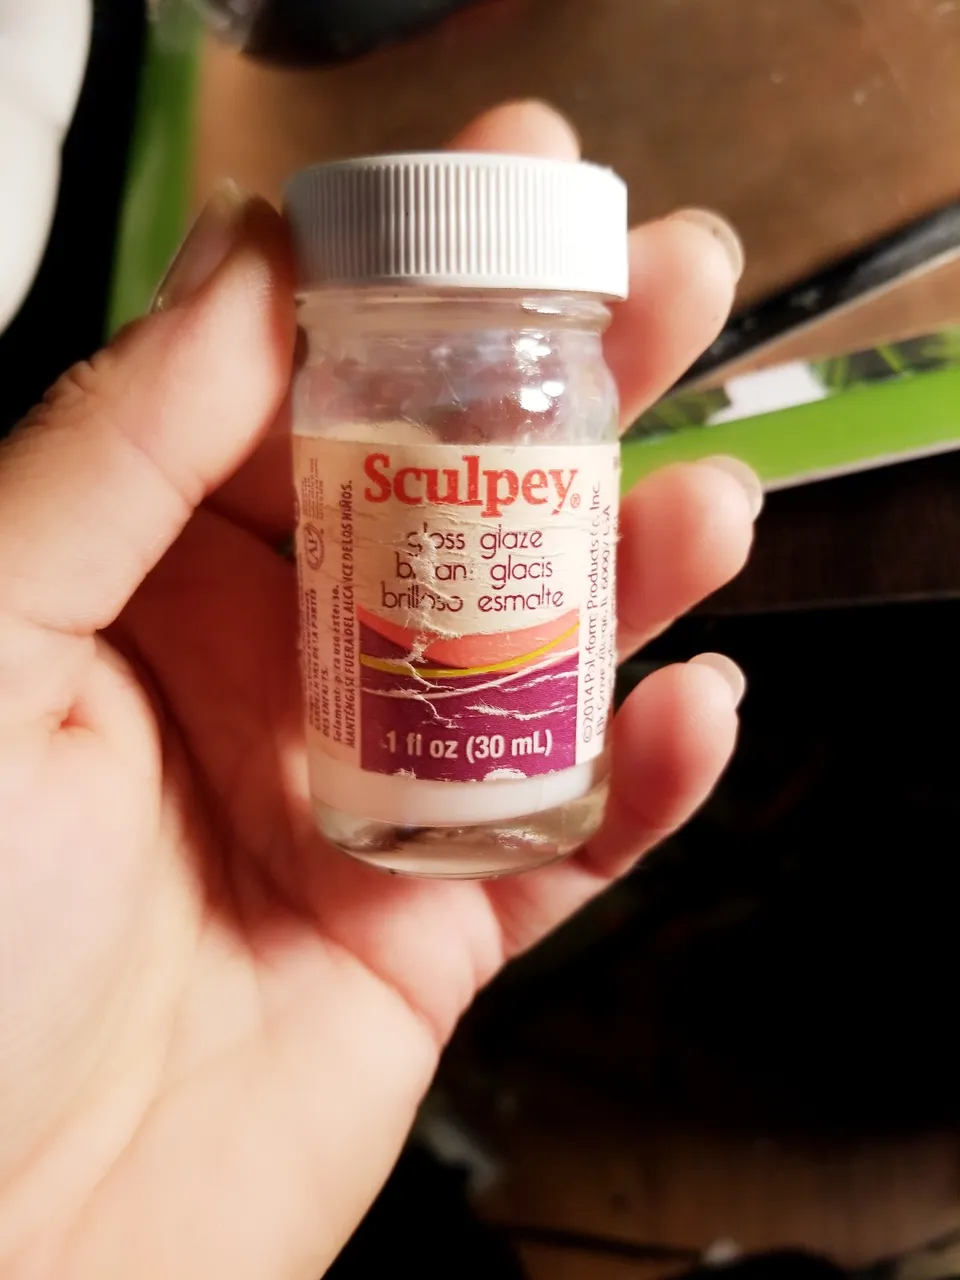
The gloss to make it shine after baking.
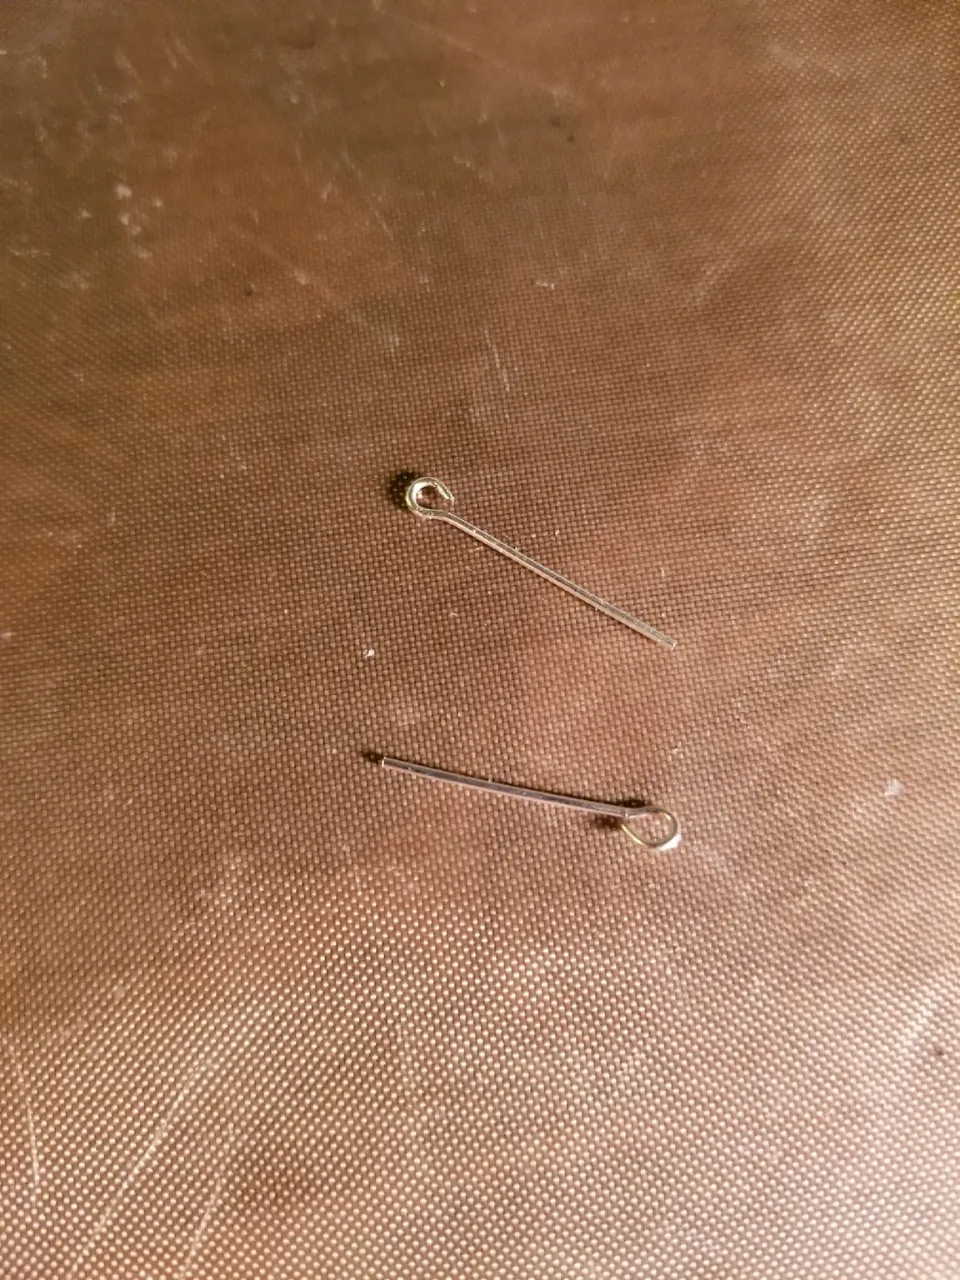
And your head pins
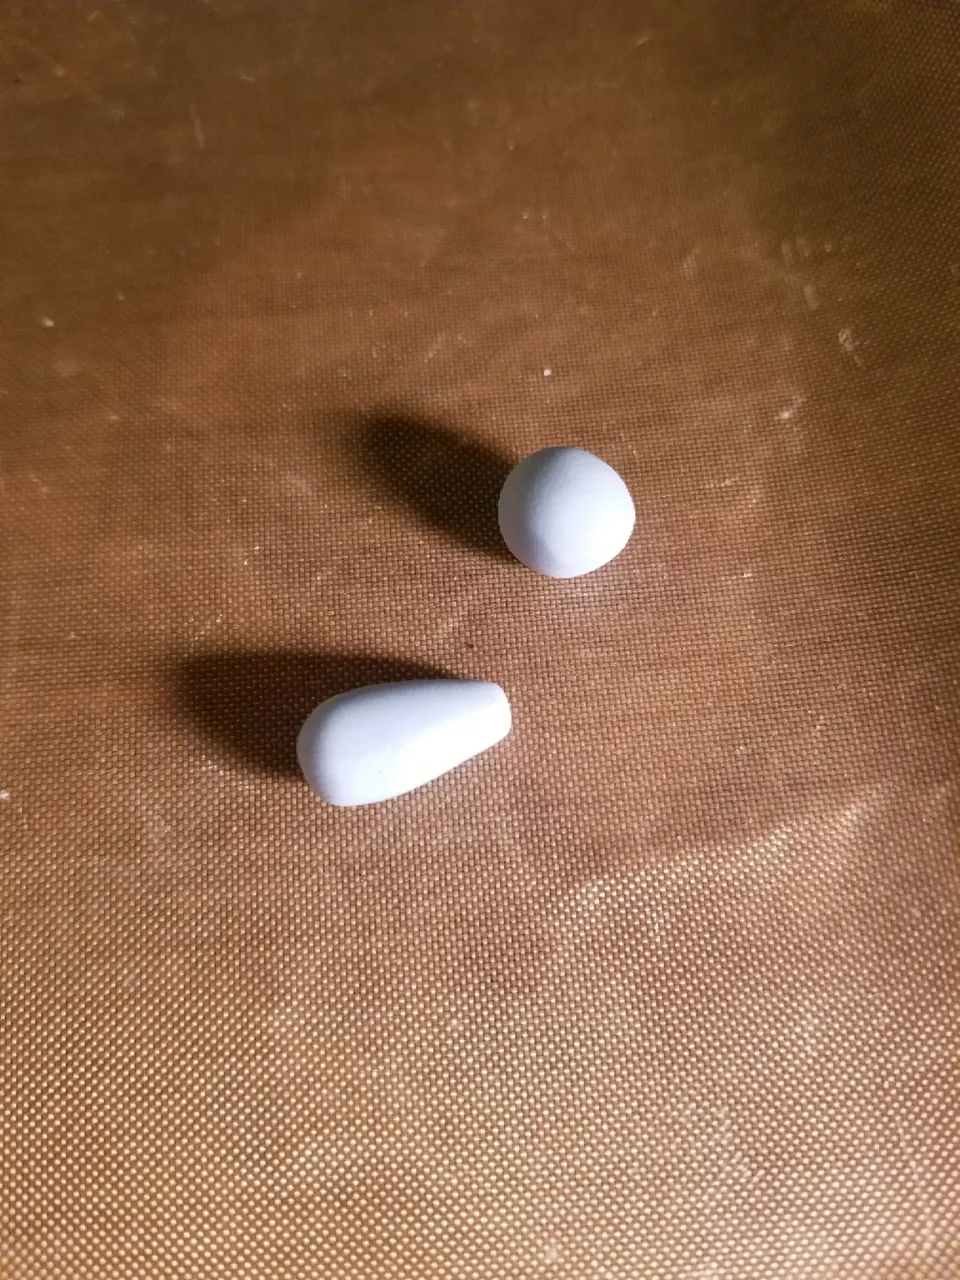
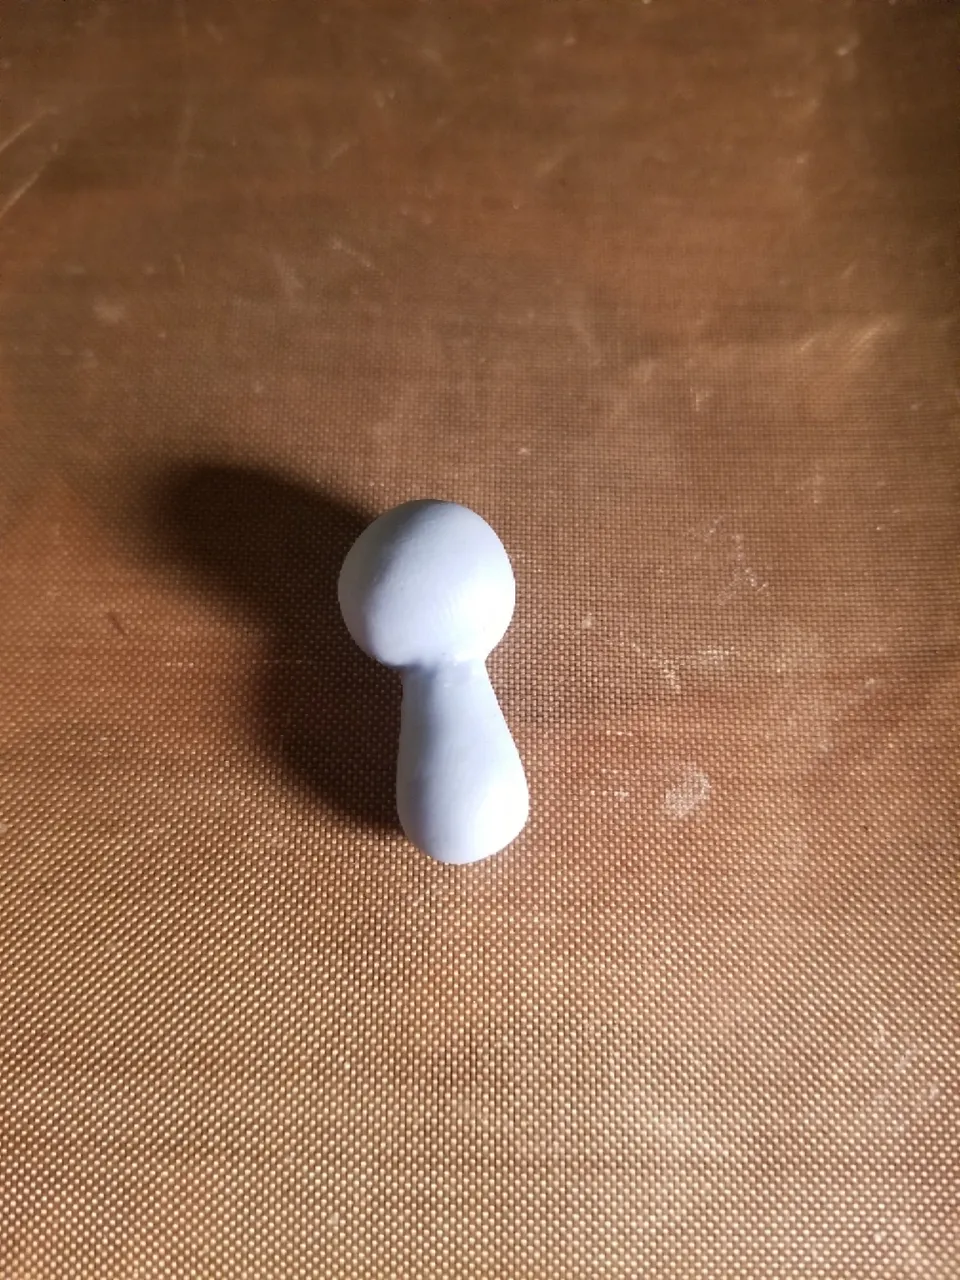
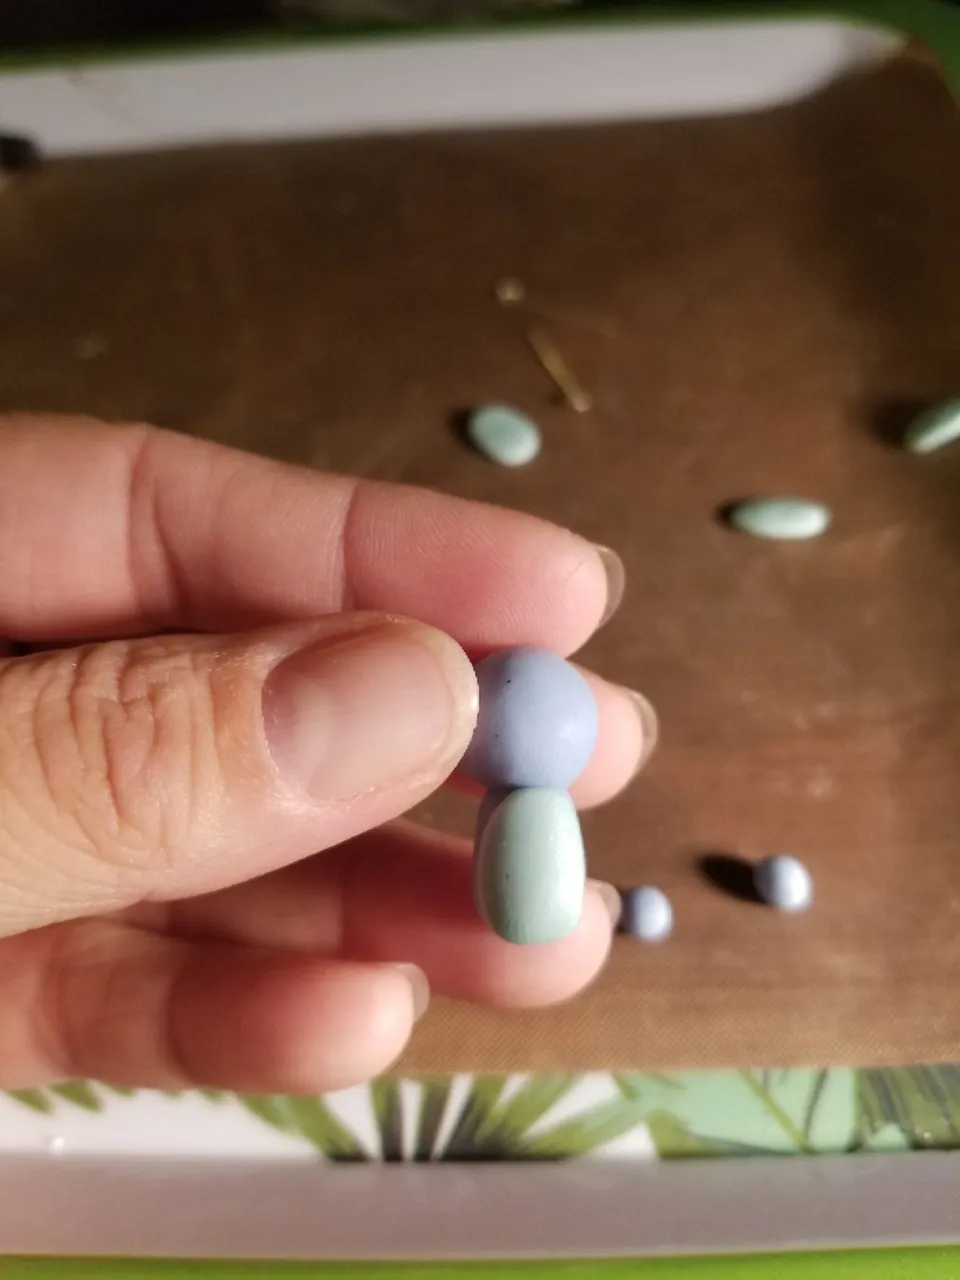
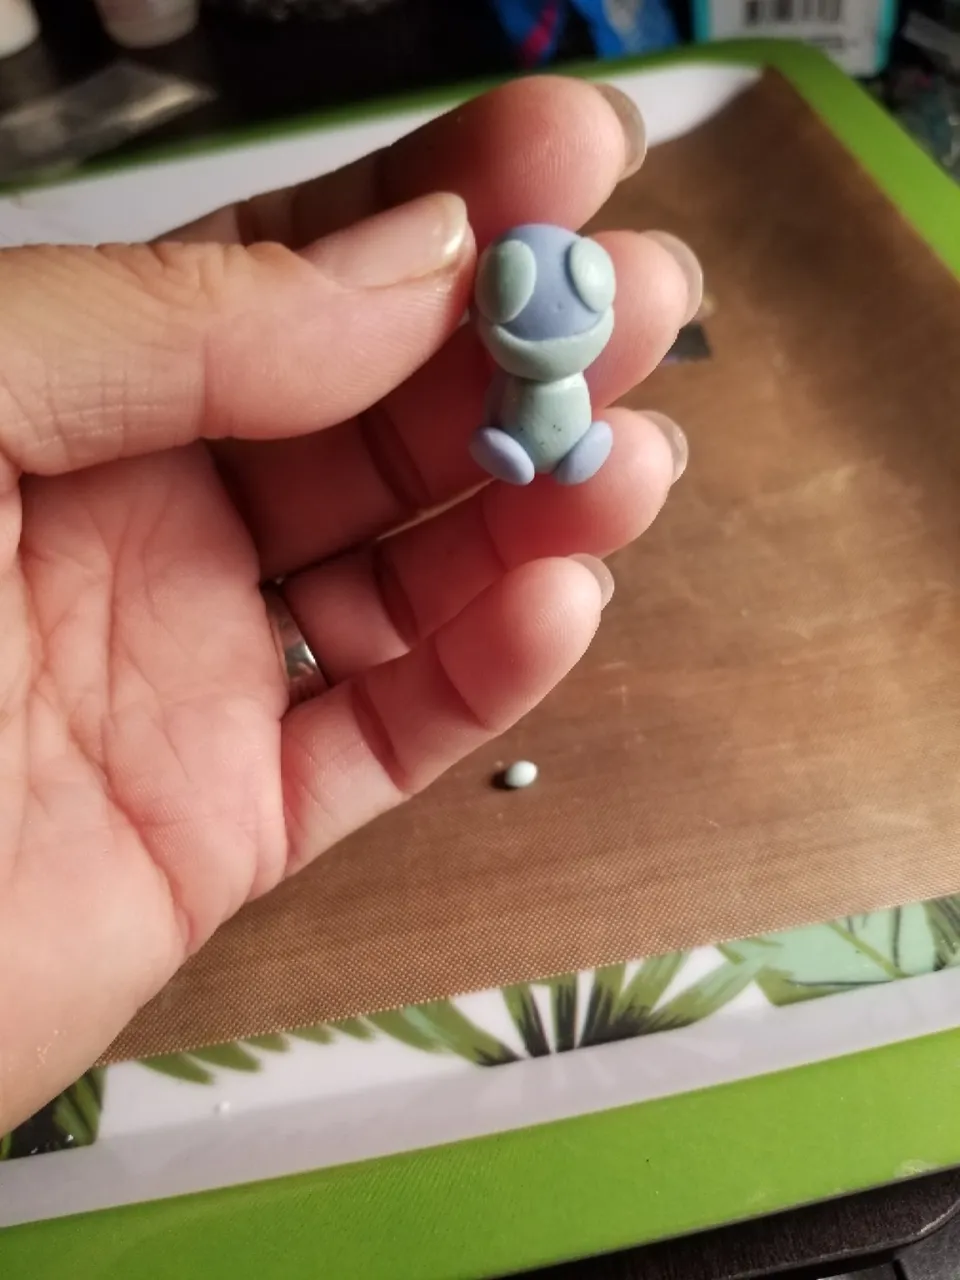
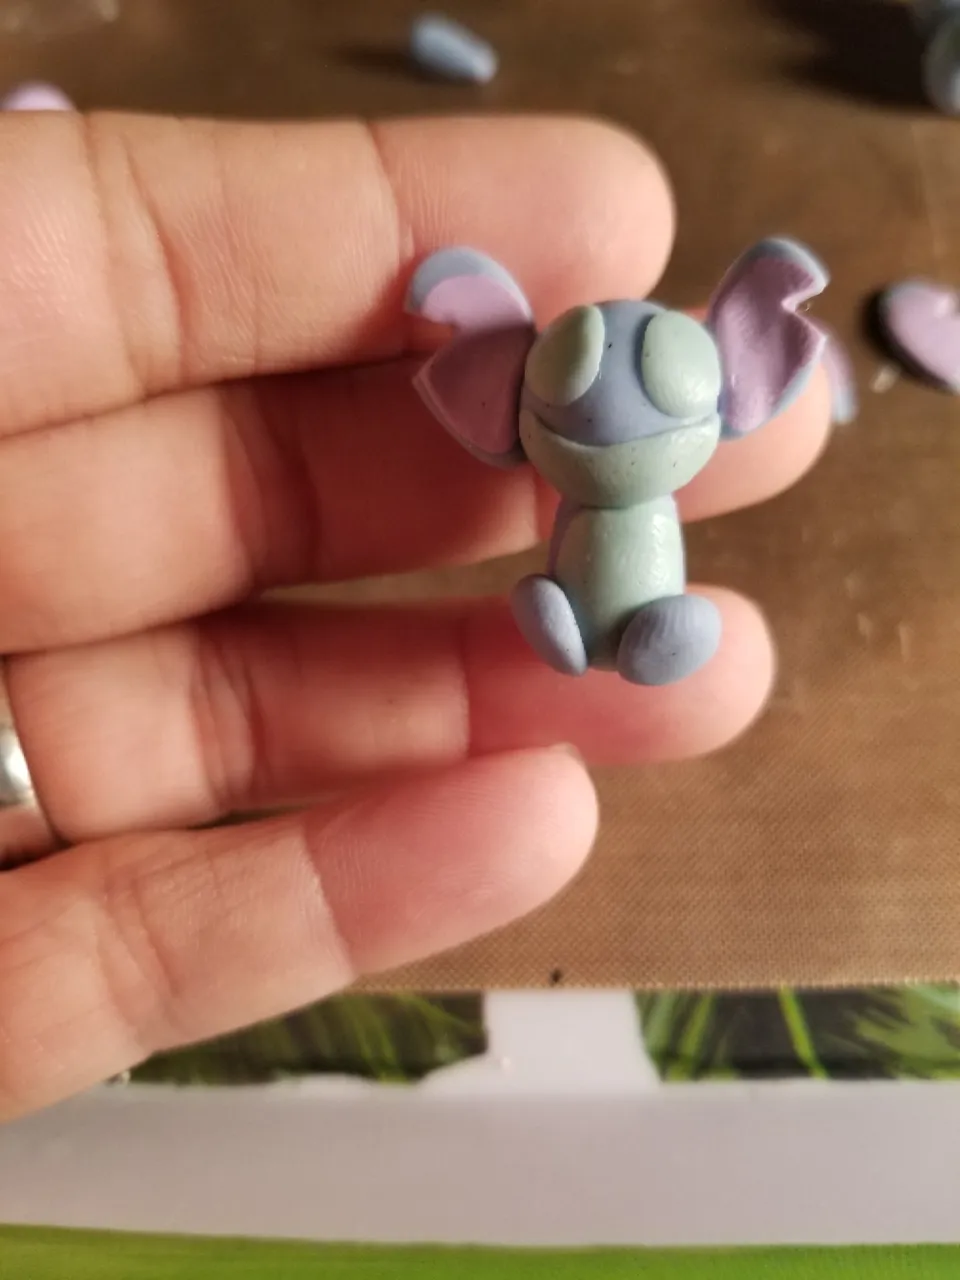
First i started with the head and body. A ball for the head and a tear drop shape for the body.
Attach them.
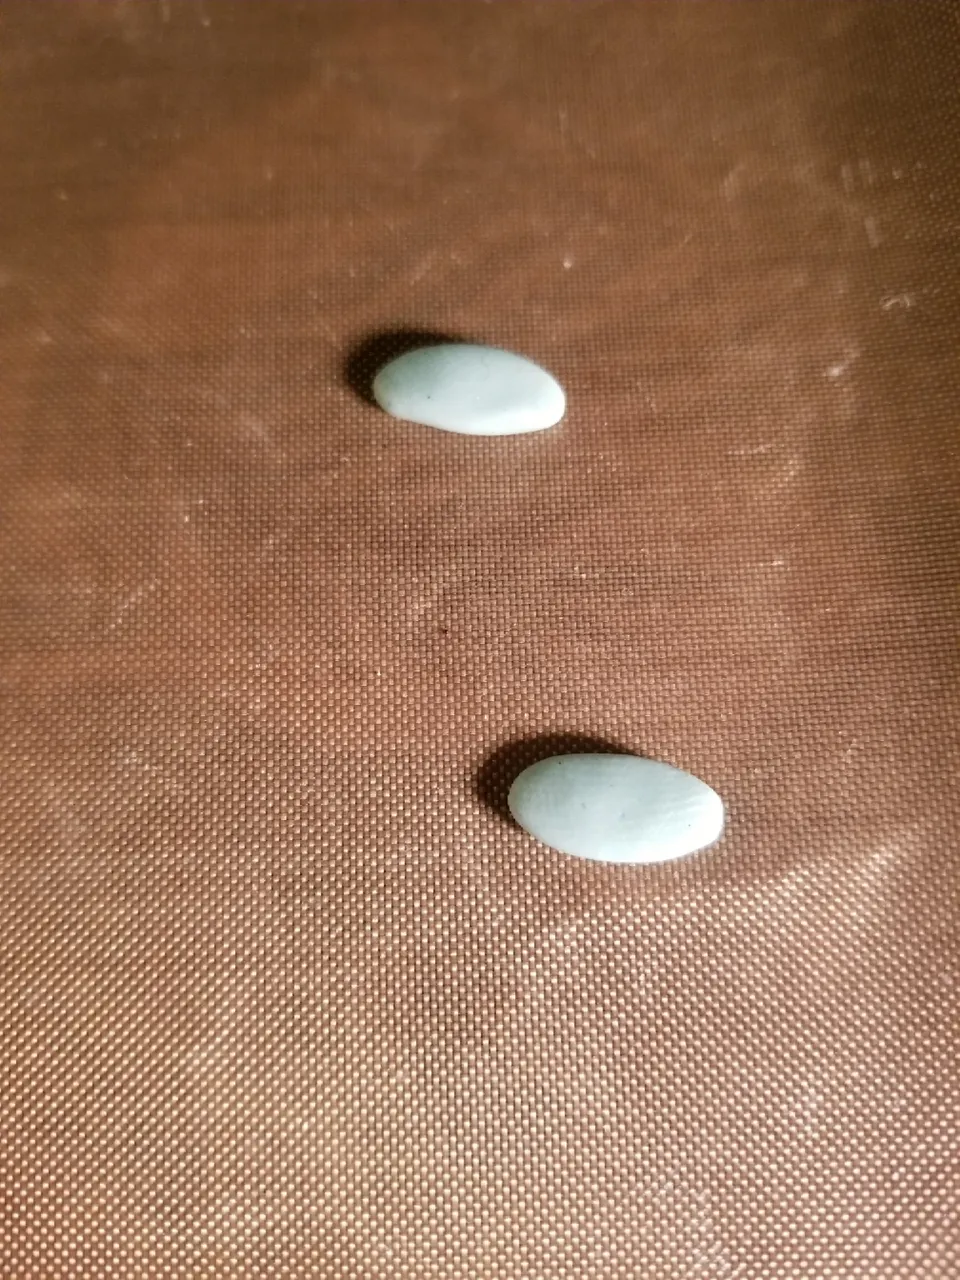
Make a oval of lighter color clay for the belly and flatten it out .
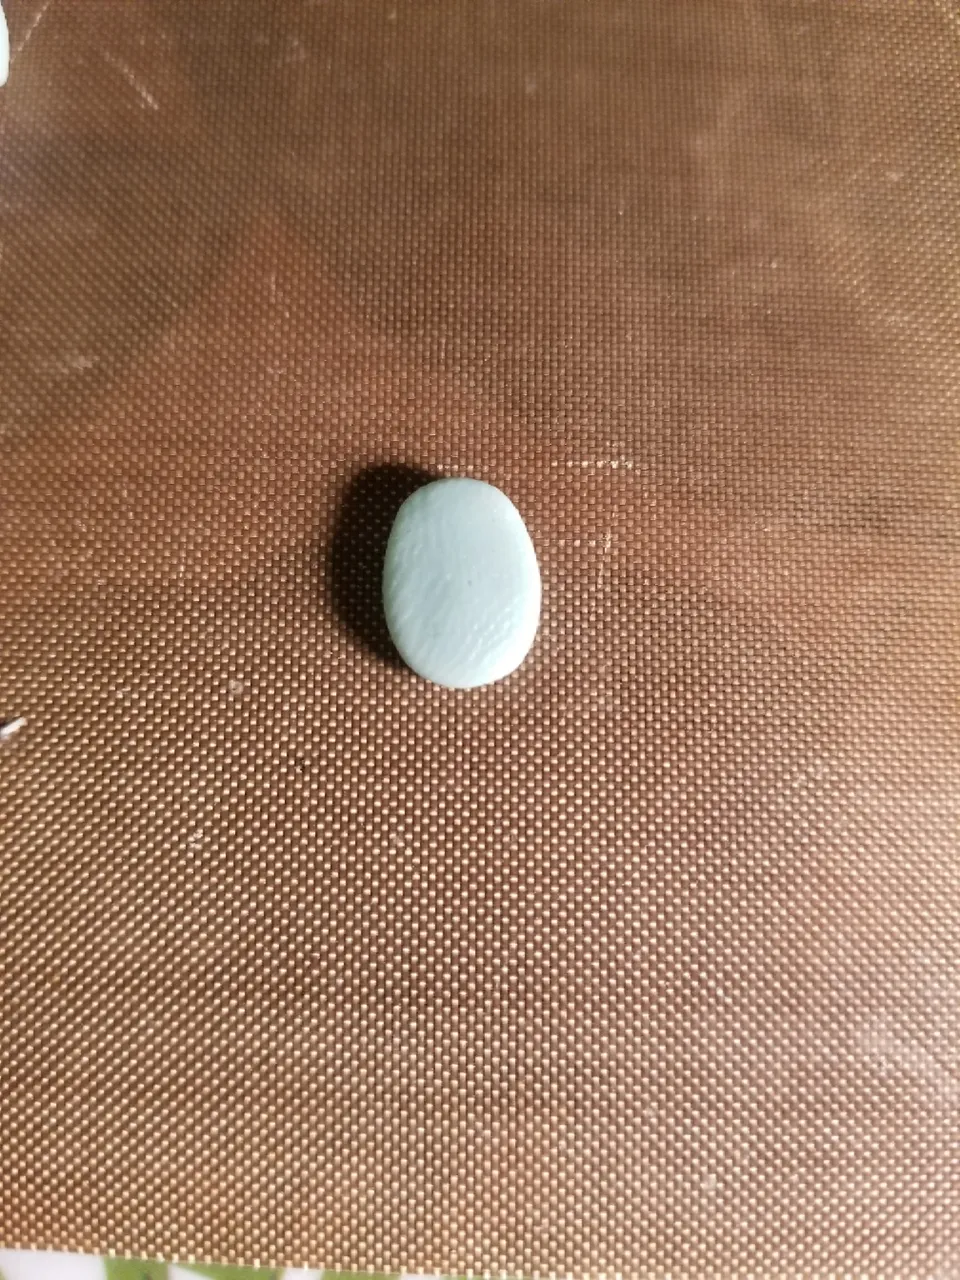
Attach
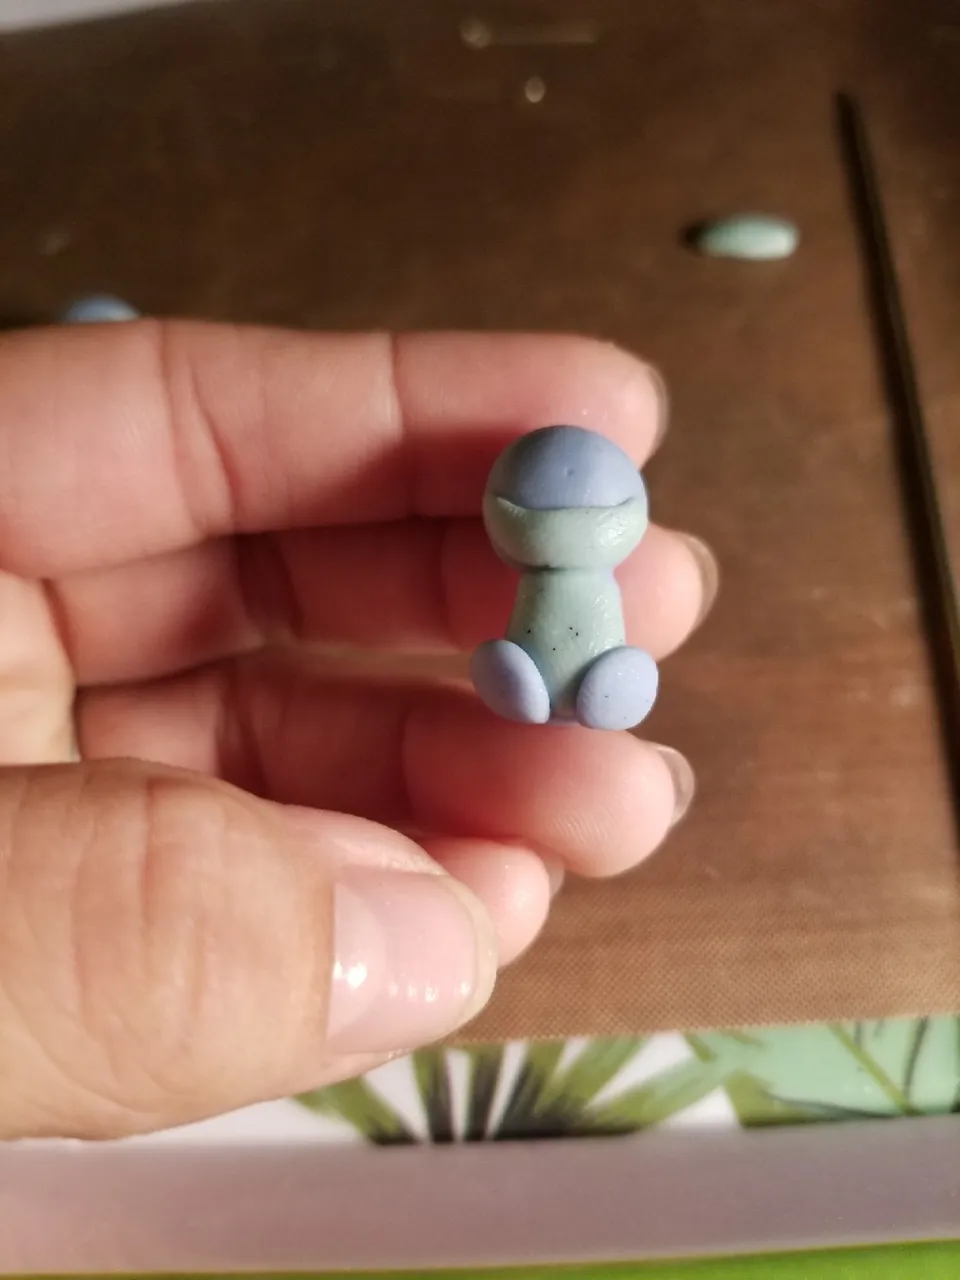
Making the mouth, i made a banana like shape and flatten it out .
Attach and blend into the neck .

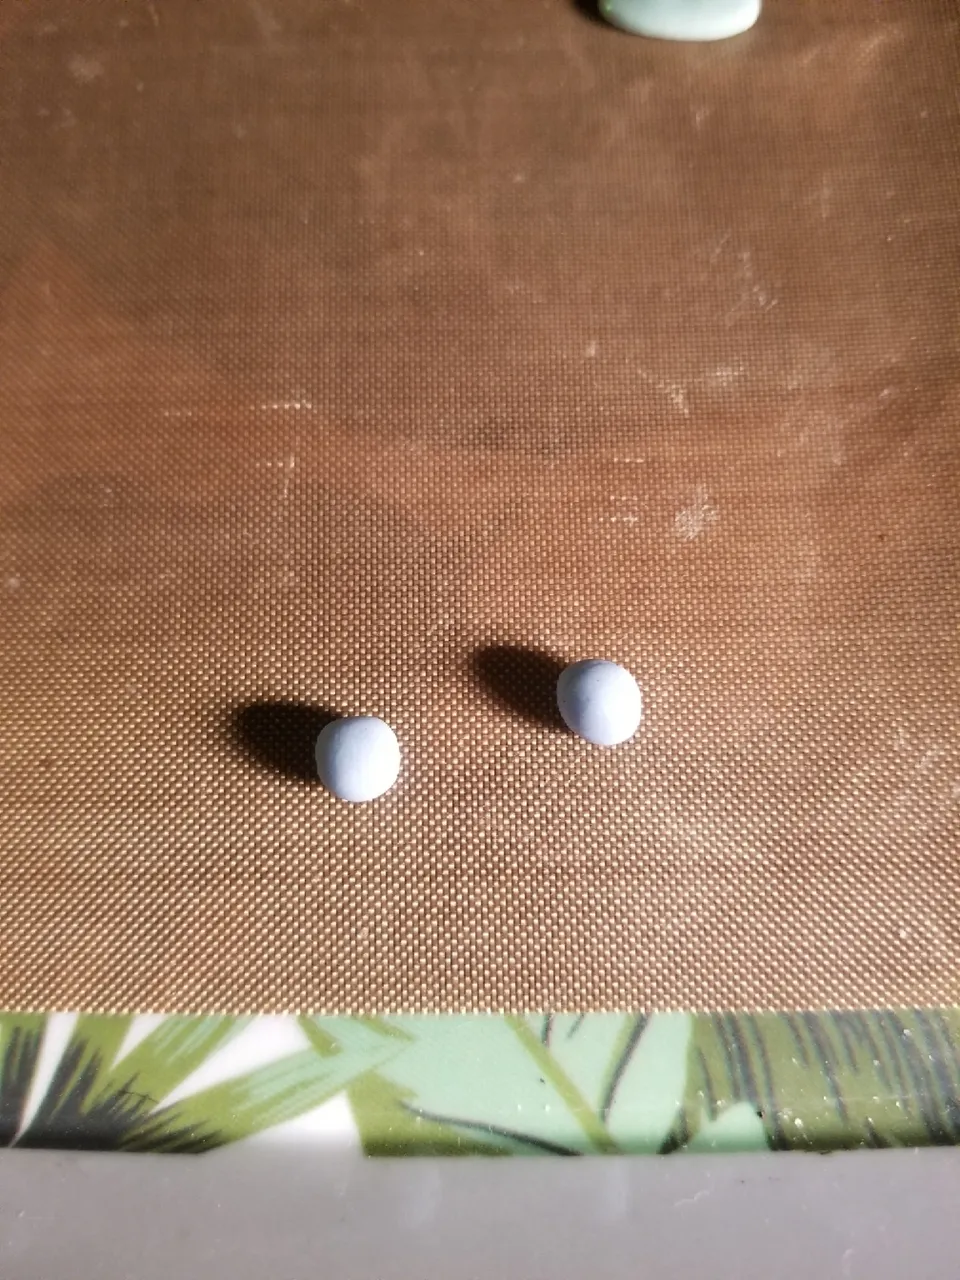
Making the feet is really easy, just two little balls and attach.
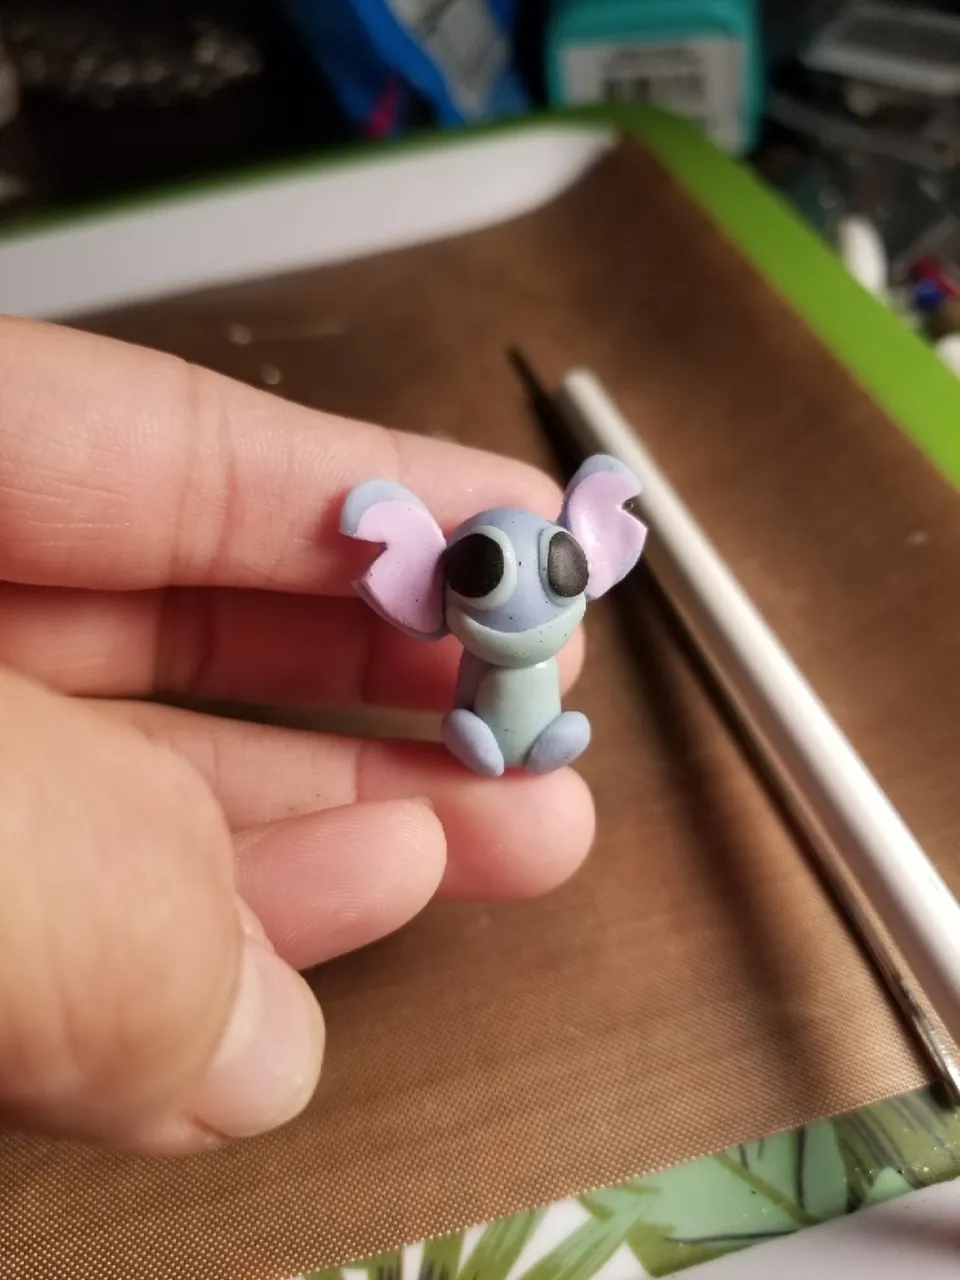
Doing the eyes again two small balls and flatten them, use the same color as the mouth and belly.

Attach
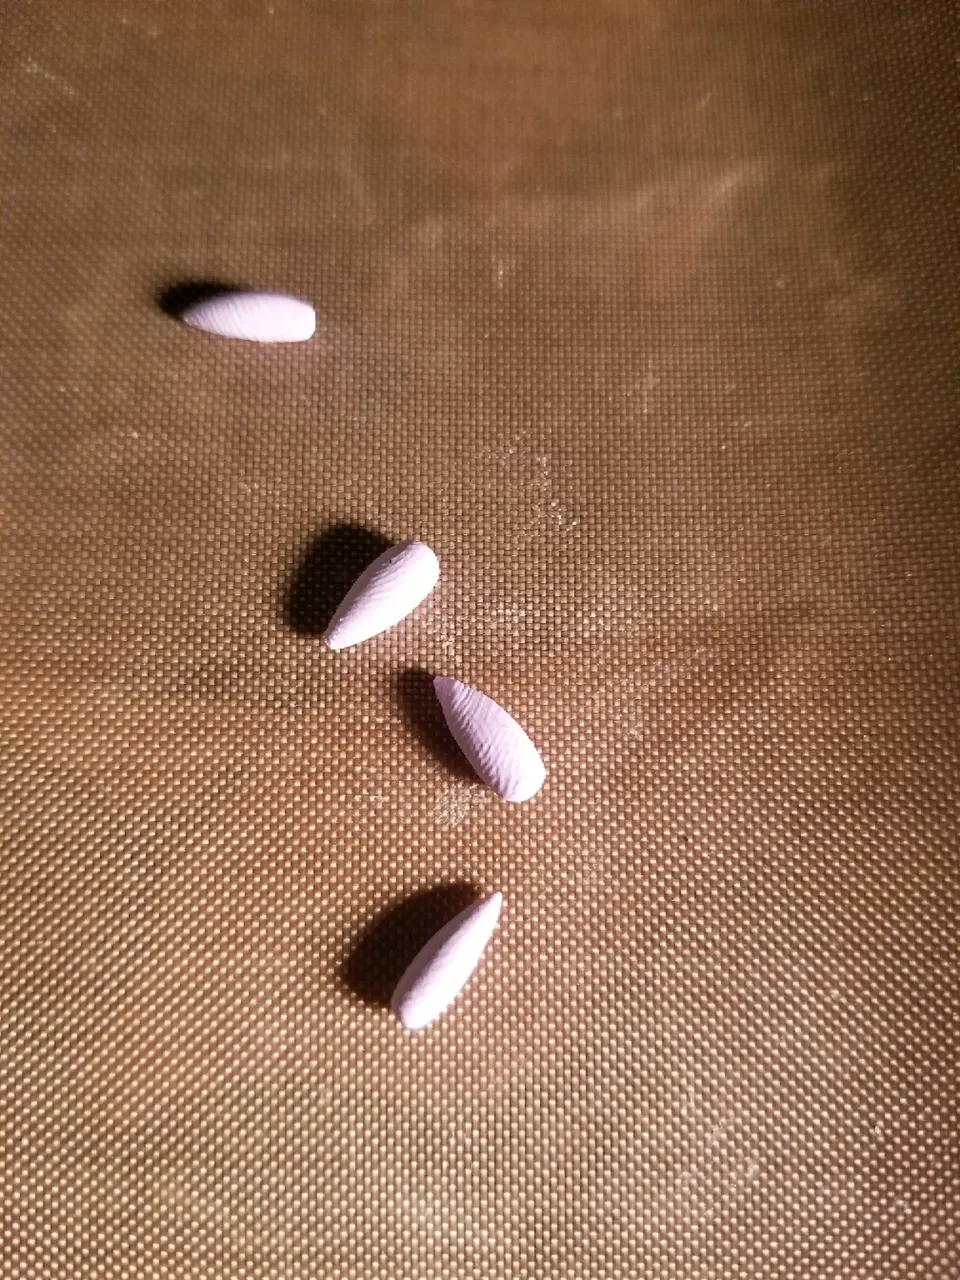
For the arms its just a few small tear drop shapes.
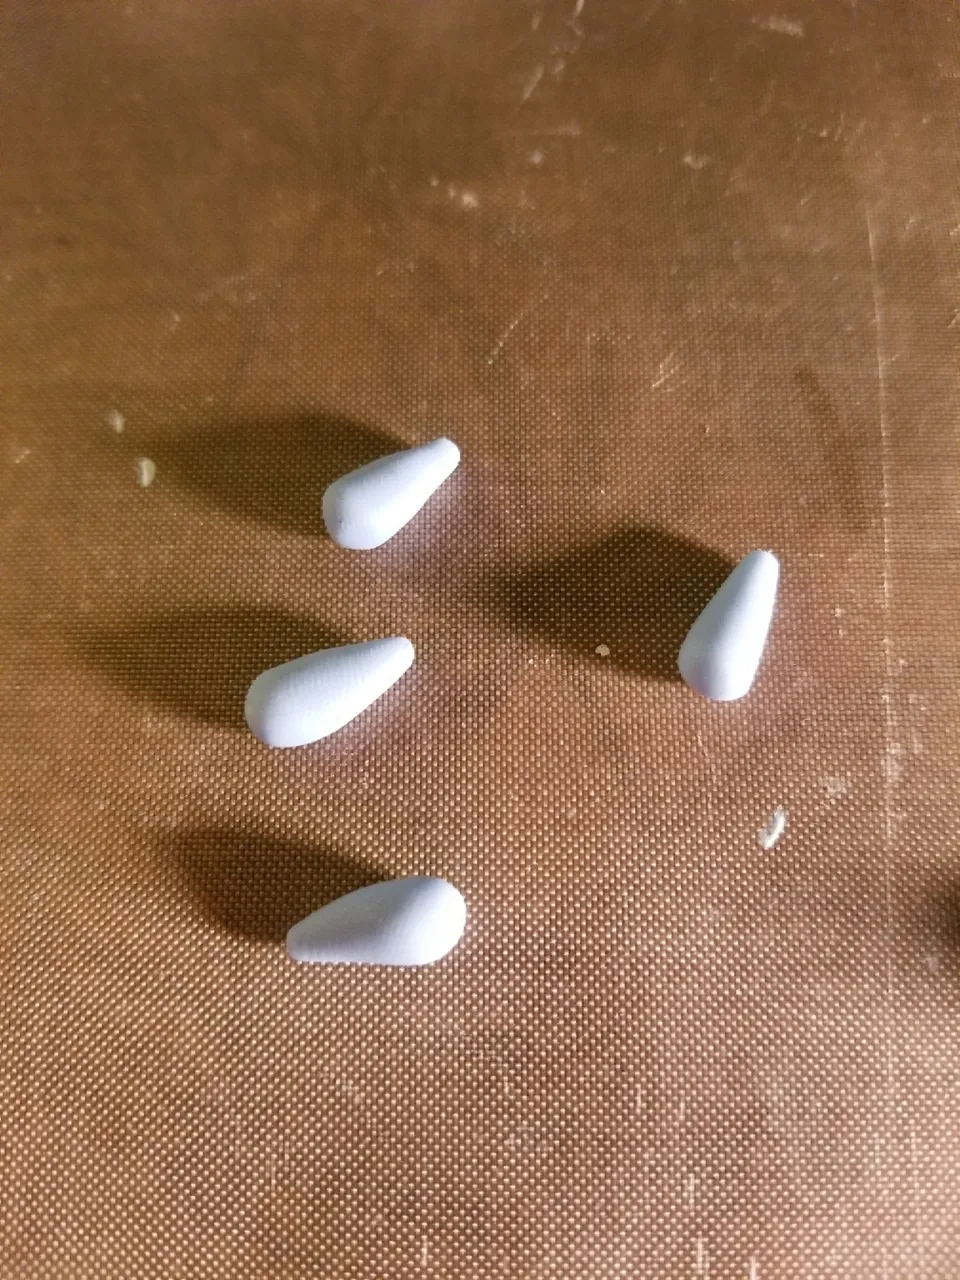
Attach them💙
And sorry i jumped to the ears just because of the colors, i like to stay with the same colors at a time so that the darker colors dont run off on my fingers and mix into the lighter ones.
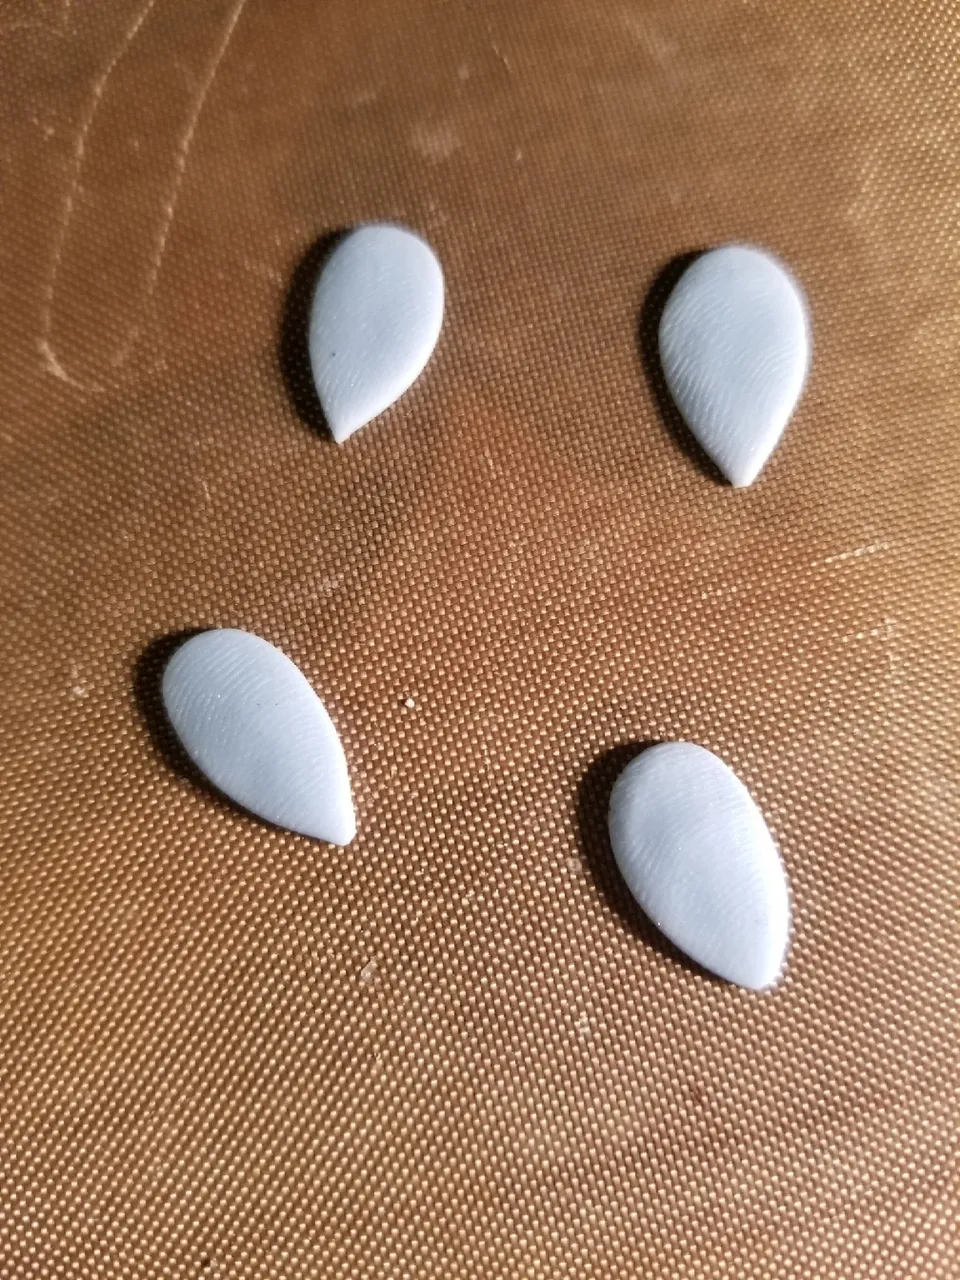
So here is how i did the ears. Rolled out again tear drop shapes of the light blue and purple ( for the inner ear color) and flatten.
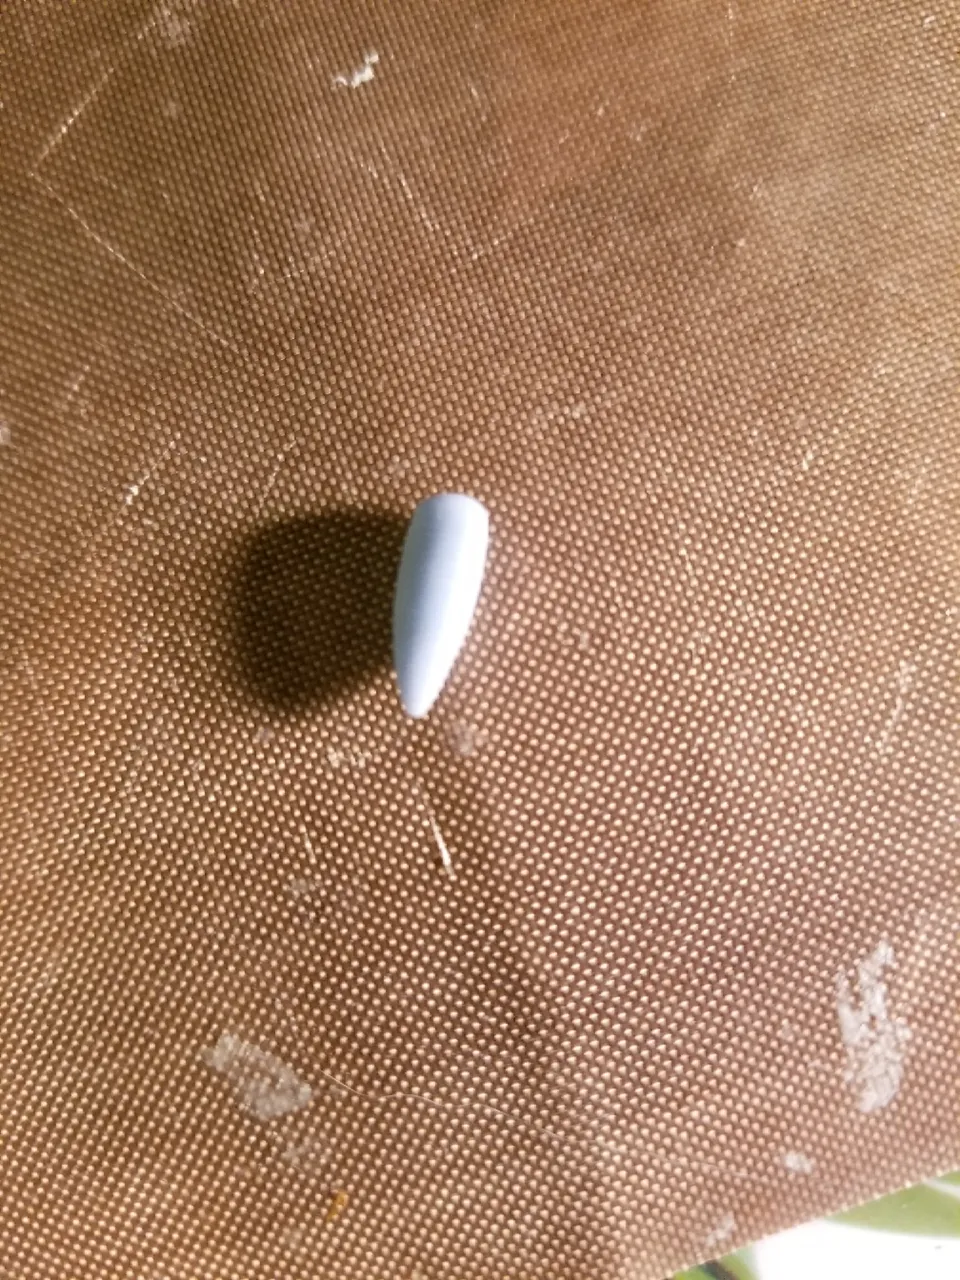
Lay them on top of each other.
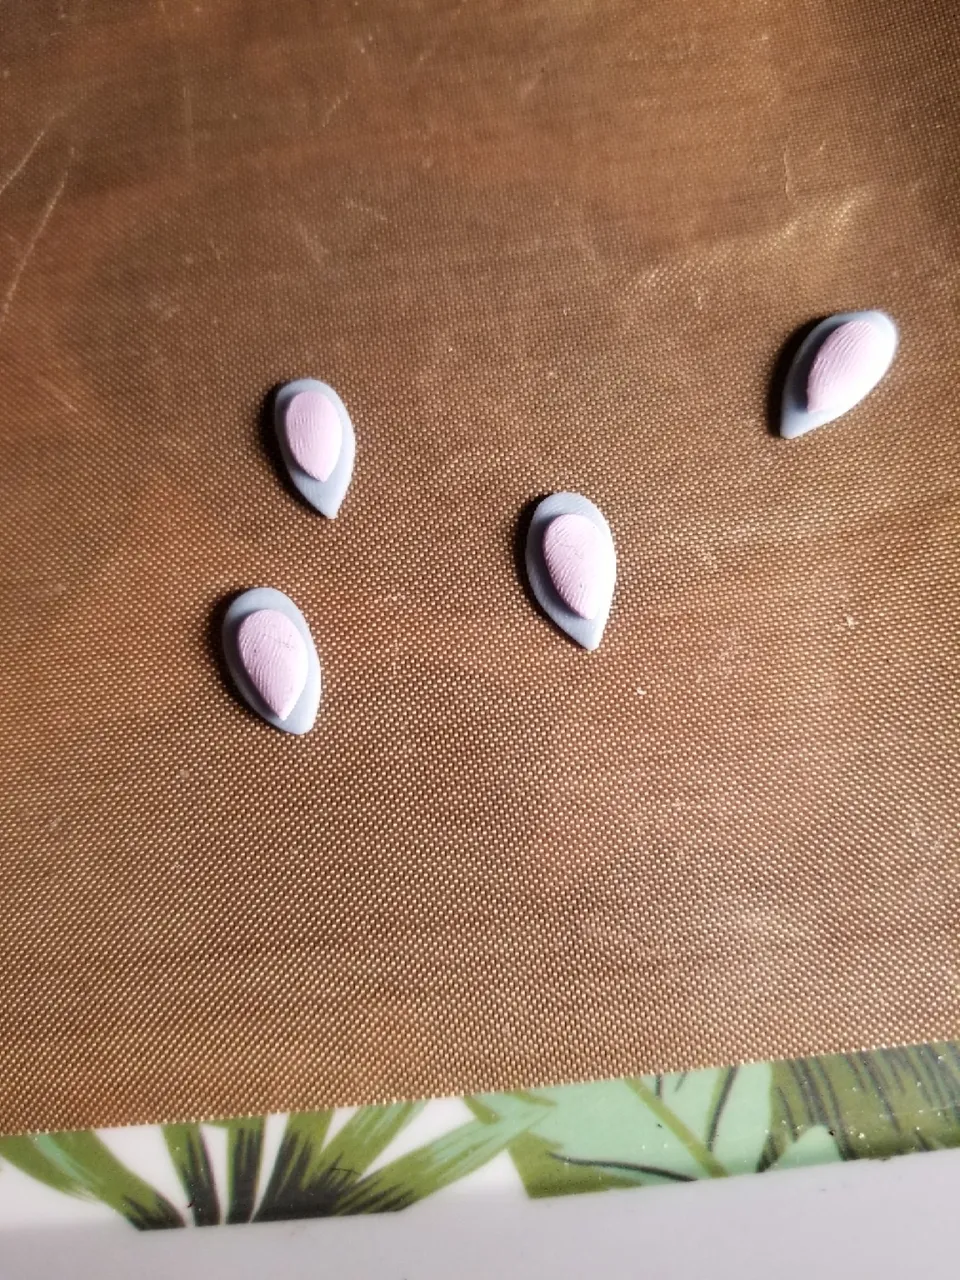
Roll to blend. And cut a notch out of each opposite site for a left and right ear.
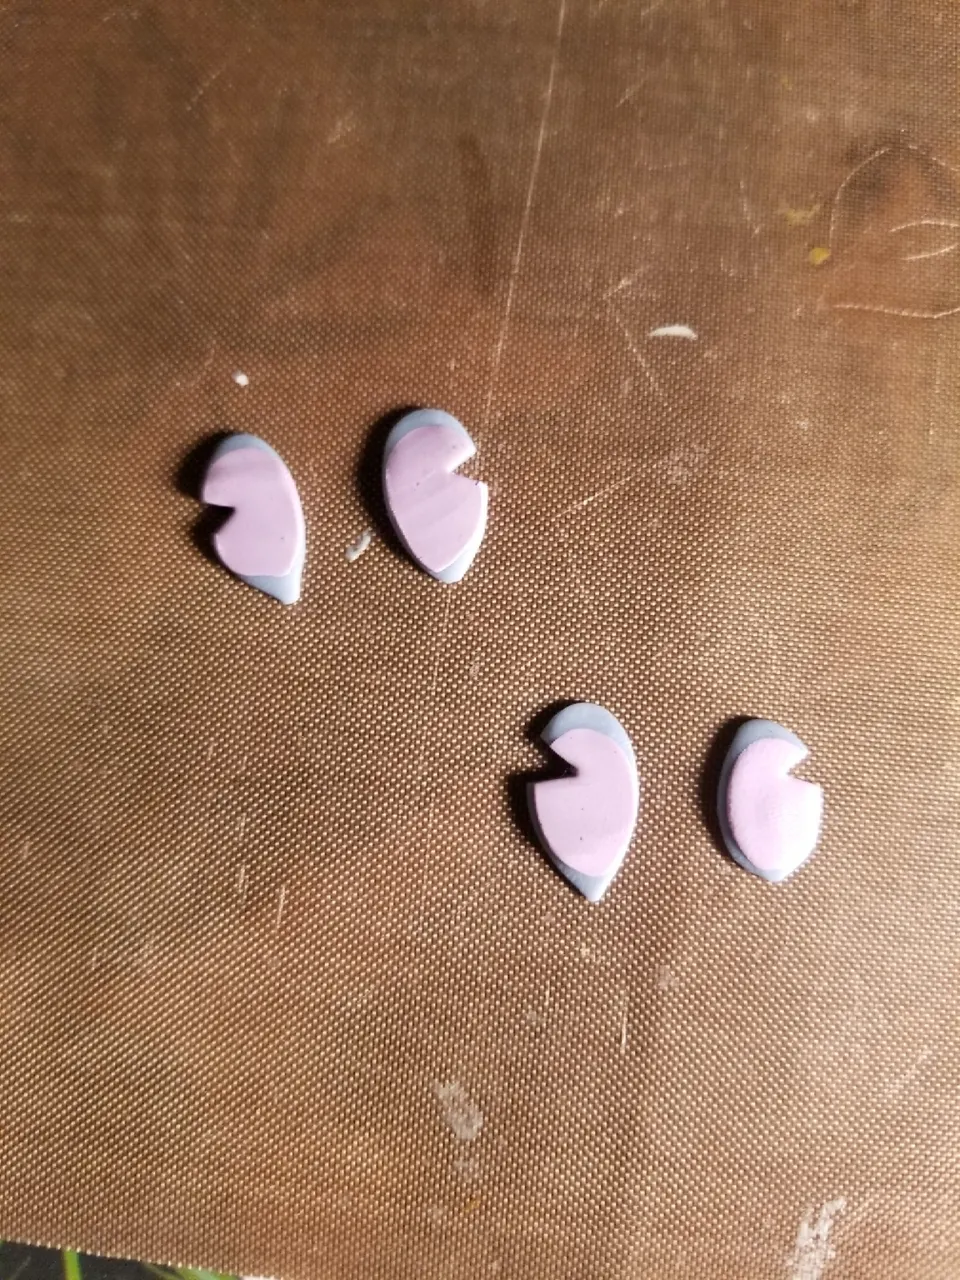
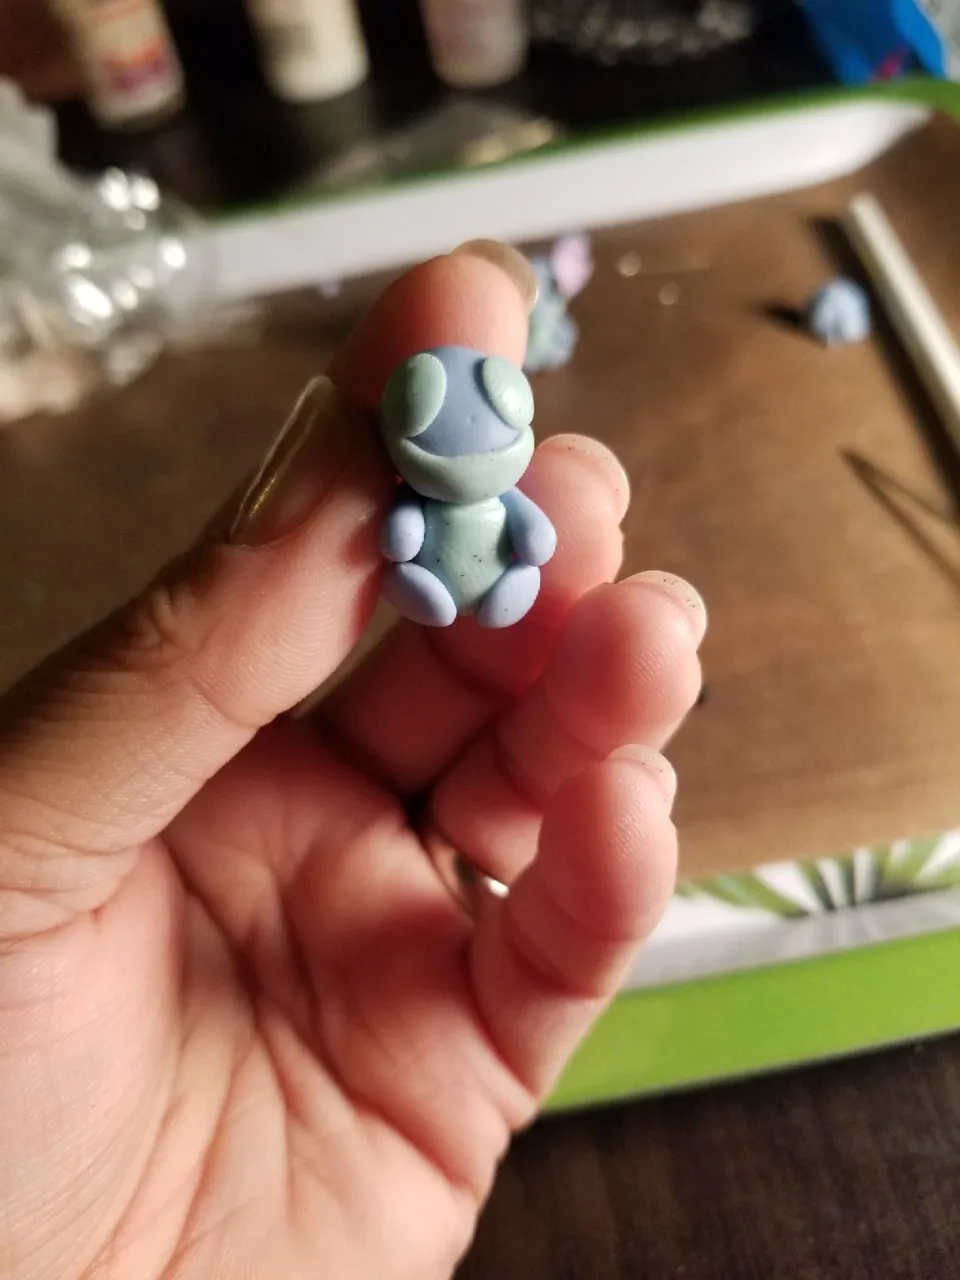
Then attach and blend to the head. ( sorry this picture doesnt have the arms on yet i had to use the second one to take the picture for the diy lol )
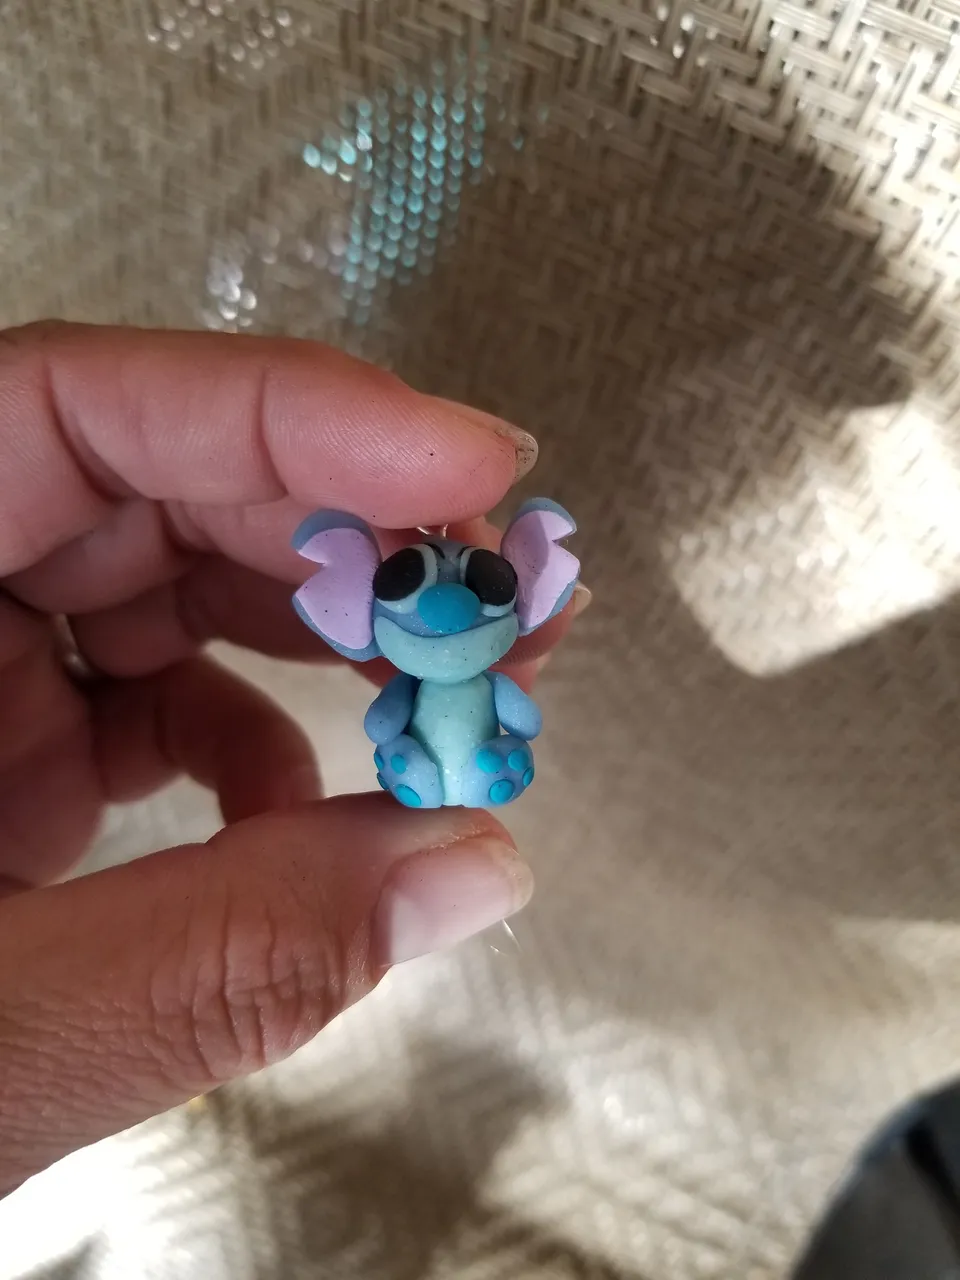
Back to the eyes. Make two small black balls and press onto the eyes .

Add your nose and extra details to the feet if you want. I used a dark purple to match the backs details.
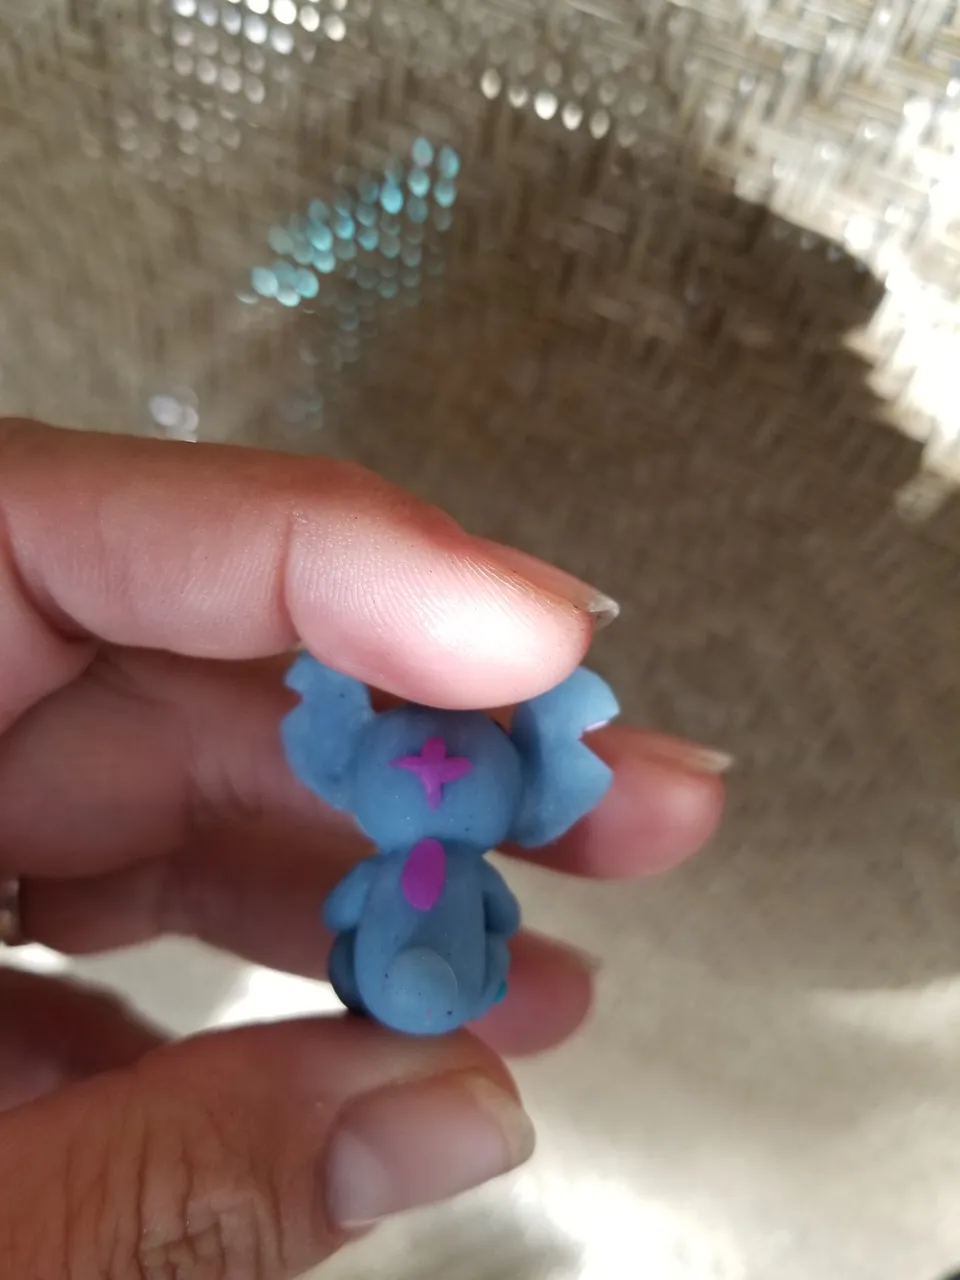
And for the back i just added a ball for his tail and some dark purple for little details. Also add your head pin with some Liquid clay.
Now bake according to your clays instructions.
After cooled I #handpainted the white dots for the eyes. Once the paint drys go ahead and glaze and add your earring hooks and your finished 🤗💙💜.
#aloha and thank you for your #support
Link to learn more about #ccc tag. They are a great group to be apart of💕
This is an Invitation to join #ccc for Guaranteed 👍 Daily Income 💵 and Payout 💸 for Newbies (2.0) 🐟 🐜 🐛 in #ccc 👣 and Follow 👣 the Honor Code 🏅 - the Creed (Conditions and Limits Inside)
AND
the latest update <<< please click to read.
#artzone #art #crafts #fun #love #inspired #doityourself #pifc #handmade #polymerclay #painting #aloha #earrings #sliver #beautiful #crafty #disney