With a very short growing seasons here in my zone 2 garden, I took the leap and set up my indoor gardening space. Also I find with all the extreme weather patterns and climate change that being able to grow food indoors will be a very valuable skill.
I'm so glad I set up my indoor garden when I did for we went from collecting rainwater and harvesting the last of the chard and kale to BOOM!
8" of snow and the temperature dropped to 18 degrees below Celsius.
Cold and Snowy Outside - Warm Glow Inside!
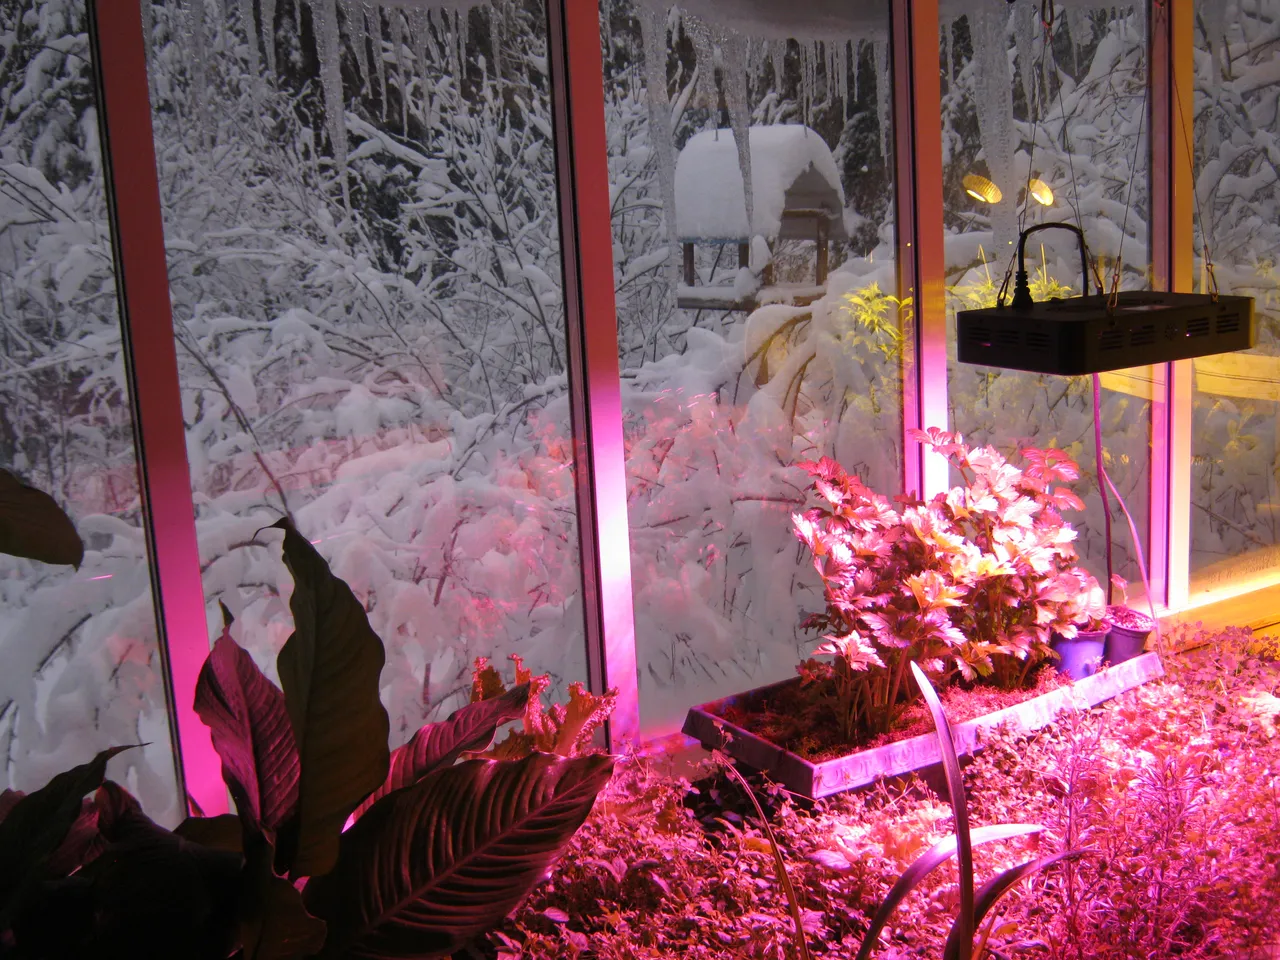
The indoor garden actually consists of plants that I had dug out of my garden and put them under the LED grow lights.
They did very well and provided us with fresh greens.
Read the series about the indoor garden project at:
Part 1 - @porters/gardening-for-food-security-indoor-gardening-new-project-beginning
Part 2 - @porters/gardening-for-food-security-indoor-gardening-new-project-beginning-part-2
Part 3 - @porters/gardening-for-food-security-indoor-gardening-project-part-3-the-experiment-worked
Part 4 - @porters/video-tour-gardening-for-food-security-indoor-gardening-project-part-4
With some of the plants getting past their prime I started a fresh crop of seedlings to rotate in.
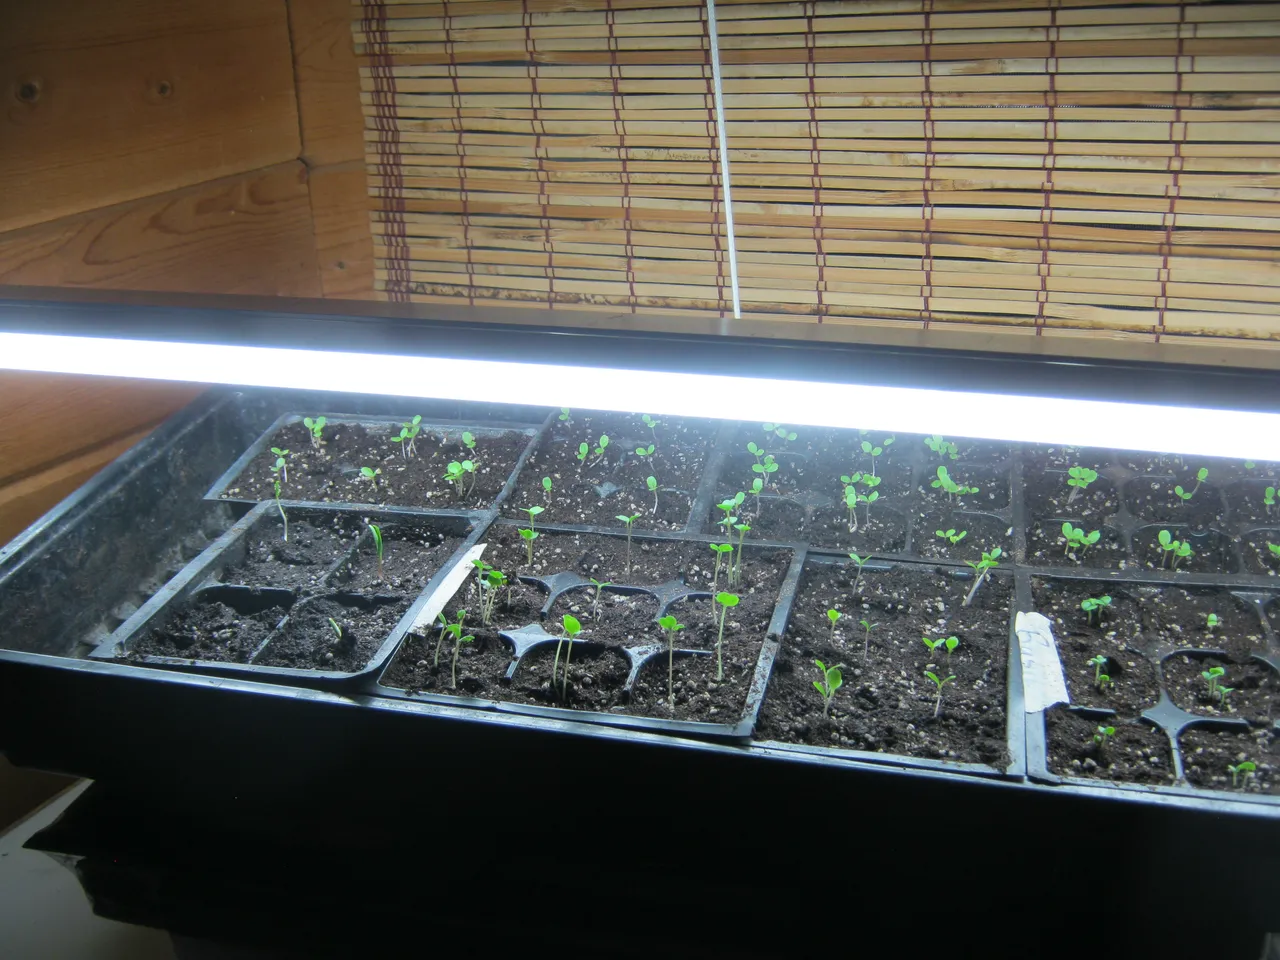
I have lettuce, basil, arugula and some spinach started.
The spinach didn't germinate very good for it was older seed.
I have other older seed which I need to do a germination test on to see if they are any good before I plant them.
Also with the seed catalogs coming in,it's a good idea to check your old seeds to see if they are viable and to see if you need to buy more.
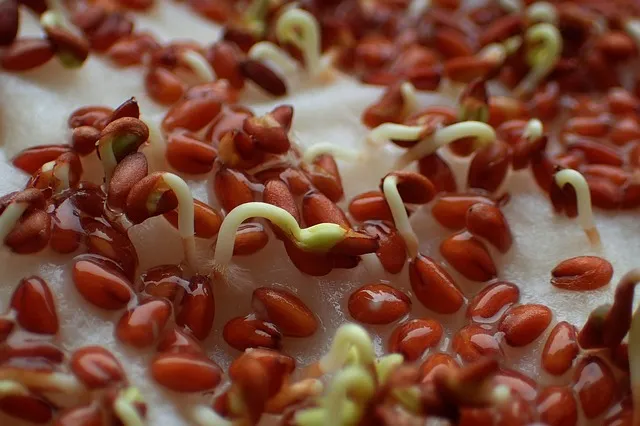
Germination Test
Material Needed:
Seed you want to test
Paper towel
Clear Plastic Bag (I use sandwich bags))
Warm water
Directions
Use two sheets of paper towel to make a double thickness. Moistened them with water.
Place a minimum of 10 seeds on just half of the sheets of paper towel.
Fold the other half of the paper towel over top of seeds covering the seeds completely.
Place paper towel with seeds into the plastic bag. Leave some air to get in for healthy germination.
Place bag in a warm spot (on top of the fridge is a good spot).
Watch that paper towel does not dry out. Check daily.
Every few days check the seeds to see if they germinated.
If you have low germination rate you may want to buy new seeds or else you could sow your seeds extra thick.
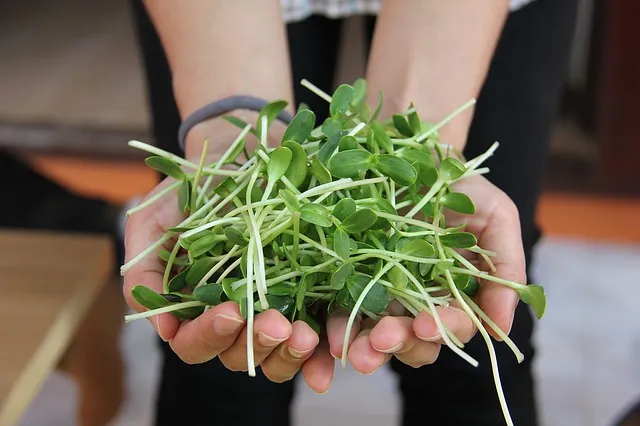
My next project to add to our fresh greens is some sprouts.
Seed Sprouting
You can sprout alfalfa, broccoli, radish, onions, beans, peas, lentils and more.
Material needed:
• 1 quart wide mouth canning jar
• some screening or folded cheese cloth large enough to cover the opening with about an inch overhang. Elastic band to hold the screening on.
• 1 canning lid for storage
• 2 - 3 T. of sprouting seeds
Method:
- Place seeds in jar, attach your screening. Fill jar with cool water covering the seeds. Let it sit for at least 6 hours or over night
- Drain out water and rinse seeds well. Drain once more and lay the jar on its side where you will be growing them.
- Repeat step 2 a few times a day until the seeds have sprouted and grown to the size you want. About 3 -5 days.
- Once the seeds have sprouted put the jar where indirect sunlight can get at them to green them up.
- Once sprouts are grown to your liking stop rinsing them and let them dry out a bit before you put a cap on and store them in the fridge.
Sprouting Sunflower Seeds
For sunflower seeds I germinate them in some peat moss or sometimes old potting soil.
I cover the bottom of a plastic tub or I have aluminum baking sheets, with about 1/2 inch of the peat moss or soil.
I scatter a layer of sunflower seeds, sown thickly, then I top that off with another layer of peat moss.
I water it down so it is well dampened but not so water would be dripping out of it.
Put on a lid or covering of some sort and put them in a warm place, checking every few days to see if they have germinated.
Watch that they are kept moist but do not over water for there is no drainage holes in the tubs.
Once they've started germinating put them into some sunlight.
When they've popped their seed coats off you can harvest them by cutting with scissors.
Image source: First two are taken with my Canon Powershot A495
Sprout photos from Pixabay.com
I love engaging with folks here so please feel free to leave any comments or questions,
if you found this post beneficial an Upvote is appreciated.
Please don’t hesitate to follow me here on steemit at @porters