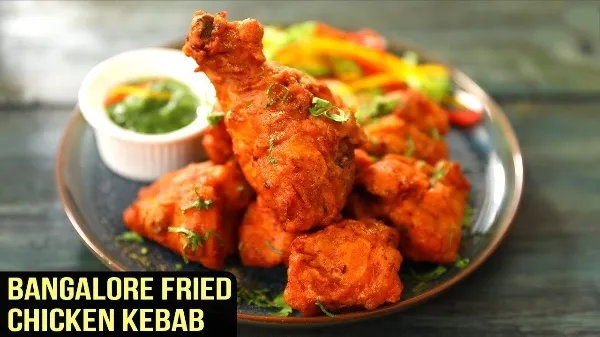
¡Hola chicos! Esta es tu Chef Malvika
y les doy la bienvenida a todos a otro tema en @foodehouse12.
Hoy los estoy invitando a todos a las calles de Bangalore donde vamos a hacer
"Kebab de pollo frito crujiente".
Entonces, comencemos a cocinar.
Para empezar con el marinado, primero vamos a añadir
2 cucharadas. de Harina Refinada.
2 cucharadas. de harina de maiz
y tercero, voy a tomar un recipiente aparte en el que voy a romper un huevo.
Bátelo bien
y viértalo sobre la mezcla de harina.
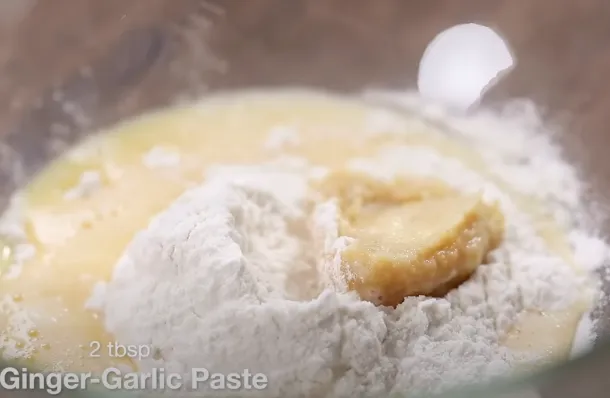
Voy a agregar 2 cucharadas. de pasta de jengibre y ajo.
Un exprimido de limón entero.
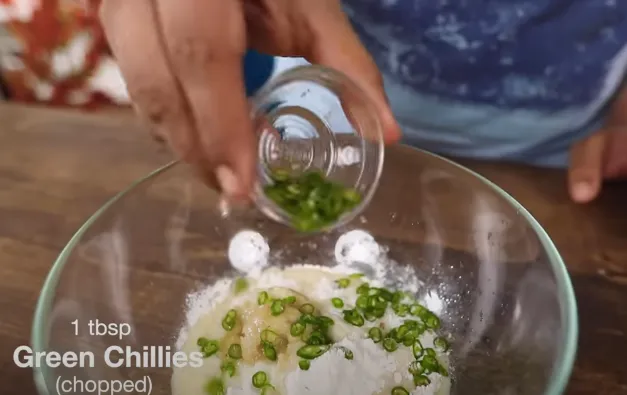
Chile verde picado
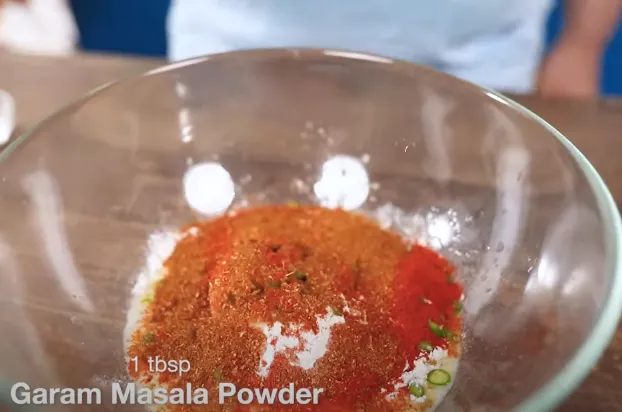
y ahora le vamos a agregar el masala..
Cilantro en polvo.
Chile rojo en polvo.
Mezcla de especias
y comino en polvo.
Y por último, voy a agregar sal.
mézclalo bien
y para conseguir la consistencia deseada, voy a añadir un poco de agua.
Ahora que tenemos la consistencia deseada en la masa.
El siguiente paso que vamos a hacer es tomar Pollo.
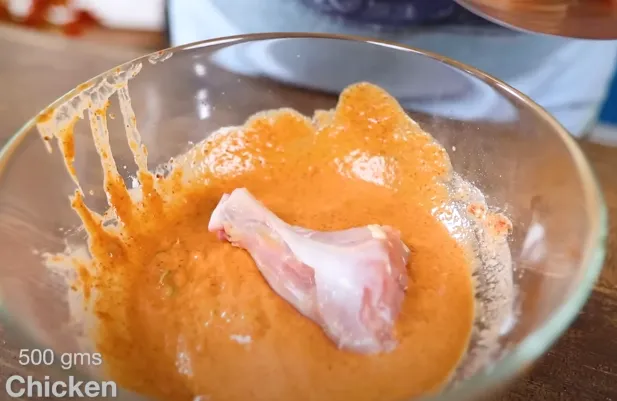
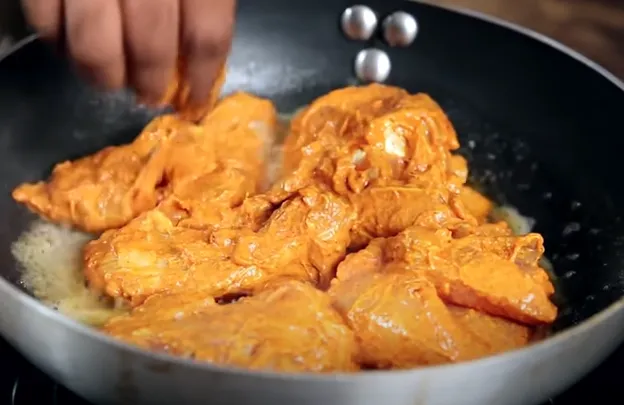
Tengo ½ kg de Pollo y lo pongo en el rebozado...
y cubra bien el pollo.
Una vez que el recubrimiento esté listo, lo dejaré a un lado y lo dejaré reposar durante al menos 20-25 minutos.
Ahora que he reservado el pollo para que descanse en la nevera.
Voy a preparar un chutney rápido de cilantro y menta
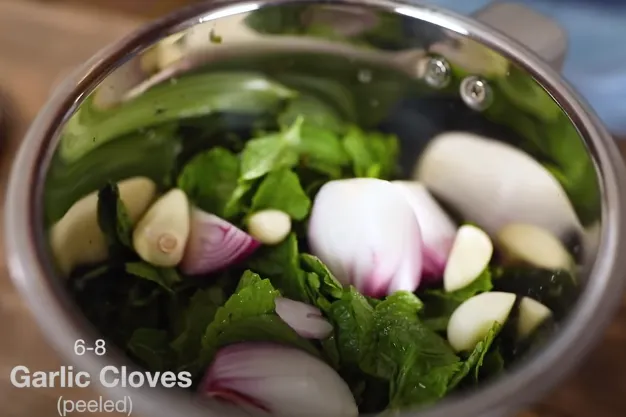
para eso primero, voy a tomar Cilantro.
A continuación, menta.
Cebolla.
Unos dientes de ajo.
unos chiles verdes
y vamos a mezclarlo ahora.
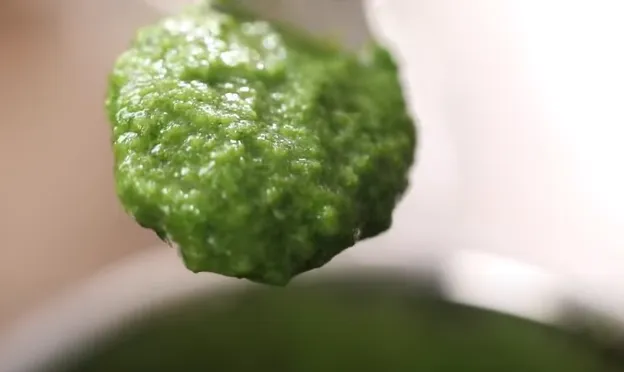
Como ven nuestro chutney está listo pero a mi me queda el limón.
La razón por la que no agregué limón al principio es porque el limón es ácido por naturaleza.
Decolorarán el chutney, así que siempre agregue limón al final.
así que ahora voy a tomar un exprimidor de limón, exprimirlo sobre la salsa picante.
Voy a rellenar con un poco de sal.
Ahora, mézclalo bien.
Nuestro chutney está listo, lo voy a transferir a un tazón
y ponerlo en la nevera.
Pasamos a la siguiente etapa que es freír pero antes freímos el pollo
Voy a agregar 2 cucharadas. de Harina de Arroz
lo que le dará un buen toque crujiente al kebab una vez que esté listo.
Después de cubrir el pollo con la harina de arroz, voy a calentar mi aceite.
Mantenlo a fuego alto
y una vez que el aceite alcanza su temperatura máxima
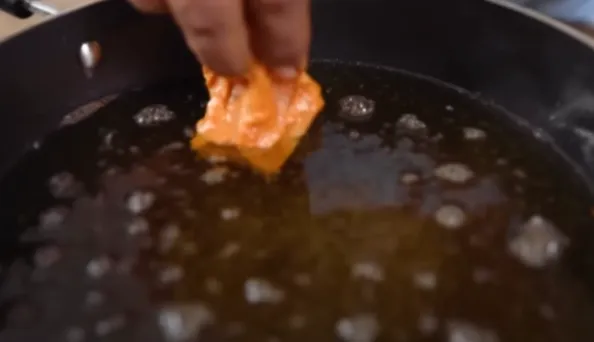
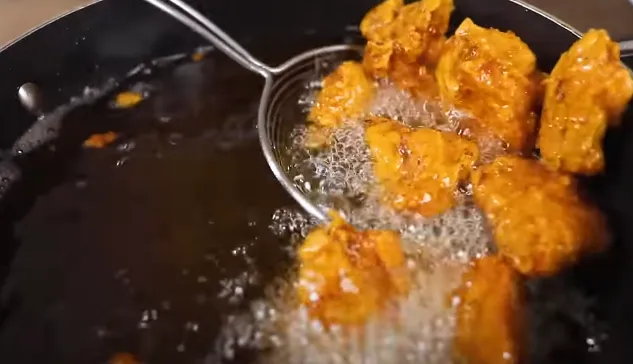
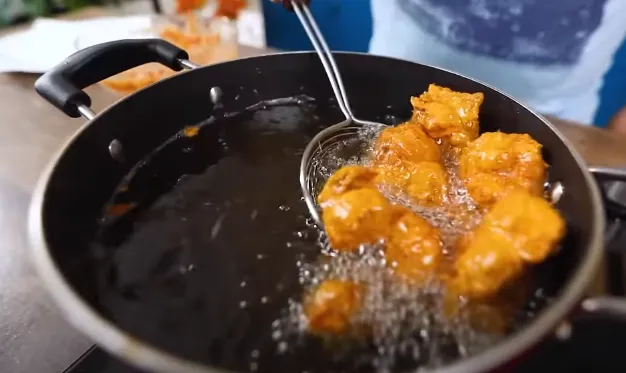
Voy a bajar el fuego a medio y luego voy a empezar a freír el pollo
para que nuestro pollo no se queme.
Mientras fríes, asegúrate de freír el pollo en lotes.
para que no baje la temperatura del aceite
y mientras se fríe el pollo poner una pieza a la vez
y ahora, voy a freír el pollo por al menos 6-8 minutos.
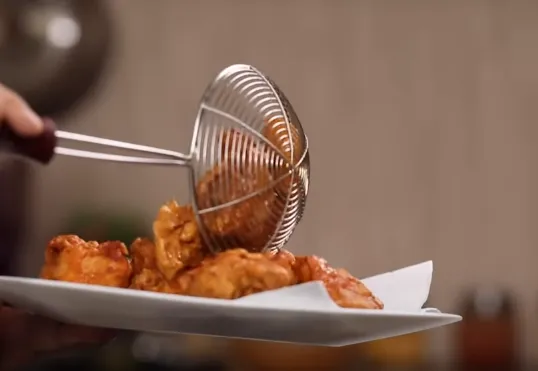
Después de freír el kebab de pollo, coloque el kebab de pollo en una toalla de papel
para que se empape el exceso de aceite...
y sigue lo mismo para el resto.
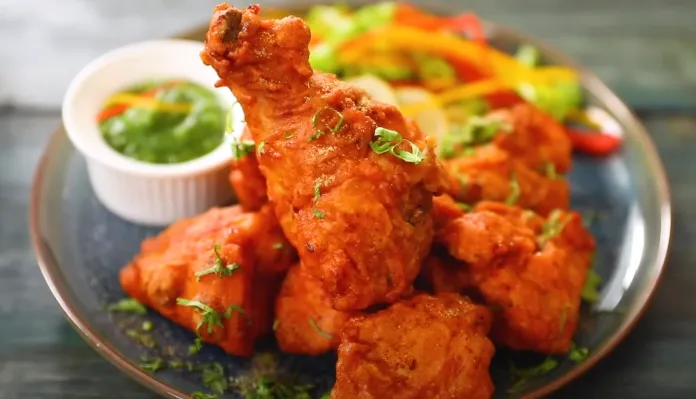
Ahí tienen, muchachos, nuestro "Bangalore Fried Chicken Kebab" ya está listo.
Comparte tu amor en la sección de comentarios a continuación.
Nos vemos pronto en la próxima Receta hasta entonces cuídate mucho
¡y a seguir cocinando!
| 📷 Picture | Photography |
|---|---|
| Model | Galaxi A72 |
| Android | 11 |
| 📷 Camera used | Handphone + Macrolens |
| 📷 Photographer | @foodehouse12 |
| Location | Indian state of Karnataka, Bangalore |
Hi guys! This is your Chef Malvika
and I welcome you all to another topic at @foodehouse12.
Today, I'm talking you all to the streets of Bangalore where we are going to make
"Crispy Fried Chicken Kebab."
So, let's start cooking.
To start with the marination, first, we are going to add
2 tbsp. of Refined Flour.
2 tbsp. of Cornflour
and third, I'm going to take a separate bowl in which I'm going to break an egg.
Whisk it thoroughly
and pour it over the flour mix.
I'm going to add 2 tbsp. of Ginger-Garlic paste.
One whole Lemon squeeze.
Chopped Green Chilli
and now we are going to add the masala..
Coriander powder.
Red Chilli Powder.
Garam Masala
and Cumin Powder.
And lastly, I'm going to add Salt.
Mix it nicely
and to get desired consistency, I'm going to add a little water.
Now that we have got the desired consistency in the batter.
The next step we are going to do is going to take Chicken.
I've got ½ kg of Chicken and put it in the batter...
and coat the chicken nicely.
Once the coating is done I'm going to set it aside and let it rest for at least 20-25 mins.
Now that I've set aside the chicken to rest in the fridge.
I'm going to prepare a quick coriander and mint chutney
for that first, I'm going to take Coriander.
Next, Mint.
Onion.
Few Garlic Cloves.
Few Green Chillies
and let's just blend it now.
As you see our chutney is ready but I'm left with the lemon.
The reason I've not added Lemon in the beginning is because lemon are acidic in nature.
They will discolor the chutney so always add lemon at the ending
so now I'm going to take a lemon squeezer, squeeze it over the chutney.
I'm going to top up with some Salt.
Now, mix it nicely.
Our chutney is ready, I'm going to transfer it into a bowl
and put it into the fridge.
We move onto the next stage that is frying but before we fry the chicken
I'm going to add 2 tbsp. of Rice Flour
which will give a nice crispiness to the kebab once they are ready.
After coating the chicken with the rice flour, I'm going to heat up my oil.
Keep it on high flame
and once the oil reaches its maximum temperature
I'm going to reduce the heat to medium and then I'm going to start frying the chicken
so that our chicken doesn't get burnt.
While frying make sure you fry the chicken in batches
so that the oil temperature doesn't drop
and while frying the chicken put one piece at a time
and now, I'm going to fry the chicken for at least 6-8 mins.
After frying the chicken kebab, place the chicken kebab in a paper towel
so that the excess oil gets soaked...
and follow the same for the rest.
There you go guys, our "Bangalore Fried Chicken Kebab" is now ready.
Do share your love in the comment section below.
I'll see you soon in the next Recipe till then take good care of yourself
and keep cooking!