
Since we have moved out into the country, we would really like to get some farm animals. Starting off with egg producing ducks and chickens. But they need shelter, and protection from predators. The 30x30 foot enclosure they have will help with that. But their home will be where they rest and lay their eggs.
We decided to build one from scratch instead of buying a kit. This is because the kits come with an enclosure built into the coop. And since we already had one constructed we just needed the house for them.
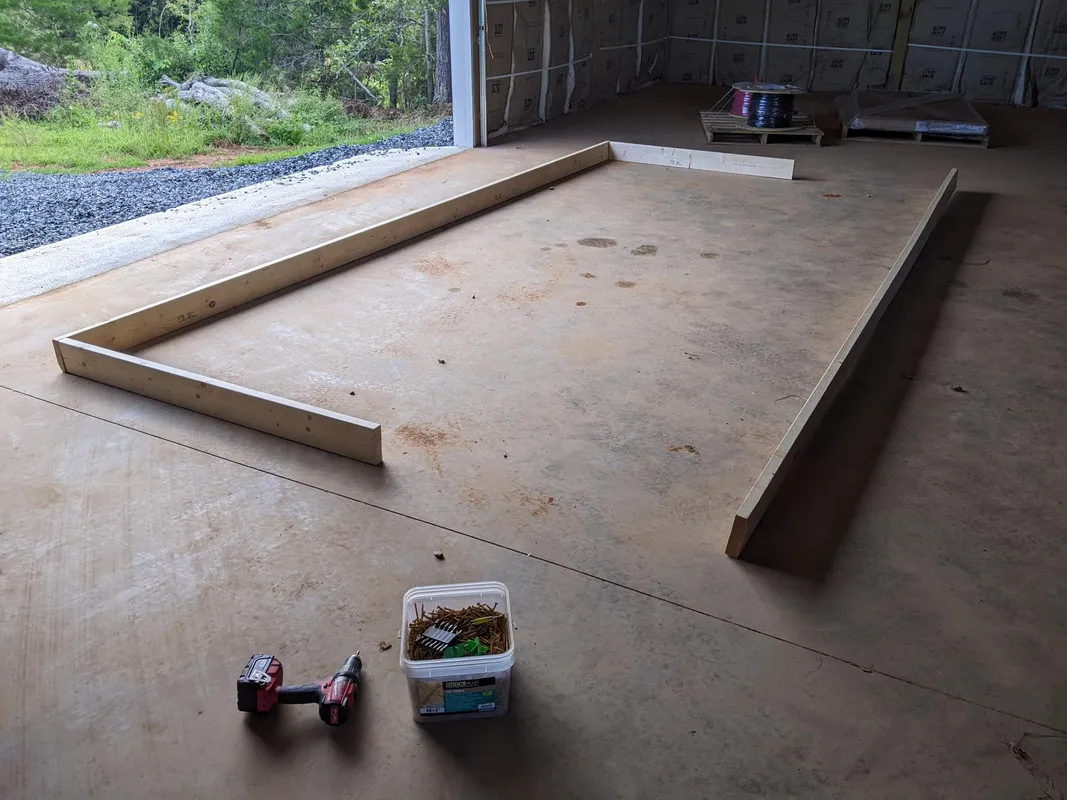
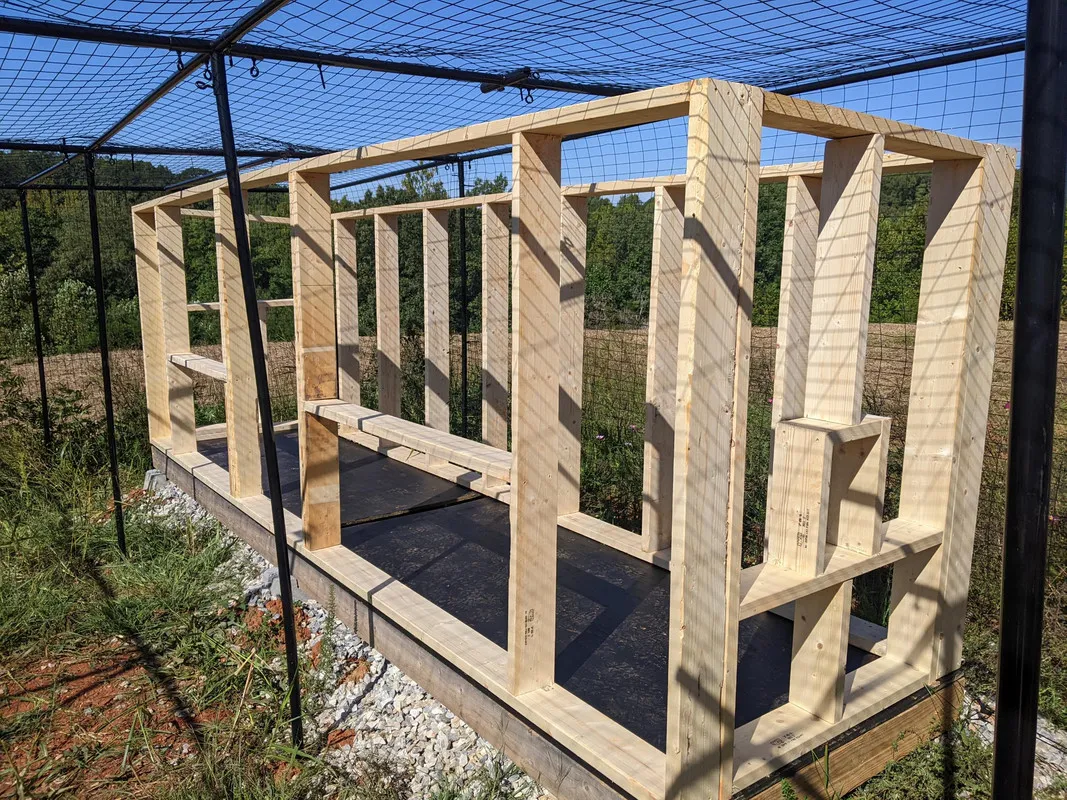
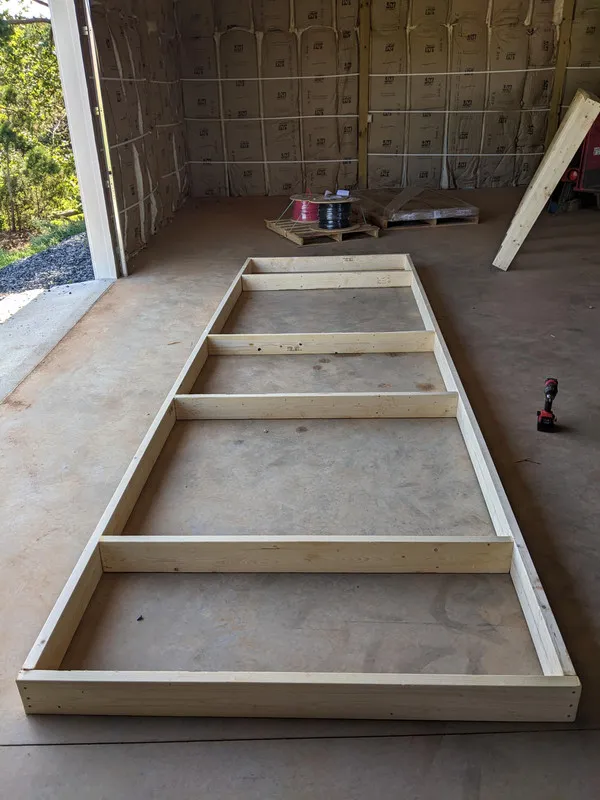
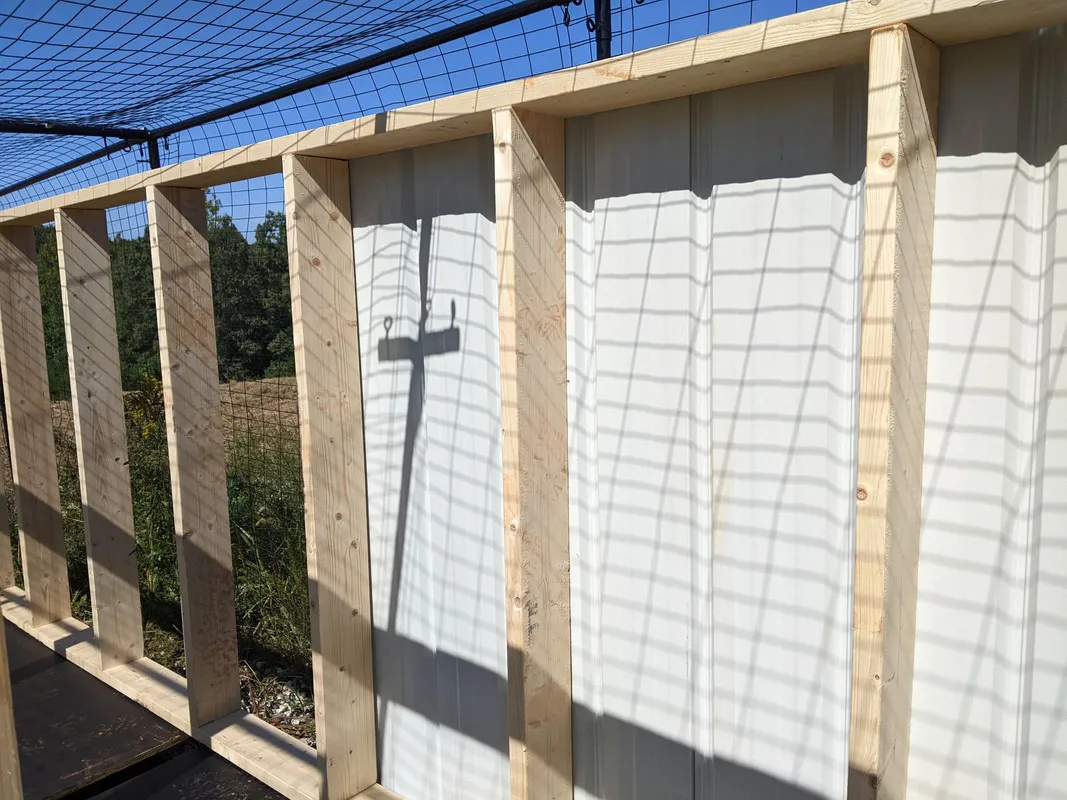
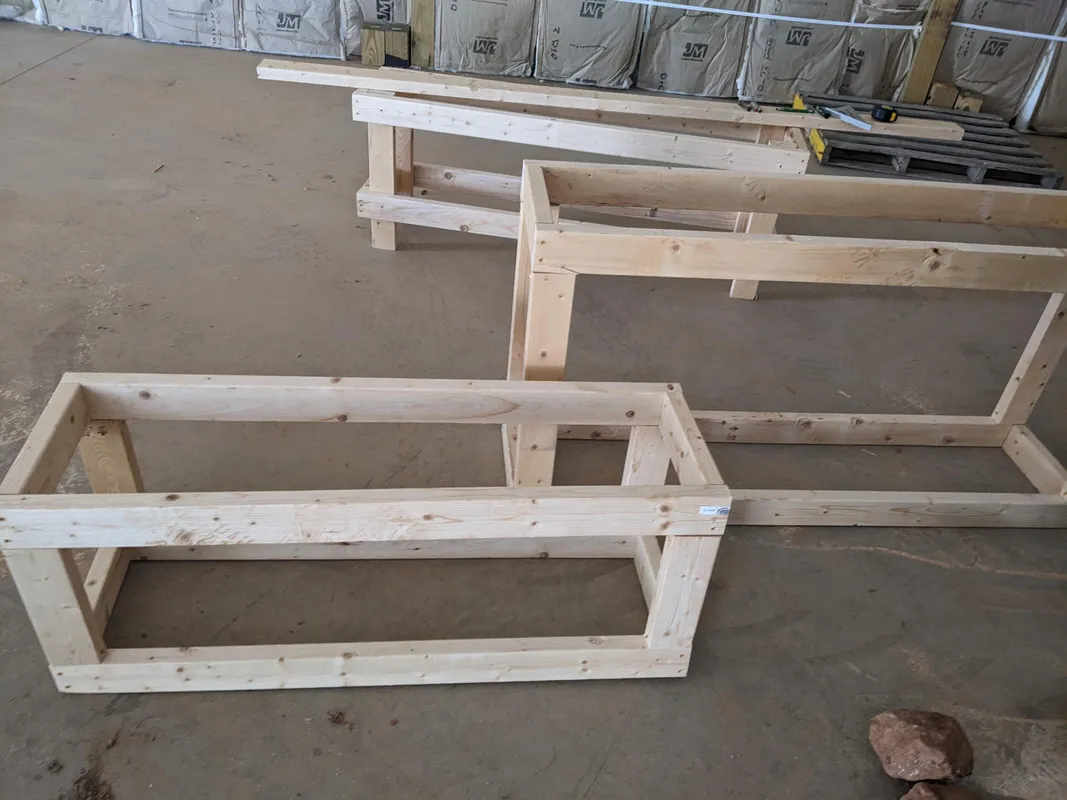
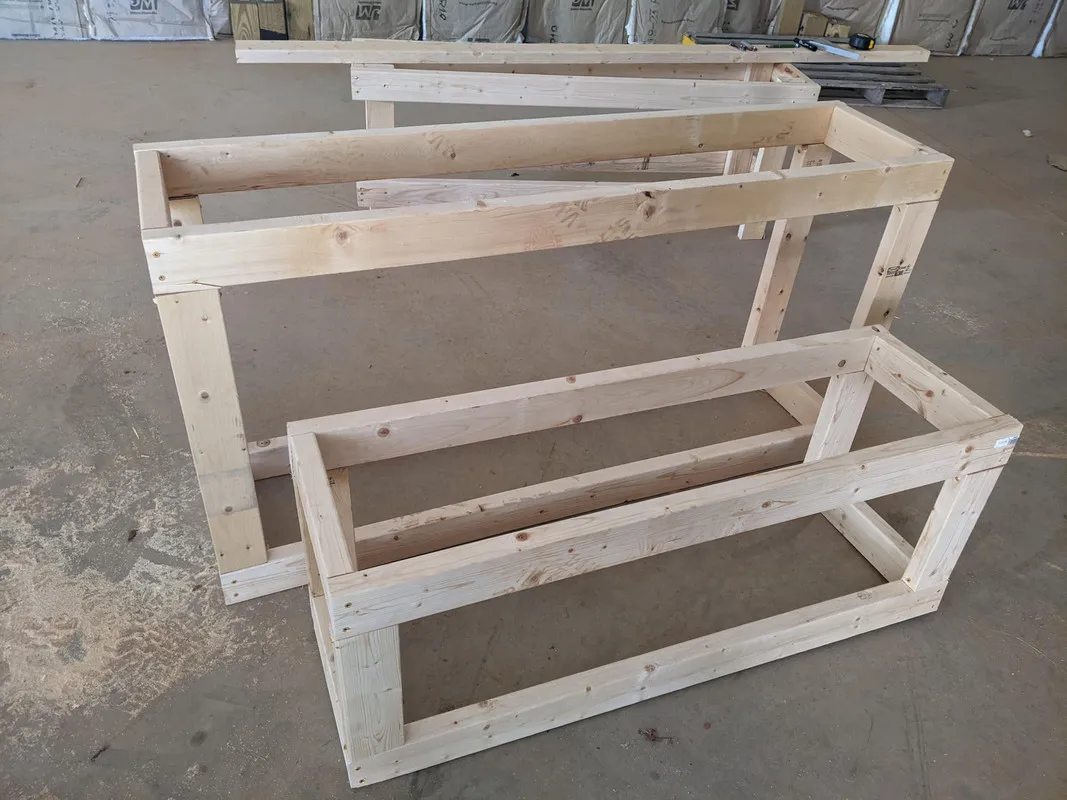
The structure was built in sections, first the foundation, then the floors and now the walls. These 14 foot 2x6 planks will make one of the walls. We made one of the walls taller than the other so rain will go into one of the gutters we plan on adding.
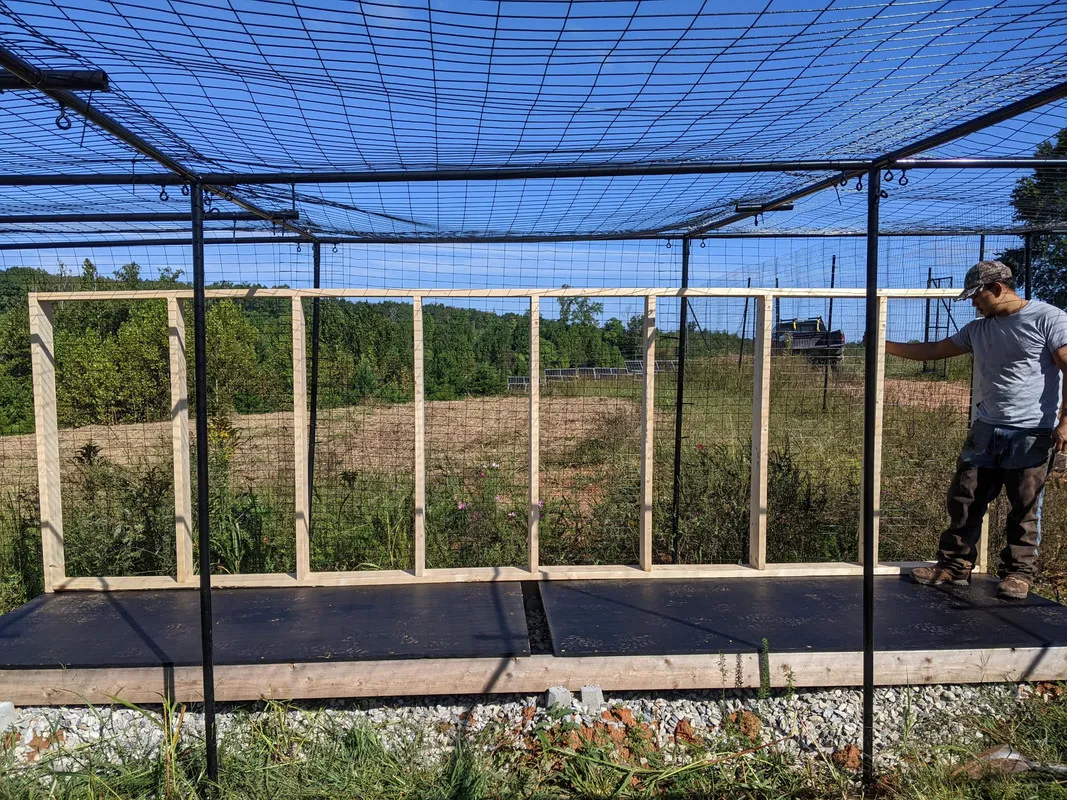
Adding supports every few feet gives us something to screw the metal wall and roof paneling into. The above wall is the back side of the house.
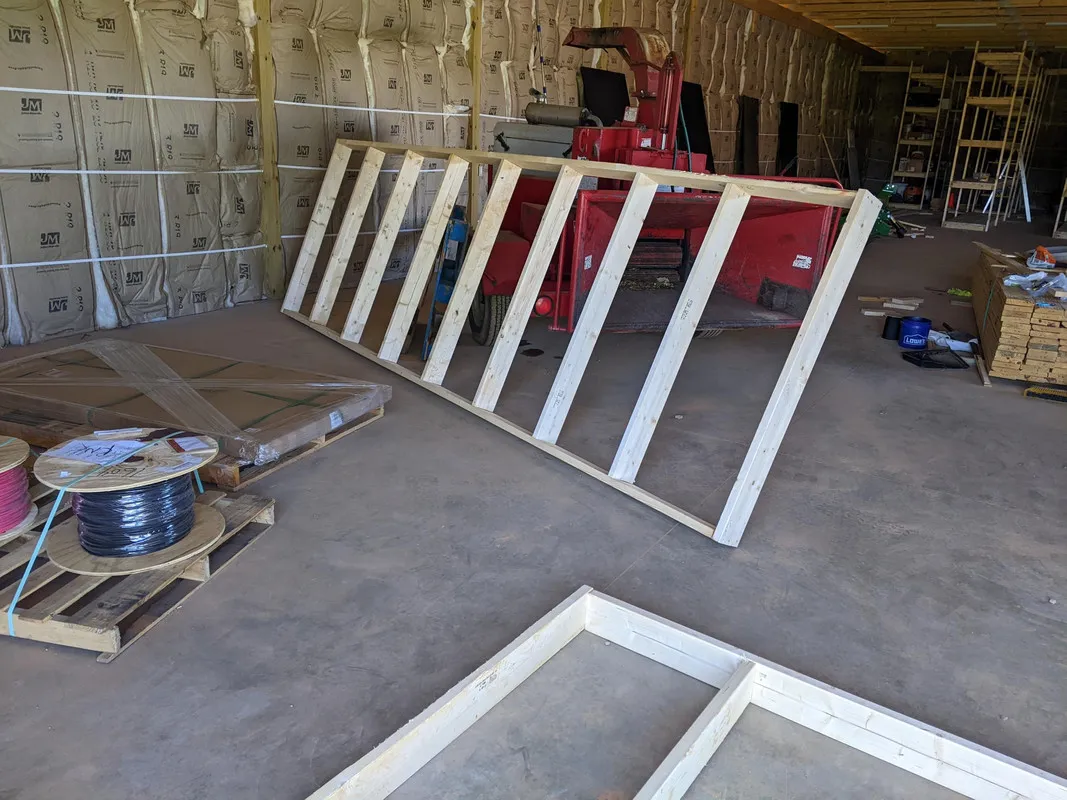
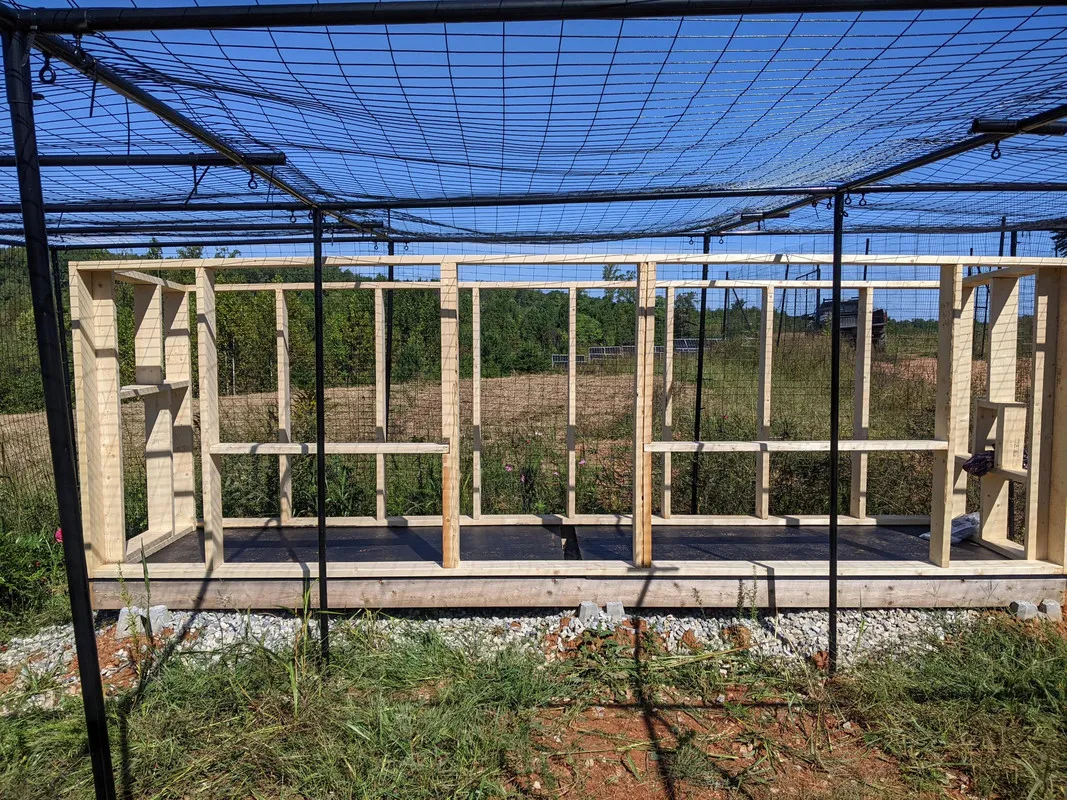
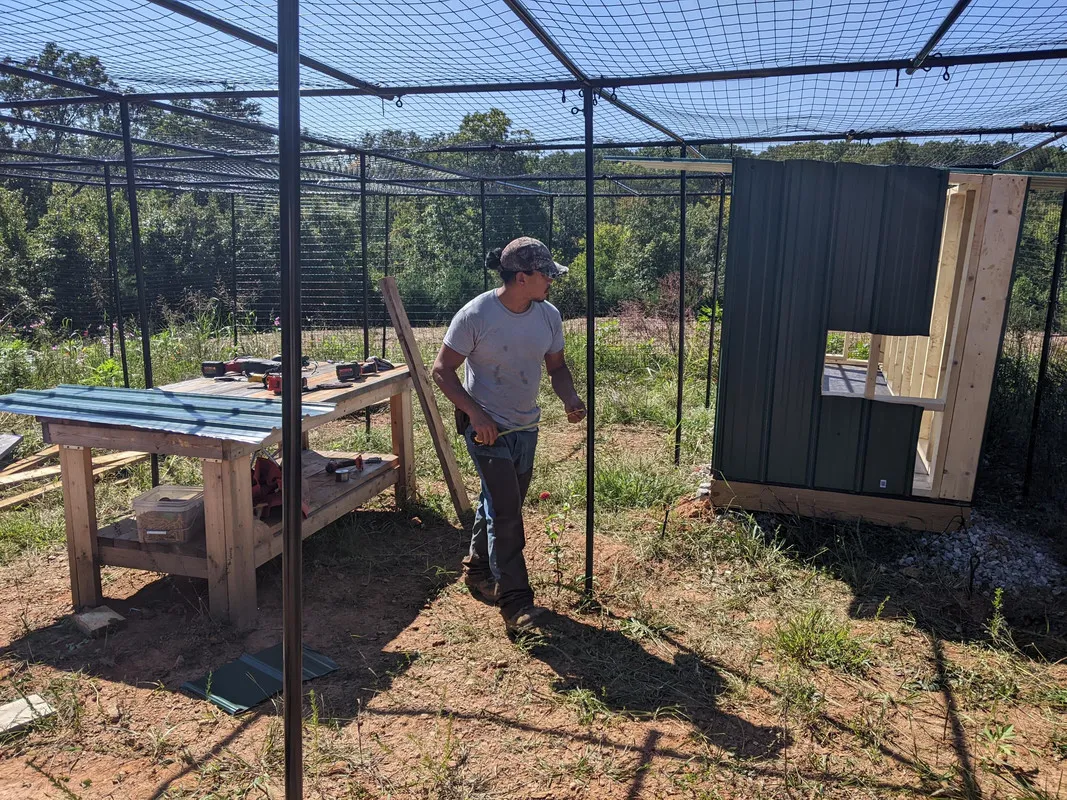
After constructed we place them up so they are out of the way.
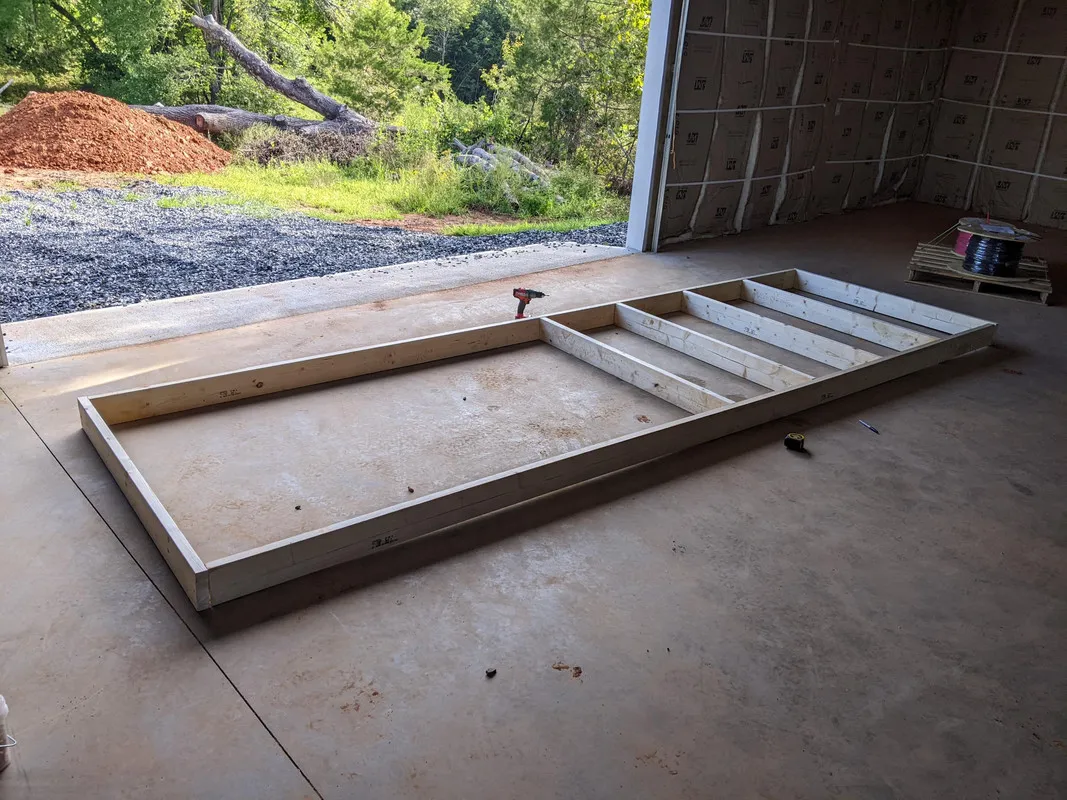
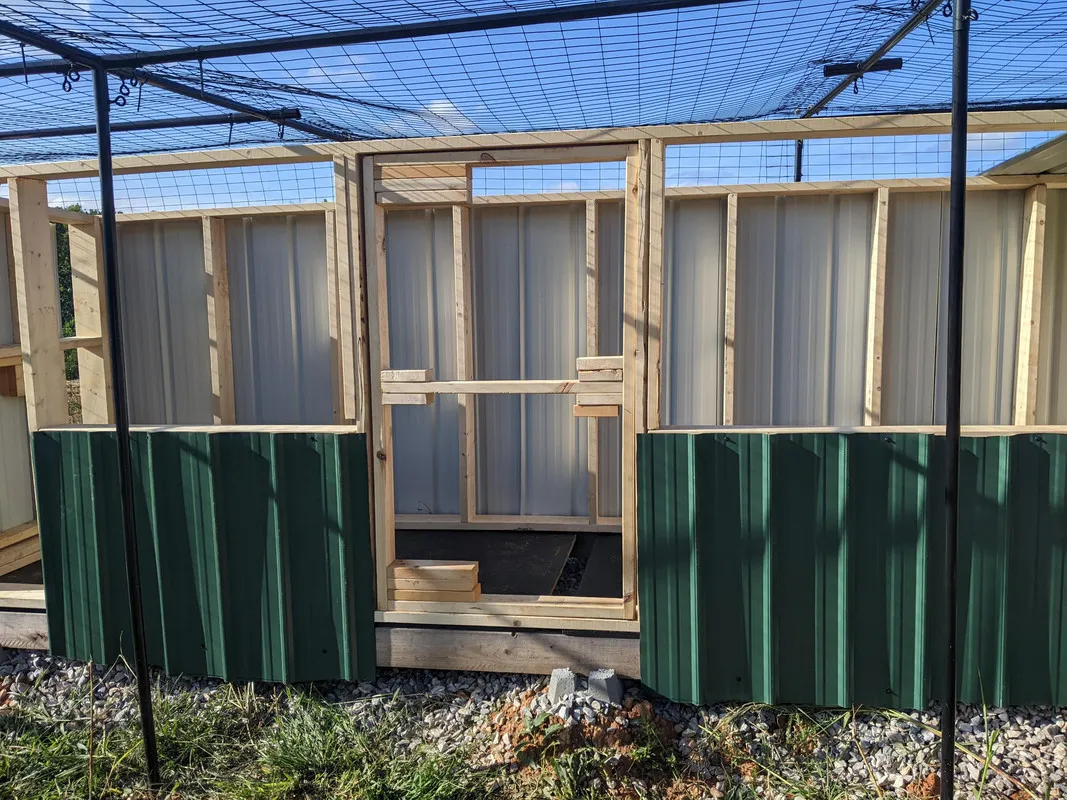
The front side of the wall has more openings, a door, and two nesting boxes.
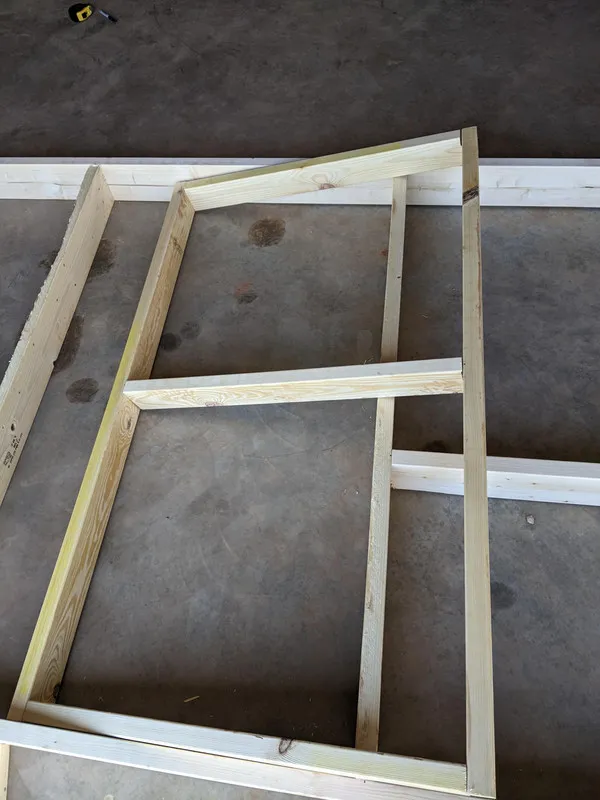
The door that we will enter to collect eggs and to do cleaning.
Securing the foundation:
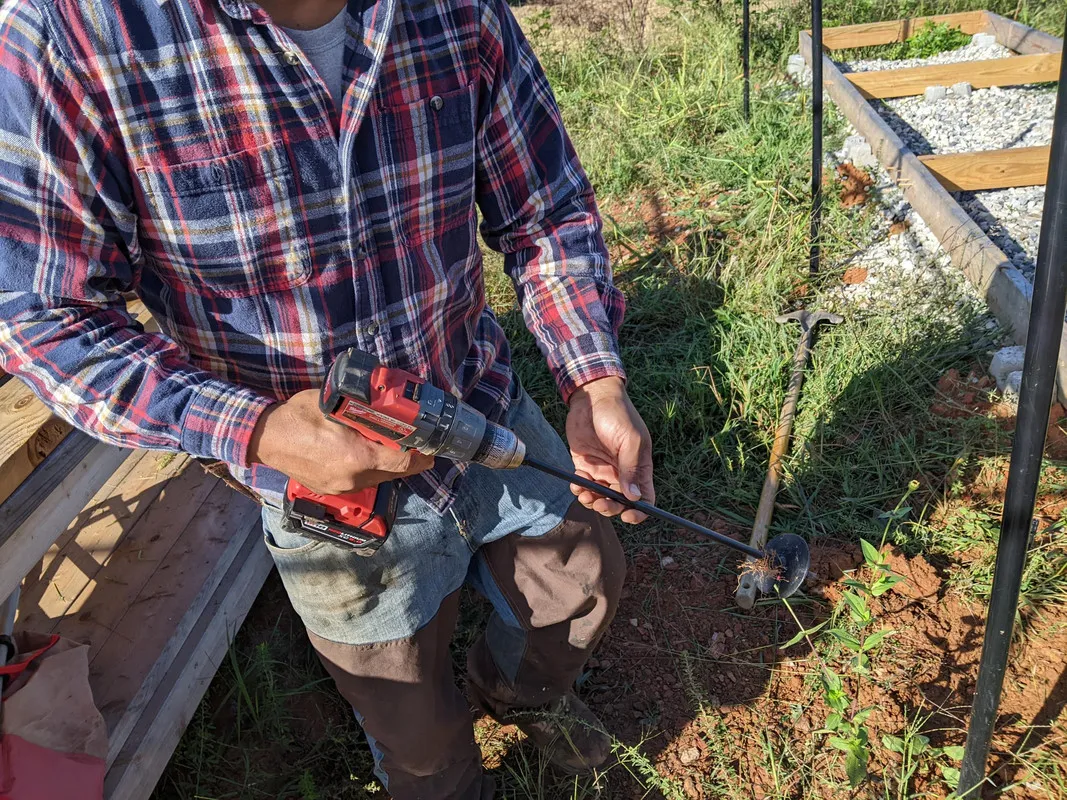
Using these drill in ground anchors we will tie down the structure.. Similar to how you stake down a tent.
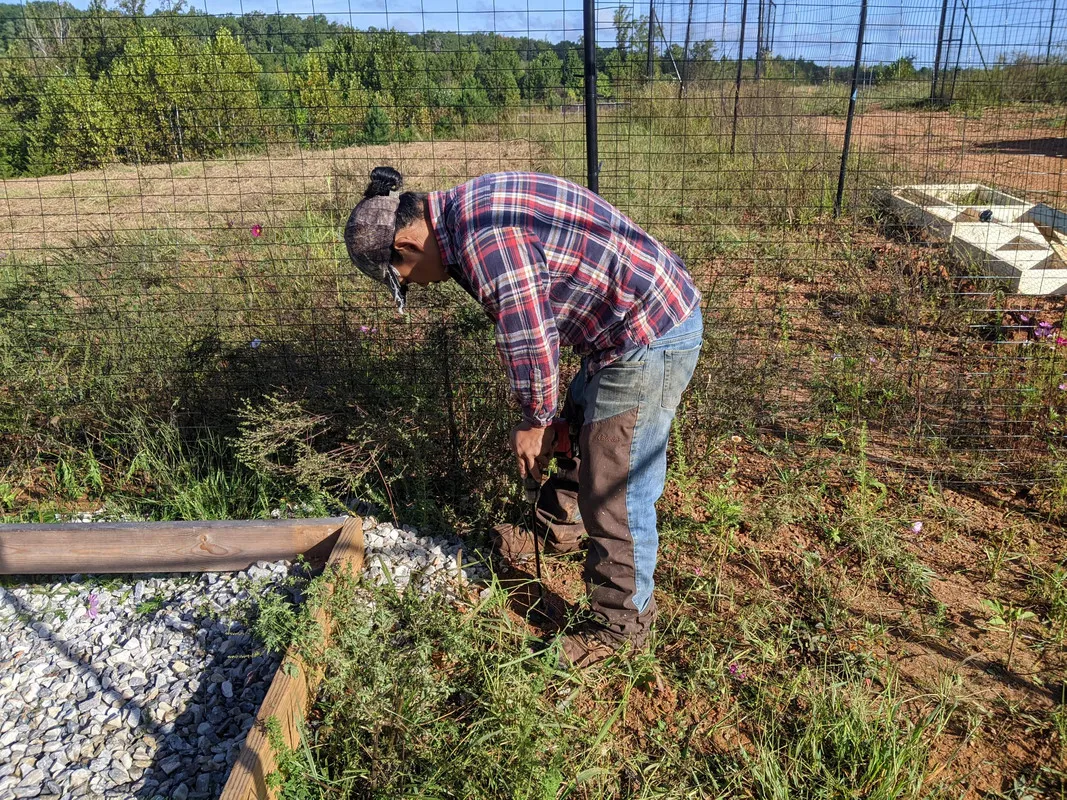
Our drill was a little under powered for this, but we did not have wired power for a long way so we had to make due.
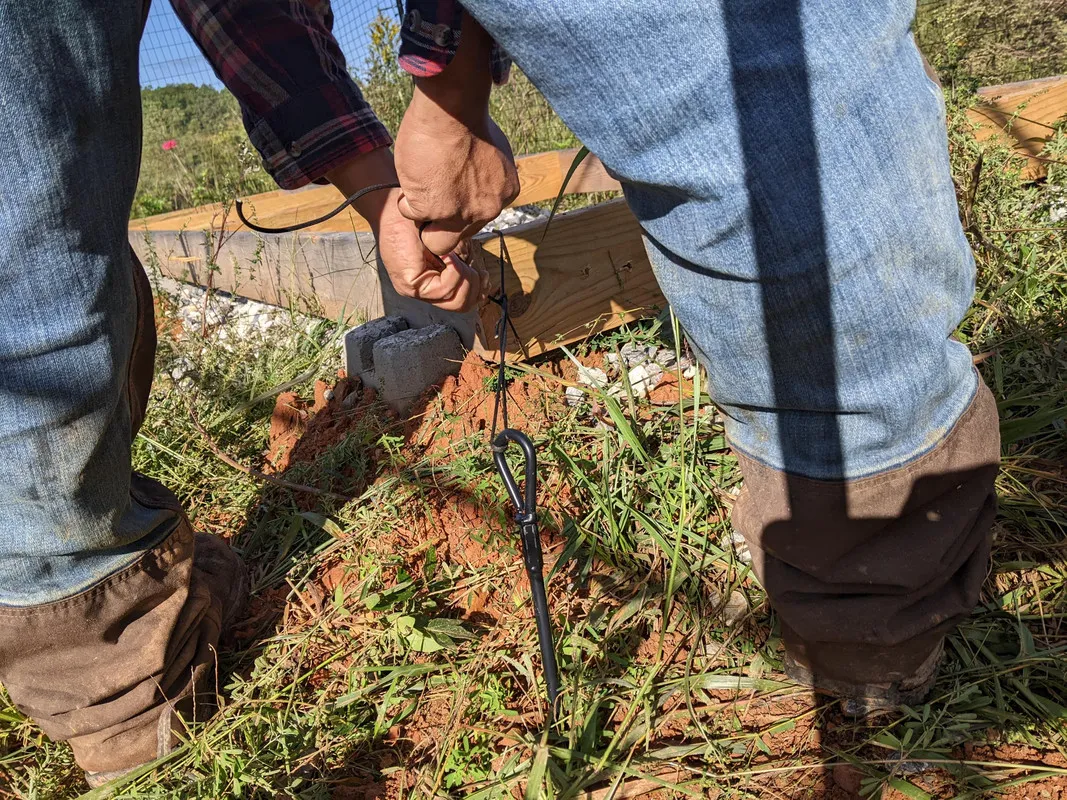
Using 550 paracord it should be strong and hold down the structure.
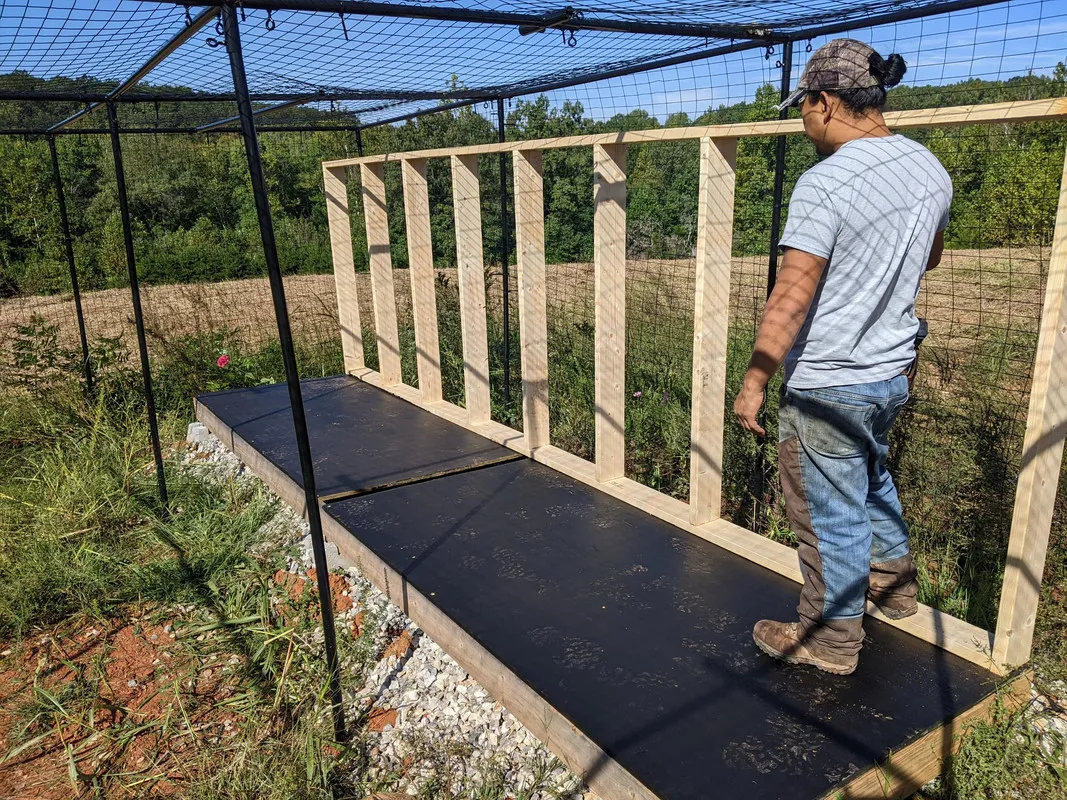
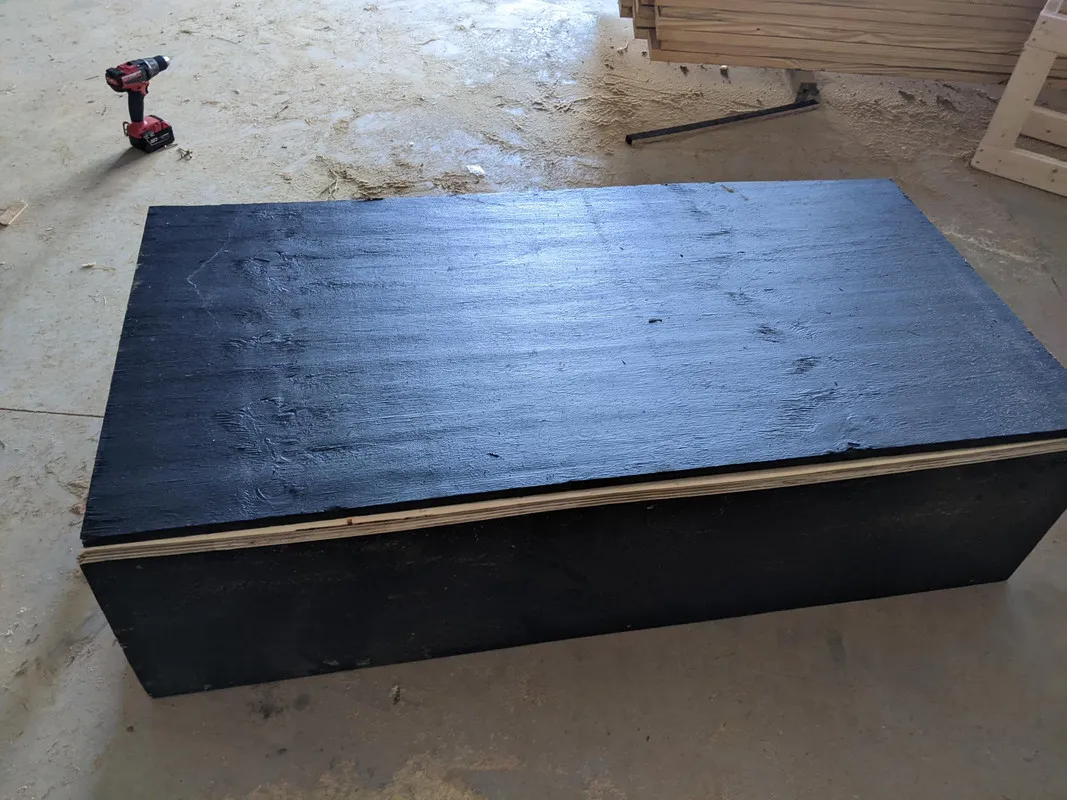
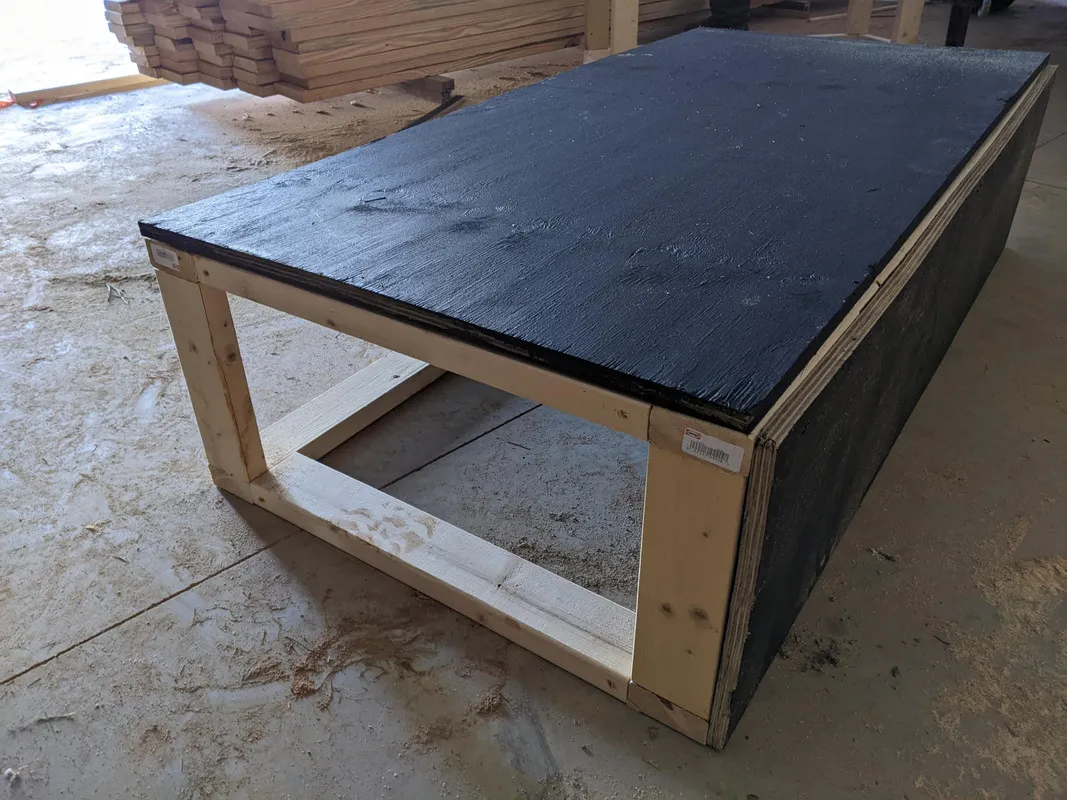
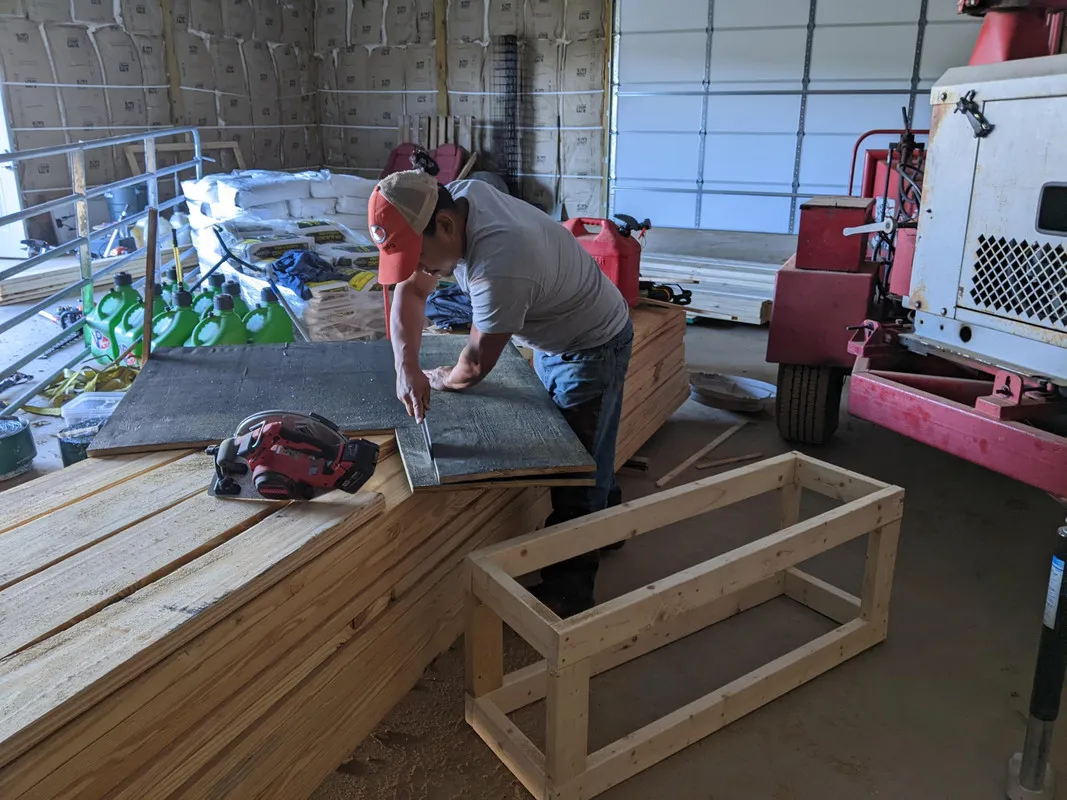
With the foundation tied down we brought over the rubberized plywood boards.
The coating on this wood will keep the mess ducks and chickens may make from soaking into the wood. So we can just clean it off when it comes time to getting the house cleaned up.
With all the walls mounted its time to start adding the paneling.
We used 8 foot metal roof sheeting and cut it to size.
The back wall was easy but the door sections require is to cut out special sections.
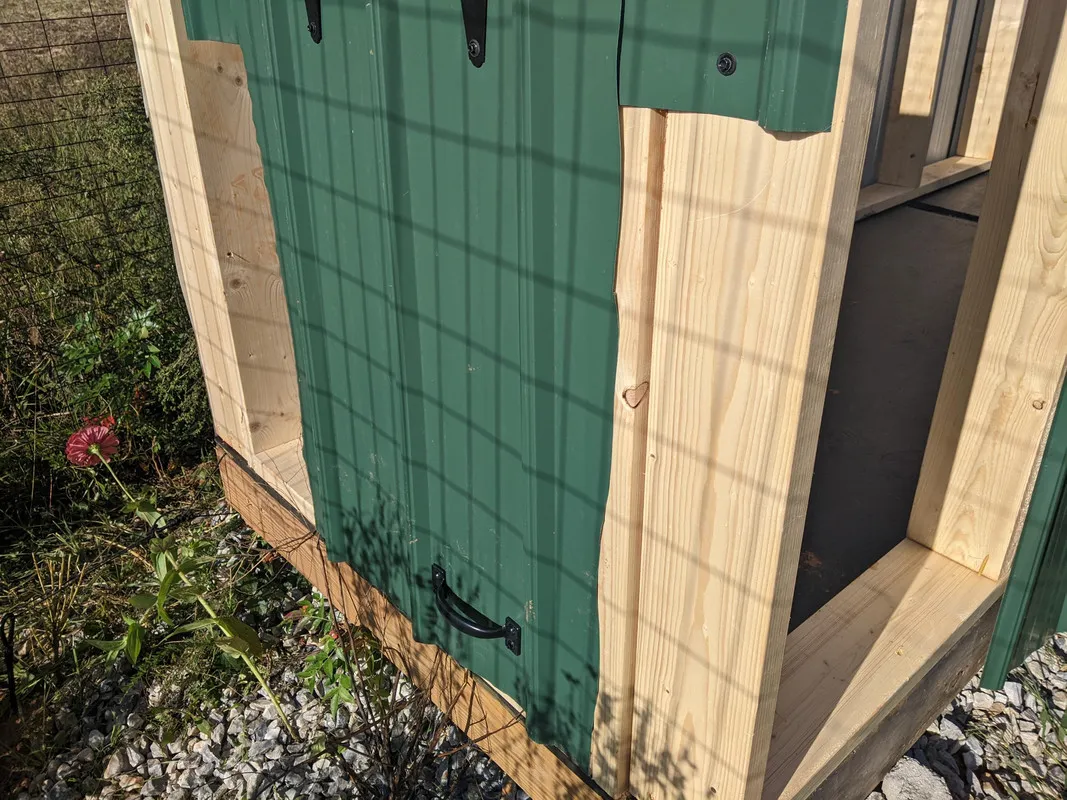
We put in a water access door, something we can easily open to just change out their water.
With the paneling coming along we need to wrap up on building the nesting boxes. These will fit on the wall of the structure and give the chickens and ducks enough space to lay eggs comfortably without taking up space inside the coop structure.
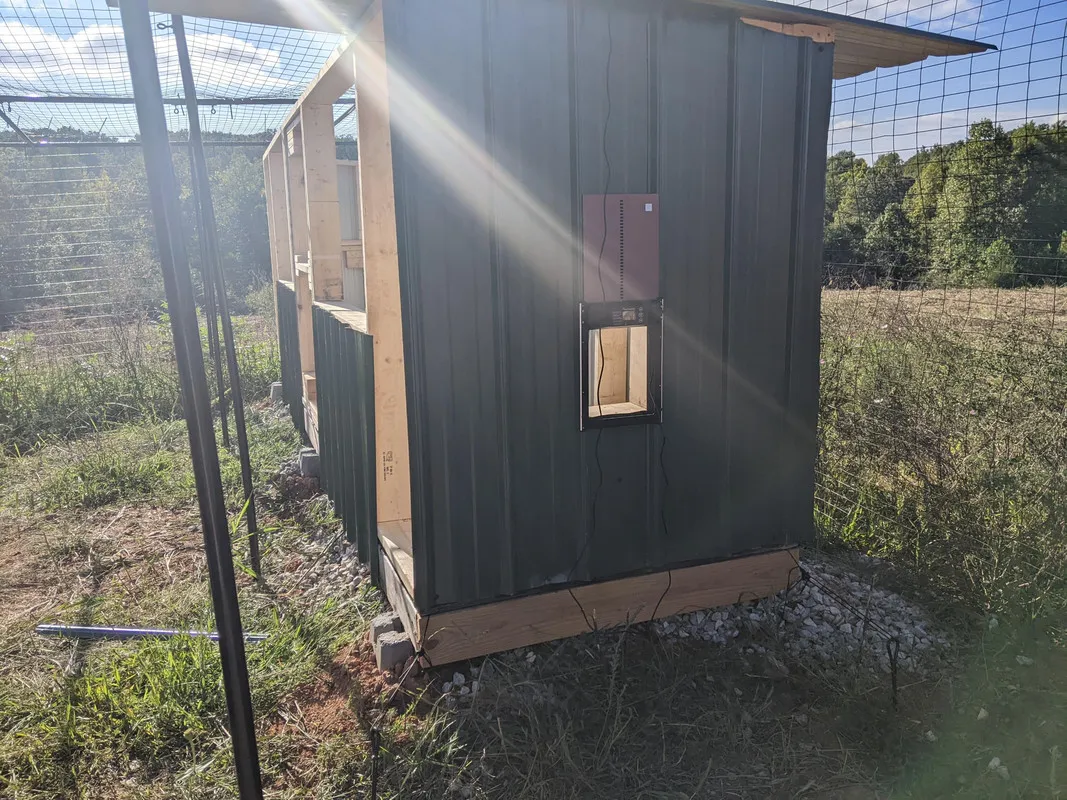
We tested out the automatic door as well, seems to be working. Will build a ramp for them to walk up to get in and out.
Nesting boxes for the ducks and chickens:
We have two sizes for the chickens and ducks. The bigger ones are for ducks and the smaller ones are for chickens. We will partition each into three or four nesting areas.
The chicken nesting box is 12 inches squared once we partition it. And the duck nesting box is 24 inches tall, 12 inches deep, and 18 inches wide.
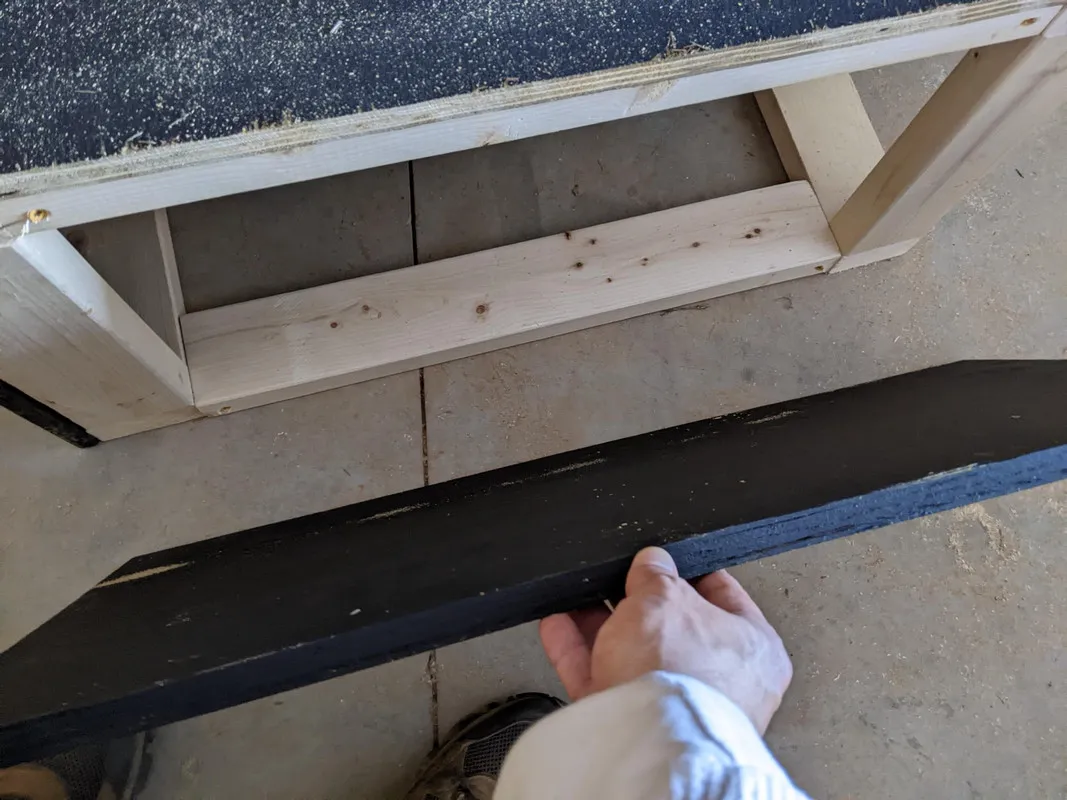
We cut rubberized plywood for the walls, so if they make a mess in the nesting boxes it is easier to clean out. Will also provide a little insulation from the cold.
I close off three out of the four sides.
My foreman makes the cuts and I screw it all down onto the nesting boxes.
They all fit pretty good, any gaps we will paint and then cover with the same material we did for the walls of the duck and chicken house.
What's next?
We used up all of our rubberized plywood, so we need to make some more. This requires us to coat some plywood in a liquid rubber and let it cure for two weeks. So we may need to pause building to wait for that. But we can finish up one nesting box hopefully. So far we have used four sheets of 8x4 foot boards. I think we need at least one more.
Soon it will be time to find some ducks and chickens. We want ones that are already sexed so we only get females. So getting babies is probably not the direction we want to go. We may try to find a duck and chicken rescue if there is such a thing near by. And get some adult female ducks and chickens. We want around 3 of each to start with and go from there.