

Warm greetings all! 🙏 💚
I've been making my own kefir for a few months now, which I've mentioned a few times in my I Am AliveAndThriving Today! | IAmAliveChallenge Hive Daily Journal Entry posts. At the suggestion of my friend @stdd, who wanted to see exactly how I make kefir, I decided to create a post about it (this one!), with a step-by-step tutorial, for those that might find this information useful or interesting.

My process of producing kefir (and there are several ways to make it, and not all use milk as a base) is very simple and easy, with minimal resources required.

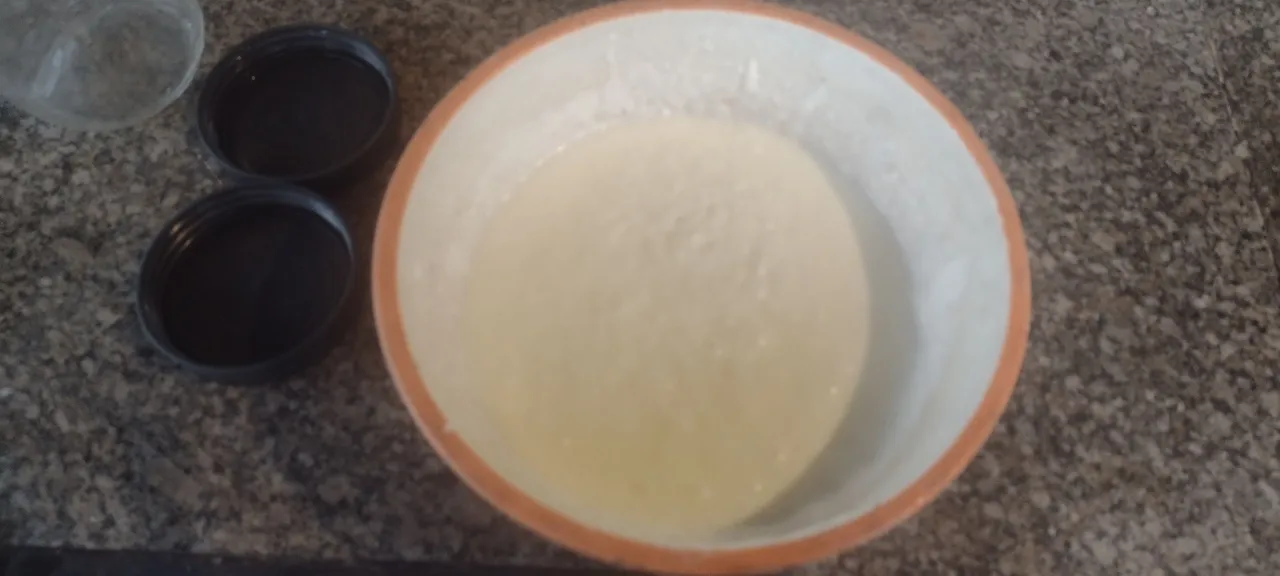
Here's the items I use to process a new batch of kefir. The quart jar on the left has the latest batch which has been fermenting at East Hawai'i ambient temperature for about five or six days. One of the empty quart jars is for the strained liquid kefir ready to drink or refrigerate. The other empty quart jar is to start a new culture for my friend Fiona. The orange and white bowl is to collect the strained liquid kefir. And last but not least, the plastic colander is to strain the kefir, and collect the kefir grains, that will be used to start new cultures.
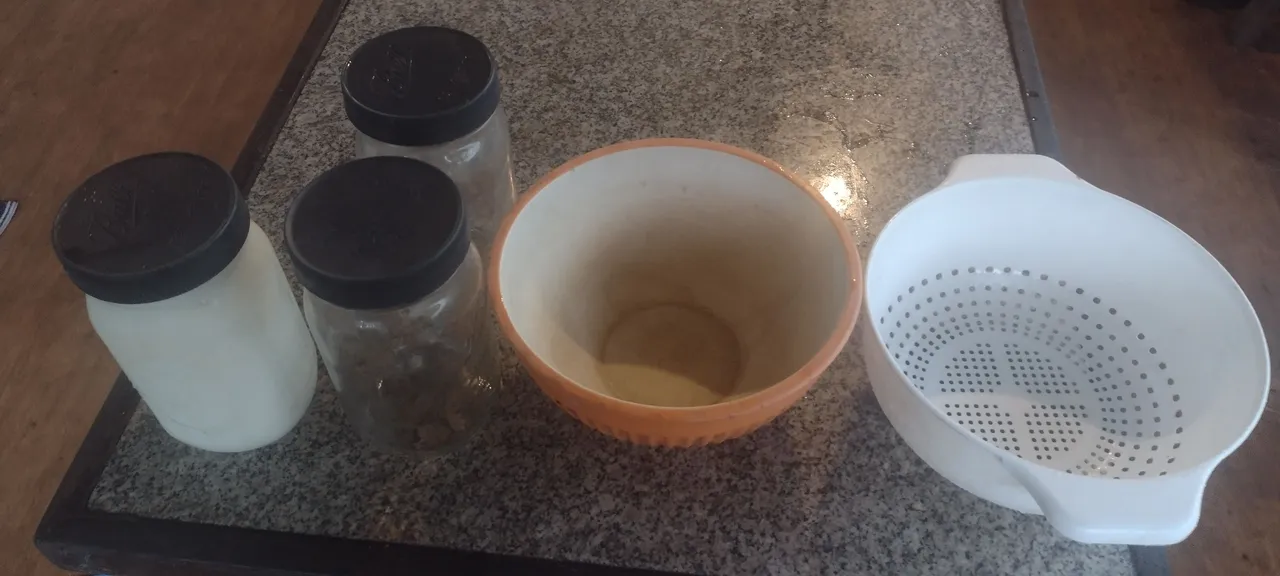
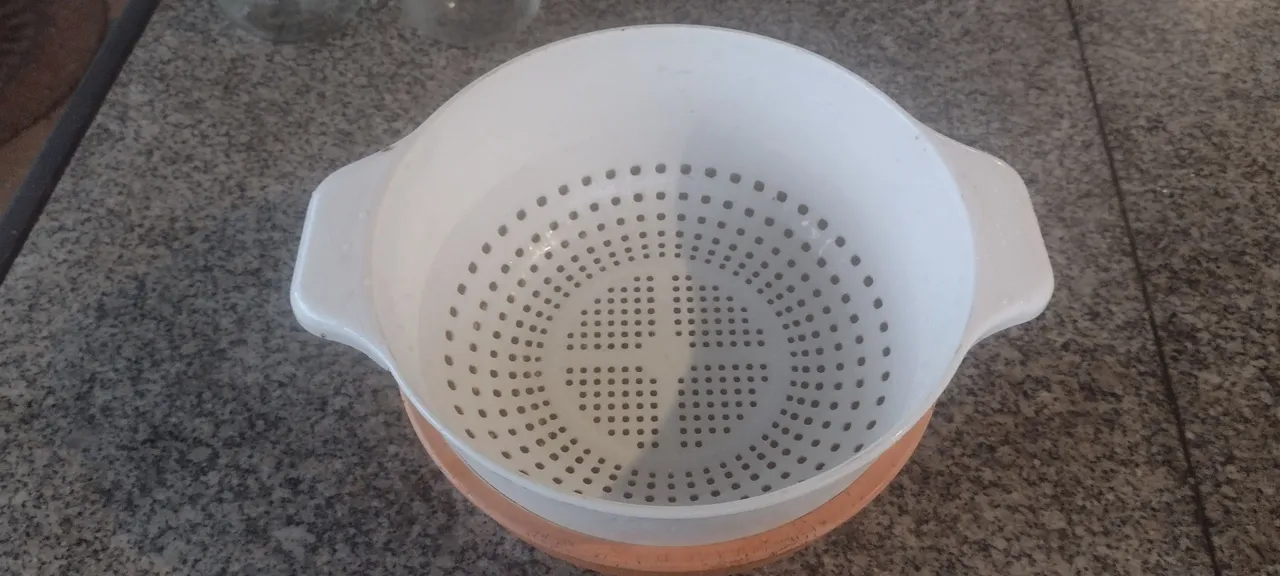
The bowl chosen to collect the strained kefir should be smaller than the colander, so that when the colander is placed in bowl, it does not touch the bottom of the bowl, creating a basin for the kefir to collect.
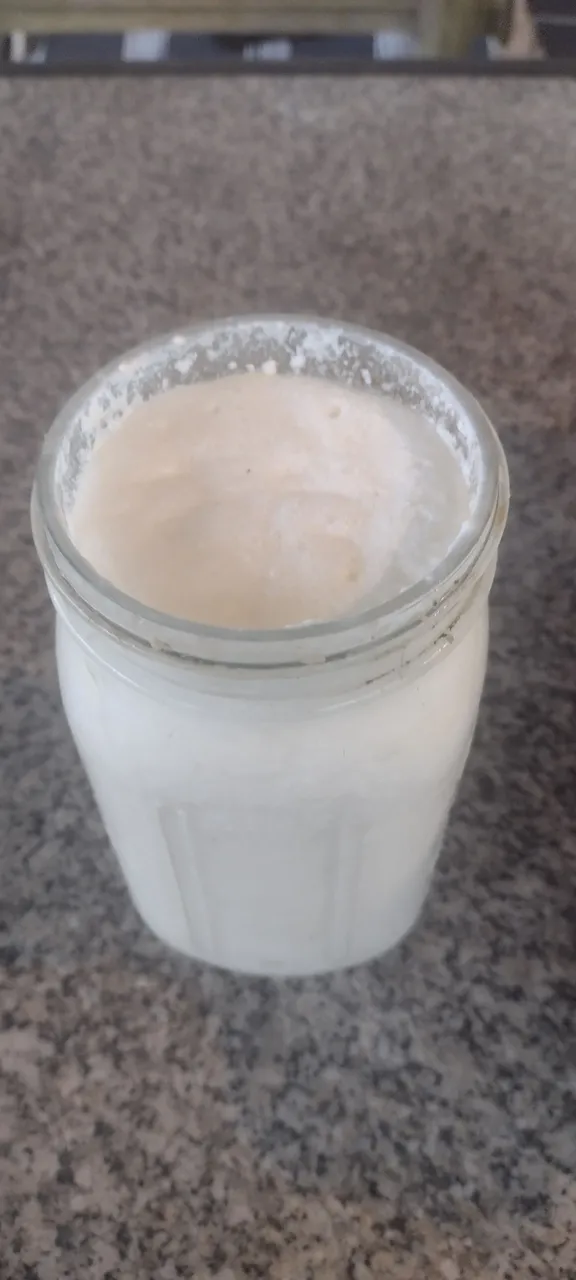
Here's the latest batch of raw, whole cow milk kefir just before I pour it into the colander to strain it, separating the liquid kefir from the kefir grains, which will be used to start new batches.
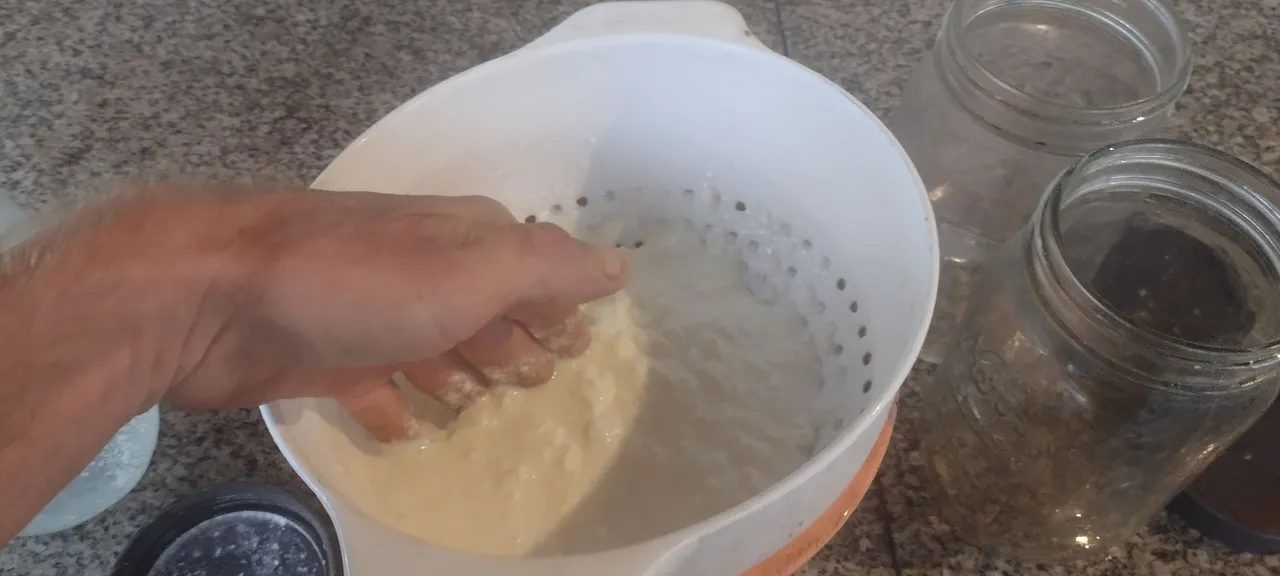
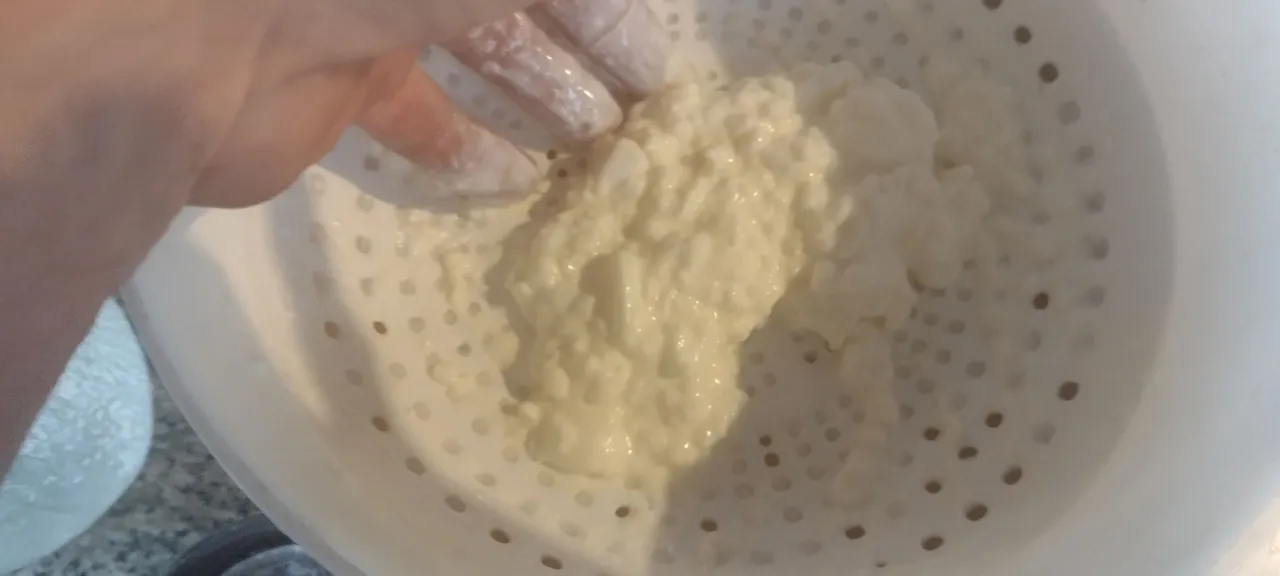
The kefir just after pouring it into the colander, before I start working it to gently separate the liquid kefir from the kefir grains. It's quite thick, so I gently massage it with one hand.

Me beginning the process of gently moving and massaging the thick liquid, so the the liquid kefir escapes through the large holes of the colander.
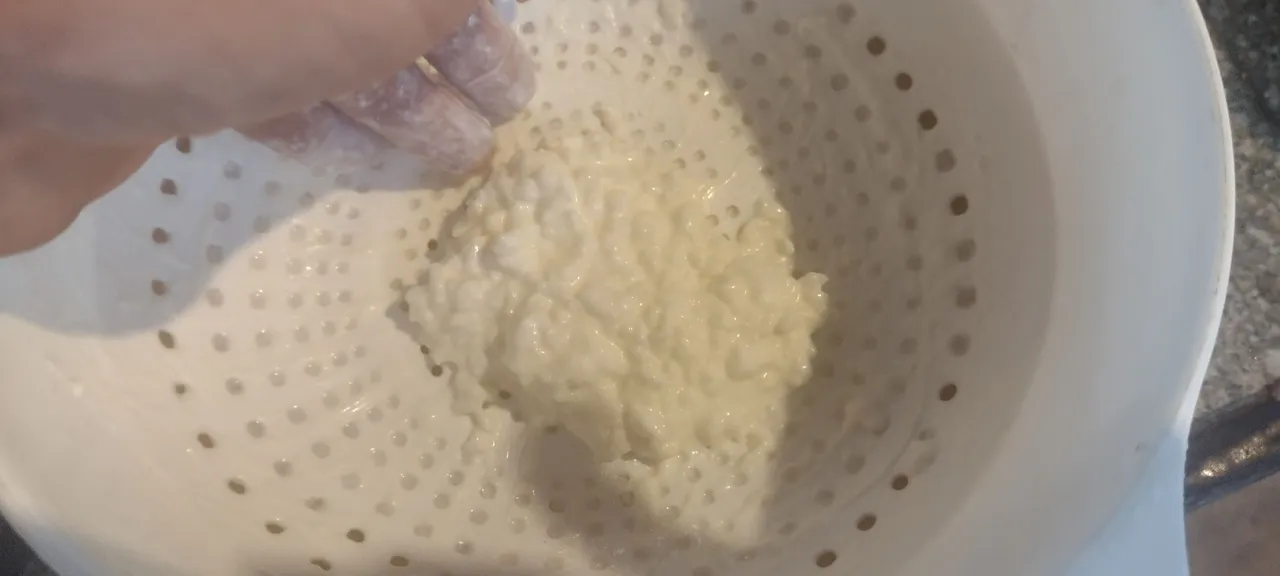
As I work it, the mass becomes smaller and more solid, as the liquid kefir is strained out.
Almost done!
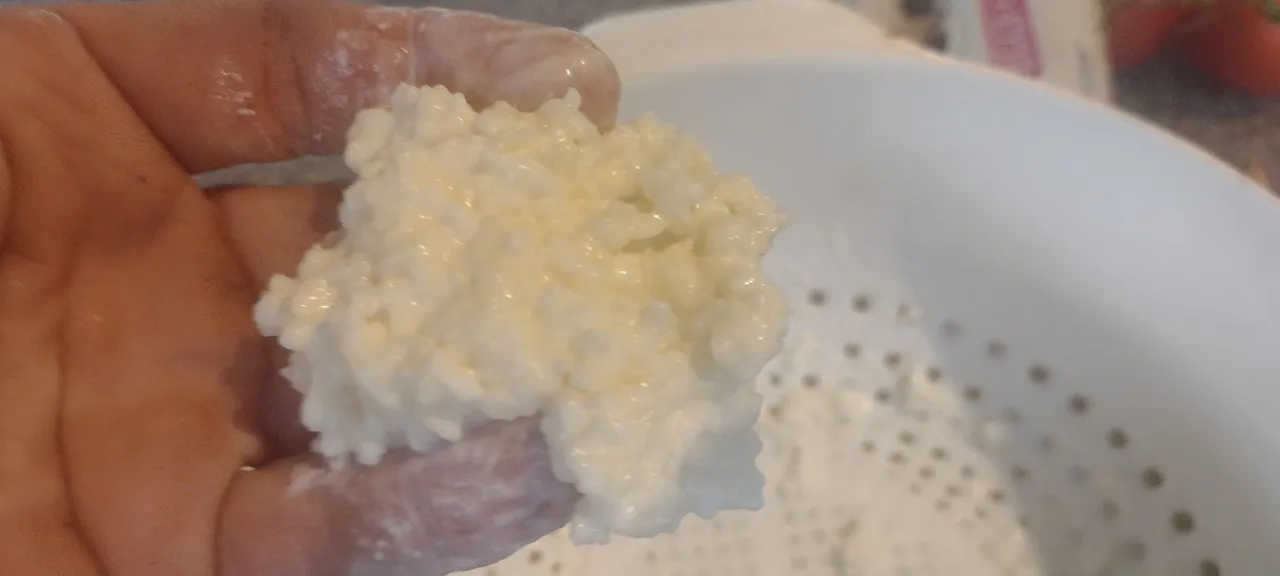
Here are the more solid (soft and rubbery, not hard) kefir grains after the liquid kefir has been strained out. These grains are now ready to inoculate another round of fresh milk.
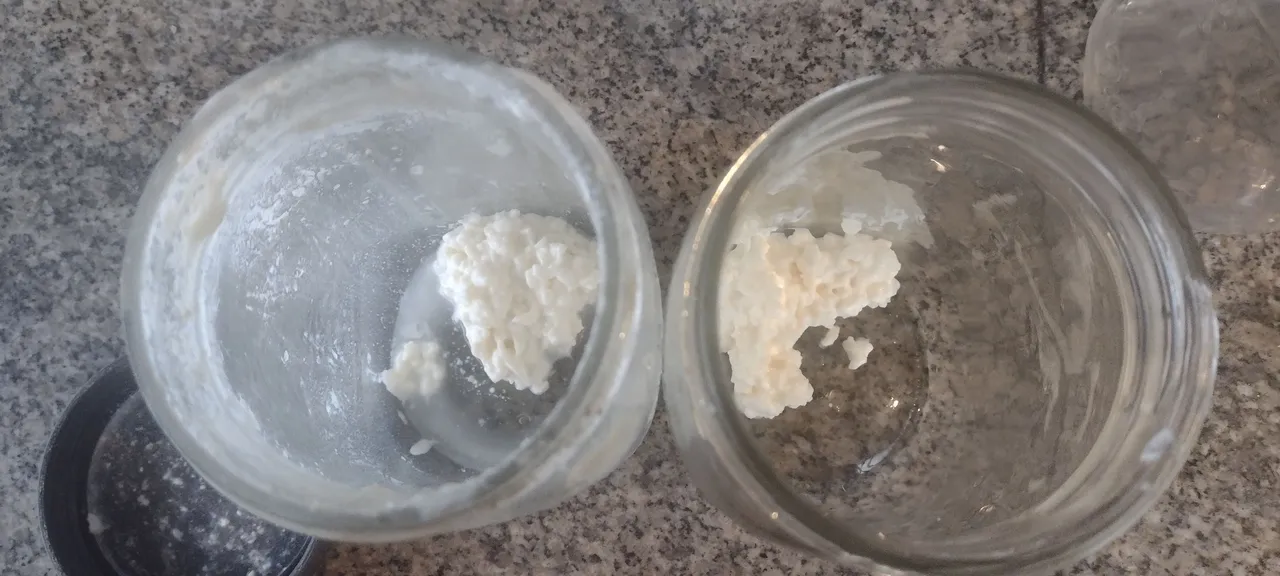
Usually I just use one jar, the one last used for fermentation, but today I am dividing the kefir grains into two jars, one for me, and one for my friend Fiona. I don't clean the jar that I used to ferment the last batch because the walls of the jar are covered with more beneficial inoculant.
Here are the two jars with the kefir grains after adding a new round of fresh milk. I use whole raw milk, which is far superior to pasteurized and homogenized milk, though store-bought milk can be used too. The pasteurization and homogenization processes destroy pretty much everything beneficial in milk, so store-bought milk is only used as a last resort.
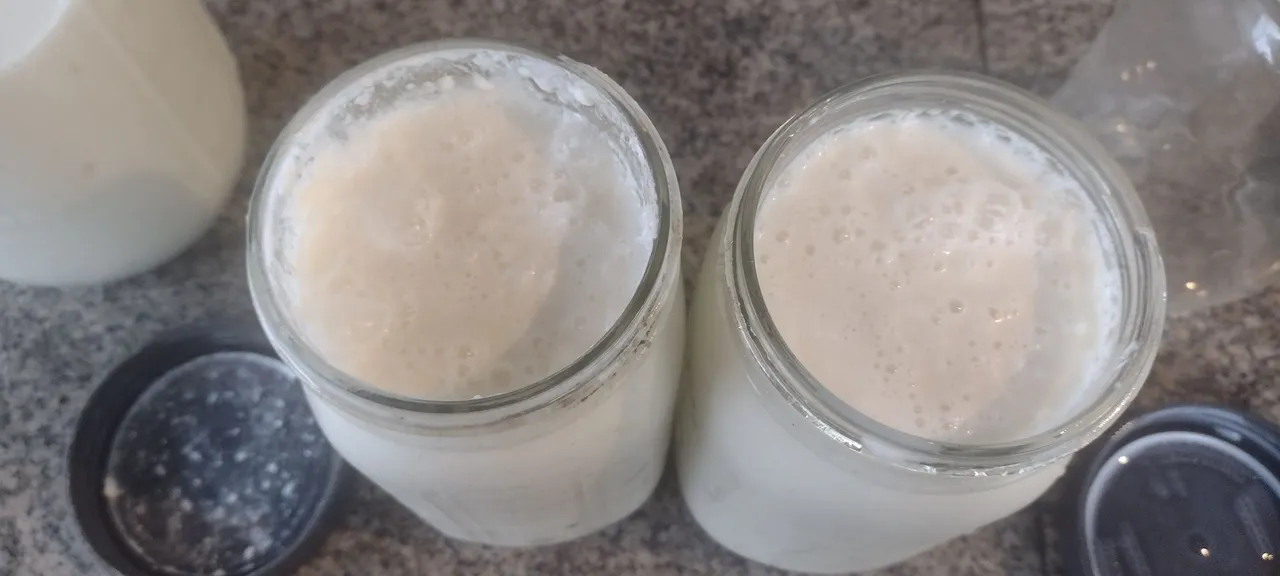
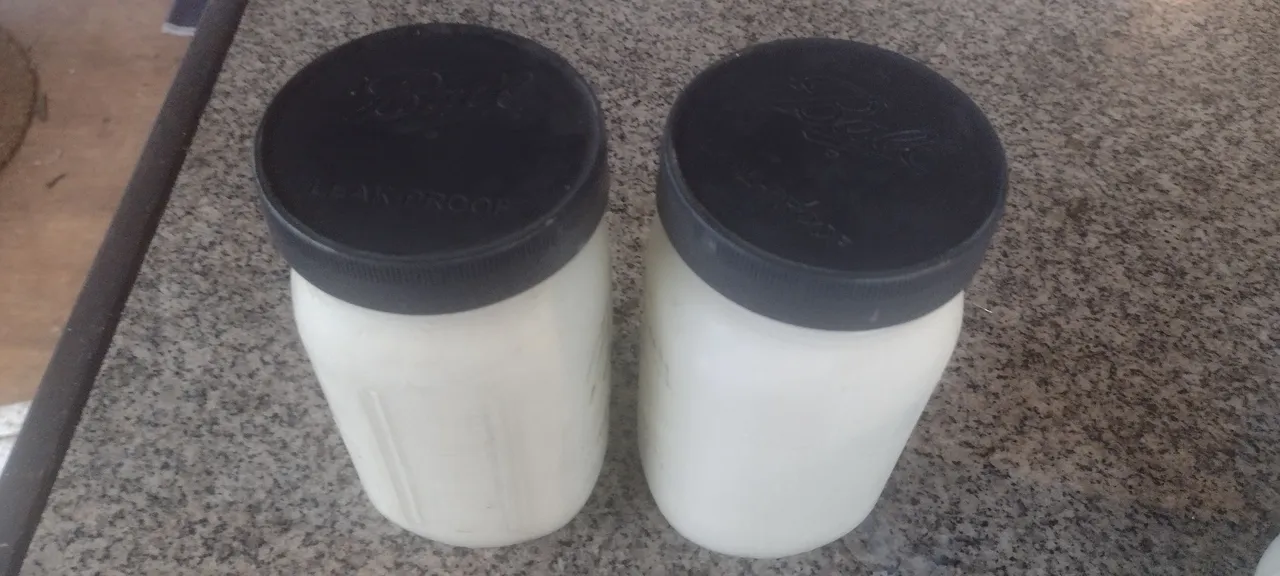
The tops are put on firmly but gently, and these jars will be put on a shelf out of direct light. The new kefir would be usable after two or three days, though the longer it ferments, the more tart and tangy it will get, which I prefer, so I let mine go for several days, and sometimes more then a week.
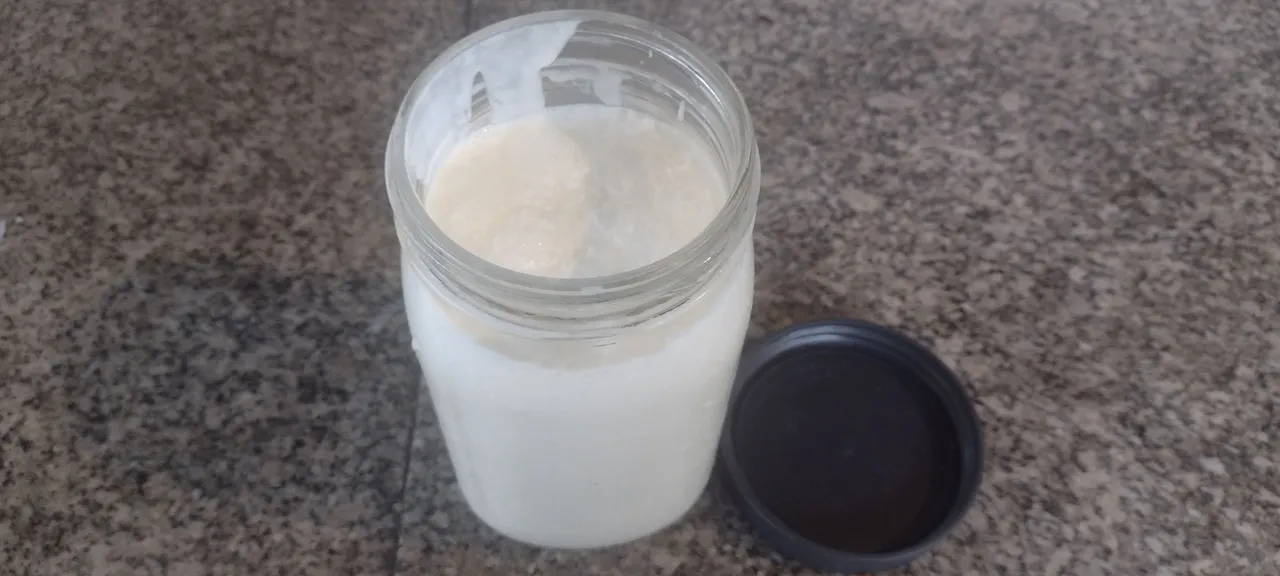
Now onto the liquid kefir that was collected in the bowl. All that's needed now is to pour it into a jar.
This is the new batch of kefir ready to drink or cap and refrigerate until desired.
So that's the quick and simple process I use to make kefir. So far I've just used quart jars, but half-gallon or gallon jars can be used as well. For the next round, I think I'll use half-gallon ones.
I mentioned that while raw milk (any kind of milk will work) is far superior to pasteurized and homogenized store-bought milk. There are multiple reasons why this is the case, but I want to mention one. Raw milk already has a whole host of beneficial bacteria and yeasts (that's how a baby mammal's intestinal tract is inoculated with these essential organisms), so when we add kefir culture to raw milk, we end up with what I'd call super kefir. The reason for this is that most kefirs that you can buy in a store, which were cultured in pasteurized milk, usually have about 10-13 different organisms. Raw milk kefir usually has 30 or more.
The only things that might make this process that I described here slightly challenging is acquiring the kefir culture (the grains) to start a new batch. If they can be gotten, however, it's super easy. In any case, I hope that this information is useful. Kefir is incredibly beneficial for our bodies, so given how easy it is to produce, and how expensive it usually is at the store, it's a no brainer to make our own if we're able.
All photos were taken with my Motorola G Power Android Phone.

Thank you all so much who have helped me get to where I am today, and allowing me to share more of the beauty and magic from my life and my world with you, and for your continuous appreciation and support! I am truly deeply grateful! 😁🙏💚
If you'd like to find me on other alternative platforms where I have accounts (I spend most of my time here on Hive), click on this signature image below to go to my LinkTree page.

If you'd like to send me a BTC Lighting Tip (made possible by the fantastic work of brianoflondon on @v4vapp), just scan the QR image below. 👇

Signature image created by @doze, and the dividers made by @thepeakstudio, with all tweaked to their present form by me.