
✨🍰🍫¡Hola amigos amantes de la comida! Espero estén pasando un gran día.🍫🍰✨
Espero que todos hayan tenido una semana excelente y que tengan un fin de semana muy reparador. En esta ocasión les comparto una deliciosa receta de bizcocho húmedo de chocolate. Los bizcochos siempre son buenos para comer a la hora de la merienda, ya sea para acompañar con un delicioso café o con leche. Hace unos días, mientras hacíamos las compras, fui por cacao para preparar mis recetas, ya sea para hacer una cobertura o como ingrediente estrella de alguna receta.
En fin, siempre que compro un cacao me gusta probarlo para saber si es bueno o no, al hacerlo noté que era un cacao de calidad; bastante oscuro y con poca cantidad, daba un sabor intenso a chocolate. Es por eso que en esta ocasión decidí hacer un bizcocho de chocolate húmedo, humedecido también con una preparación chocolatada. Estoy segura de que está recetas los sacará de algún apuro, pues es una receta muy sencilla y la pueden decorar como gusten.
🔸A continuación, los dejo con el paso a paso:
✨🍰🍫¡Hello food loving friends! I hope you are super well on this day.🍫🍰✨
I hope everyone has had a great week and have a very restful weekend. This time I share a delicious recipe for moist chocolate cake. The biscuits are always good to eat at snack time, either to accompany with a delicious coffee or with milk. A few days ago, while we were shopping, I needed cocoa to prepare my recipes, either to make a coating or as a star ingredient in a recipe.
In short, whenever I buy a cocoa I like to try it to find out if it is good or not, when doing so I noticed that it was a quality cocoa; quite dark and with little quantity, it gave an intense chocolate flavor. That is why this time I decided to make a moist chocolate sponge cake, also moistened with a chocolate mixture. Surely these recipes will get you out of trouble, because it is a very simple recipe and you can decorate it however you like.
🔸Next, I leave you with the step by step:
♥️Espero les guste. ¡Comencemos!
♥️I hope you like it. Let's get started!

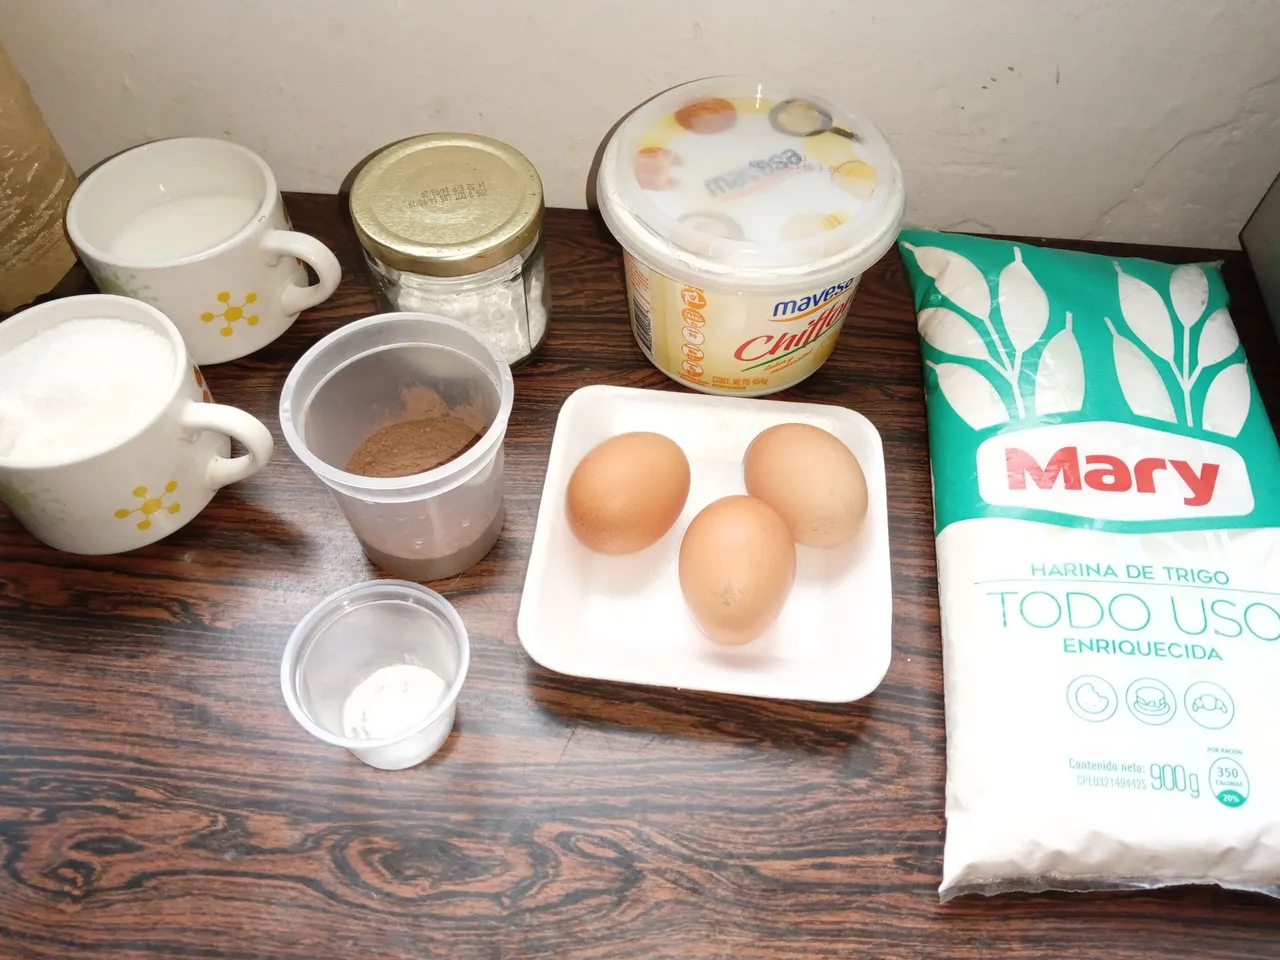
🍫 INGREDIENTES | 🍫 INGREDIENTS
- 300 gr de harina de trigo.
- 125 gr de azúcar.
- 100 ml de mantequilla.
- 150 ml de leche.
- 2 cdas de cacao en polvo.
- 1 cdta de polvo para hornear.
- ½ cdta de bicarbonato de sodio.
- 3 huevos.
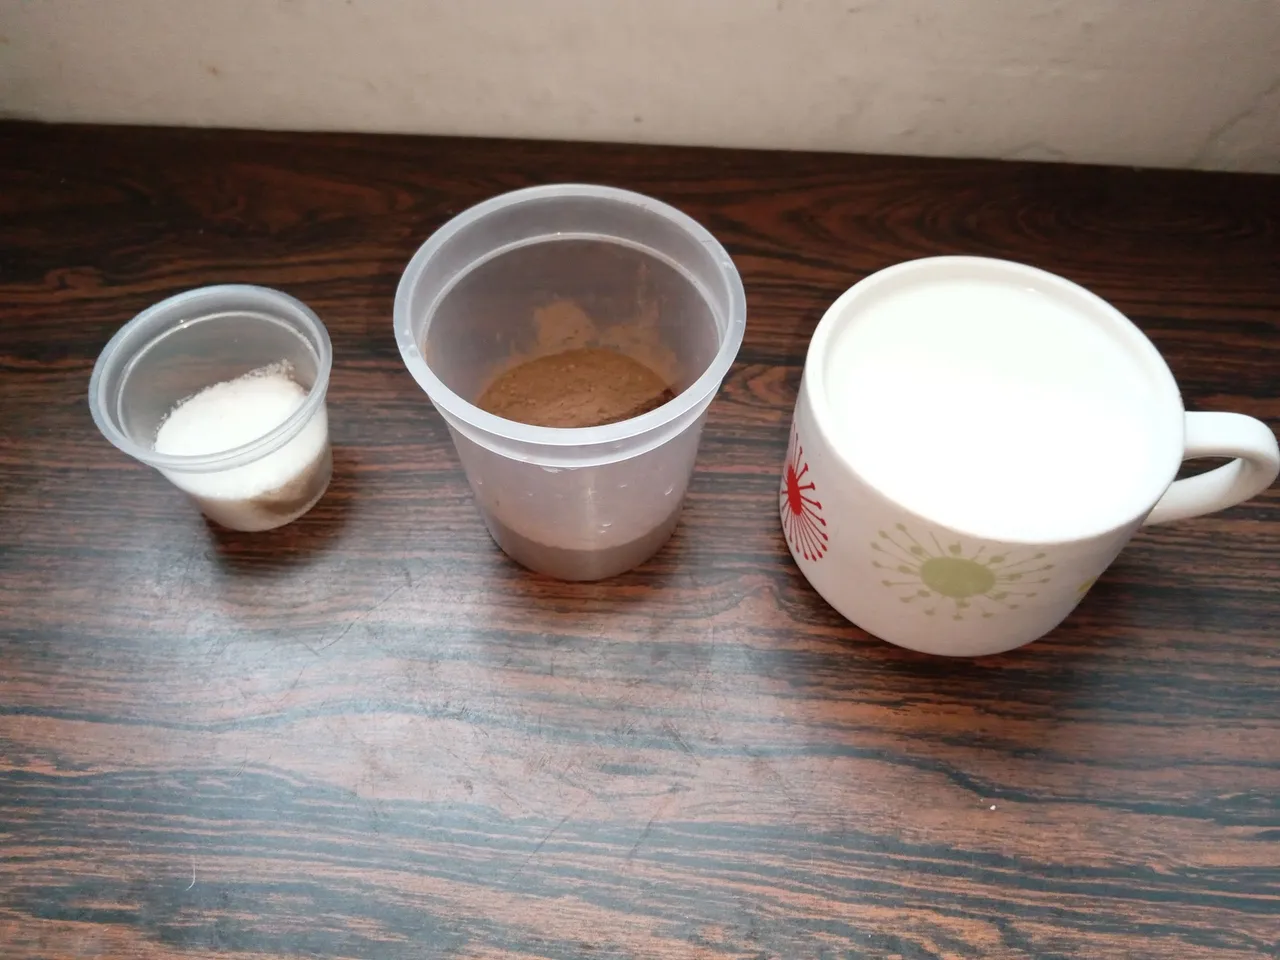
🍶Para humedecer:
- 200 ml de leche.
- 2 cdas de cacao en polvo.
- 1 cda azúcar.
- 300 gr of wheat flour.
- 125 gr of sugar.
- 100 ml of butter.
- 150 ml of milk.
- 2 tablespoons of cocoa powder.
- 1 teaspoon of baking powder.
- ½ teaspoon of baking soda.
- 3 eggs.
🍶To moisten:
- 200 ml of milk.
- 2 tablespoons of cocoa powder.
- 1 spoon of sugar.
🍰 PREPARACIÓN | 🍰 PREPARATION
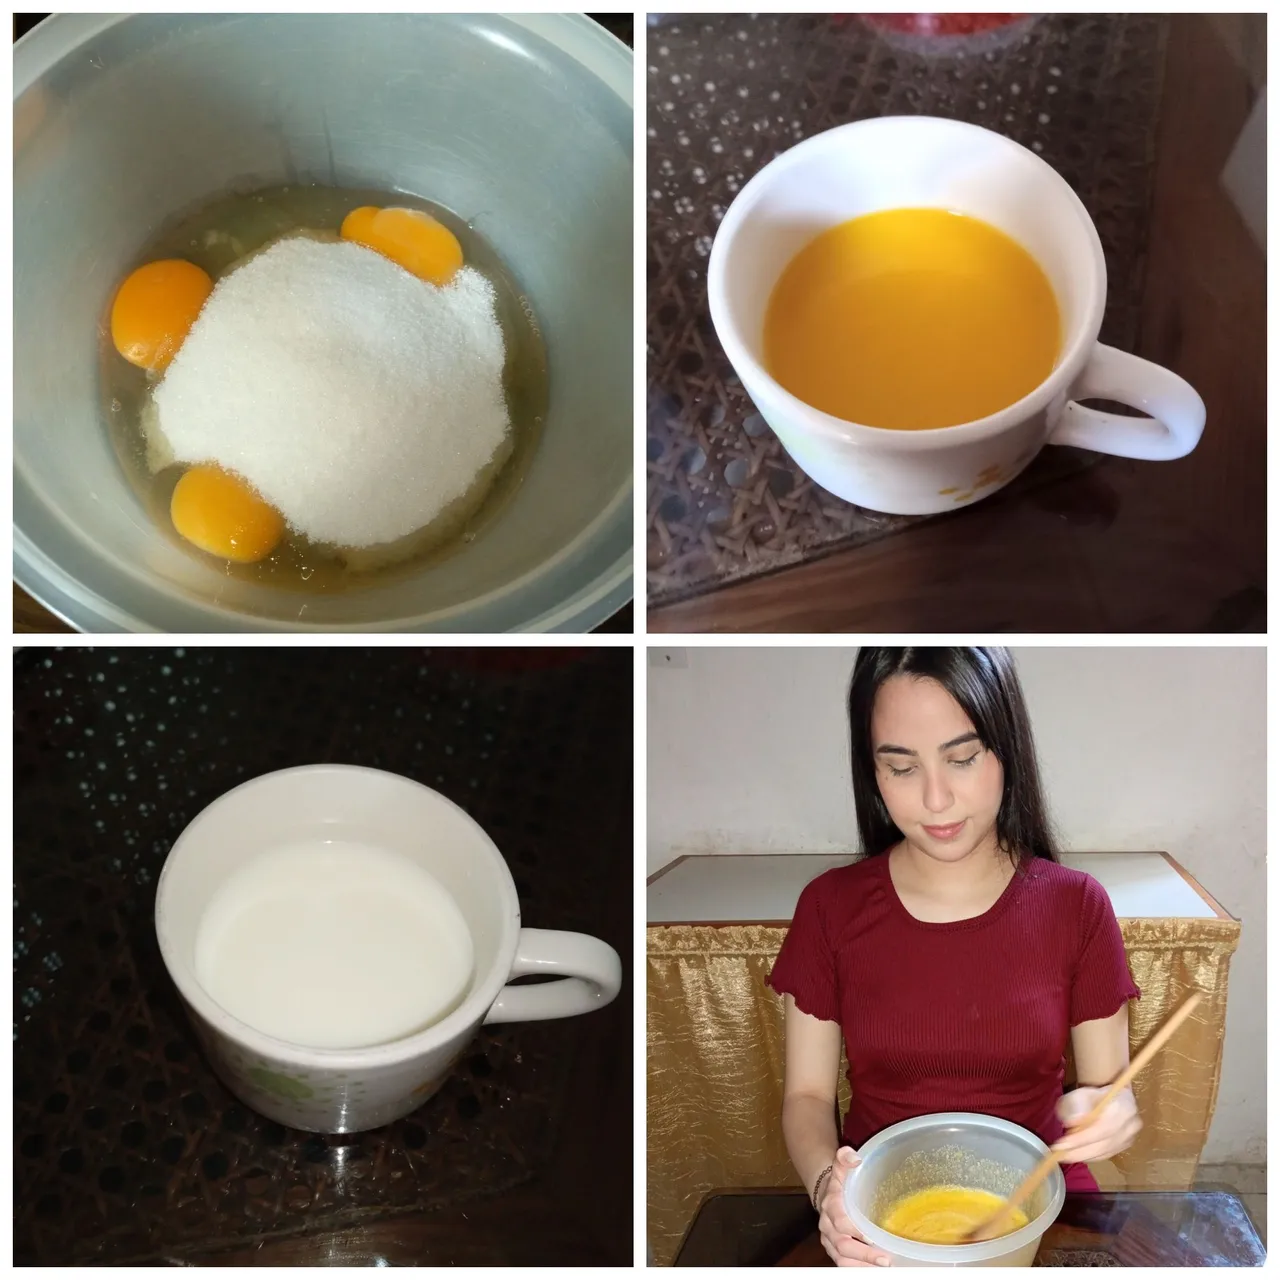
- PASO 1:
Lo primero que debemos hacer es añadir los 3 huevos junto con 125 gramos de azúcar a un recipiente y mezclar muy bien con ayuda de una cuchara, paleta o batidora eléctrica, hasta que se disuelva el azúcar. Luego agregar 100 ml de mantequilla derretida junto con 150 ml de leche e incorporar nuevamente.
- 1 STEP:
The first thing we must do is add the 3 eggs together with 125 grams of sugar to a container and mix very well with the help of a spoon, paddle or electric mixer, until the sugar dissolves. Then add 100 ml of melted butter along with 150 ml of milk and add again.
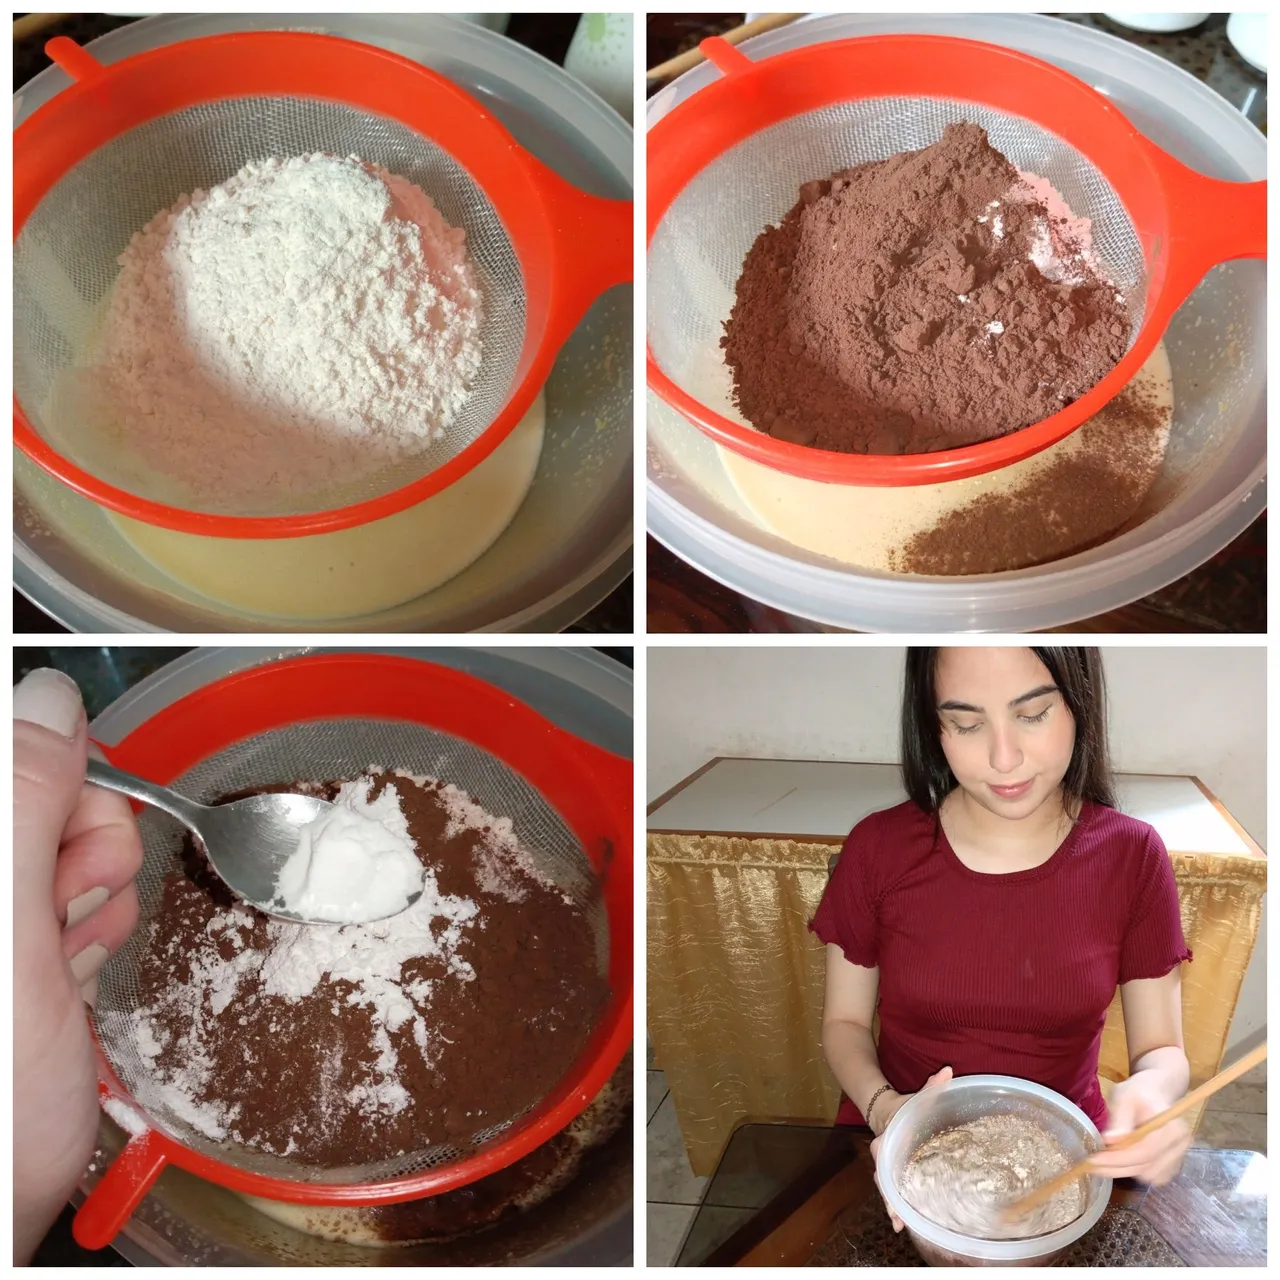
- PASO 2:
Ahora es el momento de agregar los ingredientes secos. Agrega en el recipiente 300 gr de harina de trigo, 2 cucharadas de cacao en polvo, 1 cucharadita de polvo de hornear y ½ cucharadita de bicarbonato de sodio, (todos estos ingredientes previamente tamizados y mezclamos).
📌Recuerda que es muy importante tamizar los ingredientes secos para que no se formen grumos en la preparación.
📌Debe quedar una mezcla con consistencia homogénea.
- 2 STEP:
Now is the time to add the dry ingredients. Add 300 gr of wheat flour, 2 tablespoons of cocoa powder, 1 teaspoon of baking powder and ½ teaspoon of baking soda to the container, (all these ingredients previously sifted and mixed).
📌Remember that it is very important to sift the dry ingredients so that lumps do not form in the preparation.
📌There should be a mixture with a homogeneous consistency.
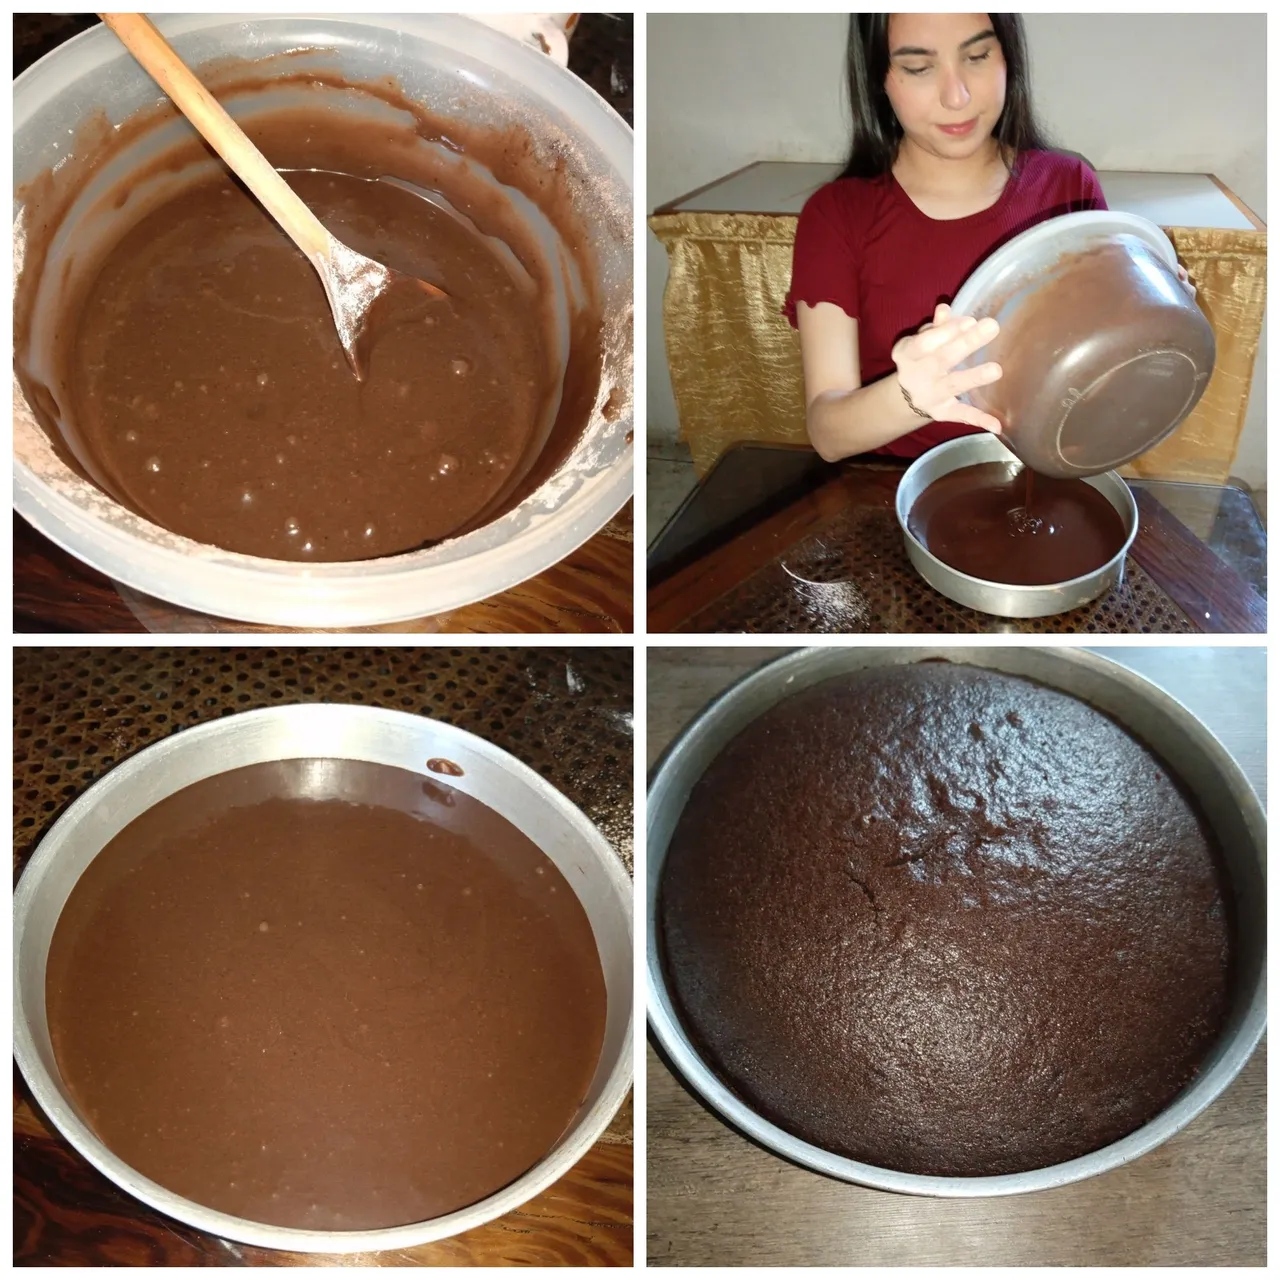
- PASO 3:
Una vez integrados todos los ingredientes, engrasar el molde con un poco de aceite y verter la mezcla. Llevar a horno precalentado a 180 °C de 30 a 35 minutos, o hasta que al introducir un palito este salga limpio. Pasado el tiempo, retirar del horno y dejar enfriar.
- 3 STEP:
Once all the ingredients are integrated, grease the mold with a little oil and pour the mixture. Bake in a preheated oven at 180°C for 30 to 35 minutes, or until a skewer inserted comes out clean. After the time, remove from the oven and let cool.
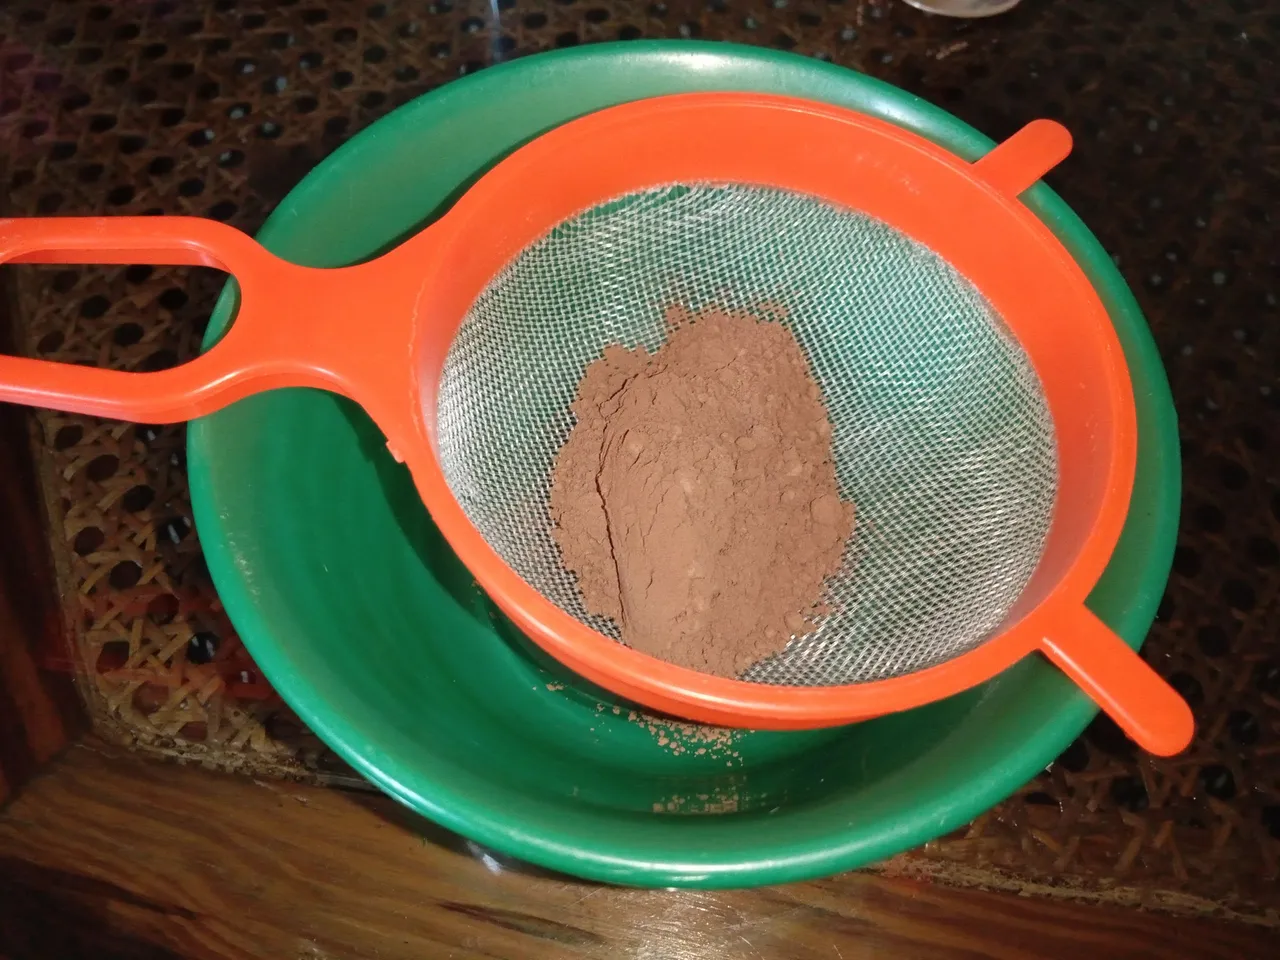
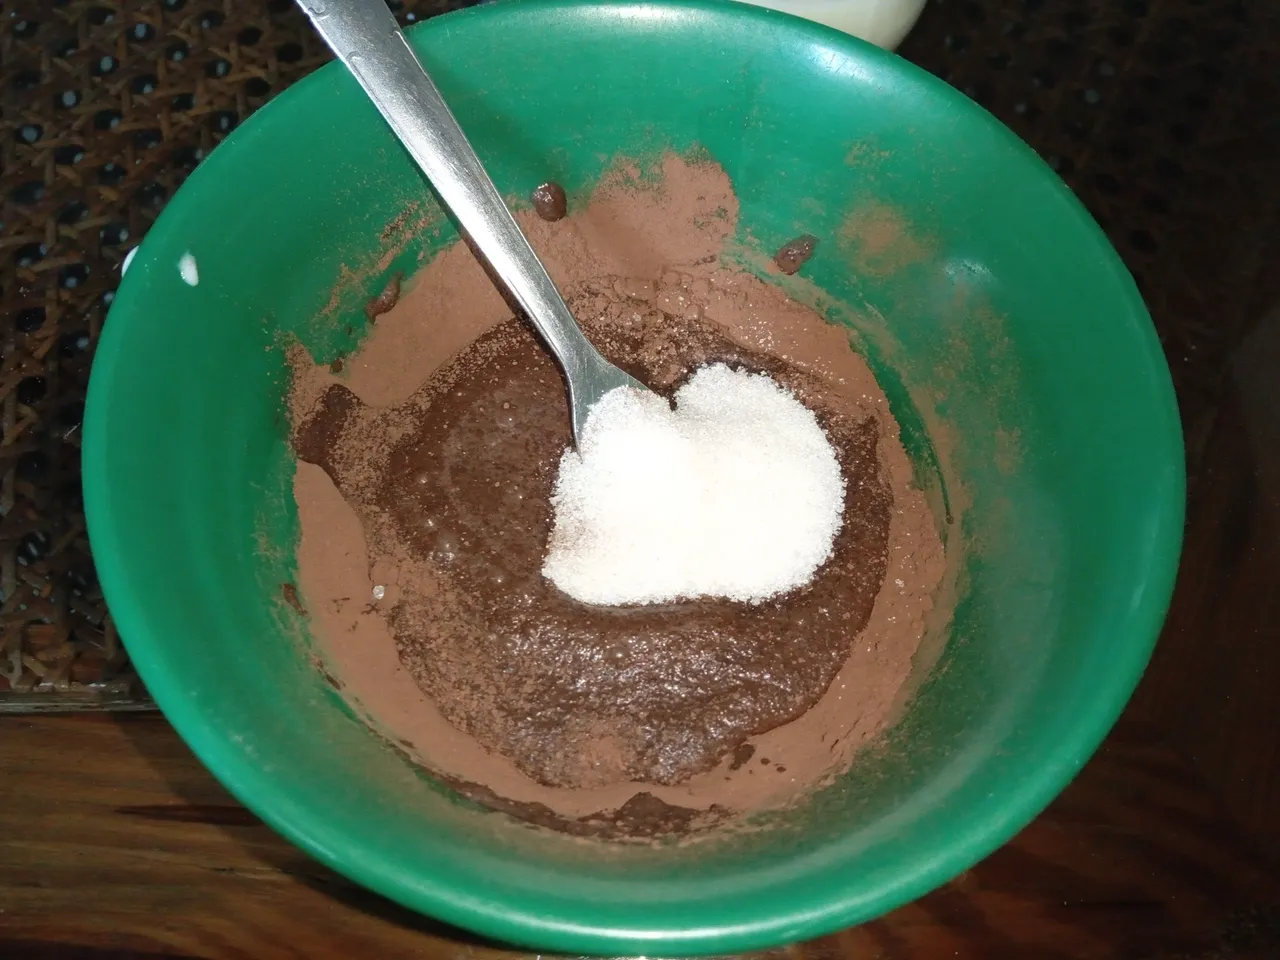
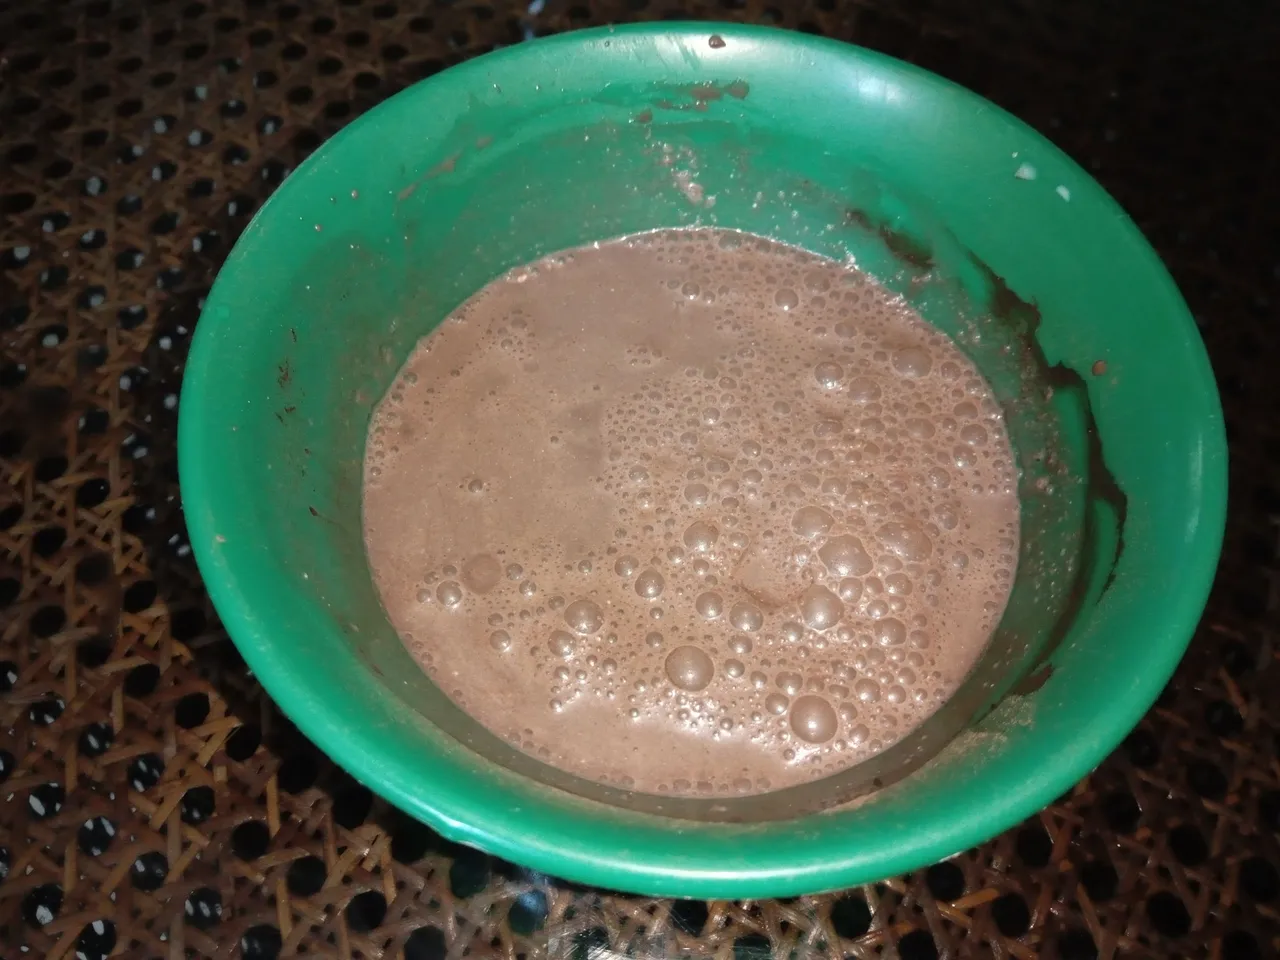
- PASO 4:
Mientras el bizcocho se enfría, vamos con la preparación para humedecerlo. En un envase hondo, agregar 2 cdas de cacao en polvo (previamente tamizado), 200 ml de leche (agregar poco a poco para que no se formen grumos) y, por último, 1 cda azúcar.
- 4 STEP:
While the cake cools, we go with the preparation to moisten it. In a deep bowl, add 2 tablespoons of cocoa powder (previously sifted), 200 ml of milk (add little by little so that lumps do not form) and, finally, 1 tablespoon of sugar.
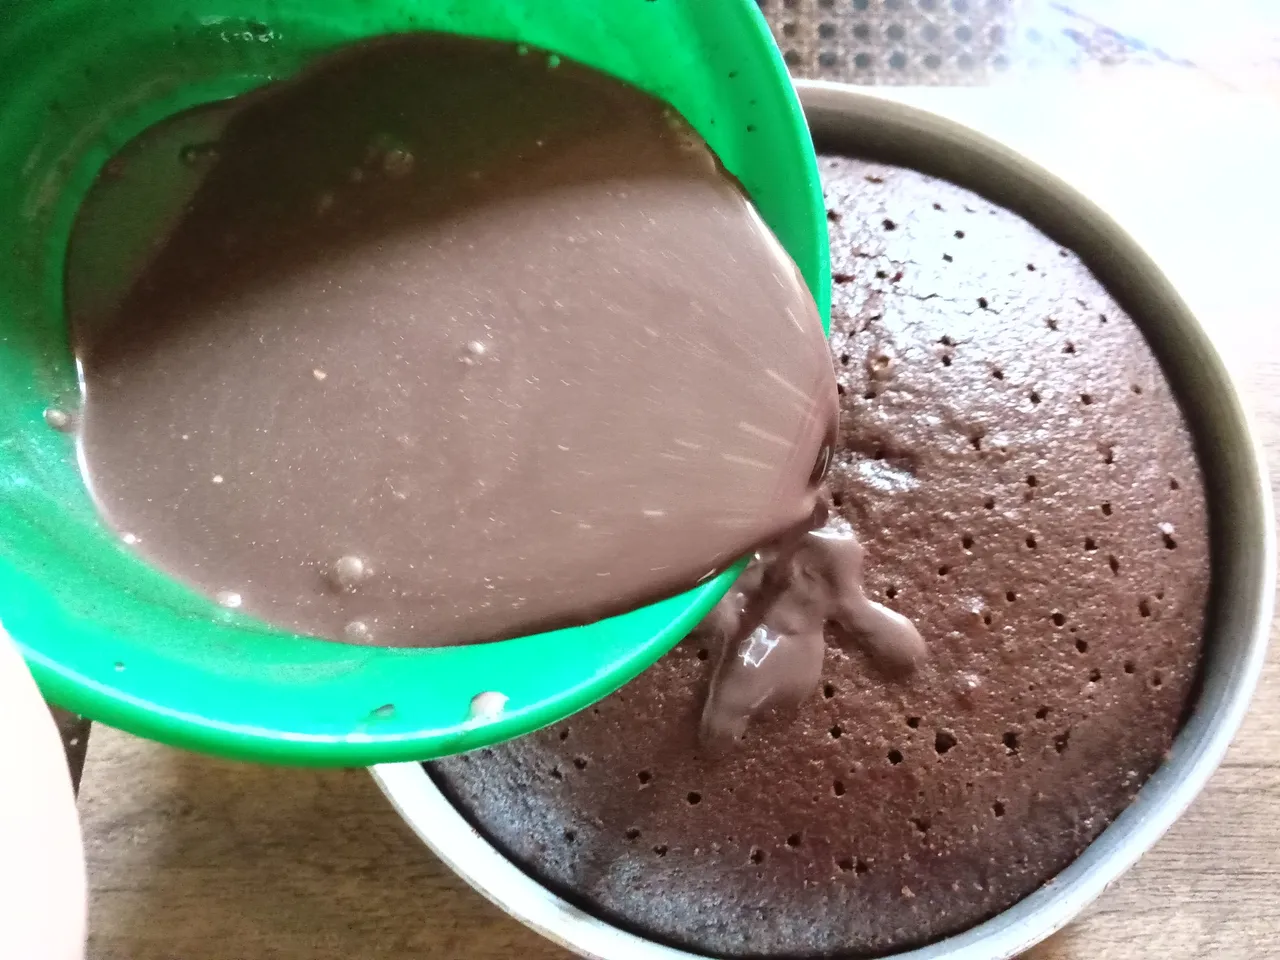
- PASO 5:
Luego, despegar el bizcocho del molde y con ayuda de un palillo o tenedor, hacer agujeros por toda la superficie del bizcocho y verter todo el líquido por la superficie. Llevar al refrigerador de 30 minutos a 1 hora.
- 5 STEP:
Then, take the cake out of the mold and with the help of a toothpick or fork, make small holes all over the surface of the cake and pour all the liquid on the surface. Refrigerate 30 minutes to 1 hour.


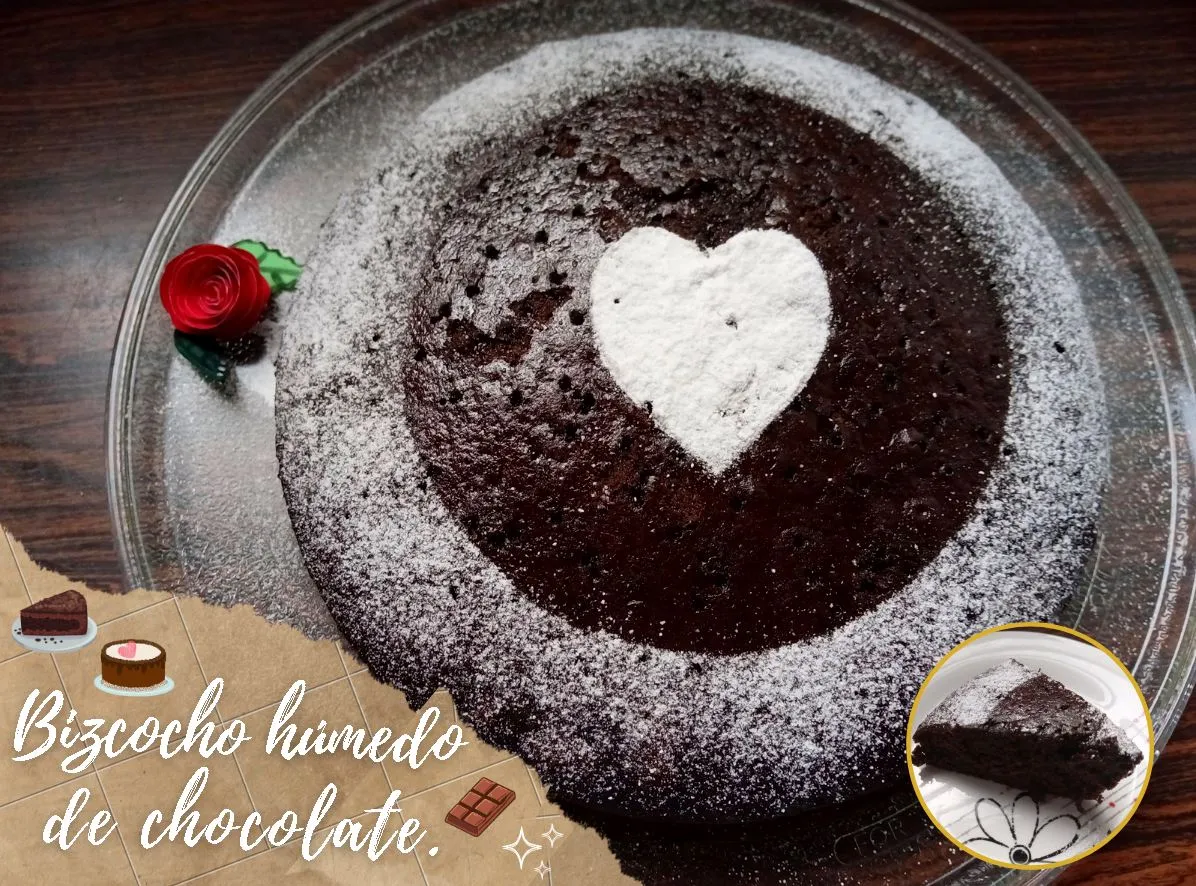
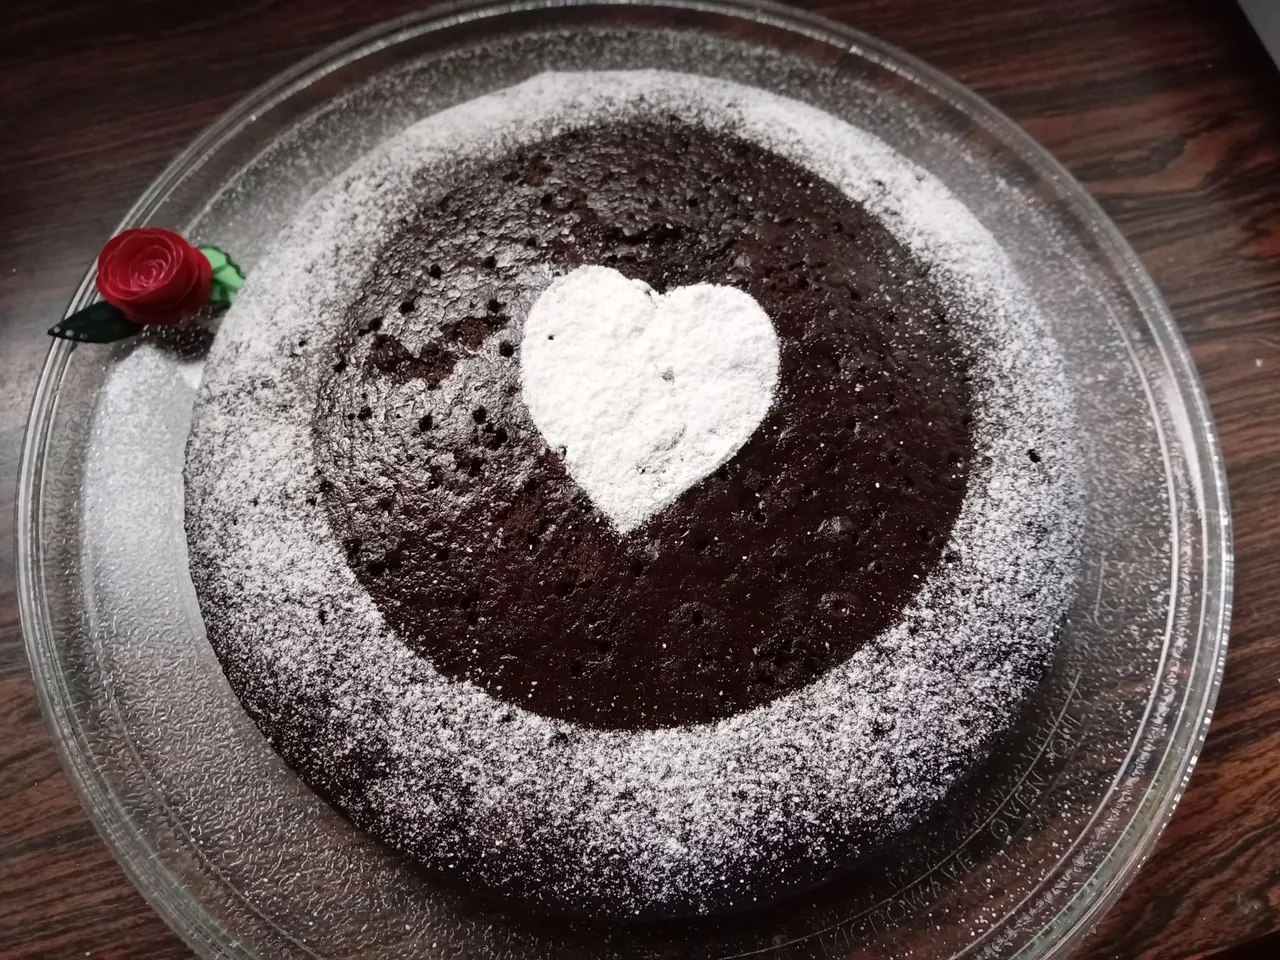
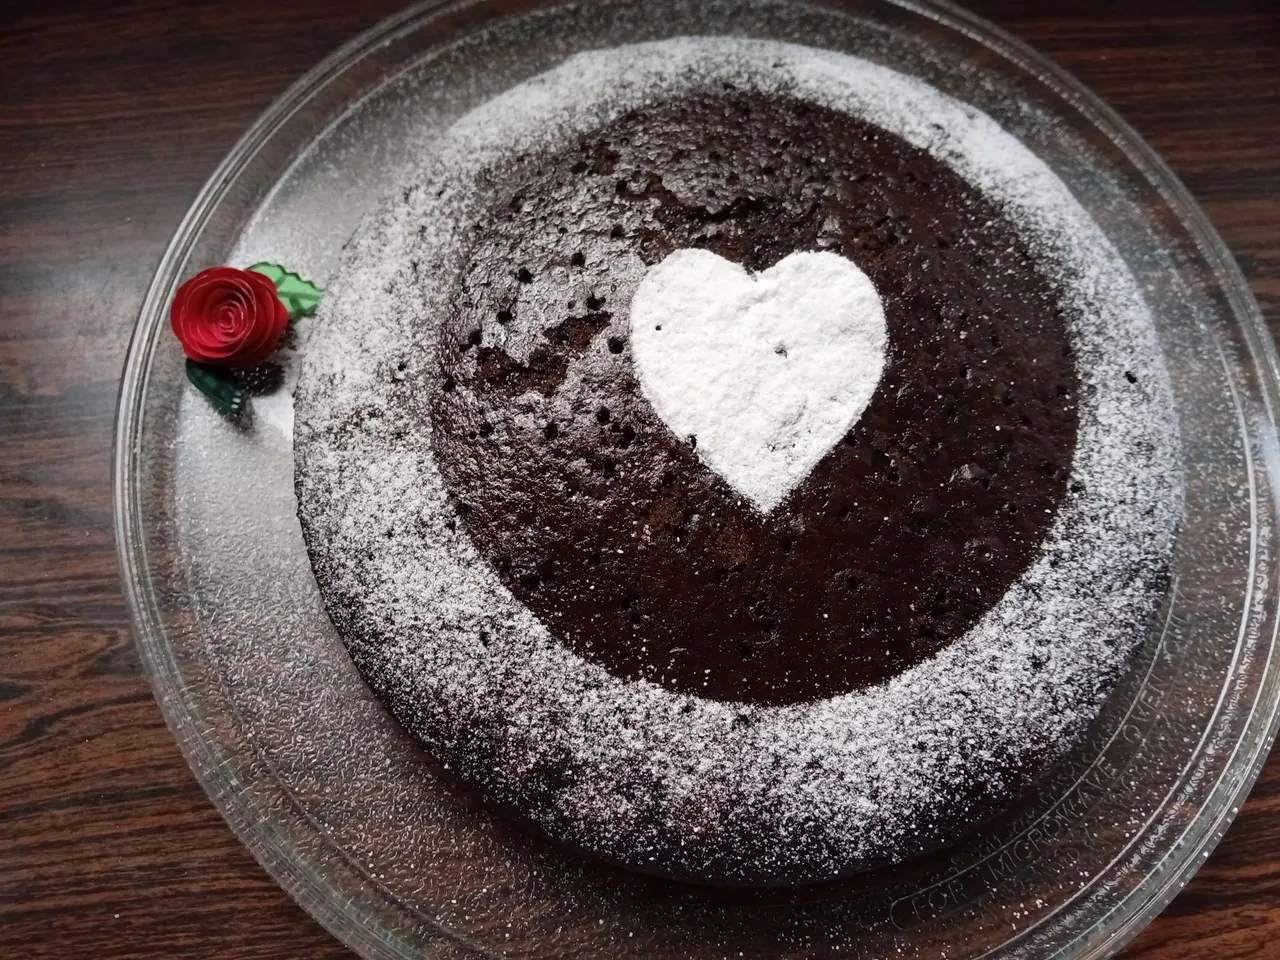
✨🍰🍫¡Y listo!🍫🍰✨ De esta manera fácil y sencilla podrás hacer un delicioso bizcocho húmedo con extra sabor a chocolate que podrás decorar como más te guste. En mi caso, me puse creativa y decidí espolvorear azúcar glas dando un lindo diseño, pero puedes decorar como más te guste. Espero les haya gustado la receta y se animen a prepararla.
❤️Hasta la próxima publicación.
✨🍰🍫¡And ready!🍫🍰✨ In this easy and simple way you can make a delicious moist cake with extra chocolate flavor that you can decorate as you like. In my case, I got creative and decided to sprinkle icing sugar giving a nice design, but you can decorate as you like. I hope you liked the recipe and you are encouraged to prepare it.
❤️Until the next post.
✨RESULTADO: | ✨RESULT:


Todas las fotografías son de mi propiedad.
Separador y Fotos editadas en Canva
All photographs are my property.
Photos edited in Canva