
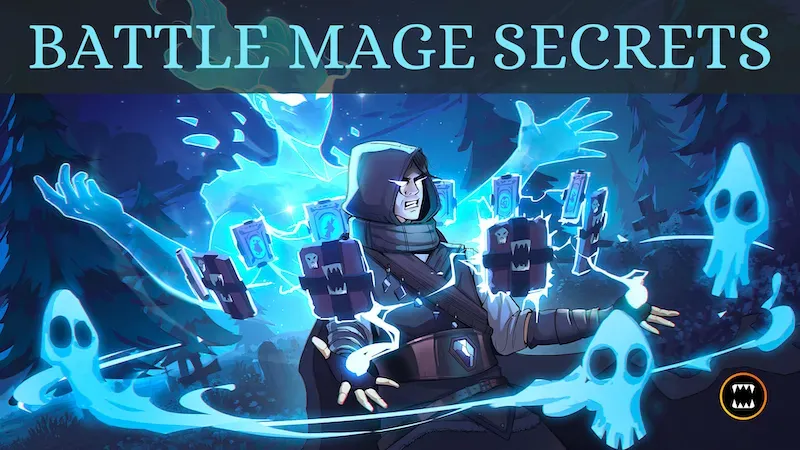
This week's Battle Mage Secrets challenge features the Rise of the Commons ruleset! Our ruleset today is one that is one that you may enjoy if you are playing on a tight budget, or if you like it when some of those common-er cards get their chance to shine. Today, we will be looking at a battle with the Rise of the Commons ruleset!
In battles with Rise of the Commons, all of those expensive epic and legendary monsters are ineligible to be selected for the battle. Luckily for the sake of having enough monsters to use, you ARE allowed to bring your rares out to play. While monsters are restricted, legendary SUMMONERS are still allowed. There aren't really whole categories of cards that are winners or losers in Rise of the Commons battles, aside from the legendary and epic monsters which are unable to be used. Instead, you tend to see a battle with a slightly lower power level, with fewer of the big splashy monsters since those are often the higher rarity cards.
If you wanted to jump right to the action, the Battle Link is right here. Want to hear some more about the lineup? Read on further!

First up: the ruleset. Of course, we have Rise of the Commons, which means that only common and rare monsters are allowed. We also have Born Again and Reverse Speed, which gives monsters the Rebirth ability and reverses the usual effects of speed. Finally, we have a somewhat high mana cap of 44, and 4 different splinters to choose from.
When I saw the ruleset and splinters, my first thought was to go with a lineup with some magic damage and plenty of tanking up front. In Born Again battles, monsters with armor can be a serious problem since they come back with just a single point of health but full armor. Magic attackers conveniently bypass that armor.
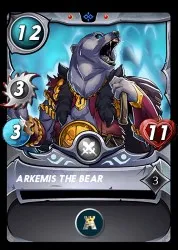
My aim for my first two monsters was to bring plenty of beef, and it doesn't get much beefier than Mycelic Infantry and Arkemis the Bear! Mycelic Infantry is incredibly bulky with 3 armor and 8 health, combined with the Shield ability. Arkemis is no slouch either with a whooping 11 health, as well as helping out the entire team with his Protect ability granting an additional 2 armor across the board.
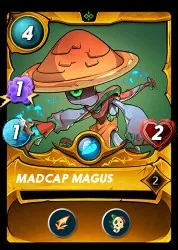
With some solid tanks at the front, I went for some magic damage. Regal Peryton packages a bit of magic attack with excellent speed and evasion in its Flying ability. Madcap Magus has a rare combination of indirect damage and a magic attack, thanks to Scattershot. While it won't provide reliable damage, it CAN potentially land a lucky hit and knock something important out of the battle. And with Life Leach, it can gain additional health the longer the battle progresses.
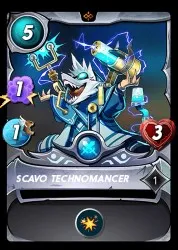
I finished off my team with Goblin Psychic and Scavo Technomancer. Goblin Psychic is an excellent support, with Tank Heal and a respectable 2 point magic attack. Scavo Technomancer doesn't hit particularly hard, but does provide some additional indirect damage thanks to Blast. With the Born Again ruleset that is particularly nice, since a point of splash damage could potentially kill for good a monster which has been resurrected with 1 point of health.

With the lineup set, it's off into battle! When I see the selected teams I feel pretty good about my chances. My opponent has actually selected a pretty scary lineup, with the gladiator Katrelba Gobson flanked by double Martyr monsters. But there's a funny thing about our rulesets for this battle - they also include Reverse Speed. That means as Katrelba gets faster and faster, she is effectively getting slower and slower. And the remaining monsters on the enemy team are decent, but nothing particularly concerning. By effectively dedicating three positions on their lineup to the Katrelba, my opponent has spent half of their team slots on a strategy that might end up missing every single one of its attacks if the game goes on for long enough.
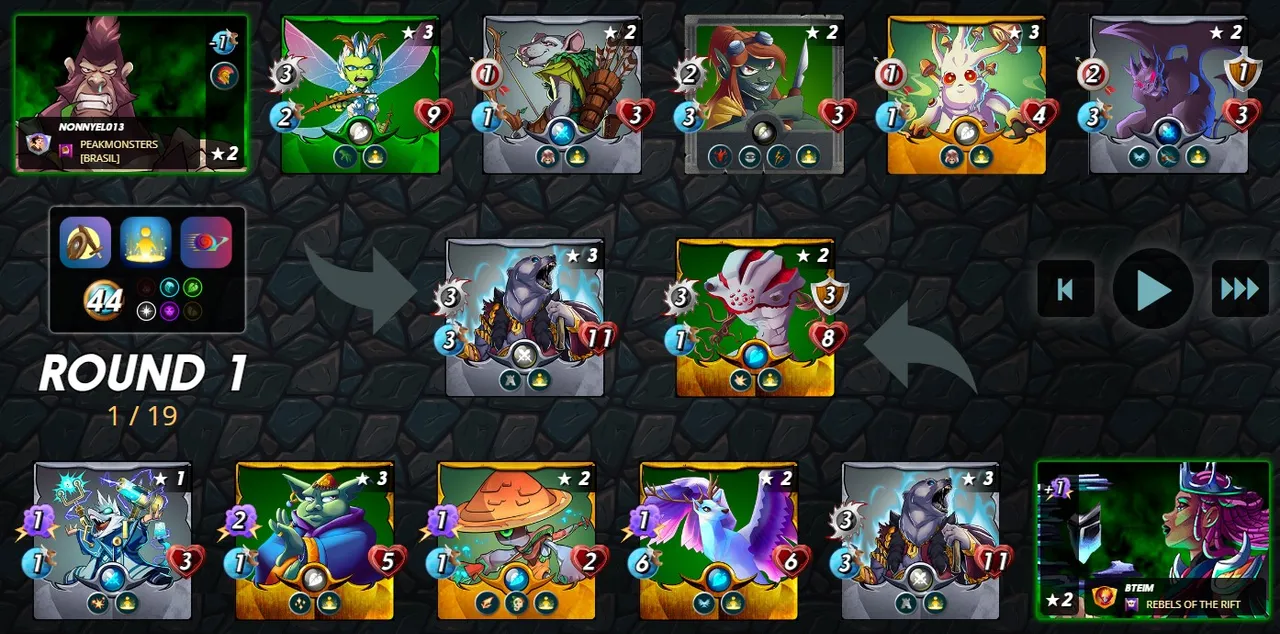
In the first couple of rounds of battle things go well for my team - my monsters are able to kill the enemy Arkemis twice, knocking it out of the fight for good. Things are looking a little shakier at the back of my lineup, where the opposing Katrelba is going to work and has already picked up a Bloodlust buff.
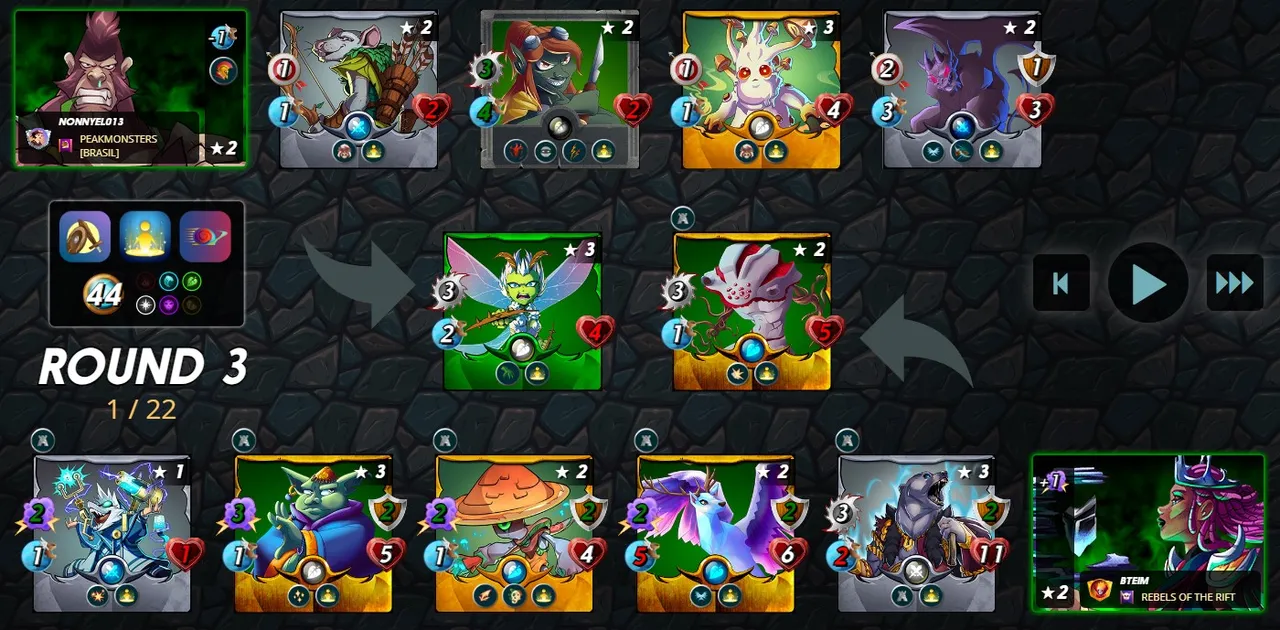
By the start of round 5 the battlefield has begun to clear. And all of those buffs on Katrelba are beginning to have a big impact. While Katrelba now hits for 7 (twice per round!), she also has a whooping 8 speed, which means that when she attacks my Mycelic Infantry she has a 70% chance to miss, thanks to Reverse Speed.
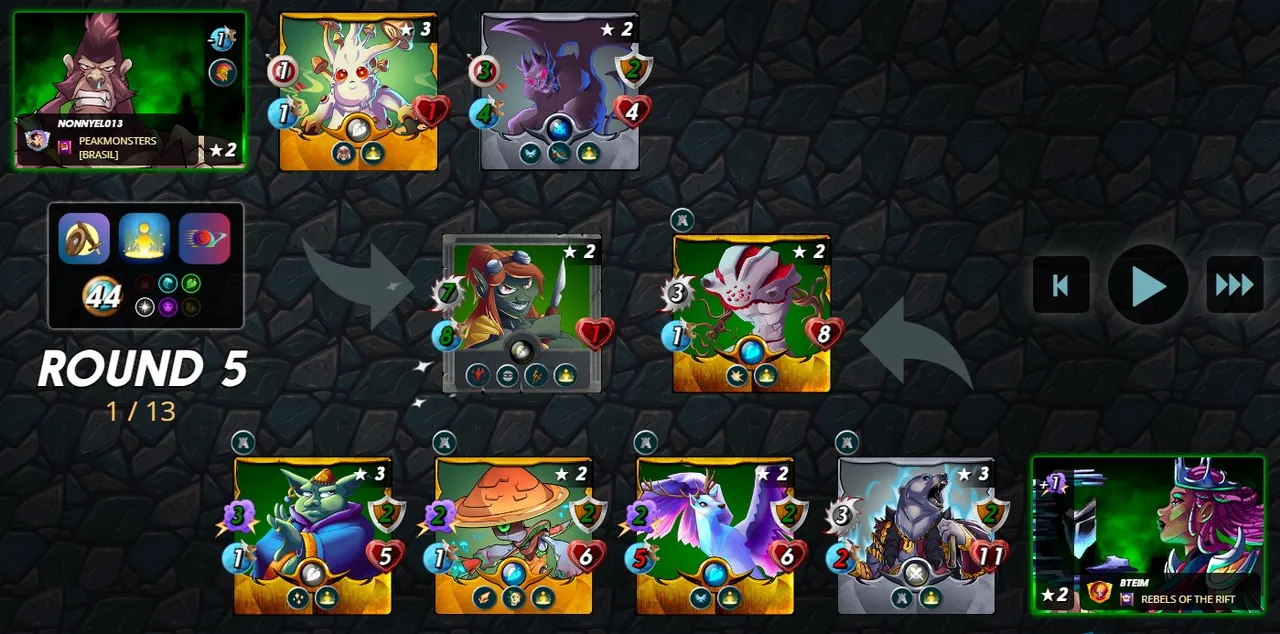
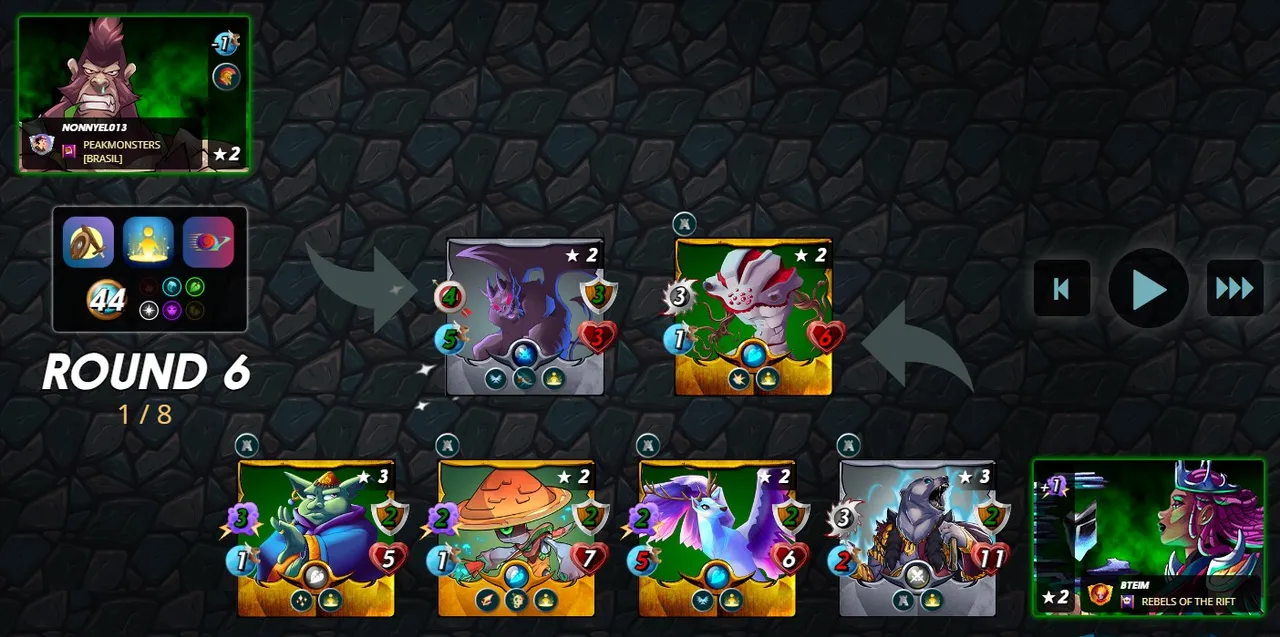
By the beginning of round 6 the battle was all but over. Katrelba failed to do significant damage and all that remained on the enemy team was a lone Gargoya Devil, with the bulk of my team's monsters remaining. Victory! And again, if you wanted to see the whole battle for yourself, you can see it right here.
My strategy for this fight worked out perfectly. My tanks at the front of my team were able to stand up to the enemy attacks, and while the early portion of the battle was a little dicey I ended up winning in a landslide, thanks to Katrelba over-buffing herself to the point of ineffectiveness thanks to Reverse Speed. This battle showed the importance of keeping the long game in mind while formulating your strategy - a team that can get off to a fast start in a fight is great, but you also need to keep in mind your endgame!

Thank you so much for reading all the way to the end. Interested in seeing some more of my writing in the future? Be sure to give me a follow! In the meantime, if you'd like to see some of my recent posts:
I Will Survive - Battling with What Doesn't Kill You! - A Splinterlands battle analysis, featuring What Doesn't Kill You!
Splinterlands Economics: Causation - A look at causation, and how we can apply it to Splinterlands!
Splinterlands Economics: Ceteris Paribus - An introduction to the concept of Ceteris Paribus, and how we can apply it to Splinterlands!
Thinking about giving Splinterlands a try but haven't signed up yet? Feel free to use my referral link: https://splinterlands.com?ref=bteim, and be sure to reach out to me if you have any questions!
All images used in this article are open source and obtained from Pixabay or Unsplash. Thumbnails borrowed with permission from the Splinterlands team or made in Canva.