
This week's Share Your Battle challenge features Chaos Knight! This week's challenge was fun for me, because although it is a free to play card and I use the Life splinter semi-regularly, Chaos Knight is not one of the cards in it that I commonly use. So this week I got to learn a little bit about how to use a new(ish) card, which is always fun!
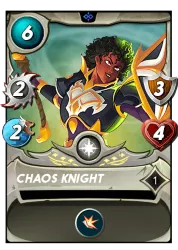
Chaos Knight is a Life splinter tank. For 6 mana, at level 1 you get a decent amount of damage output at 2 melee and 2 speed. The bulk stats appear a little underwhelming at first - just 3 armor and 4 health. However, Chaos Knight's Shield ability helps a whole lot - especially when you expect to be taking some ranged or physical attacks, since those will get reduced by half! On the other hand, using Chaos Knight against a magic damage lineup is something to be avoided.
If you wanted to jump right to the action, the Battle Link is right here. Want to hear some more about the lineup? Read on further!
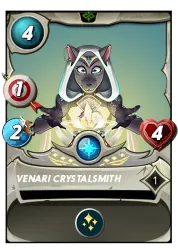

With the lineup set, it's off into battle! When I see the selected teams I am hopeful - my opponent has brought a relatively simple lineup with Cursed Windeku and Dark Astronomer. Chaos Knight's Shield will be able to help with both the melee/ranged damage and the Thorns from the Windeku, and my Crystalsmith will be able to attack and deal Blast damage without taking counter damage from Thorns.
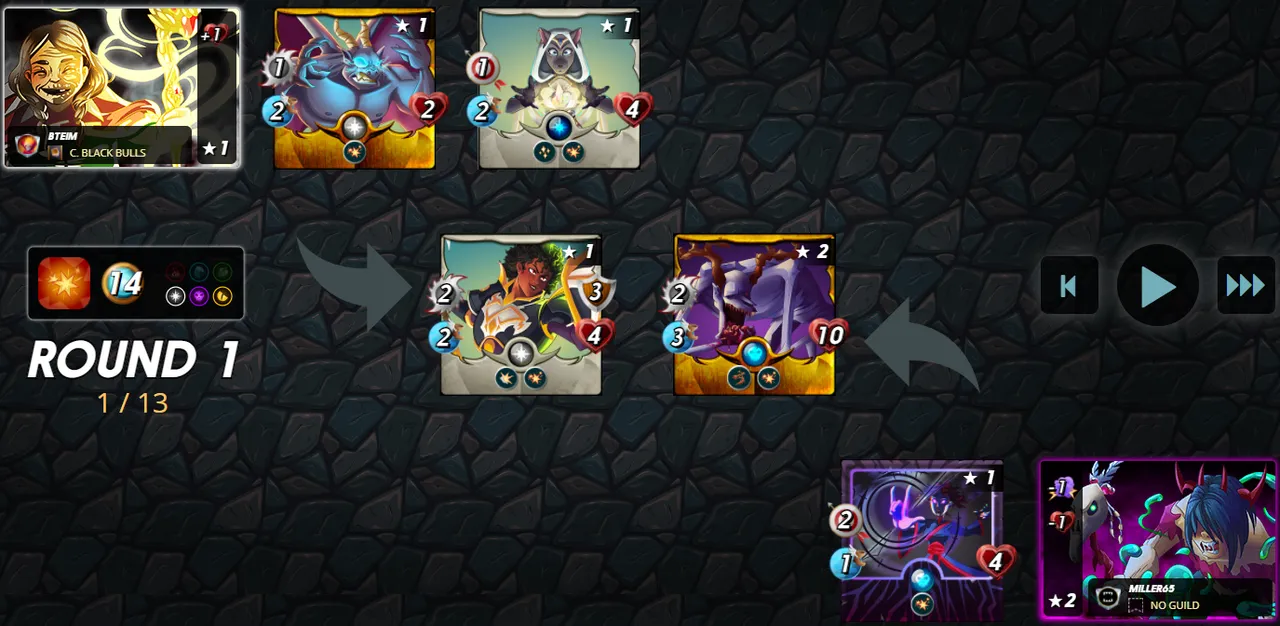
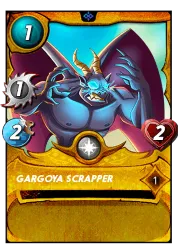
In the first round of battle everything goes according to plan - my monsters are able to start chipping away at the Windeku and nearly take out the Astronomer. My Gargoya Scrapper dies nearly instantly, but does a commendable job of saving 2 points of damage from hitting my Crystalsmith.
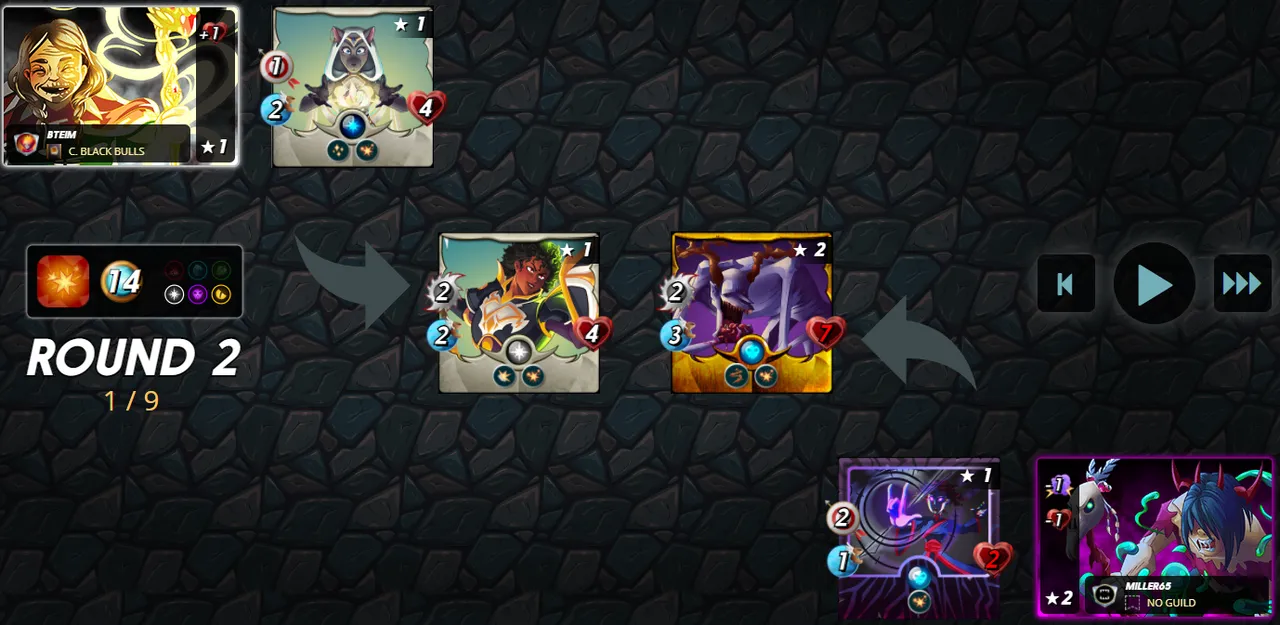
One more round and my monsters are able to take out the Astronomer with the splash damage from Blast. Chaos Knight is able to stay at full health thanks to Tank Heal. It isn't going to last forever though, because with Gargoya Scrapper gone, my Crystalsmith is beginning to take damage from Blast.
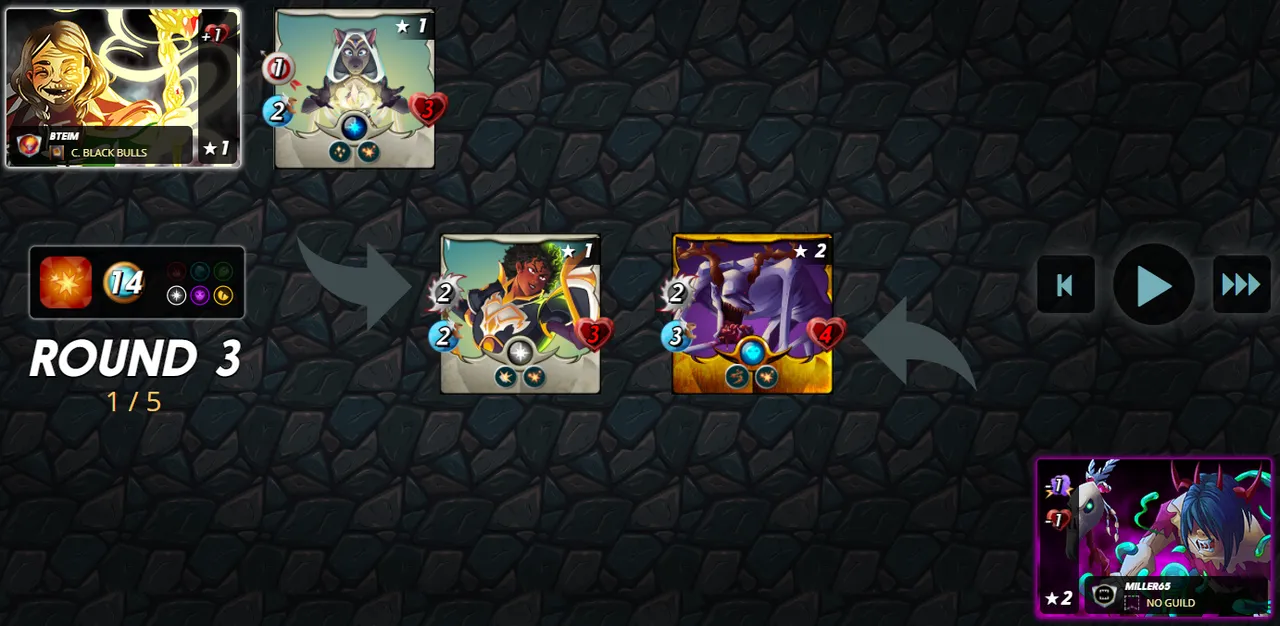
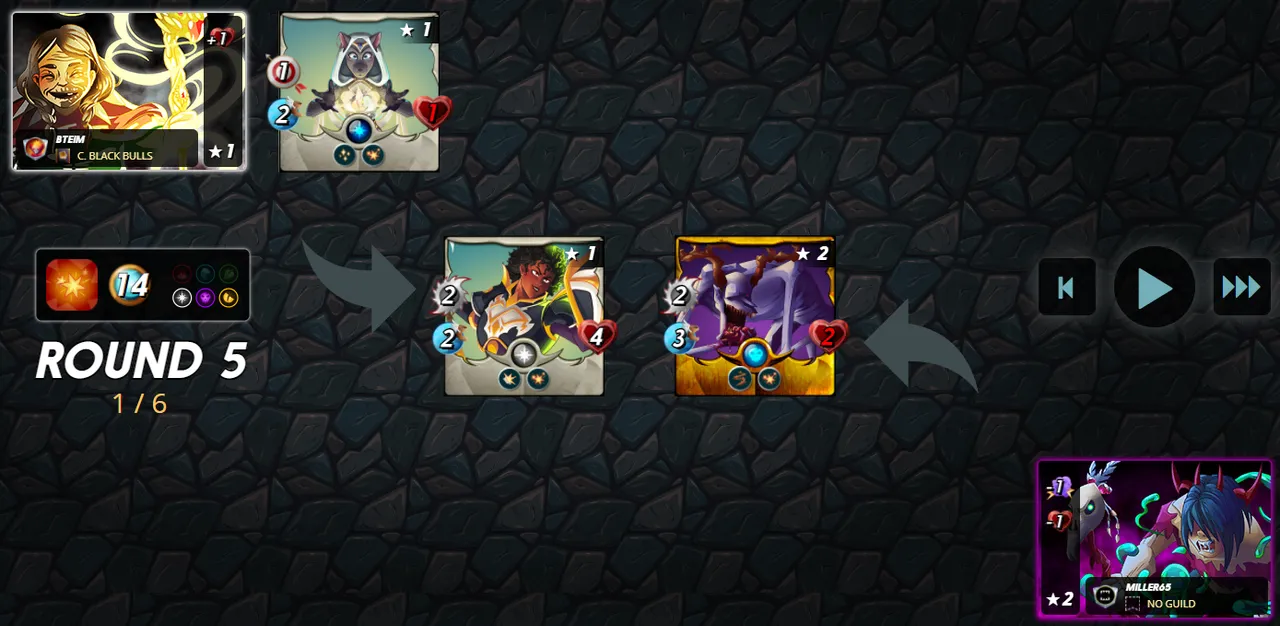
As you may be able to tell here from the round counter, Chaos Knight attempted to give me a heart attack by missing 2 rounds in a row in rounds 3 and 4. You might notice that there's only a 1 speed difference, so the chances of 2 consecutive 10% chance misses is 1 in 100. Thank you, RNG. Luckily, my team was able to pull off the victory. You can't see it in this screenshot, but at the end of this battly Chaos Knight stood alone, with just 2 HP remaining. And again, if you wanted to see the whole battle for yourself, you can see it right here.
My strategy in this battle was a success - Chaos Knight held the front line, Gargoya Scrapper provided just enough of a buffer, and Venari Crystalsmith brought the heals and ranged damage. Explosive Weaponry battles are always tough to predict and play properly for me, and I was very happy to see that this one worked out.
Chaos Knight played its role to perfection in this battle - tanking damage from attacks and Thorns like a champ, and dishing out just enough damage to win the battle. I personally would prefer a few less misses from my team next time, but that's just me!
I enjoyed using Chaos Knight a lot in this challenge, and will probably be using it a lot more going forward. Previously I was primarily using Shieldbearer as my Life splinter tank, but this week's battles have taught me that Chaos Knight can work very well as a slightly lower cost tank. Less mana spent on a tank means more mana spend on a damage dealing back line, which sounds great to me!

Thank you so much for reading all the way to the end. Interested in seeing some more of my writing in the future? Be sure to give me a follow! In the meantime, if you'd like to see some of my recent posts:
Splinterlands Economics: Elasticity - A introduction to compound interest, and how it can help you out in Splinterlands.
I Know What you Did Last Summer - Using Goblin Psychic in Battle! - This week's battle challenge, featuring Goblin Psychic!
Splinterlands Economics: Marginal Analysis - An introduction to Credibility, and insights it gives us into Splinterlands.
Thinking about giving Splinterlands a try but haven't signed up yet? Feel free to use my referral link: https://splinterlands.com?ref=bteim, and be sure to reach out to me if you have any questions!