
Hi, foodies in the Hive!
Today is a holiday in Venezuela: Declaration of Independence Day; so Happy 19th of April! Funny I want to tell you, precisely today, about how liberating it feels for me, somewhat lactose intolerant, to become independent from conventional dairy cheese 😄 Besides, homemade baguettes are a perfect companion on a day like today, as they'd been born in France, the country that inspired our own independence--Liberté Egalité Fraternité!-- 😁
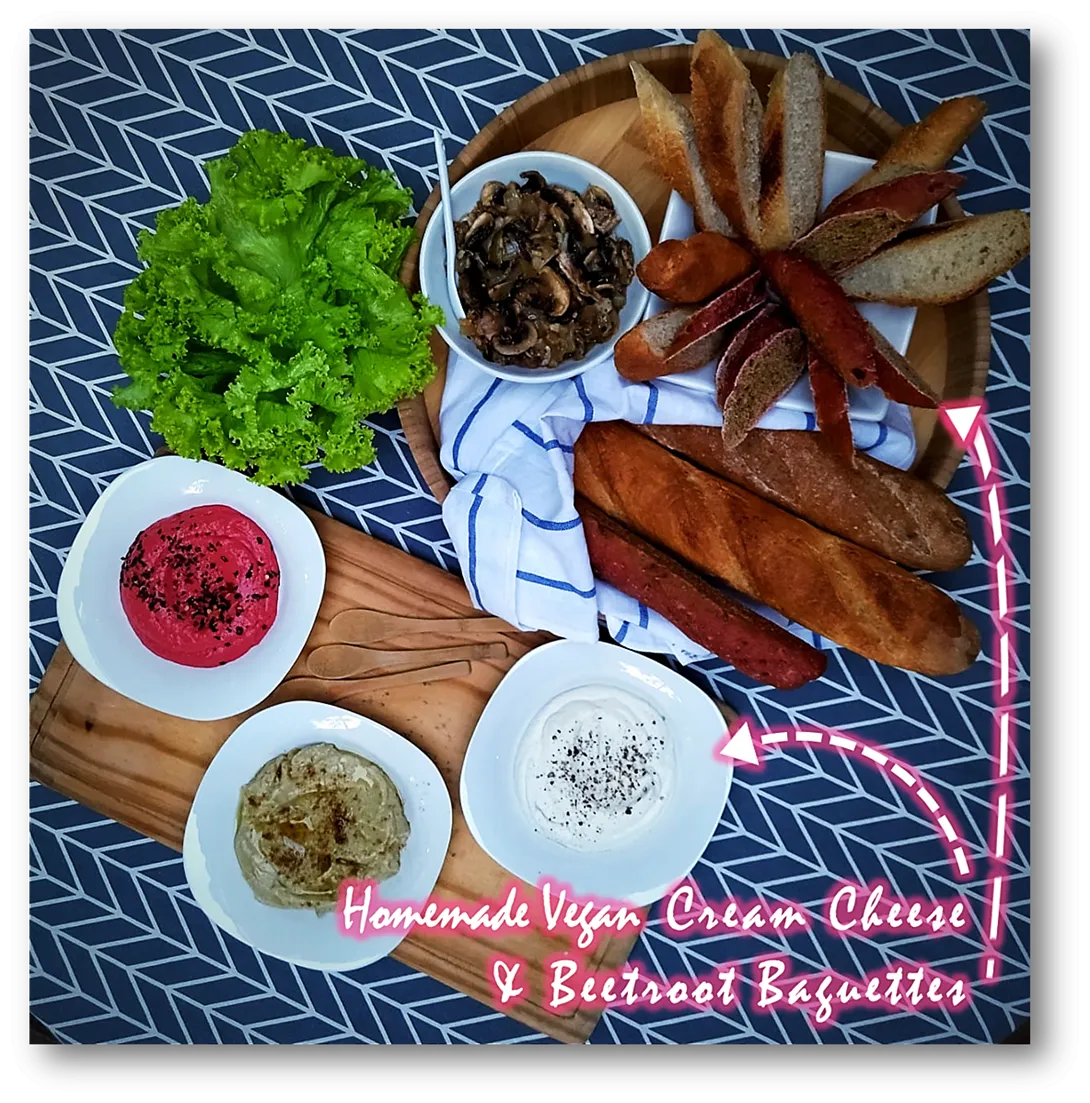

Recently, my husband and I made a very pleasant discovery: the vegan cream cheese recipe we saw on the Web really works, and it's a delight. When I decided to give it a try, I immediately thought about some delicious baguettes my friend, amazing @carolynstahl shows us in her post. We don't have baguettes like that in my city; I had to make some myself. I used a quick recipe, with instant yeast instead of sourdough (which would take me 5 days to make).
I'll tell about some facts that in my opinion matter when deciding which recipes to incorporate into everyday life at home: nutritional value, cost, and practicality. This version of vegan cream cheese is prepared with almonds-other recipes use cashews and/or other ingredients-, garlic, and olive oil (plus water and salt). All raw.
Regarding its nutritional value, I've read that the daily consumption of a handful of almonds stimulates the absorption of good cholesterol (HDL) and helps us to keep bad cholesterol (LDL) away from the walls of our arteries. It's also a scientifically proven fact that almonds are one of the few non-dairy products from which we can get a good amount of calcium; the magnesium, potassium and phosphorus they contain also contribute to the strengthening of our bones.
Also, this spread contains a lot of fresh garlic, which is detoxifying, and because it is a natural antibiotic, it helps our body fight urinary tract infections and improve overall kidney health. Not bad.
As for the cost, well, in my city, 1 kilo of almonds ranges from $12 to $20. I can tell you 500gr of this homemade cream cheese costs $3.75, which is half of what I'd pay at the store for the same amount of dairy cream cheese; so I think it's an economical and healthy option.
Finally, preparing it is piece of cake; just make sure to soak the almonds the night before. It won't take you more than 10 minutes to prepare, and you can eat it immediately or store it in your refrigerator for several days.

You can use the almonds with their shells, which will make them even more beneficial. Their shells contain antioxidants and fiber, which are good for preventing us from developing cancer and type 2 diabetes.
There is another super important fact, at least for me: This cream is delicious!

For 350 gr approx. of vegan cream cheese, I used:
- 150 gr of almonds, soaked in water for 6 hours
- 2 tablespoons fresh garlic
- 100 ml warm water
- 75 ml olive oil
- 3 tablespoons lemon juice
- 1 tablespoon apple cider vinegar
- 1 teaspoon Himalayan pink salt
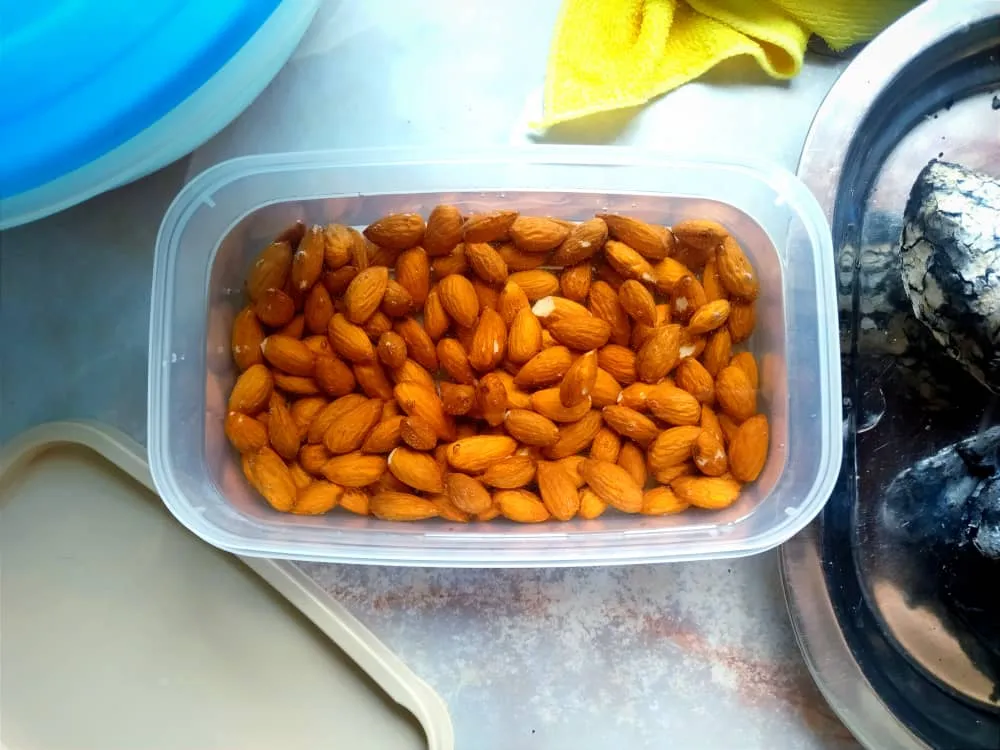

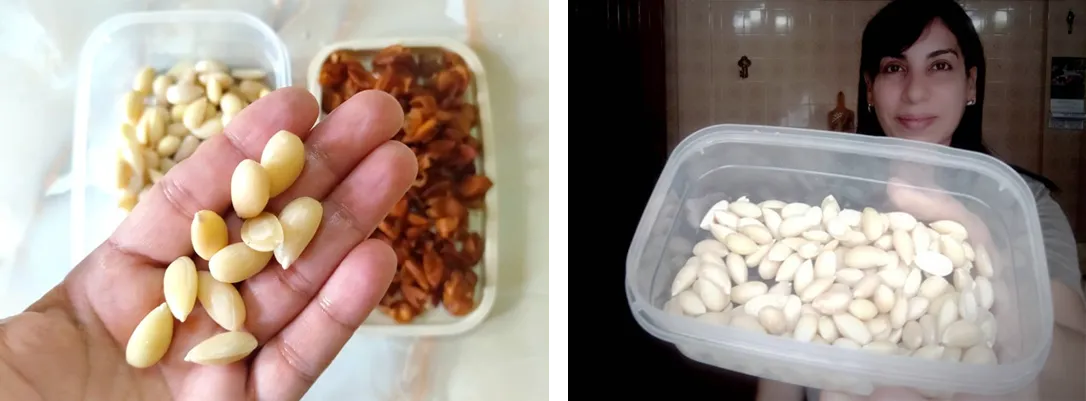
First, I took care of the almonds. These had already been soaked for 6 hours (maximum 12 hours for soaking, according to what I've read). I discarded the soaking water, washed the almonds and let them drain completely. At this point it's a matter of taste whether you leave the shells on or peel the almonds. I peeled them this time just because I was a little skeptical. First timer. It was super easy, by the way.
I put the almonds, olive oil, lightly crushed garlic, salt and 1/2 cup of water in the blender.

I let my blender do the work until I got a homogeneous mixture; with the help of a silicon pastry spoon, I was scraping as it went.
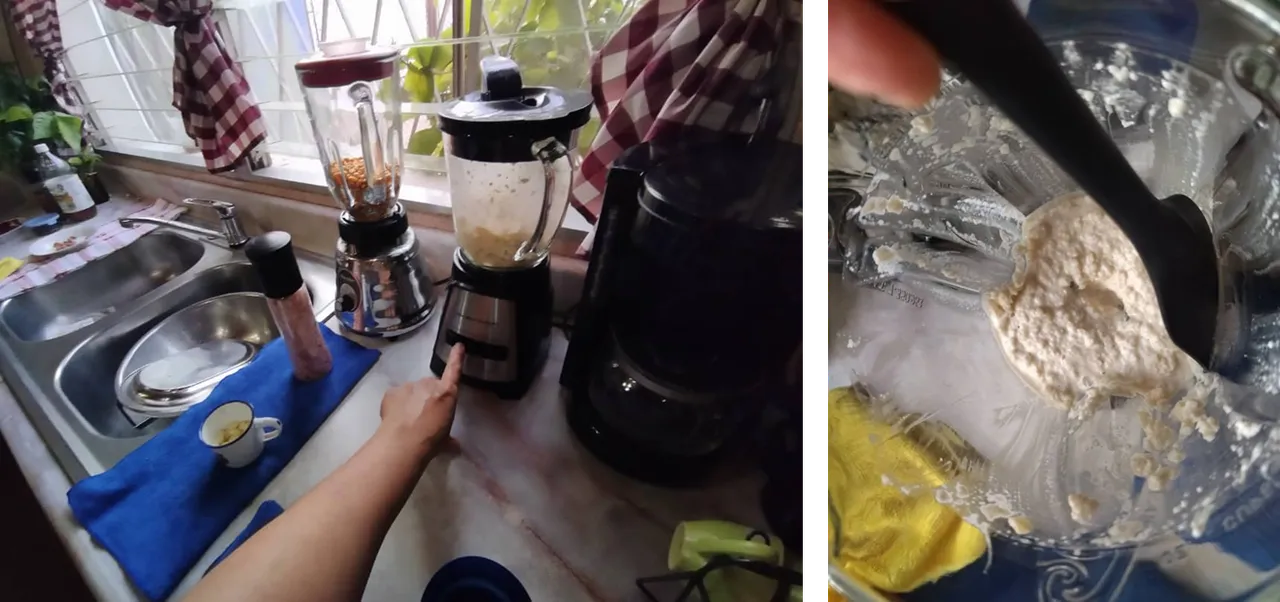
I added the lemon juice and apple cider vinegar and watched as the mixture became creamier and creamier.
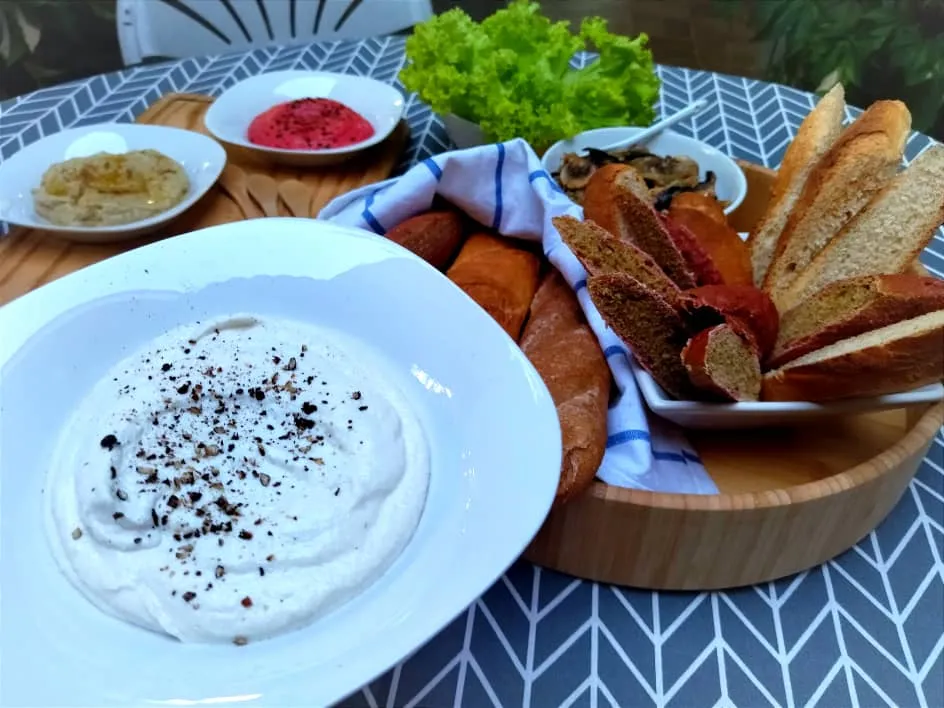
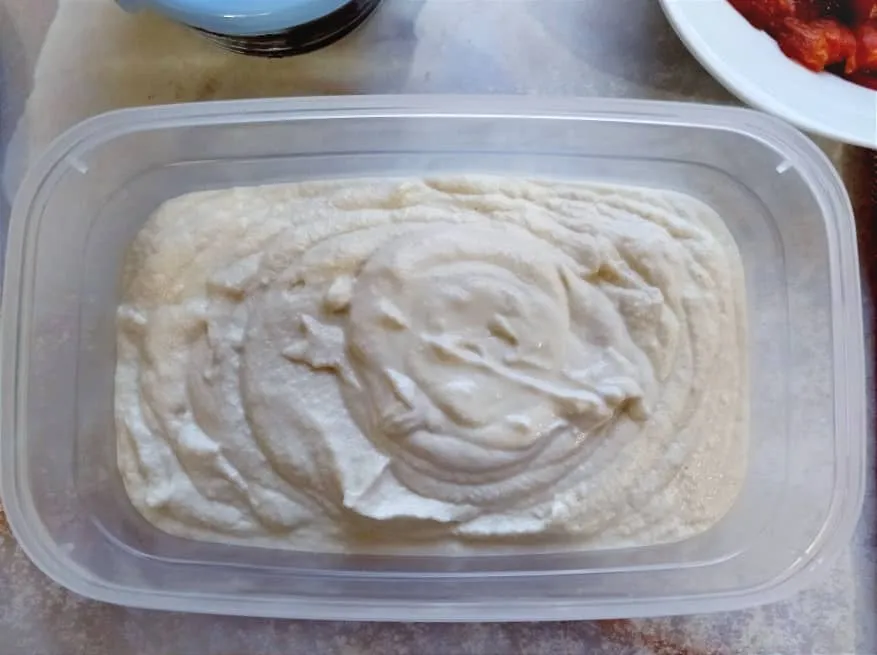
Oh my, I was thrilled! It must be the most delicious "cream cheese" I've ever tasted.

It was white and beautiful. I put it in a plastic container, lid on, and into the fridge.
Time to make beetroot baguettes!

For the preferment:
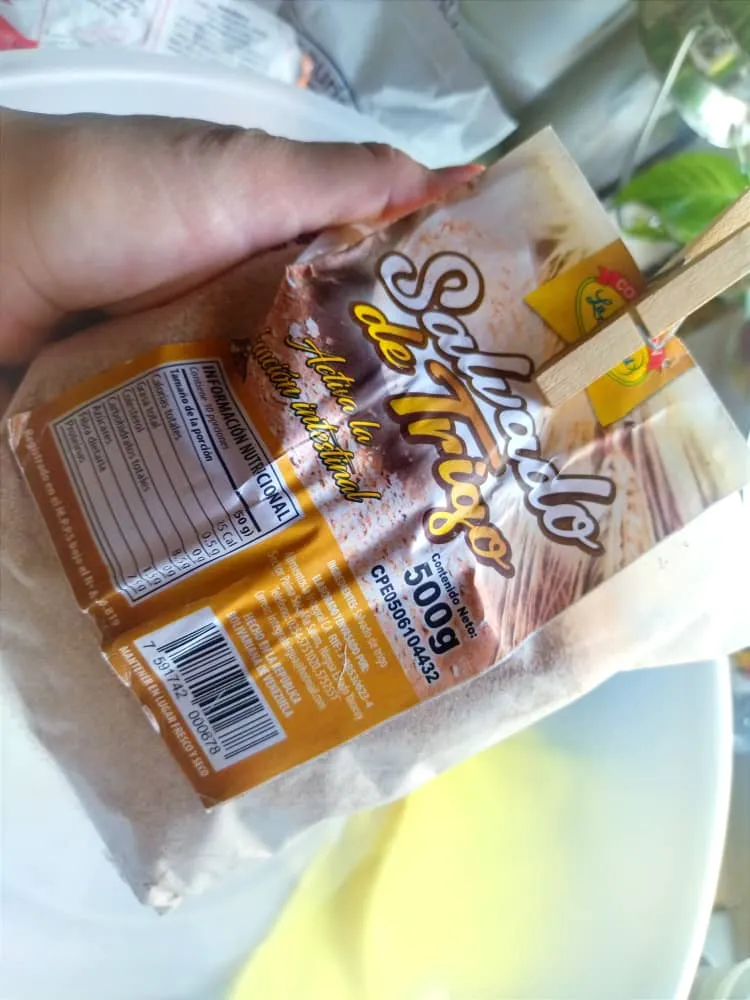
- 50 gr wheat bran
- 150 gr all purpose wheat flour
- 300 ml warm water
- 1 teaspoon cane sugar
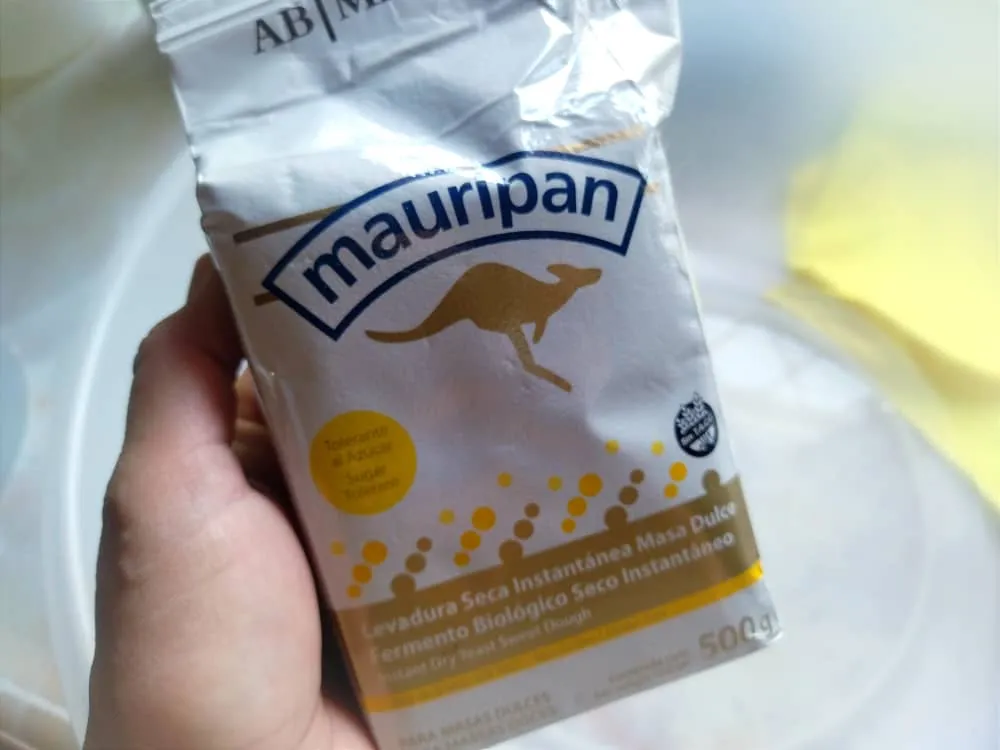
- 1 tablespoon instant yeast
For the dough:
- Preferment
- 300 gr all purpose wheat flour
- 1 teaspoon salt
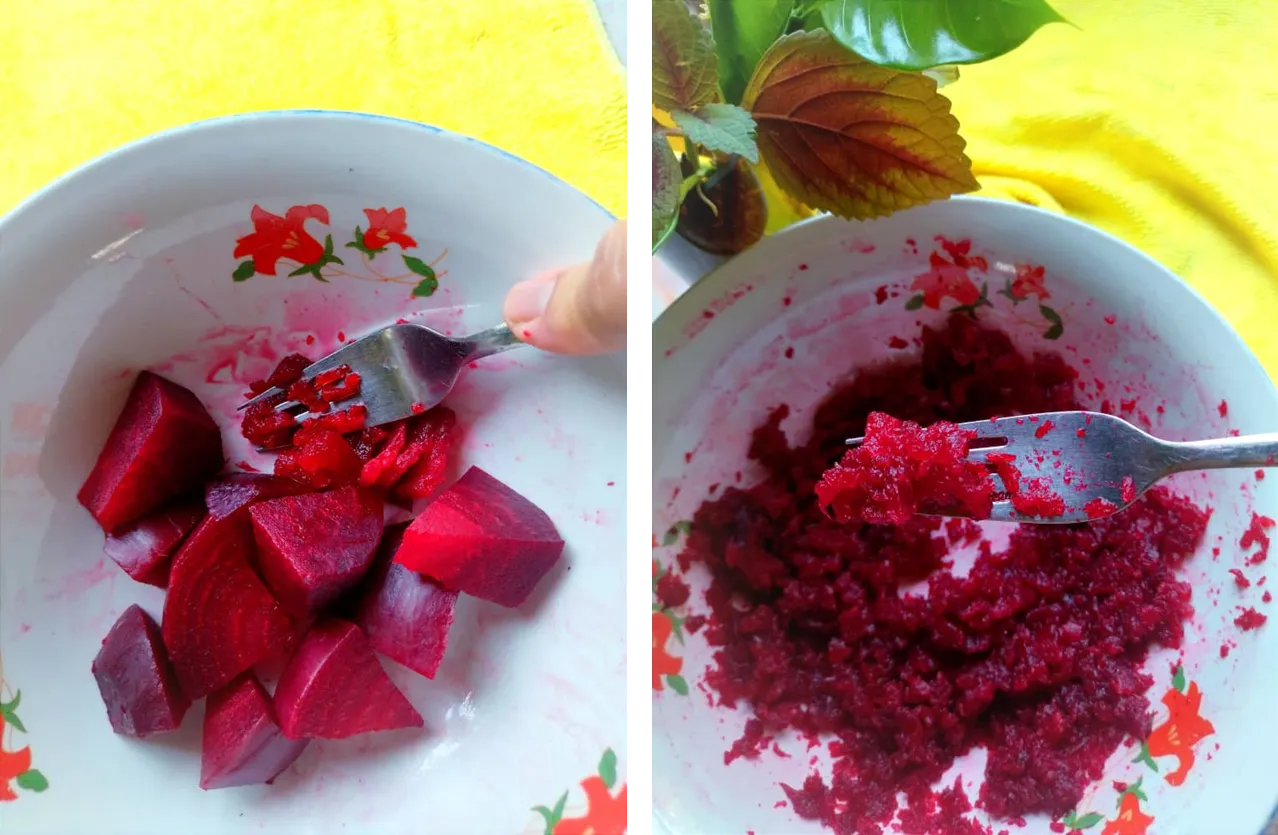
- For two thirds of the dough, 1 cup cooked beetroot, boiled, peeled, and mashed
- For 1 third of the dough, 50 ml of water
I usually get up early, before Paco (our parrot) wakes up all the neighbors with his "sweet morning song." At about 5:30 a.m., I prepared the preferment for the baguette dough. Strictly speaking, baguettes are made with sourdough (this among other details); today I used an instant yeast-based preferment.
I also added a generous amount of wheat bran to the dough, for more substantial baguettes, and to obtain a bread dough more similar to that of the 19th century, when gluten was not yet a problem for everyone. For me, this is enough homage for the holiday.
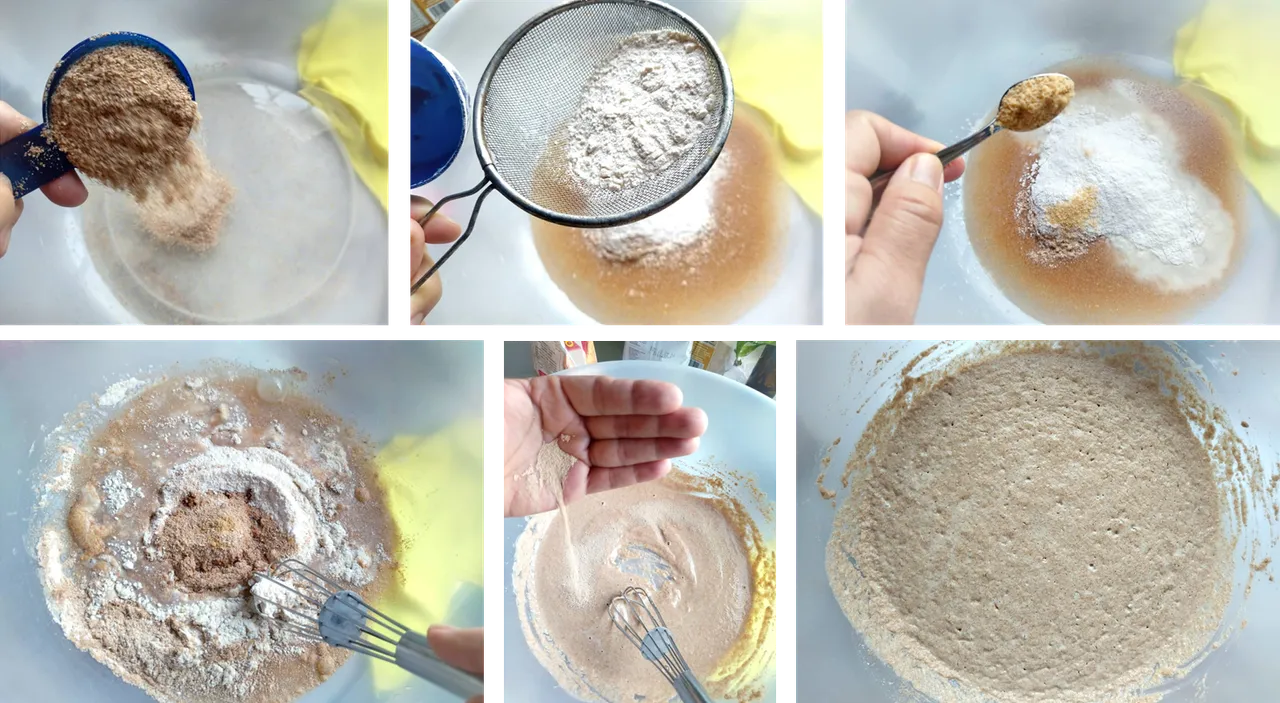
At 6:30 a.m. the preferment was ready. I just mixed all the ingredients together and let the yeast activate for an hour. It's a slow process, as the wheat bran makes the dough heavier.
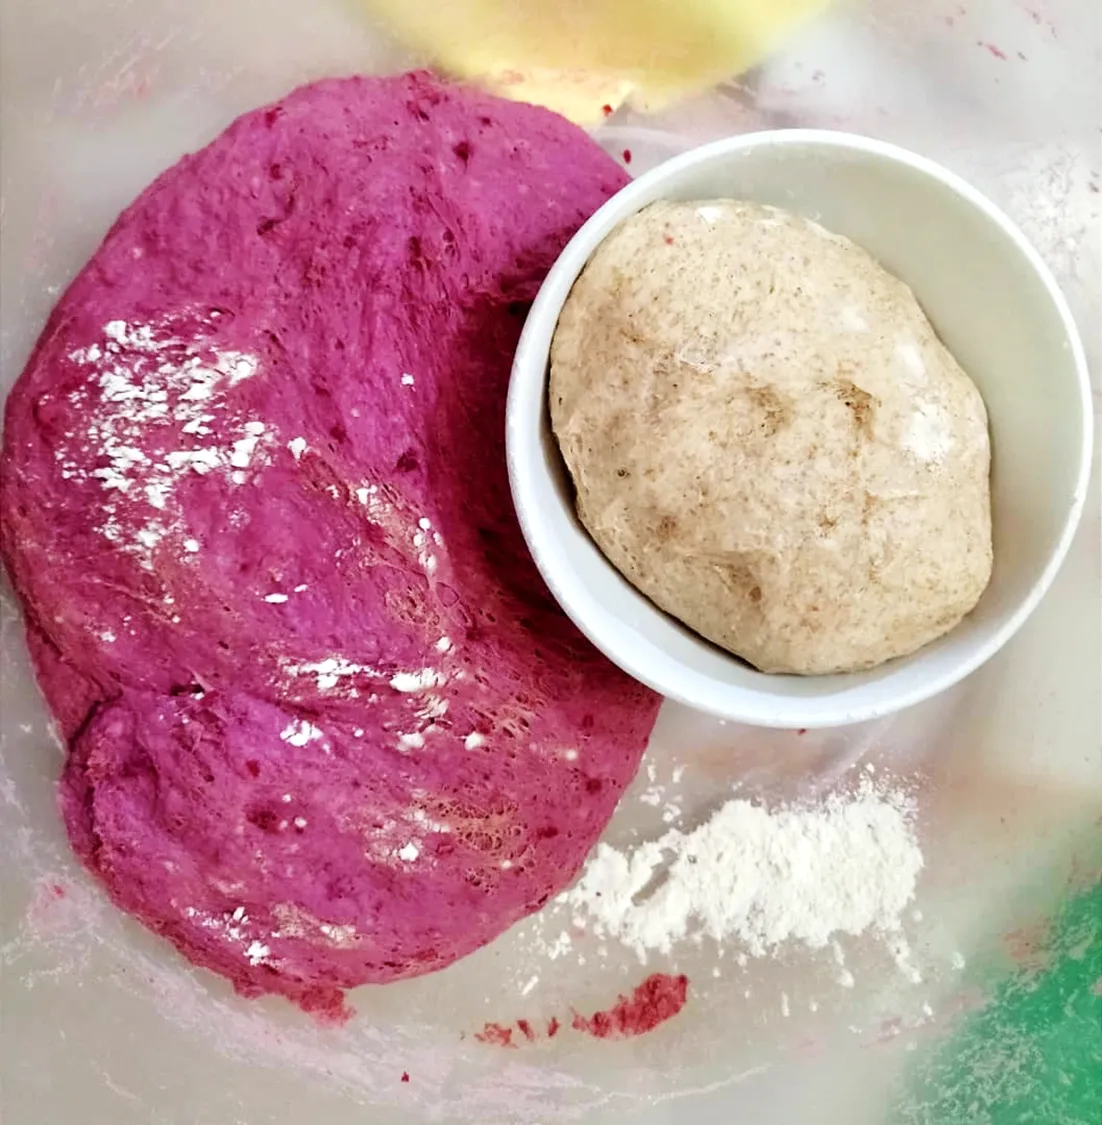
Now, making the dough for these baguettes is easy. Today I've added a cup of mashed cooked beet to two thirds of the dough to give them a nice color and a touch of vegetable flavor.
Simply mix the pre-ferment with the sifted flour and salt and knead until you have a homogeneous and smooth dough.
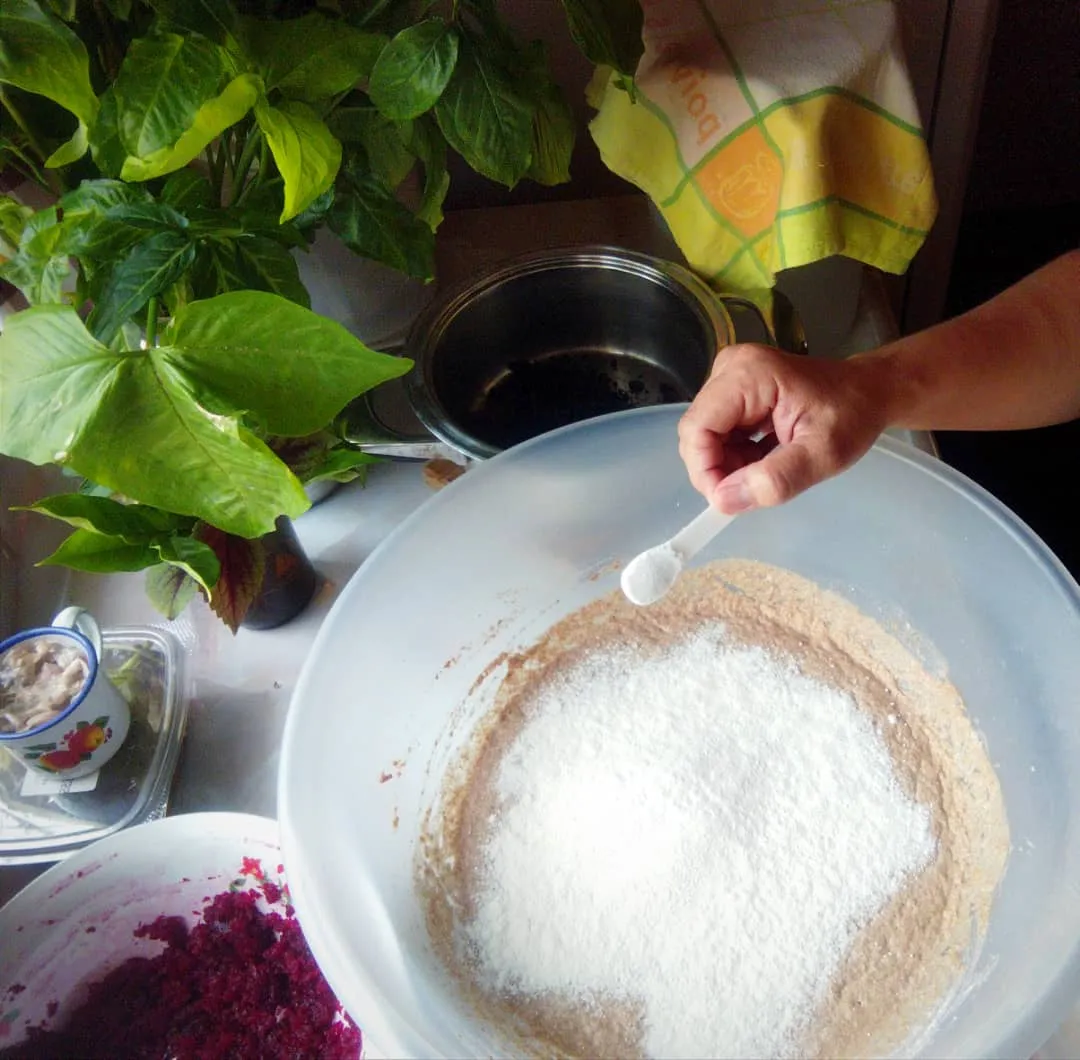
5 minutes of kneading will be enough. Add the beetroot to two thirds of the dough and knead to incorporate. Add 2 tablespoons of water to the rest of the dough and knead to incorporate.
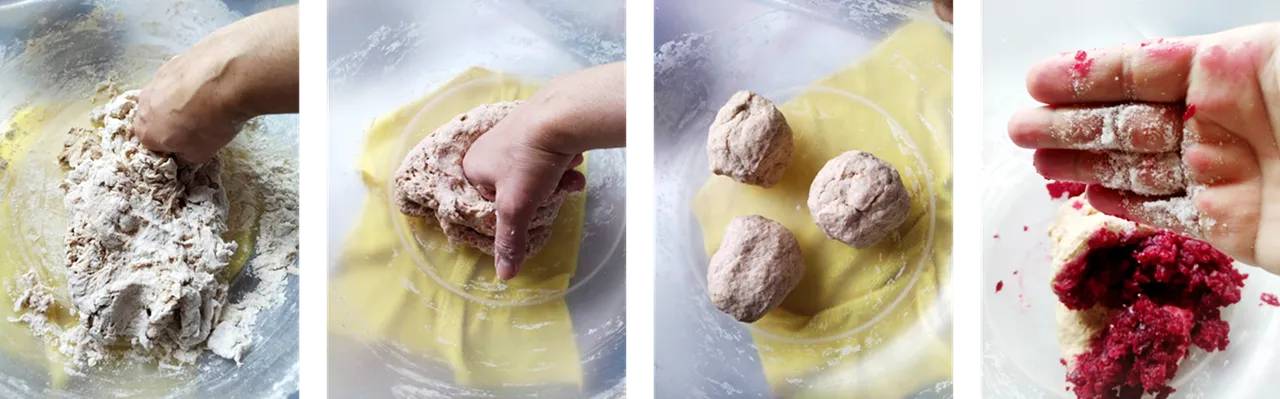
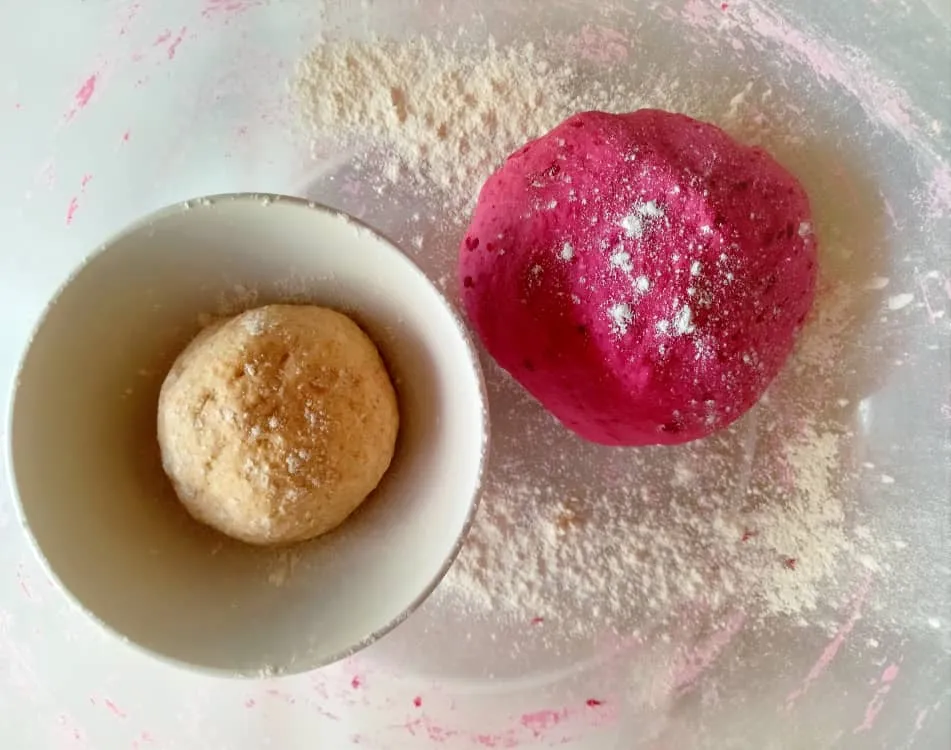
Cover the dough and let it rise until it doubles in size.

After a couple of hours, you'll see the dough has turned soft and manageable. It's time to work it out with your hands; you can use a rolling pin but it's not necesary.
Flatten the dough with your hands. Divide it into as many parts as you need. Roll each part and let the rolls rest for 5 minutes.

Cover them so they won't dry out.

Then, flatten the rolls with your hands and roll them up again, this time pressing with your fingertips for each turn, as you can see below.

This ensures that the pieces are tubular like flutes and firm.

I used perforated baguette molds made of silicone, which makes my task easier; I don't even need to grease them. I just place the baguettes in there and let them rise until they double in size. Once they've doubled in size, I proceed to make 3 diagonal cuts in each one with a sharp-bladed knife (they can be 4 cuts, but my baguettes are small, 25 cm); these cuts are about 1 cm deep.

Let the baguettes bake at 220 °C for 25 minutes; do as follows, so that the crust is very crispy:
- Place a baking tray on the floor of the oven (for the water)
- Preheat the oven to 220°C
- Get the baguettes into the preheated oven
- Put on your oven gloves and add a glass of water to the tray on the oven floor. The steam will make the baguettes form a very crispy crust. Close the oven immediately. If after 5 minutes, the water has already dried out, add a little more
- The last 5-10 minutes of baking should proceed in the absence of steam. Let the baguettes brown to the point of your preference
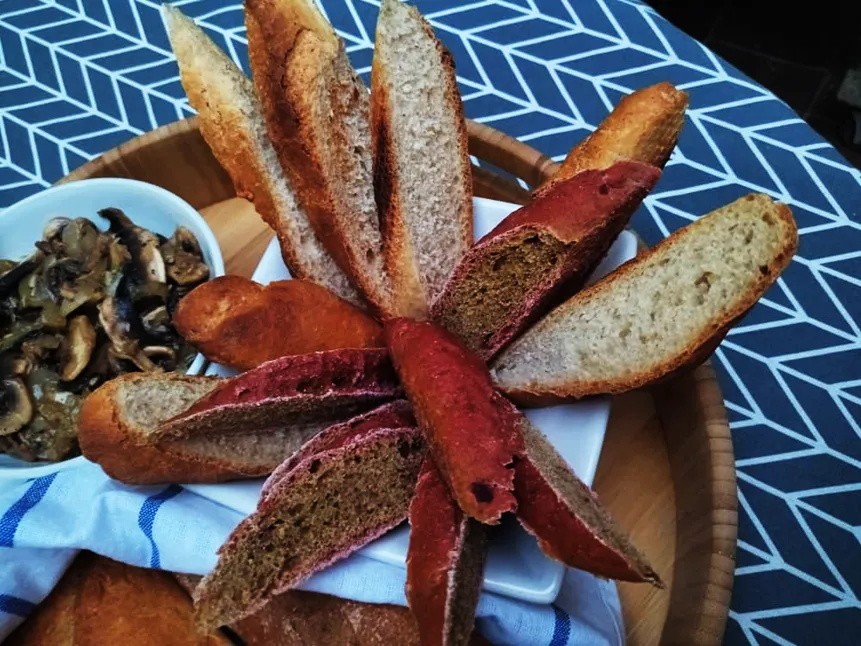
At home, we like them very toasted and crispy.
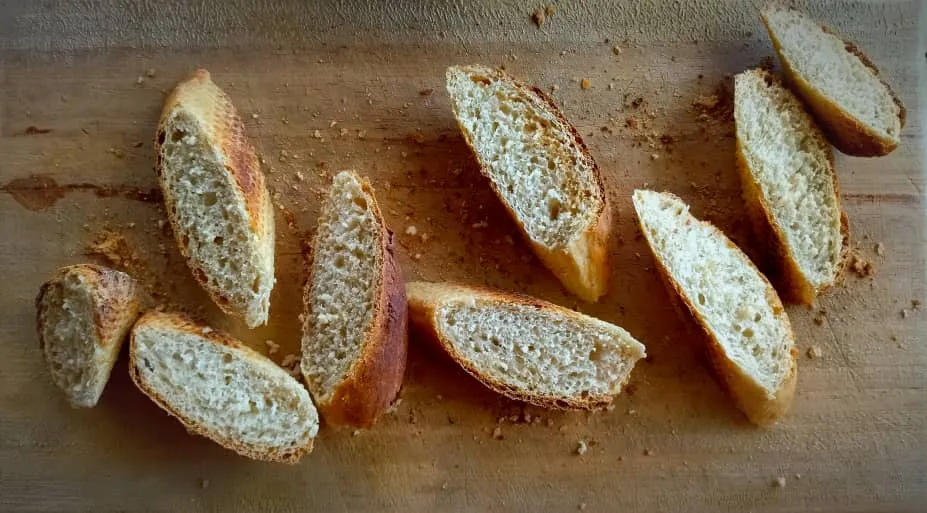
...And soft on the inside.
I'll tell you about the red spread on a separate post. I made it with roasted red bell pepper and roasted beetroot. Delicious!

As you can see, the beet baguettes are only purple on the outside; inside, the they've taken on a nice color due to the mixture with the wheat bran. This is, in essence, a whole wheat beet bread.
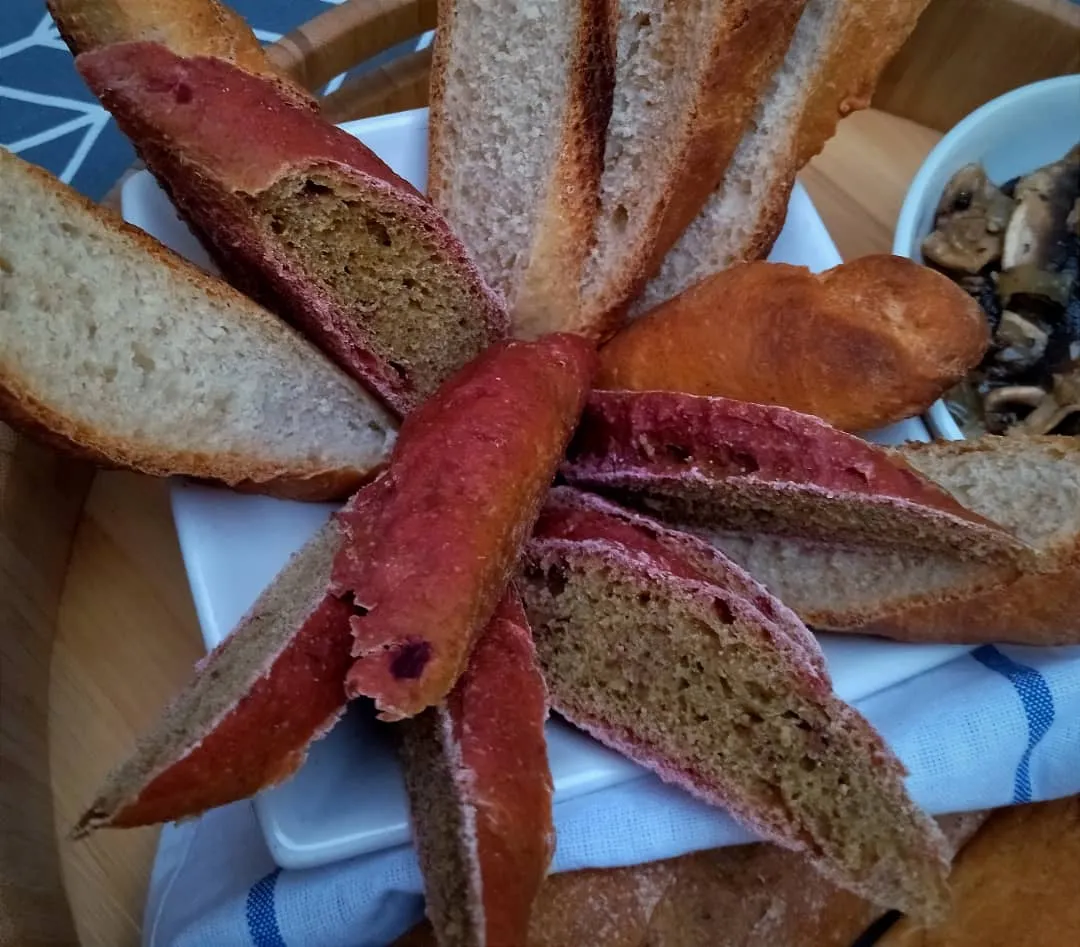
...If you want them to be purple on the inside, you must use food coloring. At home, we like them just like this:

Bon appetit!

Thank you so much for your visit :)
All text and images are my own. I have taken the pictures with my Redmi 9T cell phone. And if any GIFs here, I've used GIPHY(https://giphy.com/create/gifmaker) for all them.