
Hi,👋
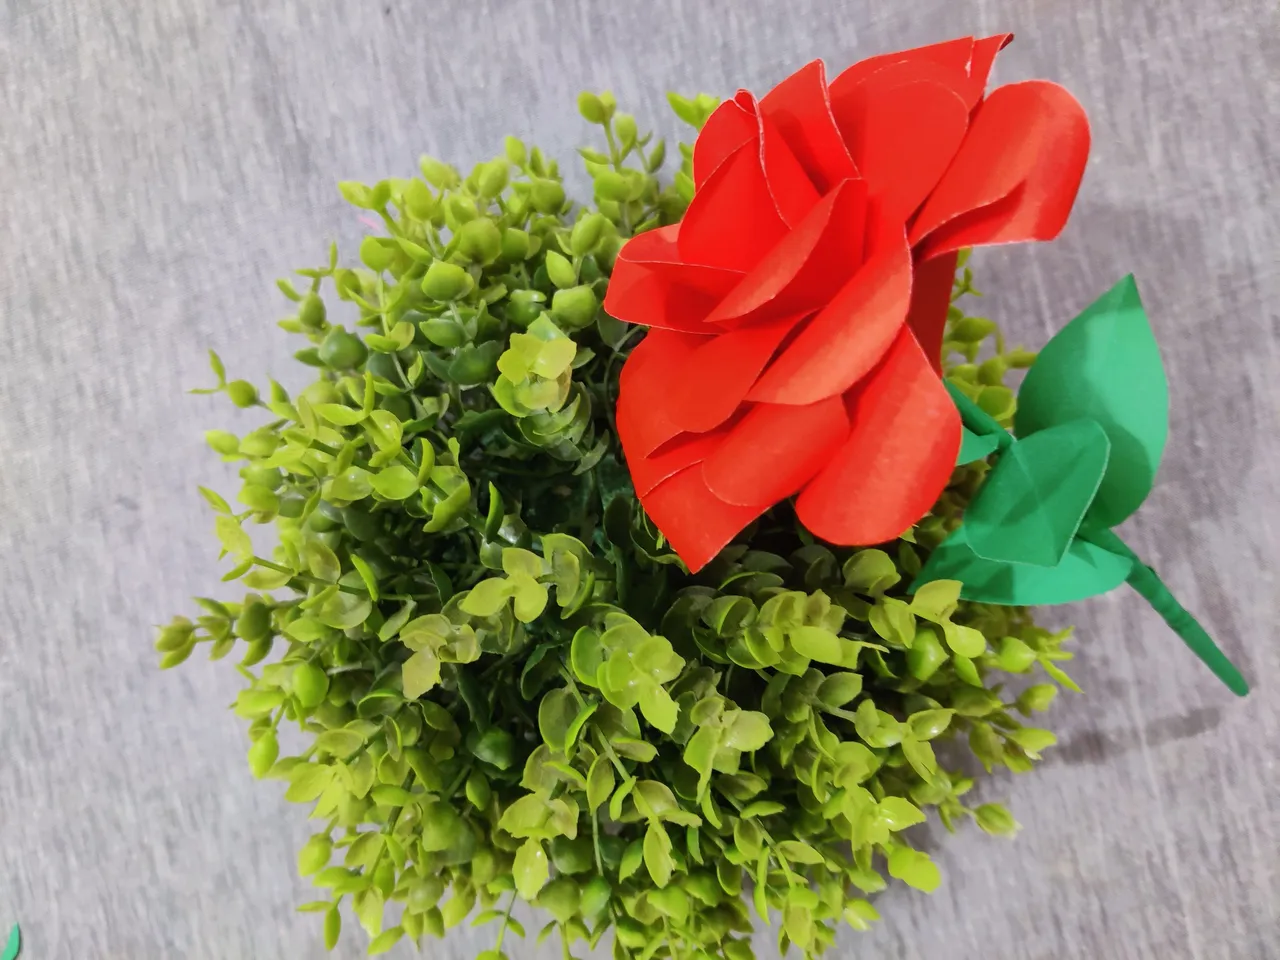
I'm back with a new post where I'll show a origami paper rose that looks so real and can be a pert of the house decoration.
I followed this DIY idea from a YouTube video and I don't credit myself for the original idea.
Let's see how I made this origami paper rose that looks so lively.
Equipment's:
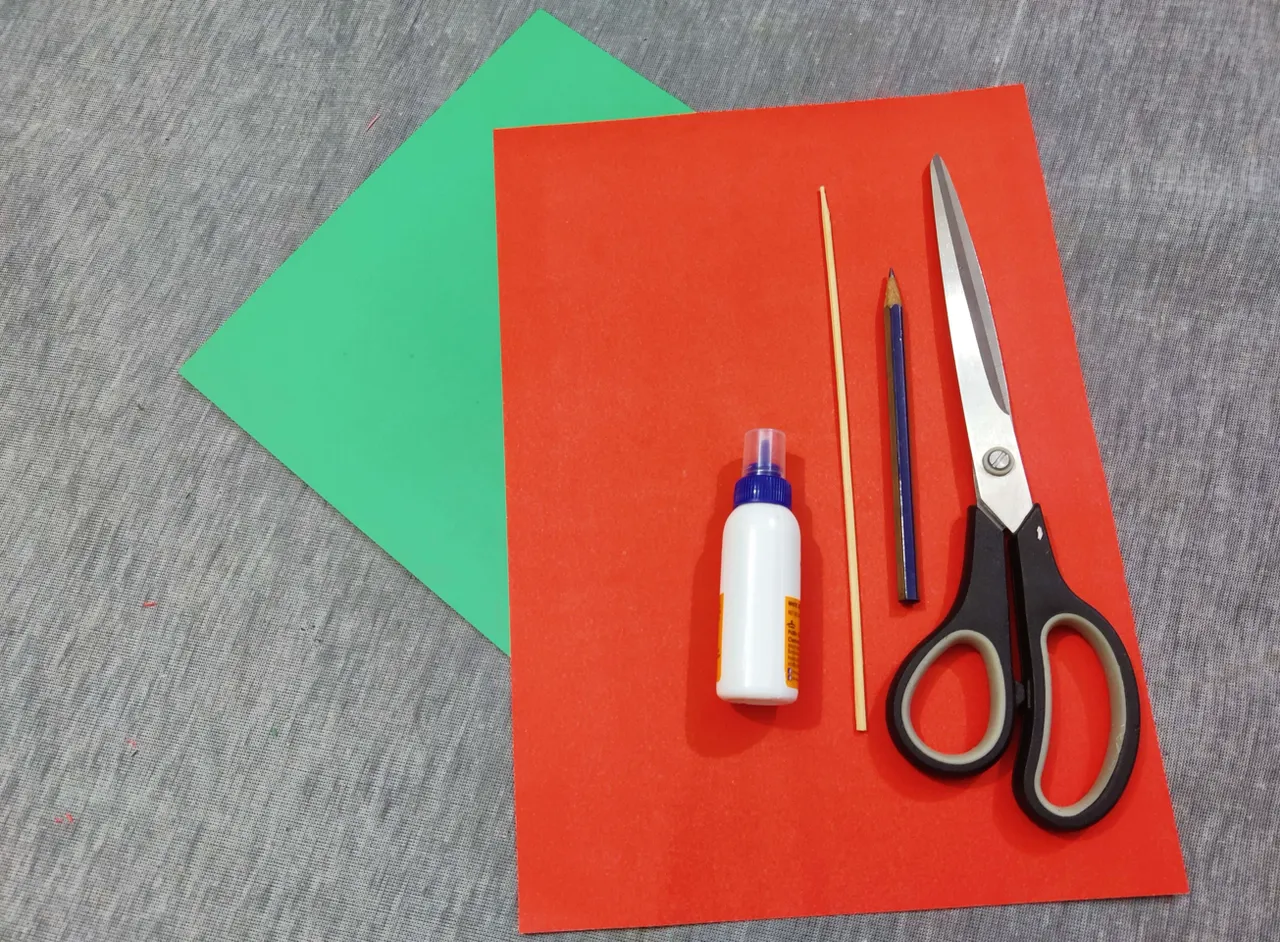
I used some color 2 color papers as you can see 1 red paper for the flower petals and 1 green paper for the leaves and stick, scissor, glue, wooden stick and pencil.
Steps to follow:
There were only two steps to follow, 1. The Rose, 2. The leaves and stick. I'm going to show the rose steps first and then the other parts.
I needed 2 A4 size red color paper and I made them 4 by dividing them in half.
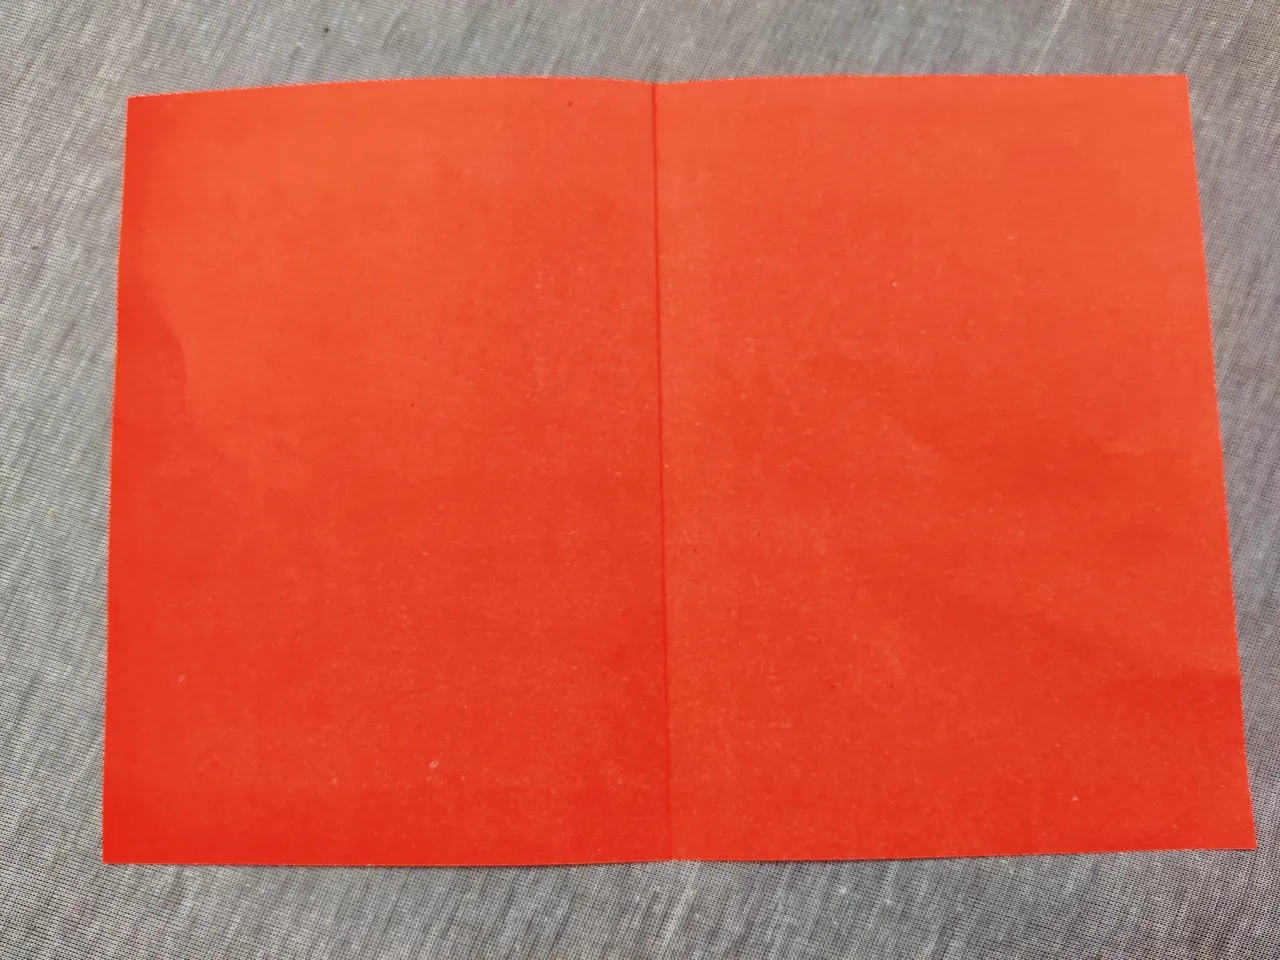
To divide the paper in half, I folded the paper in half at first like above and then I torn them apart.
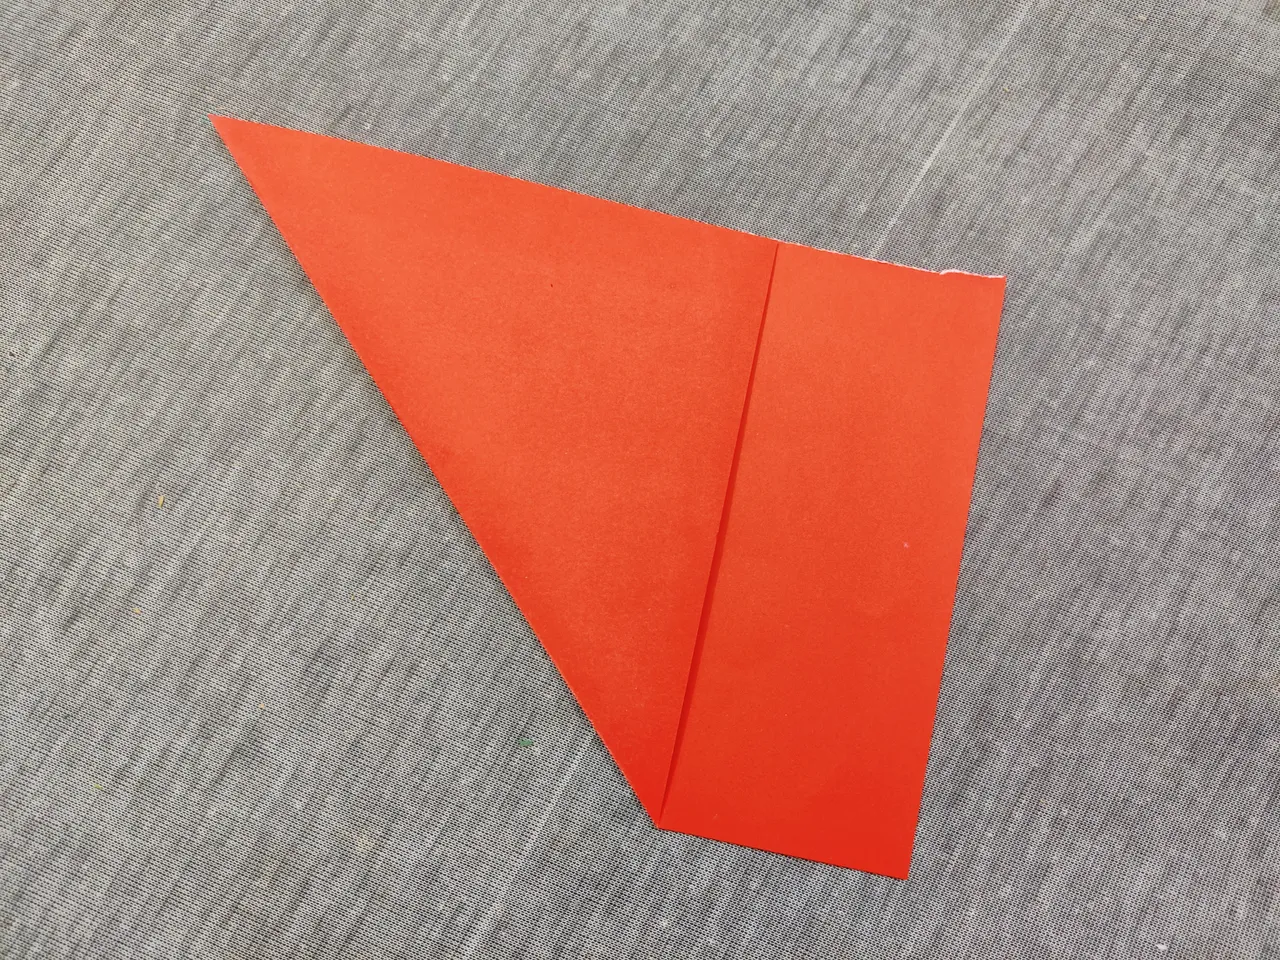
The I needed to make the half part in square shape and for that I folded the paper in triangle shape and I removed the rest of the part keeping the triangle.
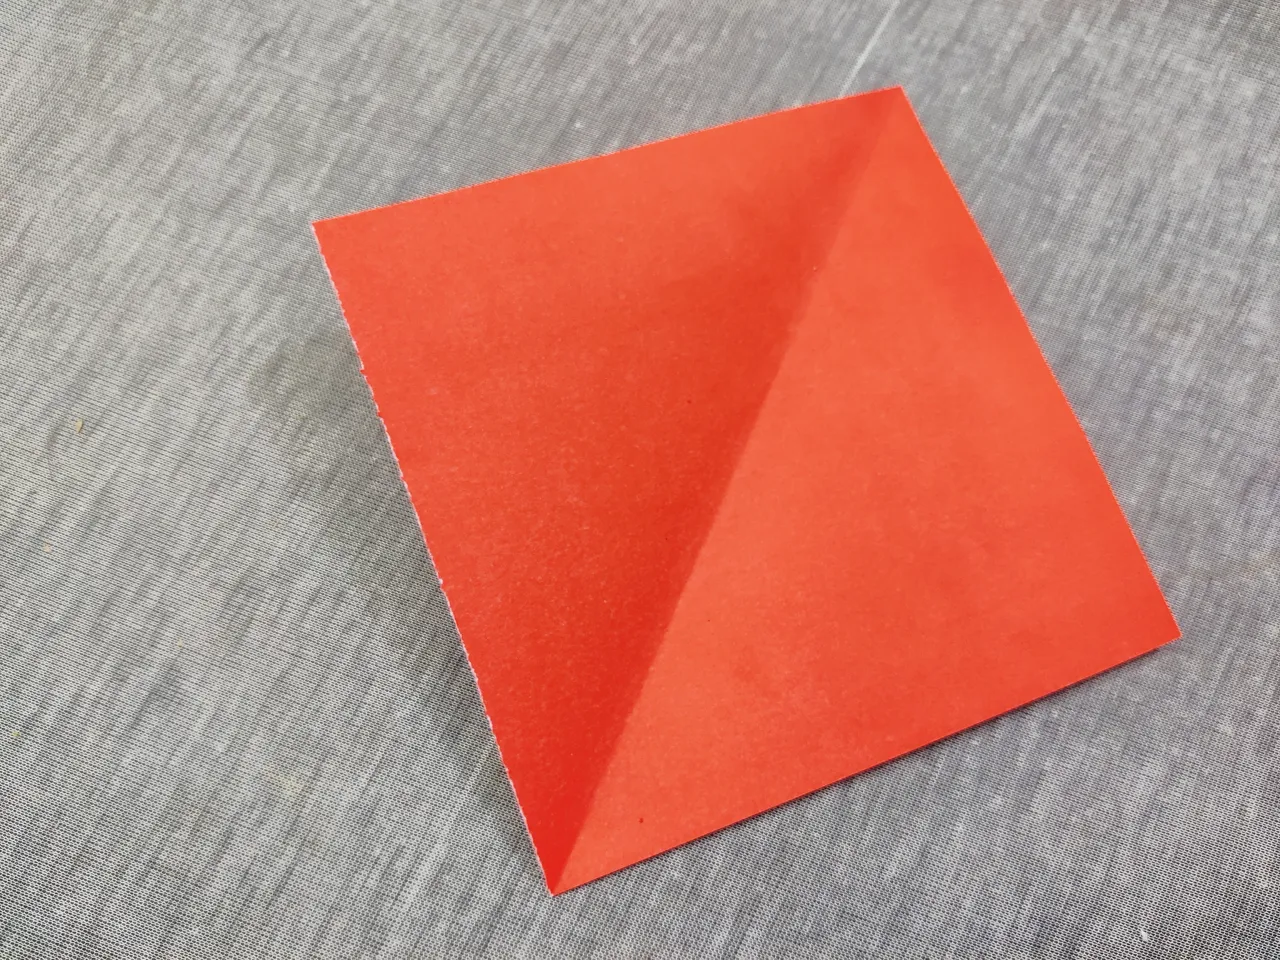
And it's a square when its unfolded although I needed to fold it again into a triangle.
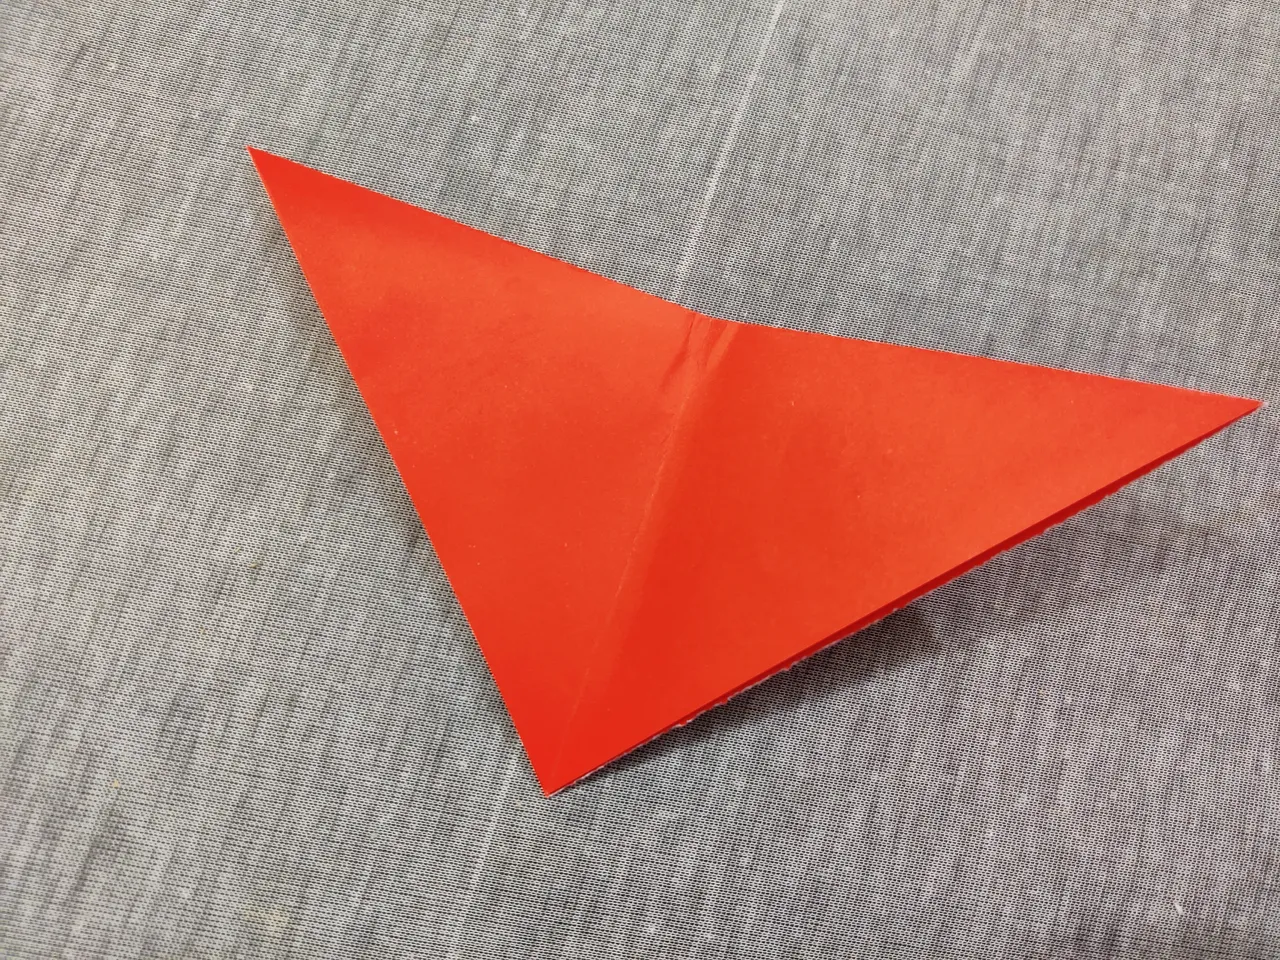
Then I folded it again and made another triangle and then another which made 8 petals of rose.
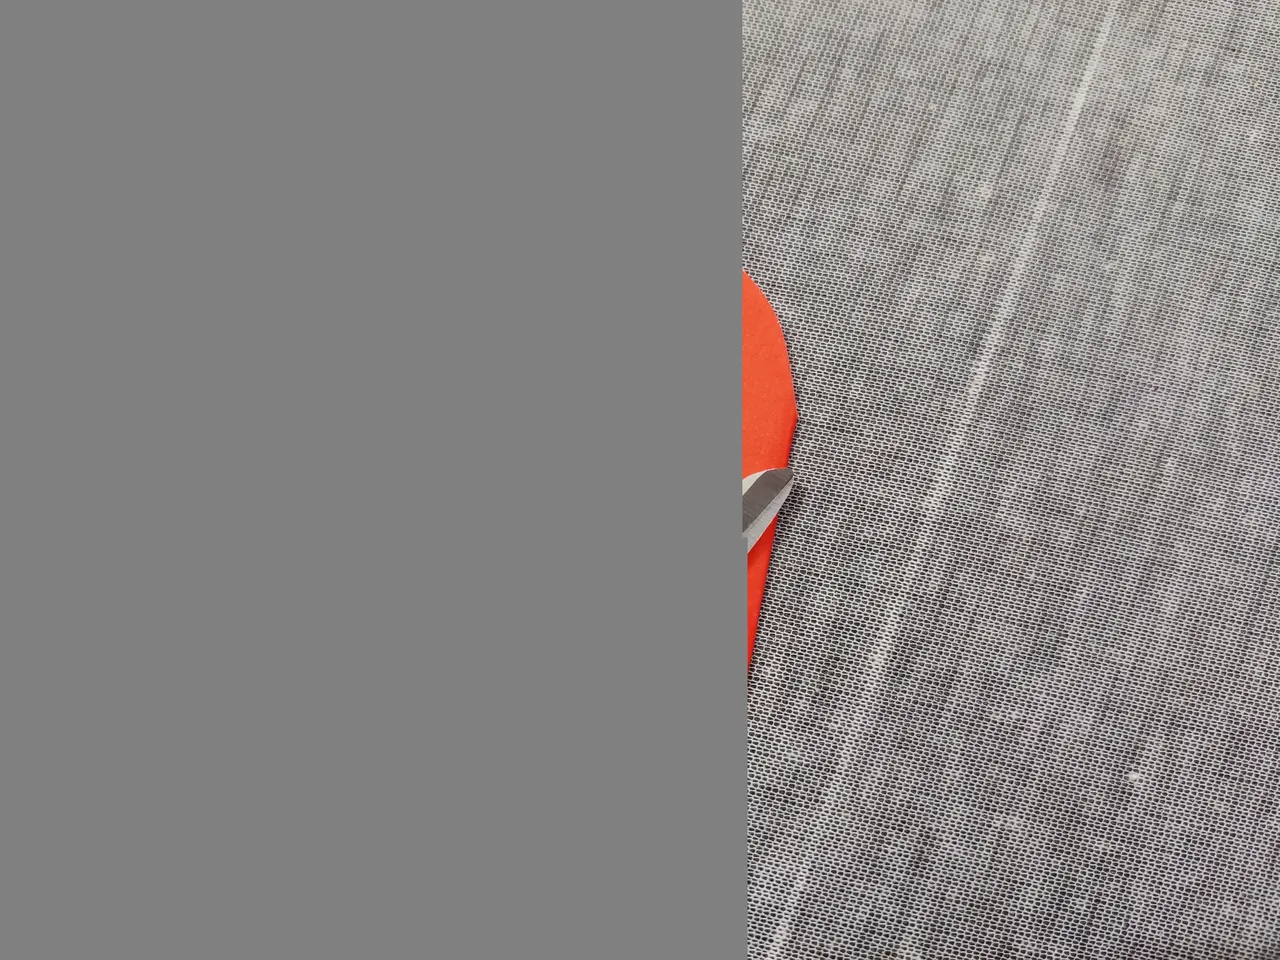
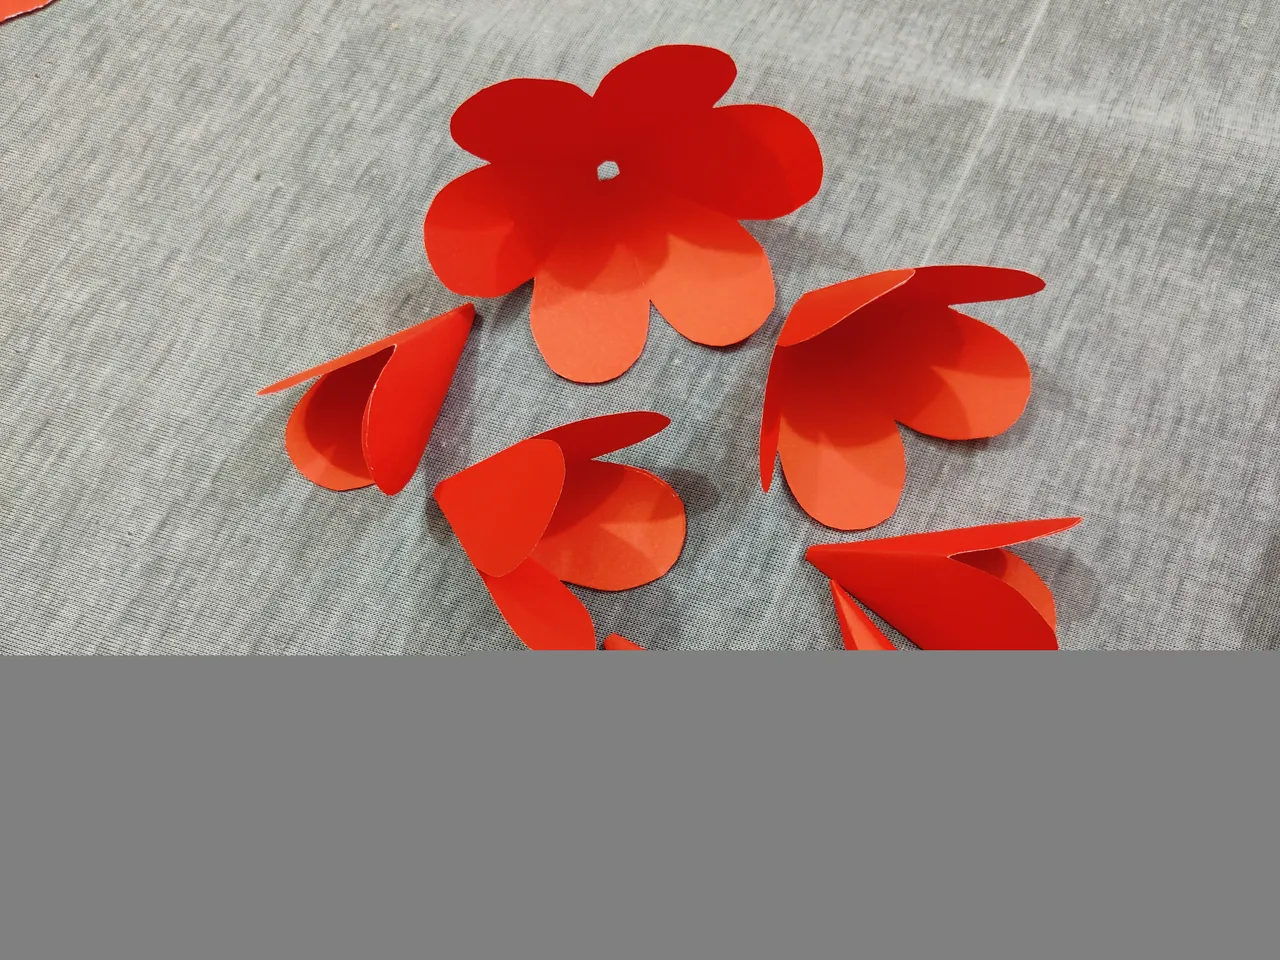
Then I cut the paper in round shape like above and I also cut the the bottom thin part a little bit so that it has a hole underneath.
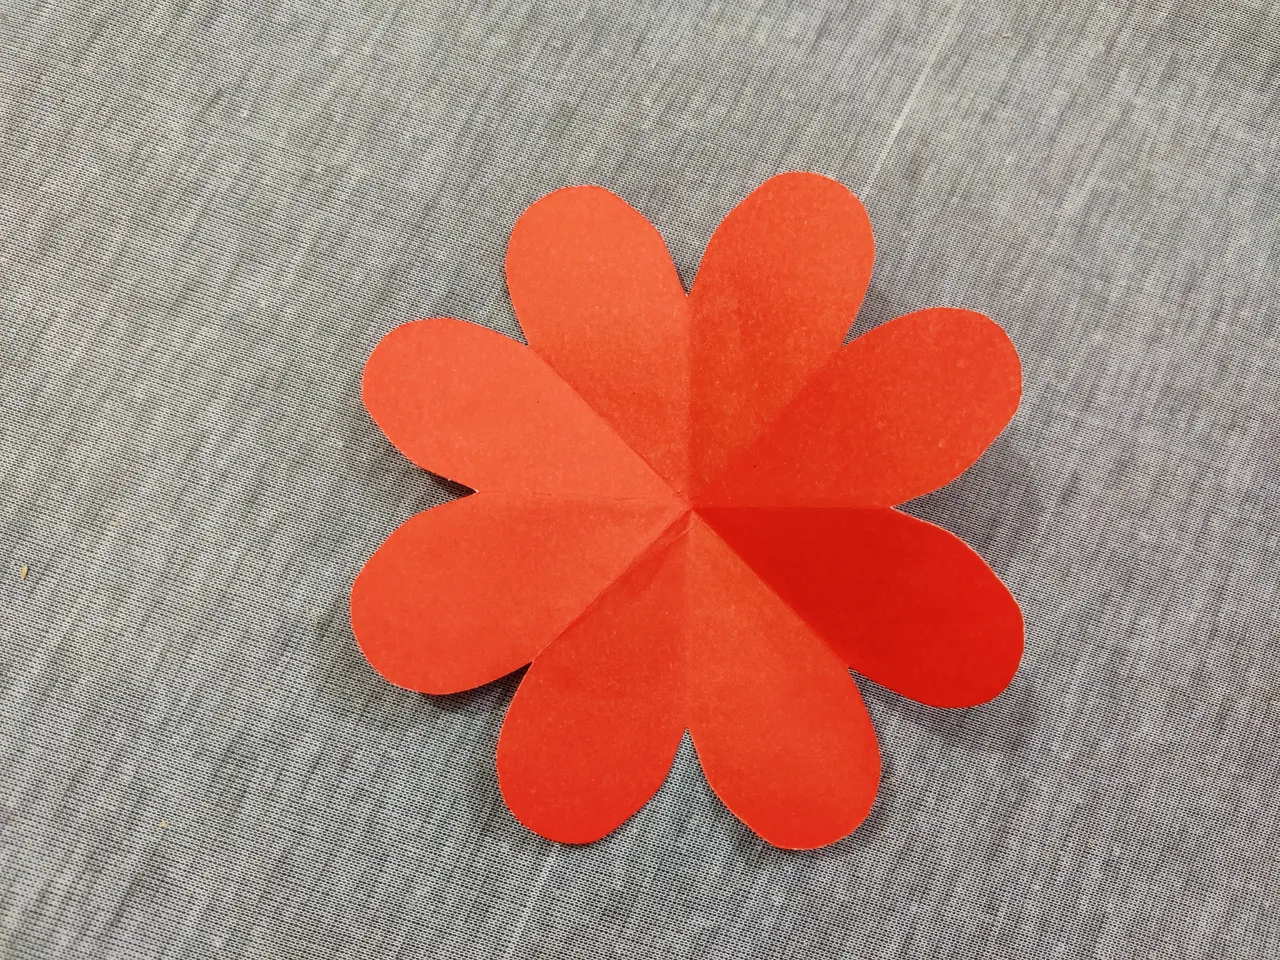
Now after unfolding the paper, I got this flower shape with 8 petals.
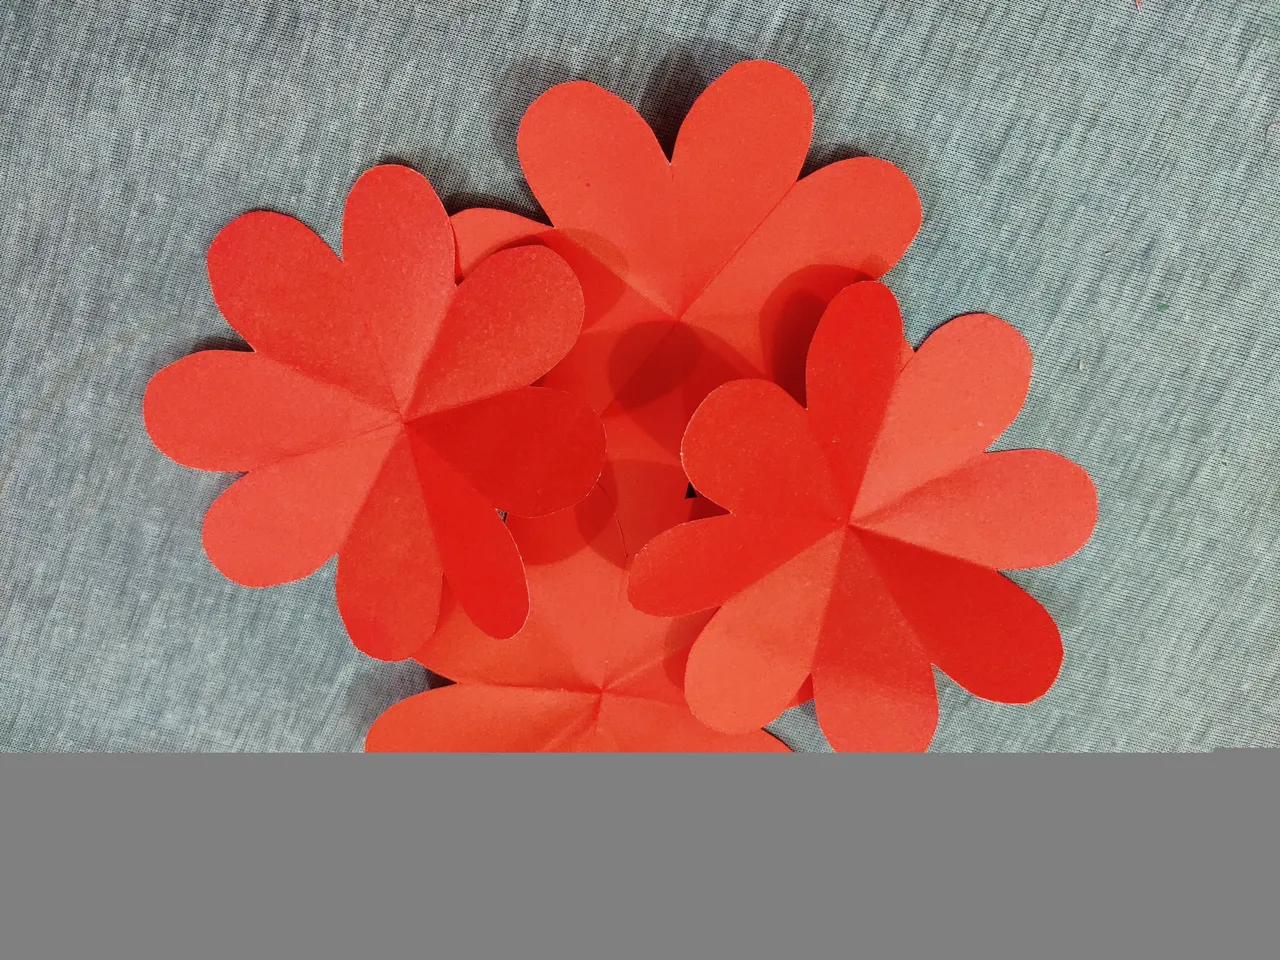
And I did the same with all 4 papers and got 4 of them.
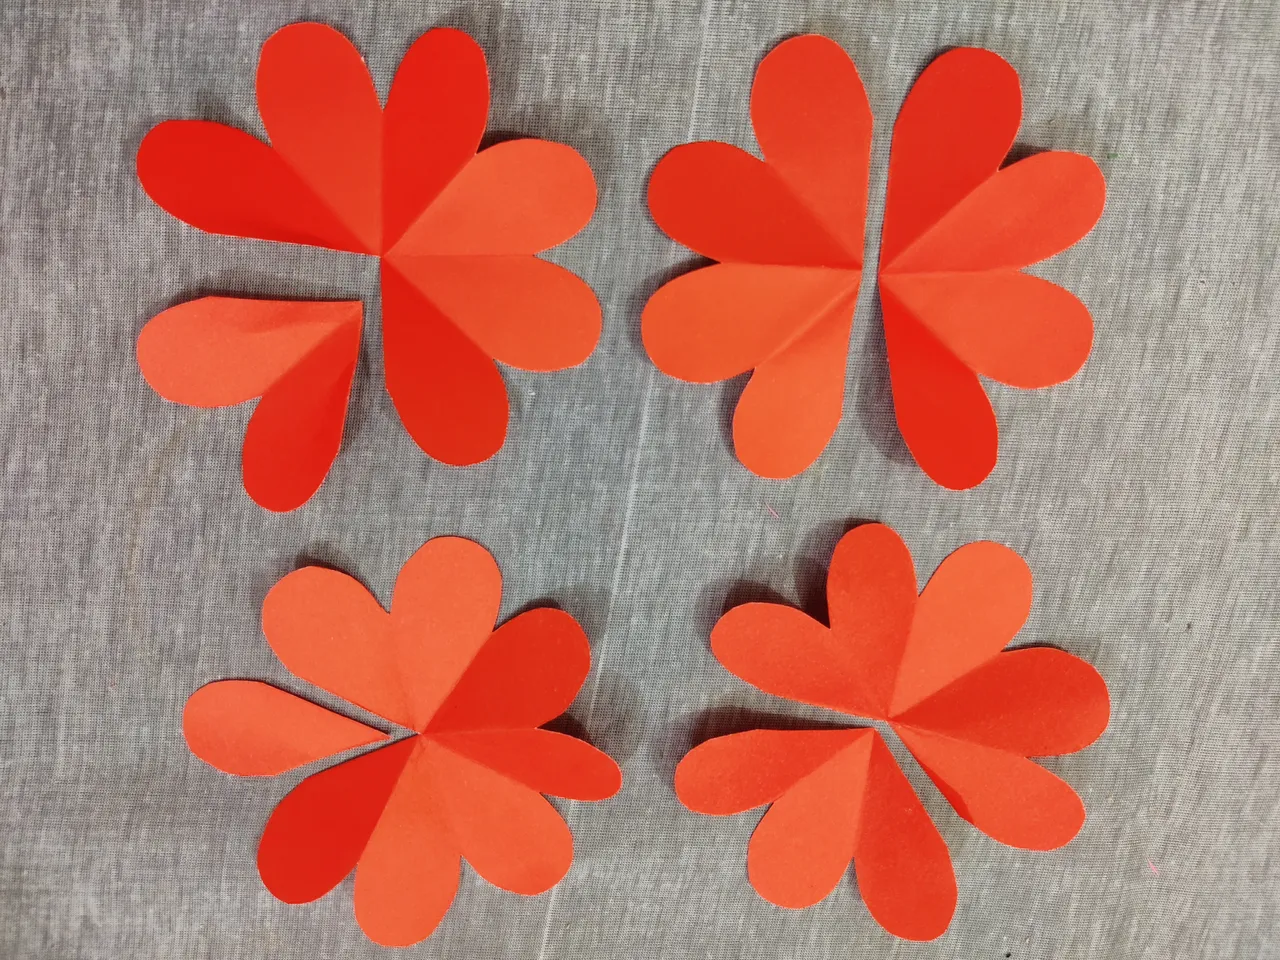
Then I sliced some parts of the papers like above. There I needed to cut one petal from the 1st paper, 2 petals from the 2nd paper, 3 petals from the 3rd paper and 4 petals/half from the 4th paper.
And I needed all of them includes the small parts that I sliced away.
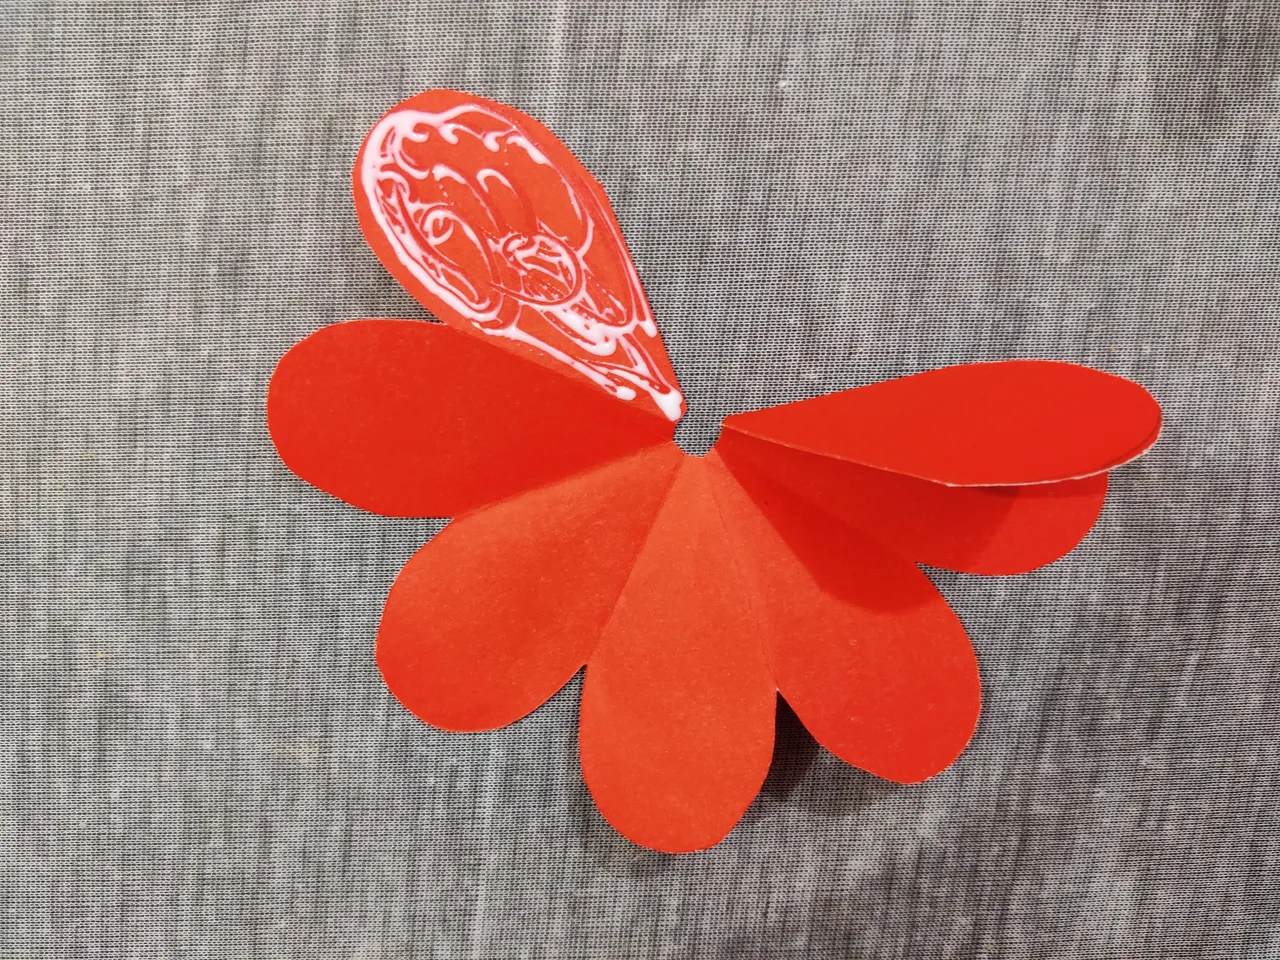
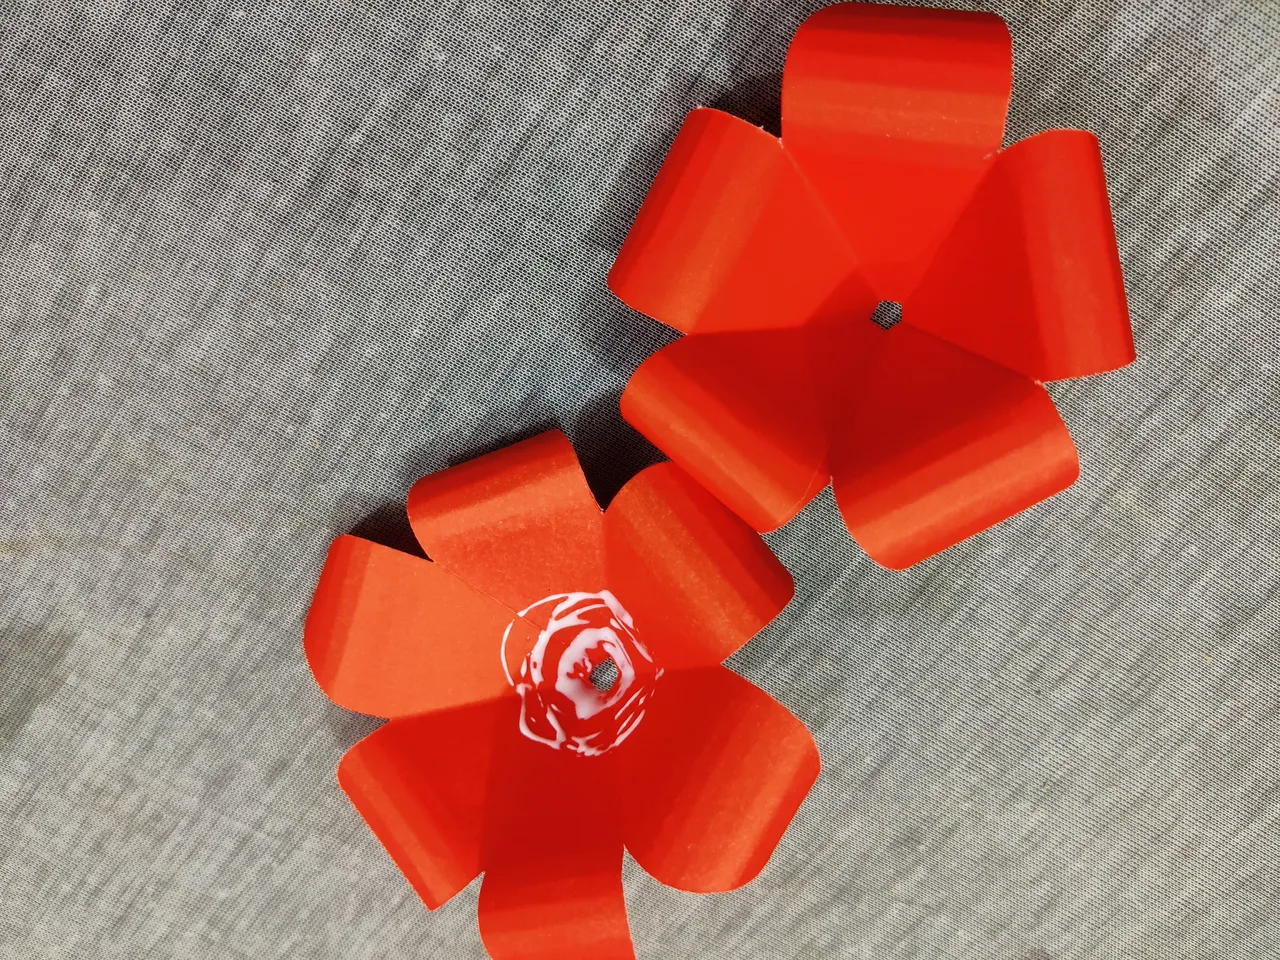
Now its time to glue them up and I glued them like above.
And it becomes like this after gluing it.
And I glued all of them up and I got a total of 8 parts now that I attached a bit later.
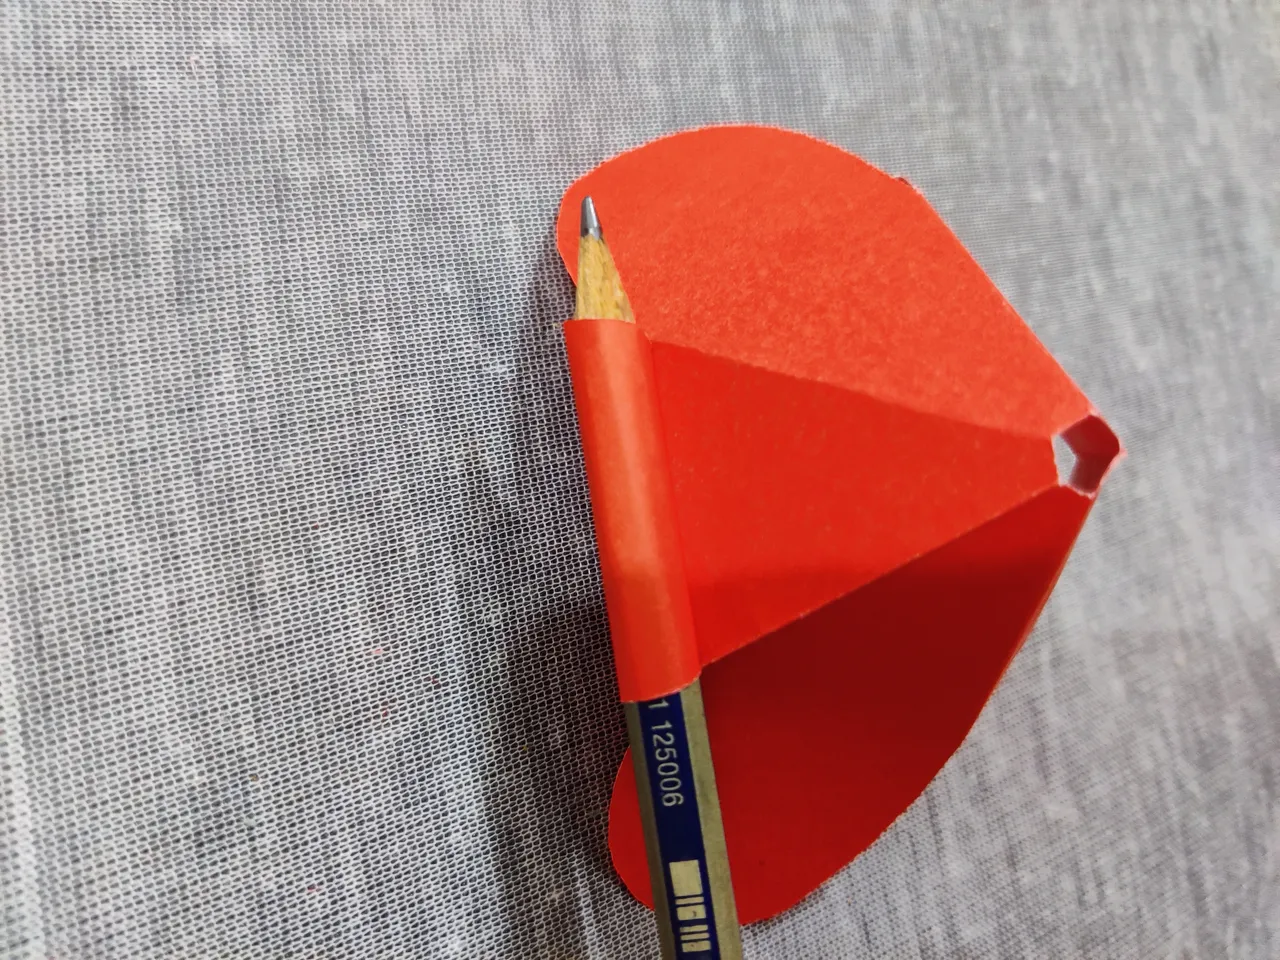
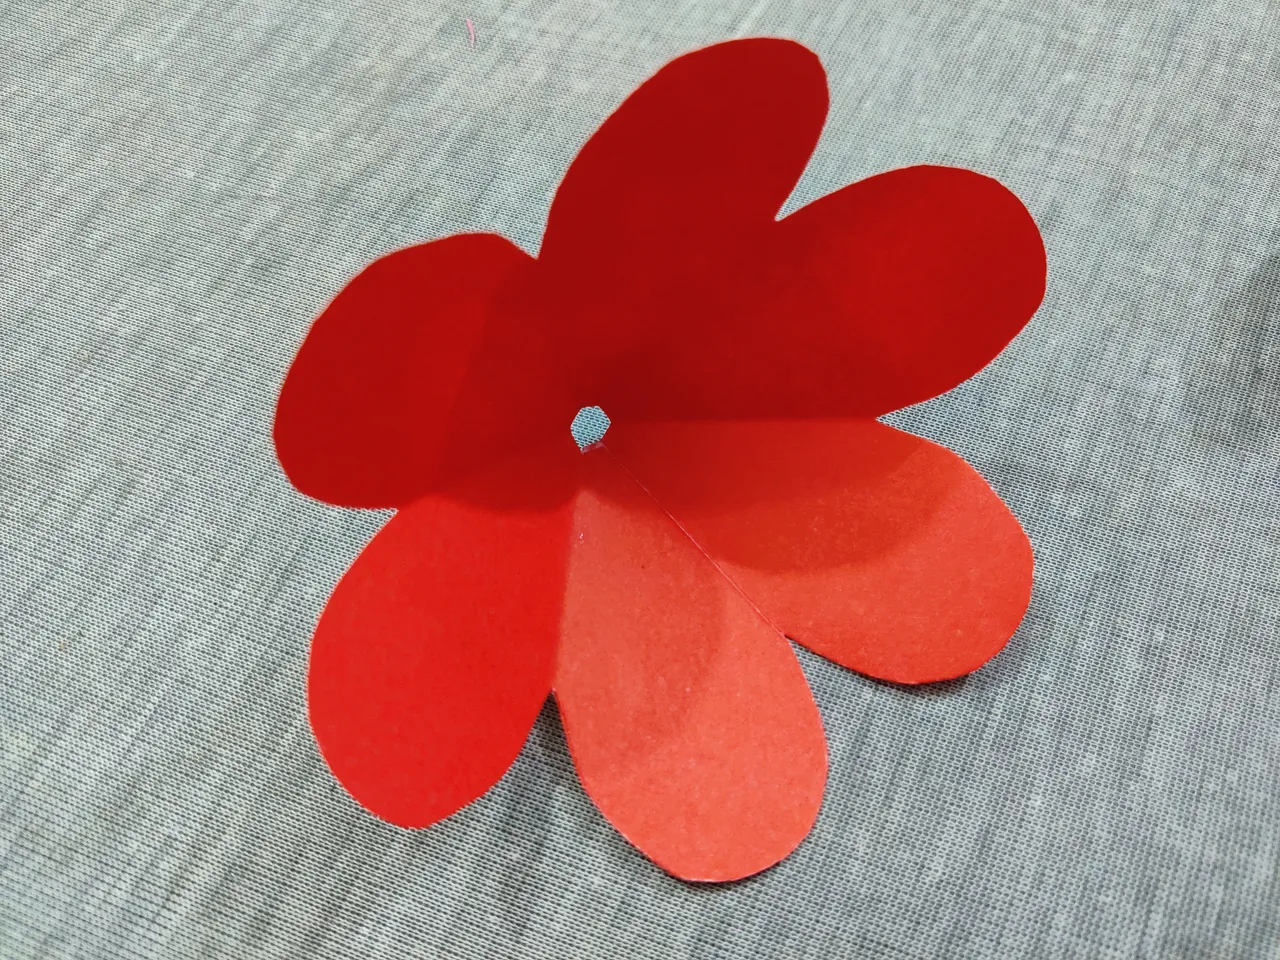
Before attaching them up, I bended the petals like this using a pencil.
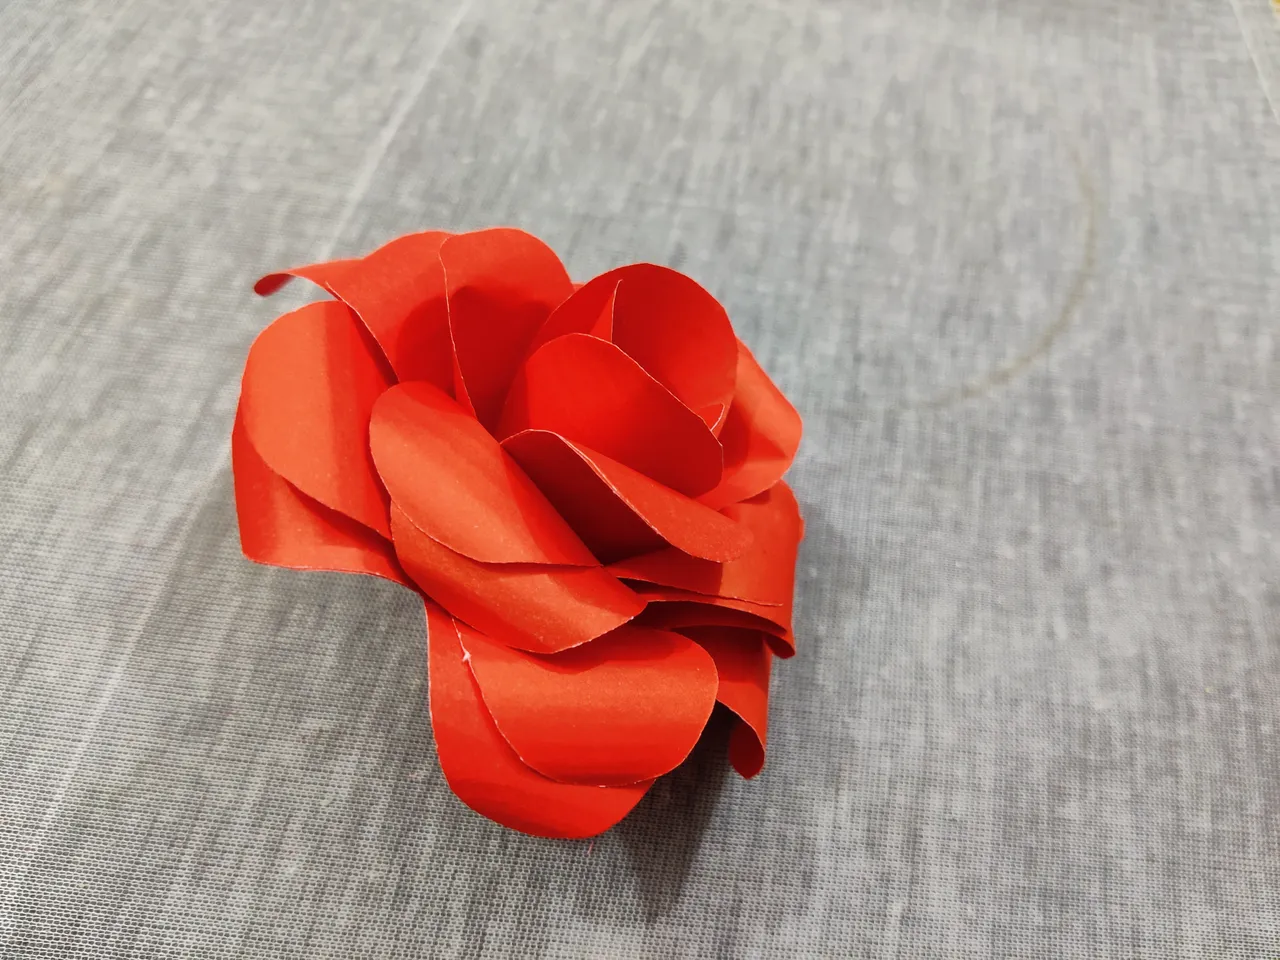
Then I started attaching them up by using the glue. There I needed to glue the small part with the big part and did it with all the parts.
 |  |
|---|
And here it becomes like this, a full rose with a lot of curvy petals.
Now that I'm finished with the flower part, let's talk about the rest of the part that made the work a whole.
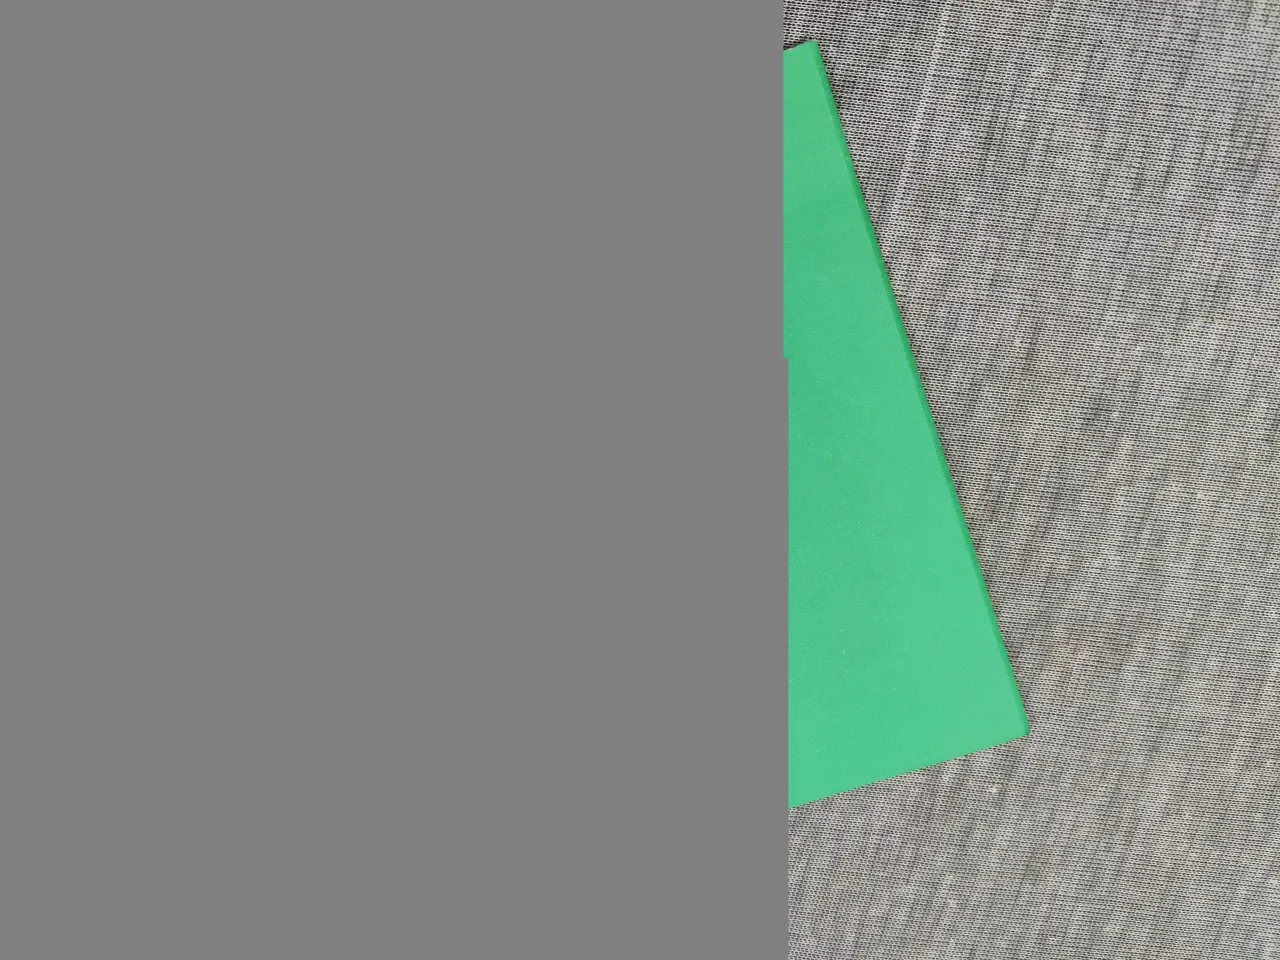
I took smaller parts of green color papers and from above two parts of paper, I made 4 leaves and this is too easy.
At first I sliced the papers in half and got 4 parts that turned into 4 leaves a bit later.
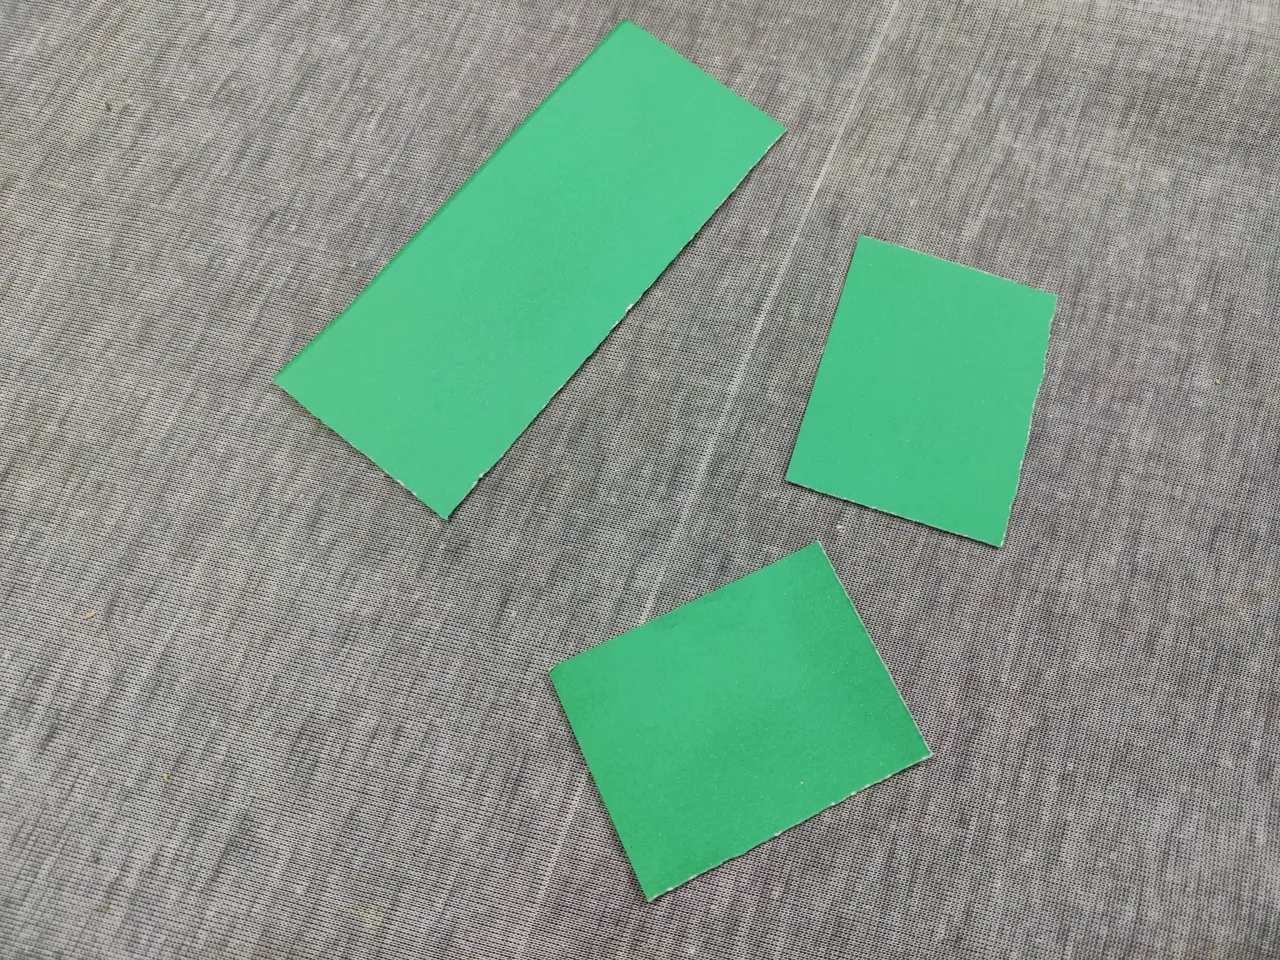
I folded the paper like this and then I cut the paper in a shape so that it looks like a leaf.
And here it is, a leaf which I won't say a perfect one as leaves can be better but I kept it simple.
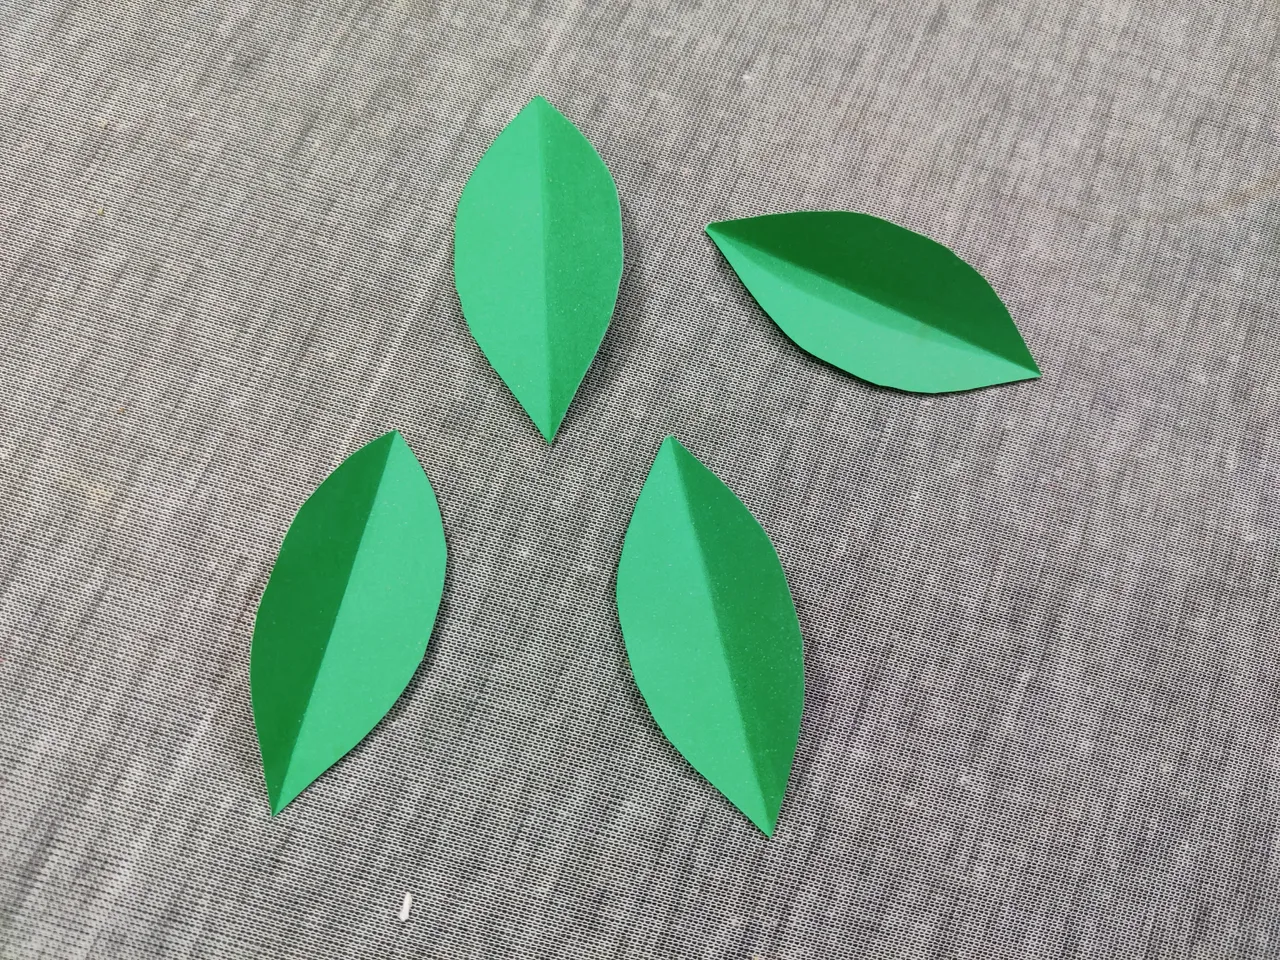
And here all 4 leaves together.
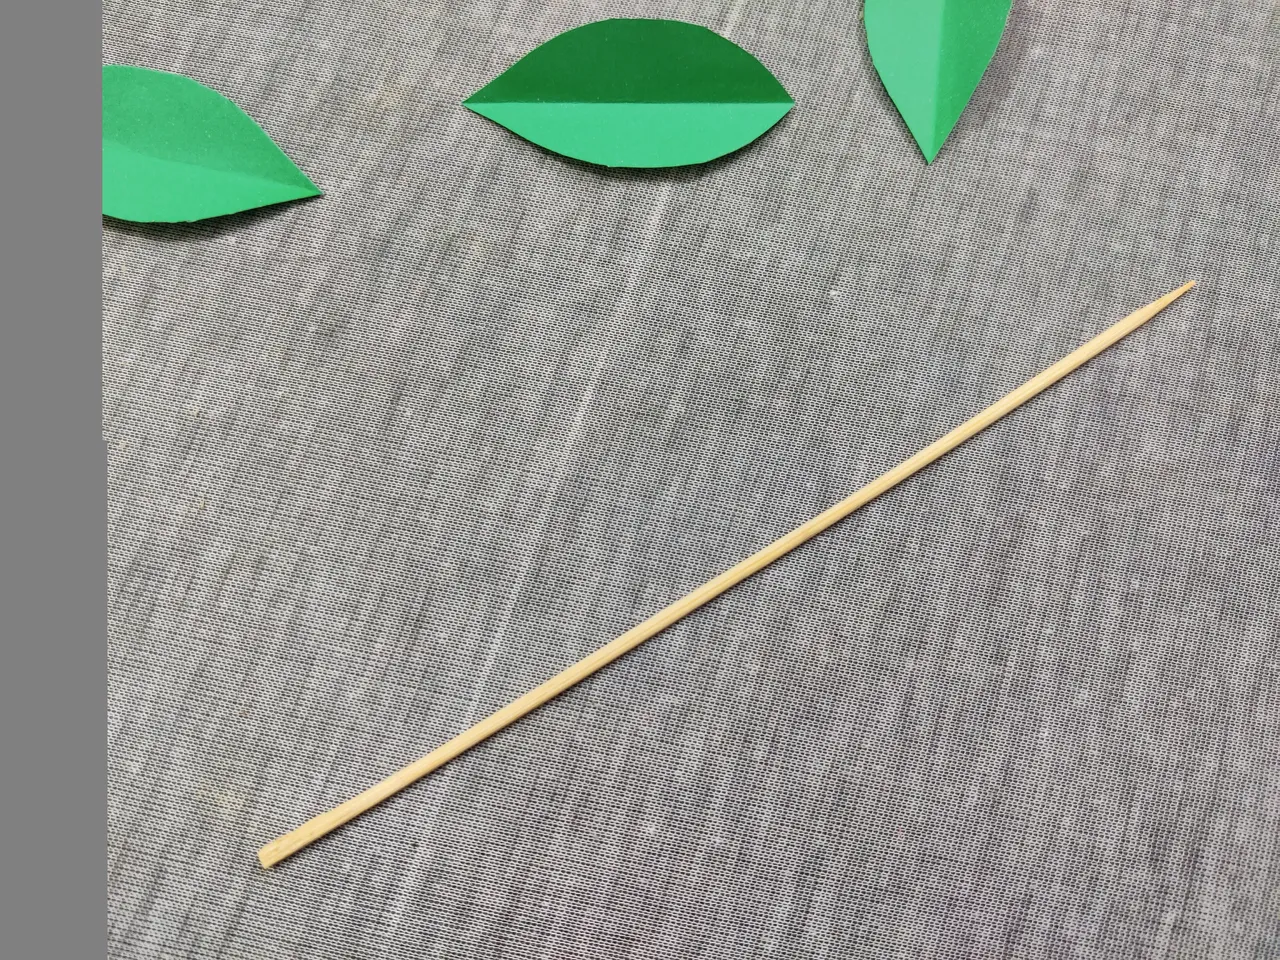
Now I needed this stick that I bought for cooking Chicken Salami and this stick came handy when I was working on this rose.

After taking a green paper, I glued a part of the paper and started covering up the stick.
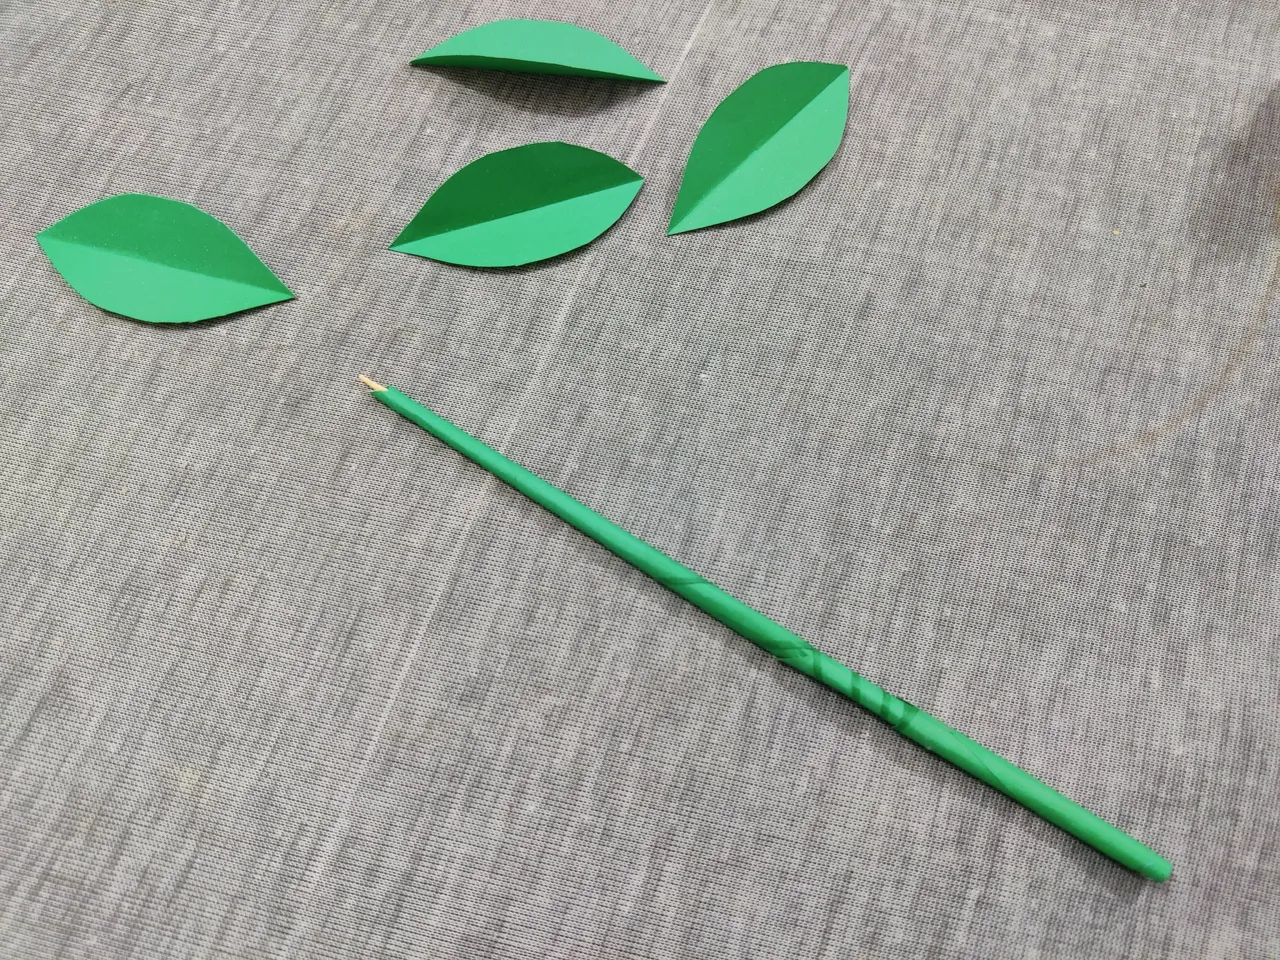
And it becomes like this.
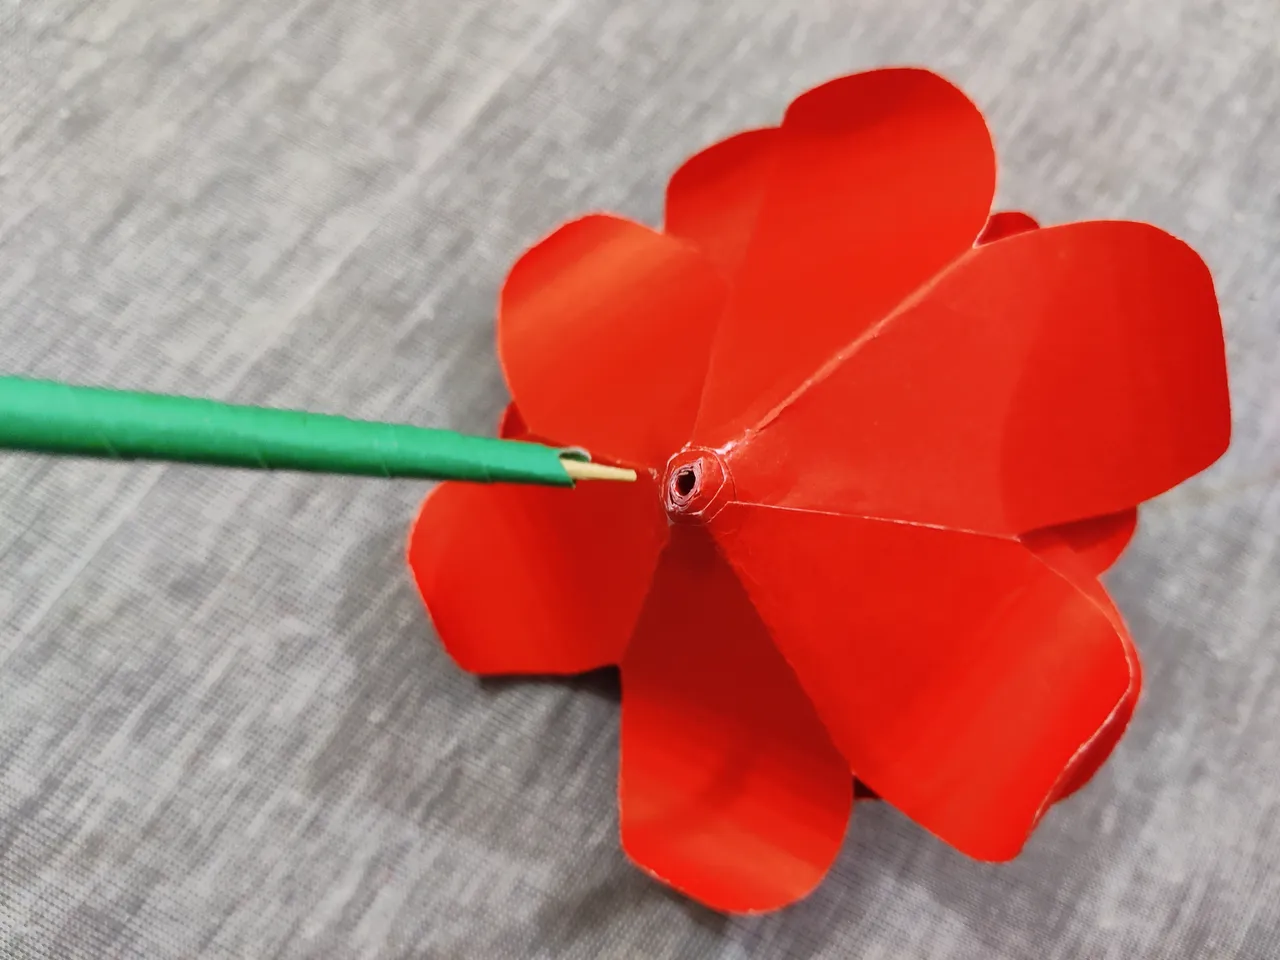
And then I attached the stick to the rose though the hole that I cut through in the first step.
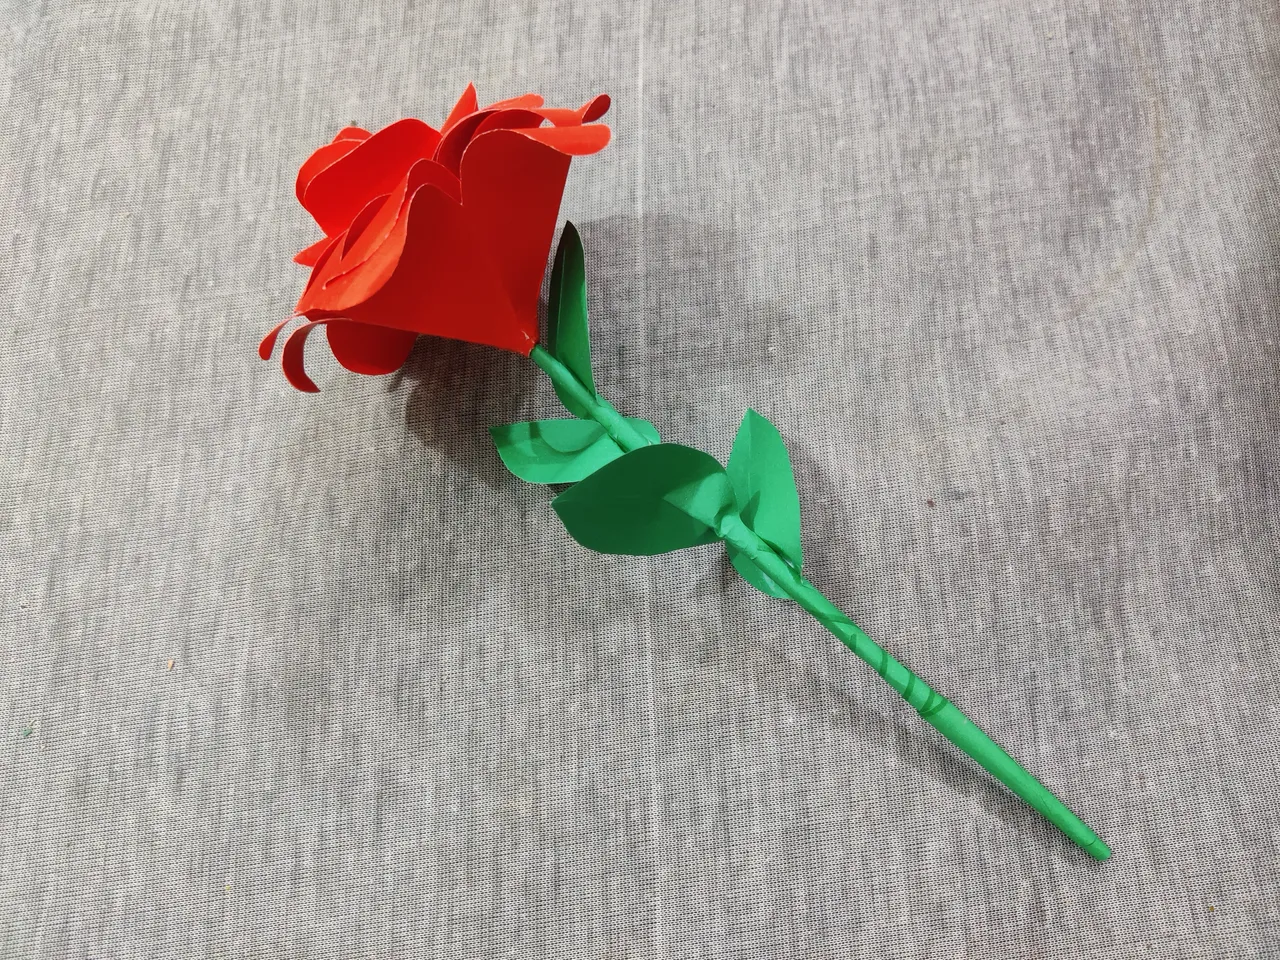
And I added the leaves on the stick and finished the work.
 | |
|---|
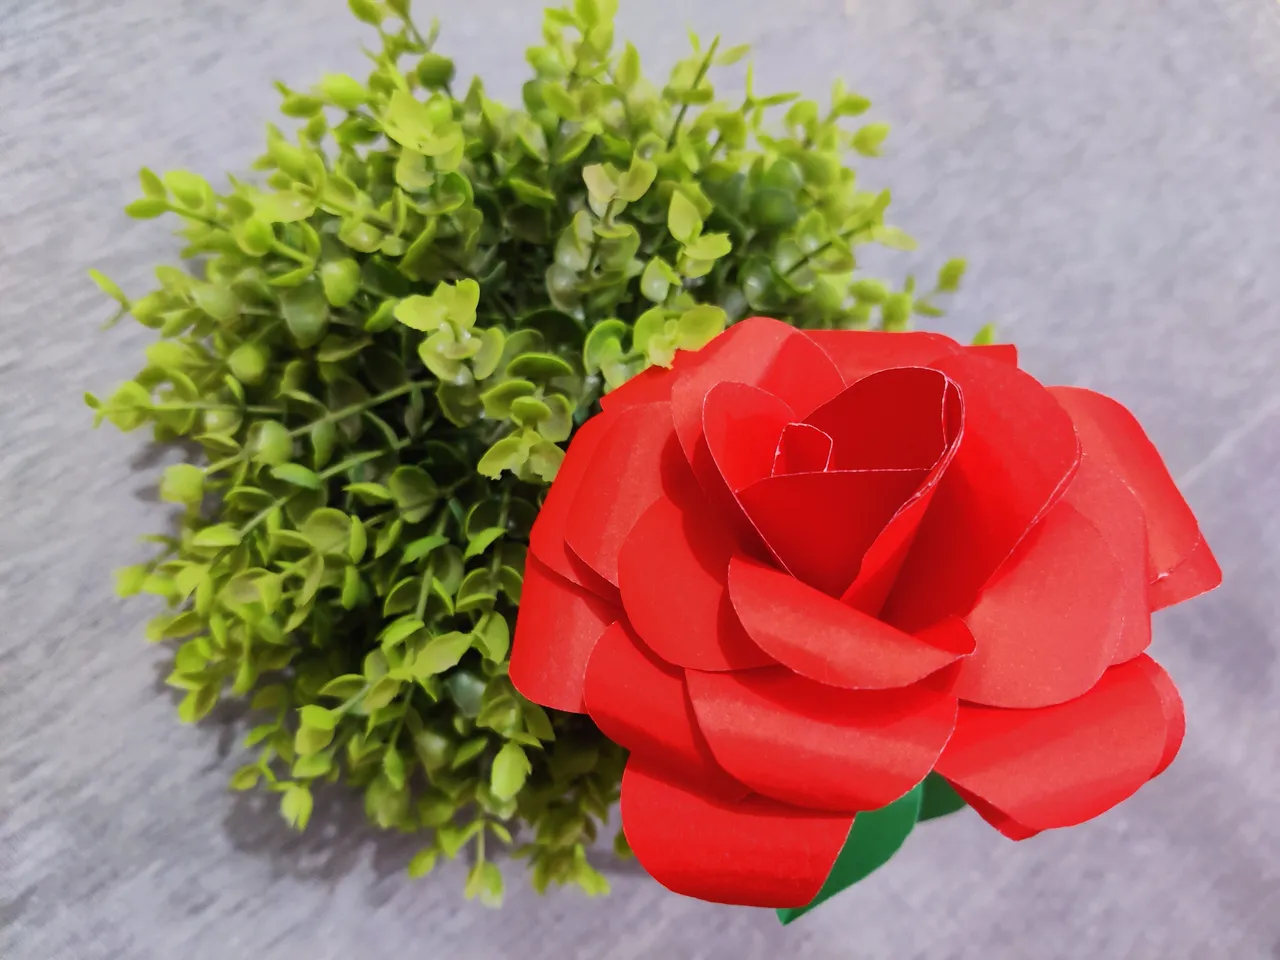
And here I did some photoshoot with the rose beside a showpiece.
I may show more of my paperwork later and soon I may show a work that's been in my kitchen lately where you'll see the presence of this rose/this type of rose as well and I hope you'll like that very much.
No more today, I'll talk more later with another craft soon.
BYE BYE.