
(English version)
Hello dear friends! ♥
As I am in all this illustration, my husband has suggested (and almost begged) to pass it to digital, to see how it was. This has been the result, that we really loved the truth. He walks like a child with a new toy and is sharing it on all networks, even before I officially published it on my blog (...)
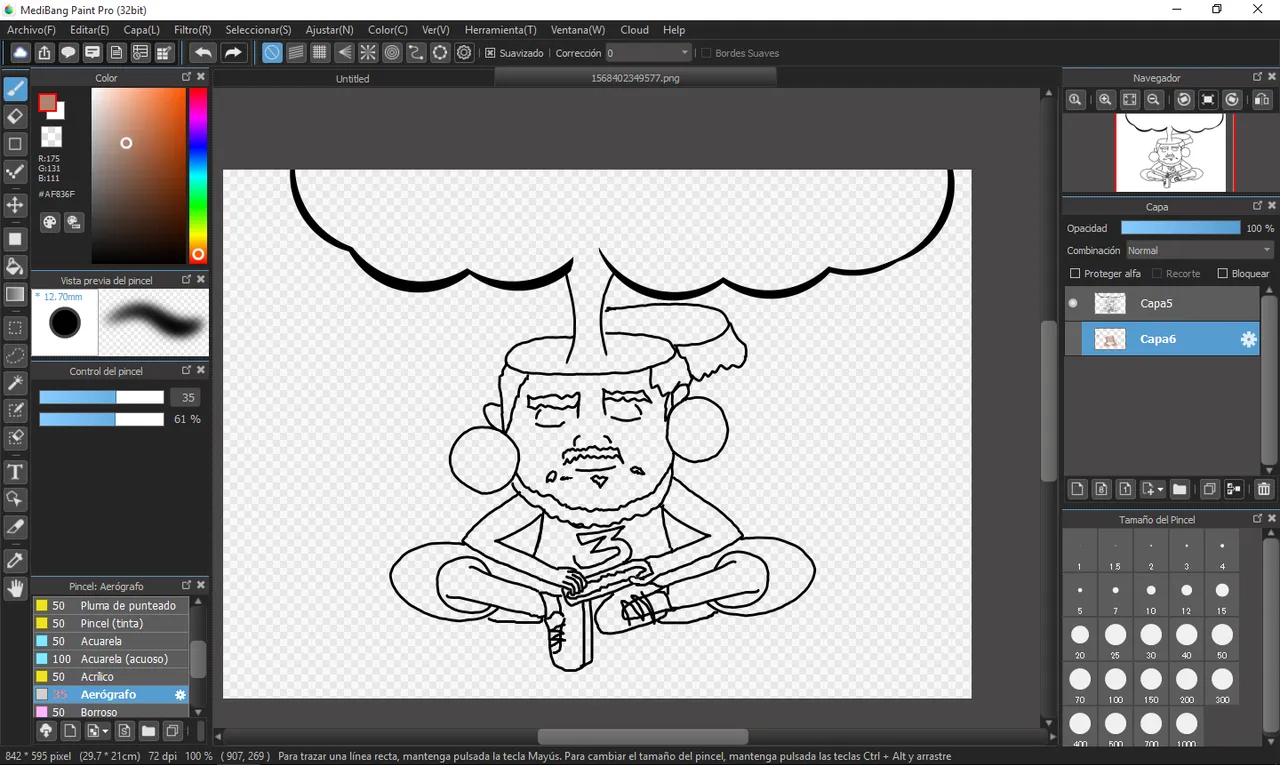
The program that I have used for the realization of this image has been Medibang Paint, in its version for PC and Android. Here is a brief step by step of how I have achieved this result, join me! ♥
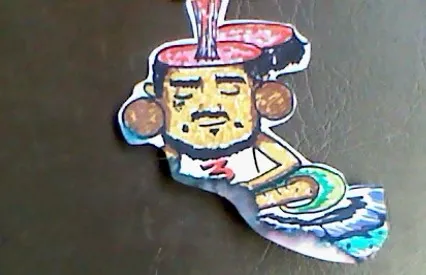
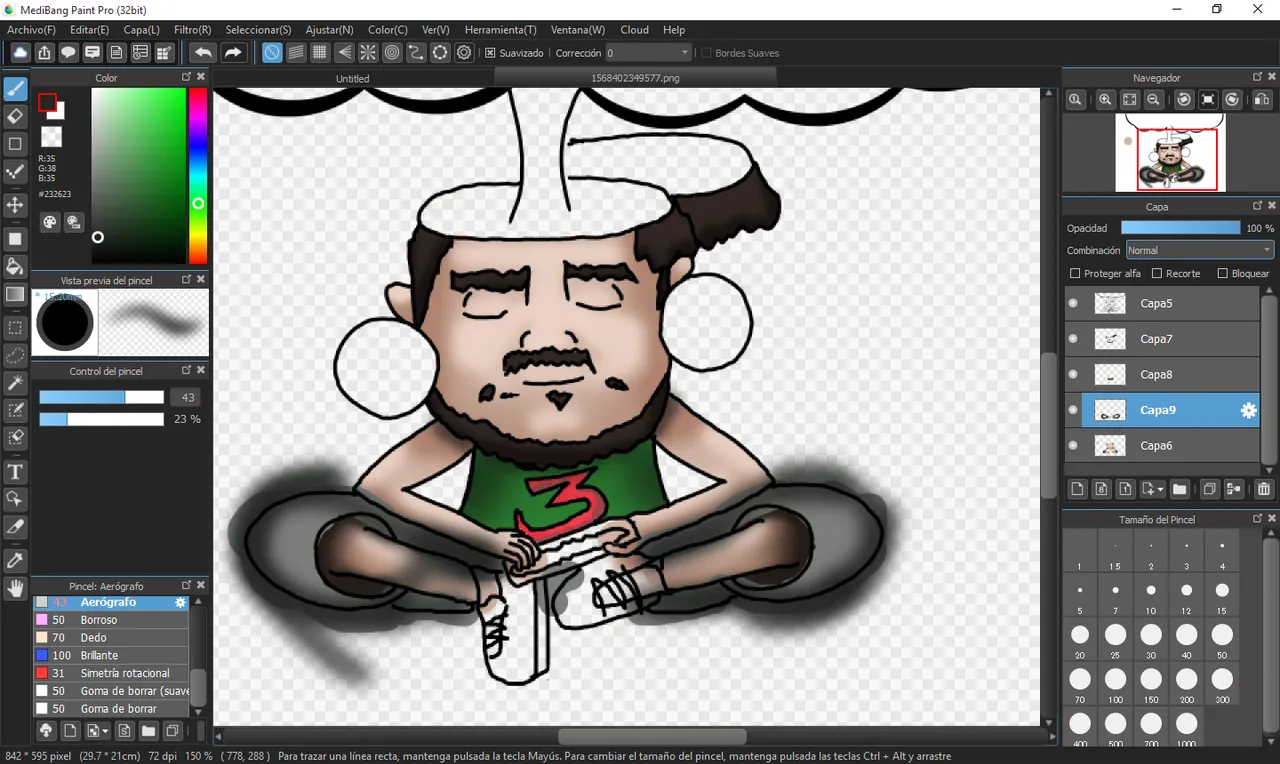
1.- First I took a picture of the original drawing to be able to work it, then I uploaded it to the program on my PC and began to draw the contours. With the help of the pen tool I began to trace the missing parts.
2.- I painted the base of the colors and with the help of the airbrush I made some shadows and lights.
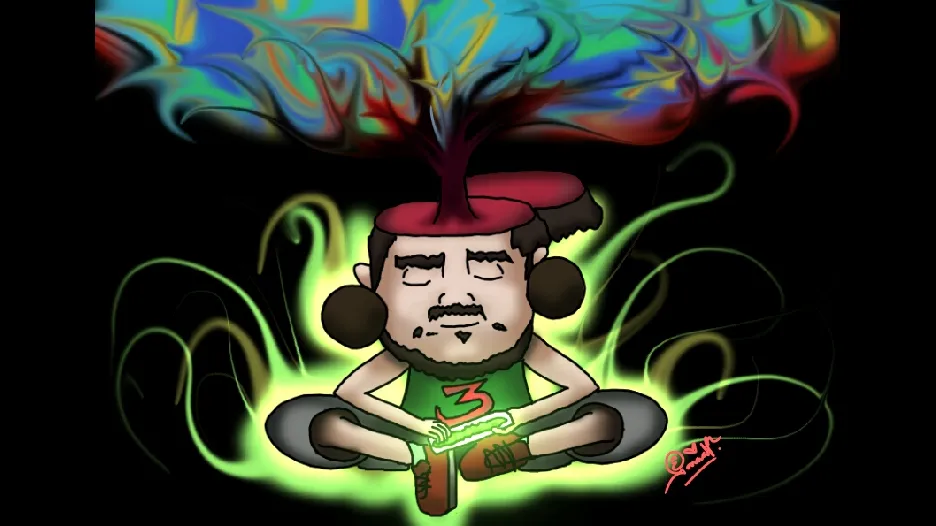
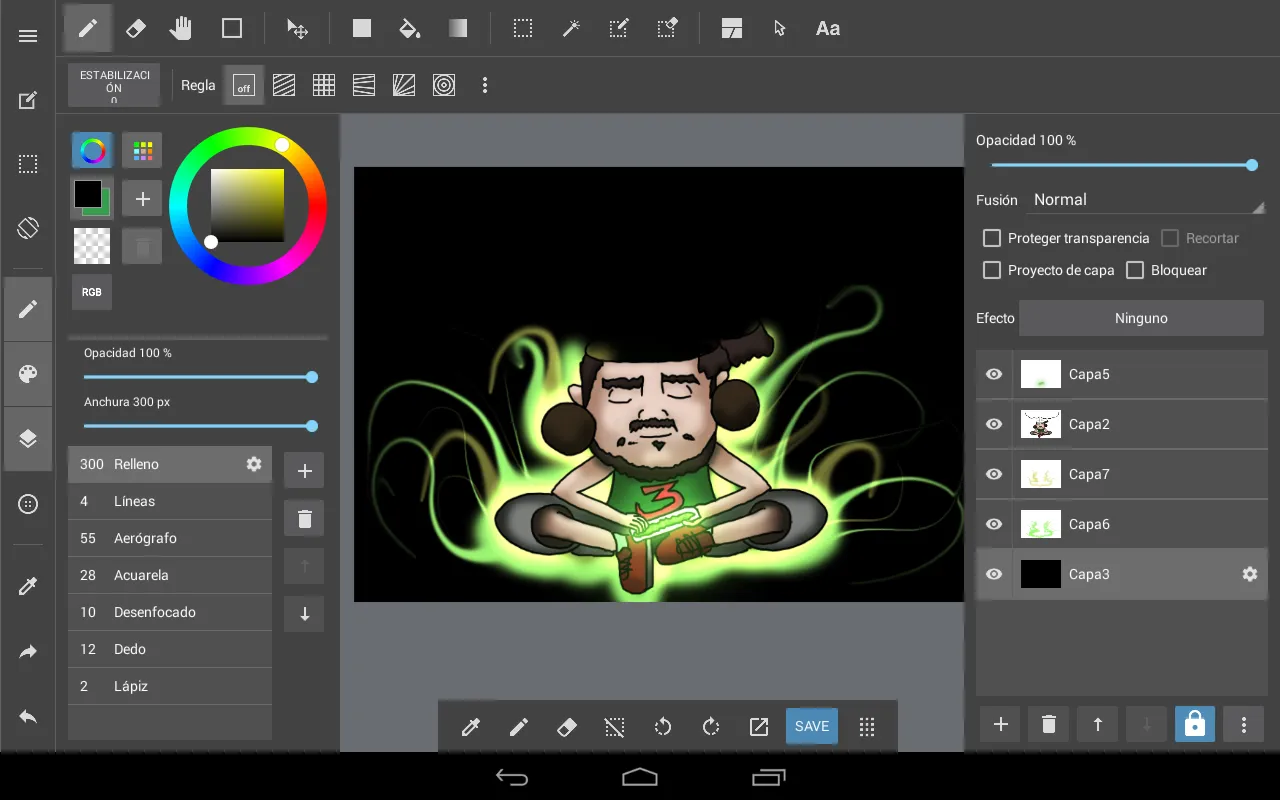
3.- For the background I preferred to go to my tablet, since it allows me to give more detail to my image. I have enhanced the center of the image with the help of the airbrush and the light effect of the layer.

4.- I drew a fine aura in green and another in yellow, at the bottom of my character and placed it with a light effect. With the finger tool I made the waves.
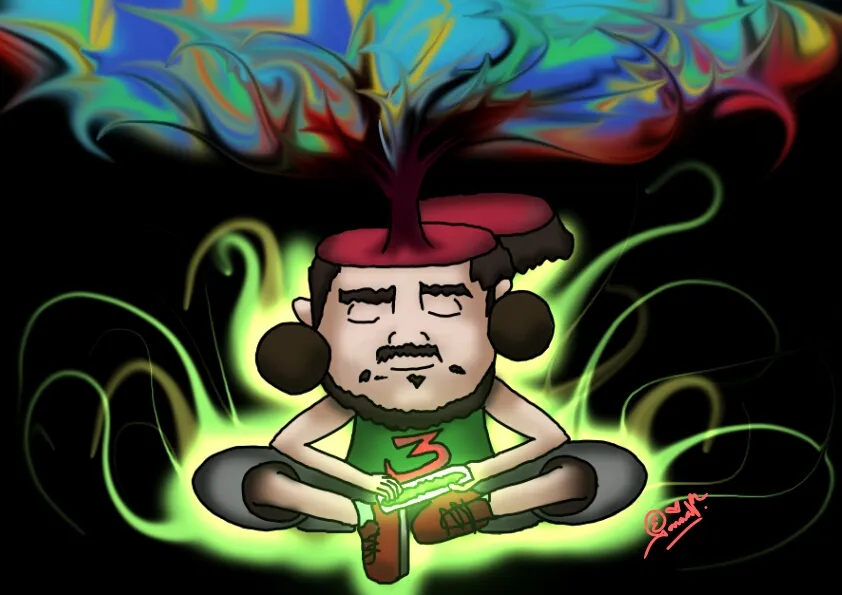
5.- Finally, I have drawn several colored lines at the top, which I have blurred with the tool out of focus and the finger tool, to give it that scattered look. Finally I added my signature, and voila!
(Versión en español)
¡Hola queridos amigos! ♥
Como ando en todo esto de la ilustración, mi esposo me ha sugerido (y casi que suplicado) que la pasara a digital, a ver que tal quedaba. Este ha sido el resultado, que la verdad a ambos nos ha encantado. Él anda como niño con juguete nuevo y lo está compartiendo por todas las redes, incluso antes de que yo lo publicara oficialmente en mi blog (...)
El programa que he utilizado para la realización de esta imagen ha sido Medibang Paint, en su versión para PC y Android. A continuación les dejo un breve paso a paso de como he logrado este resultado, ¡acompáñenme! ♥
1.- Primero le tomé una fotografía al dibujo original para poder trabajarlo, luego la cargué al programa en mi PC y comencé a trazar los contornos. Con ayuda de la herramienta pluma comencé a trazar las partes faltantes.
2.- Pinté la base de los colores y con ayuda del aerógrafo hice algunas sombras y luces.
3.- Para el fondo preferí irme a mi tableta, ya que me permite darle detalles más cómodamente a mi imagen. He realzado el centro de la imagen con ayuda del aerógrafo y el efecto de luminosidad de la capa.
4.- Tracé una fina aura en verde y en otra en amarillo, al fondo de mi personaje y la he colocado con efecto de luminosidad. Con la herramienta dedo he hecho las ondas.
5.- Para finalizar, he trazado varias líneas de color en la parte superior, las cuales he difuminado con la herramienta desenfocado y la herramienta dedo, para darle ese aspecto disperso. Por último he agregado mi firma, y ¡listo!.
Espero hayan disfrutado la publicación
Att: Estefania Garcia ♥