
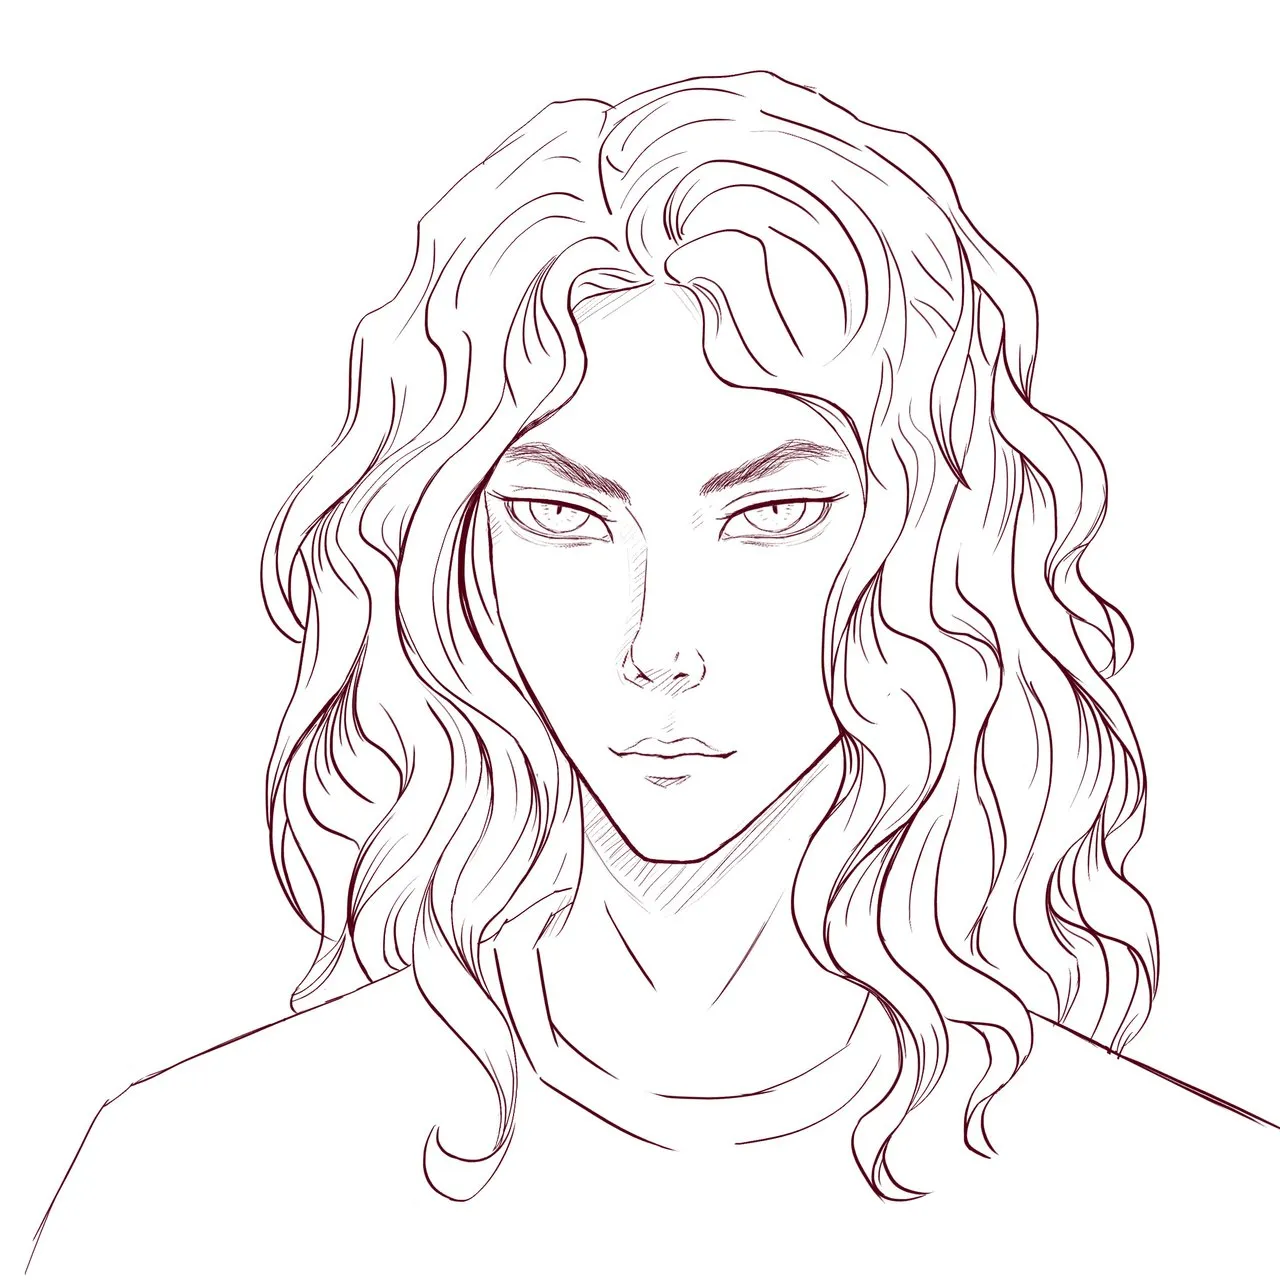
 hello steemit, I want to share with you the last illustration I was working on this week, it is a comic / anime portrait, I made the sketch directly in photoshop with the brush that I usually use in red, once I had the skech ready, I started to work the lineart with the same brush but alternating the thickness of it.
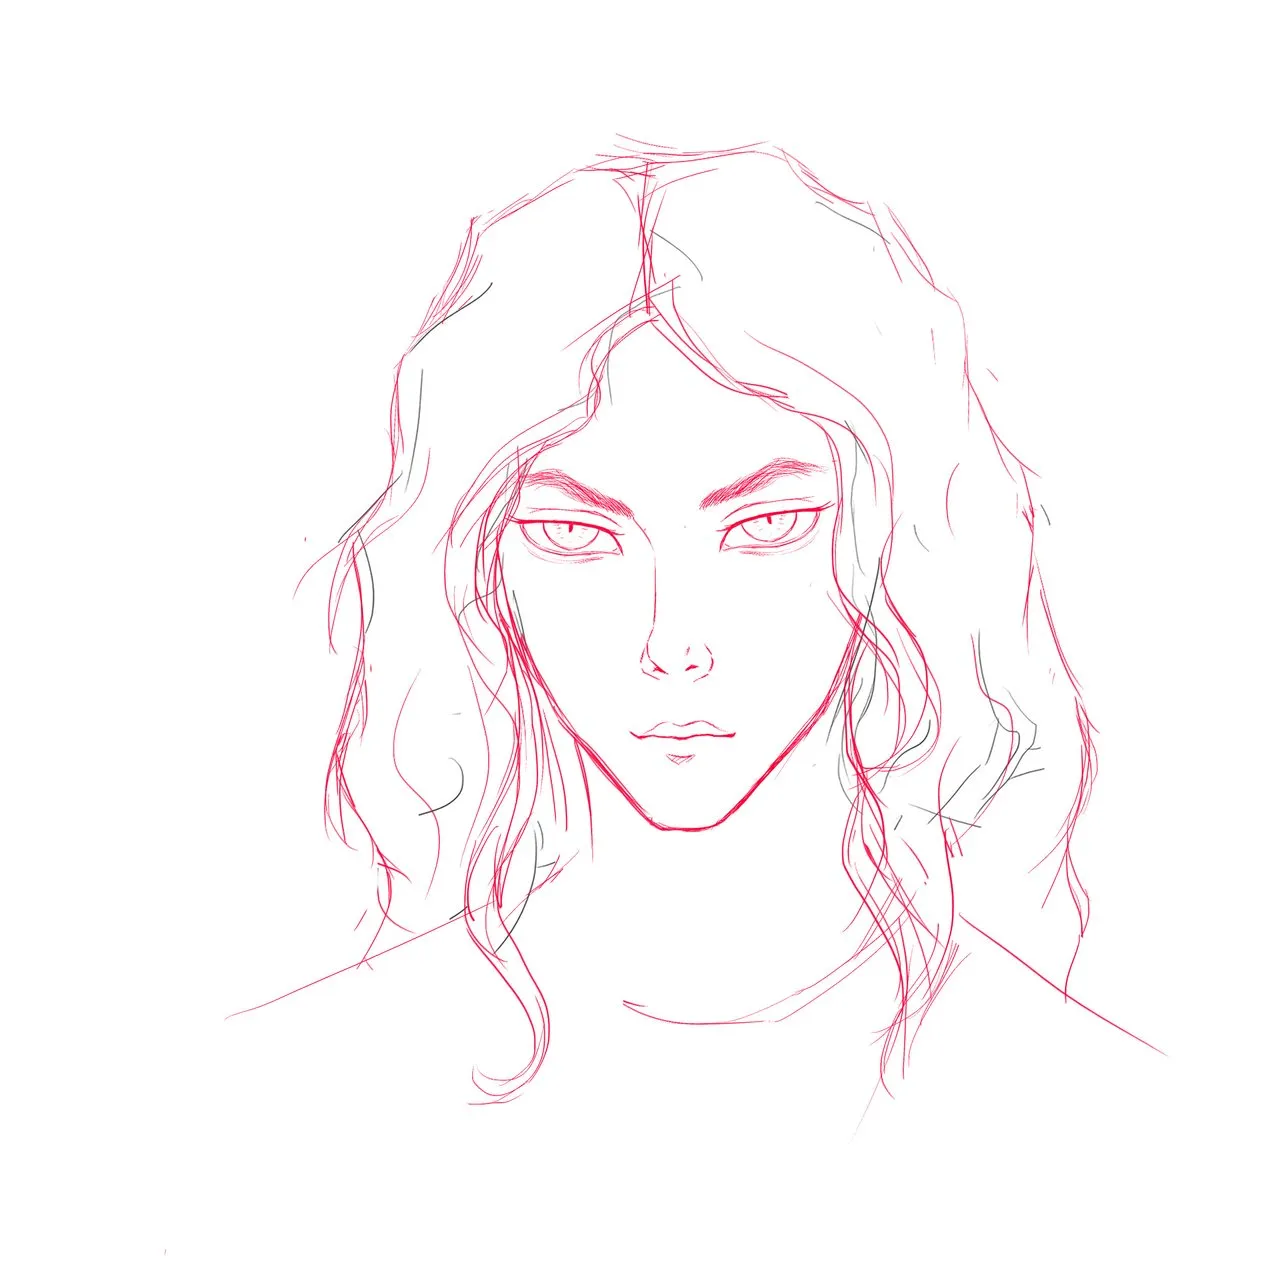
For eyes, I used the type of eyes that are usually drawn in the anime.
The most complicated parts to do was the hair being curled, it is more difficult to make it look fluid or less stiff.
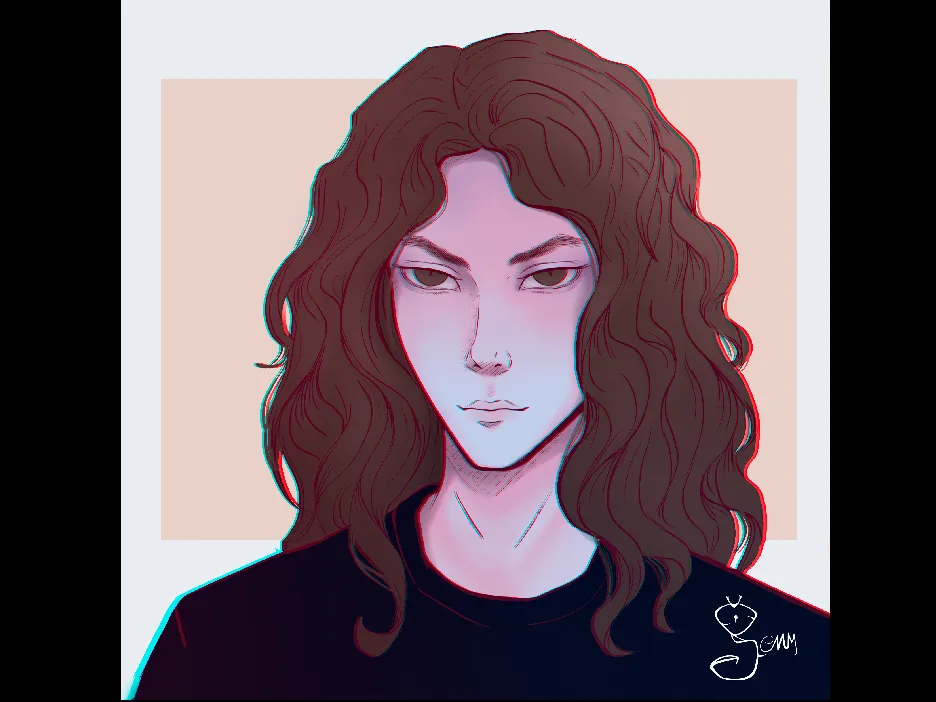
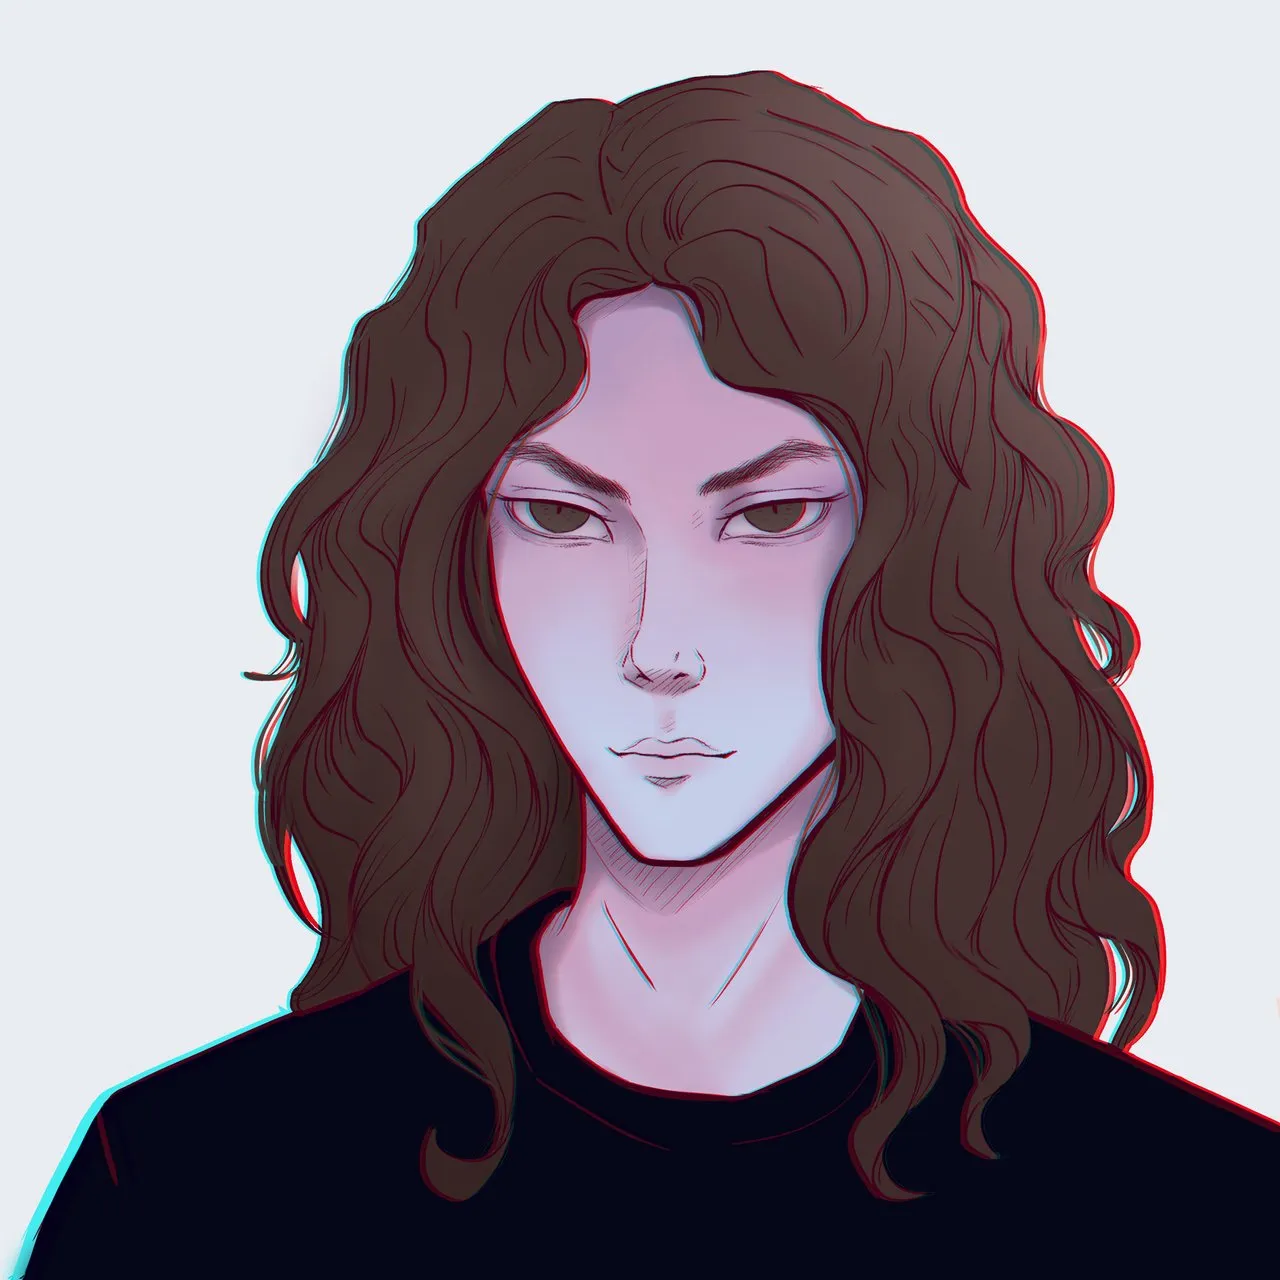
after having the line art ready I started to add the base color, coffee for the hair, light cyan for the face and a very dark blue for the shirt.
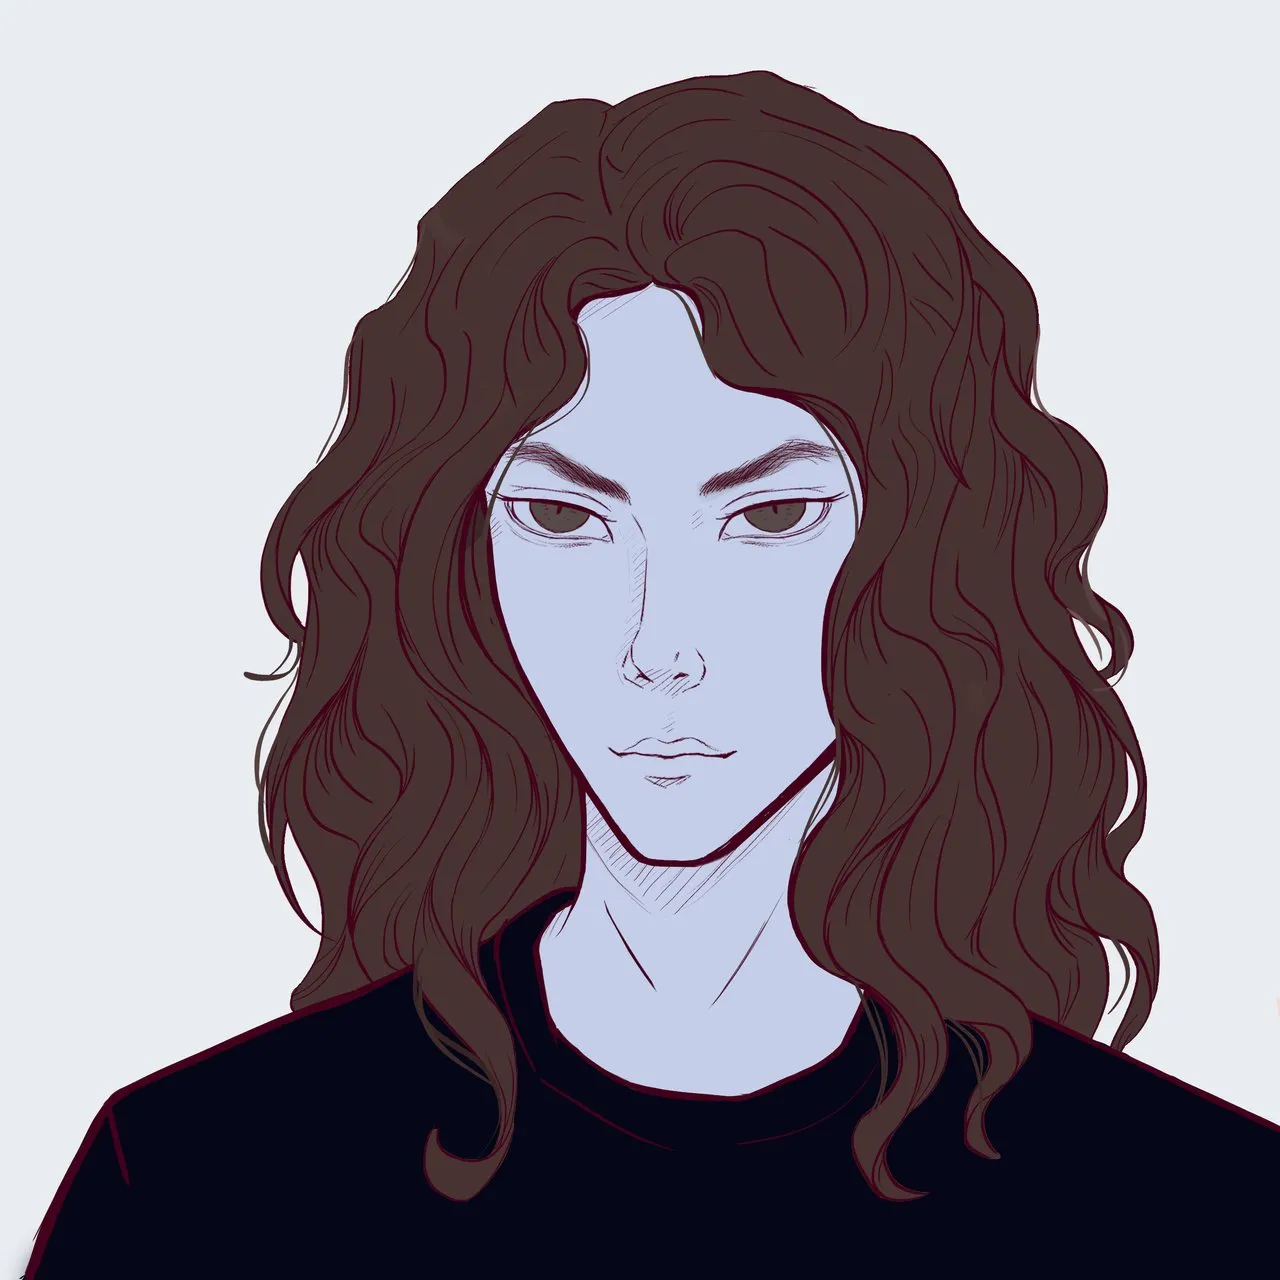
After having the base colors I started adding depth details to the face with a magenta tone using a basic brush with 0 hardness and low opacity, and for the hair a small gradient of lighter shade in the upper part and dark in the part lower.

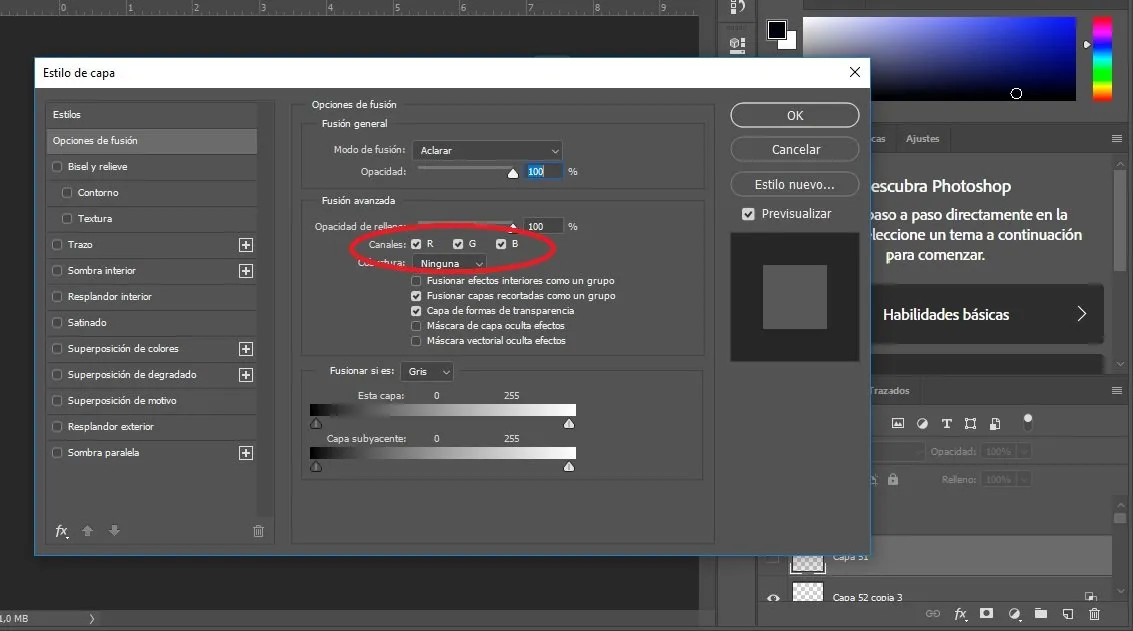
the next step to improve the aesthetics of the artwork, separate the rgb channels from the image by merging the visible layers and then multiplying into 2 more layers to which you edit the channels in the layer blending mode option, to one that leaves you selected only the box R to keep the red tone and the other left the box G and B active to keep in cyan tone, then moved to the right the red layer and to the left cyan to get the effect you were looking for.
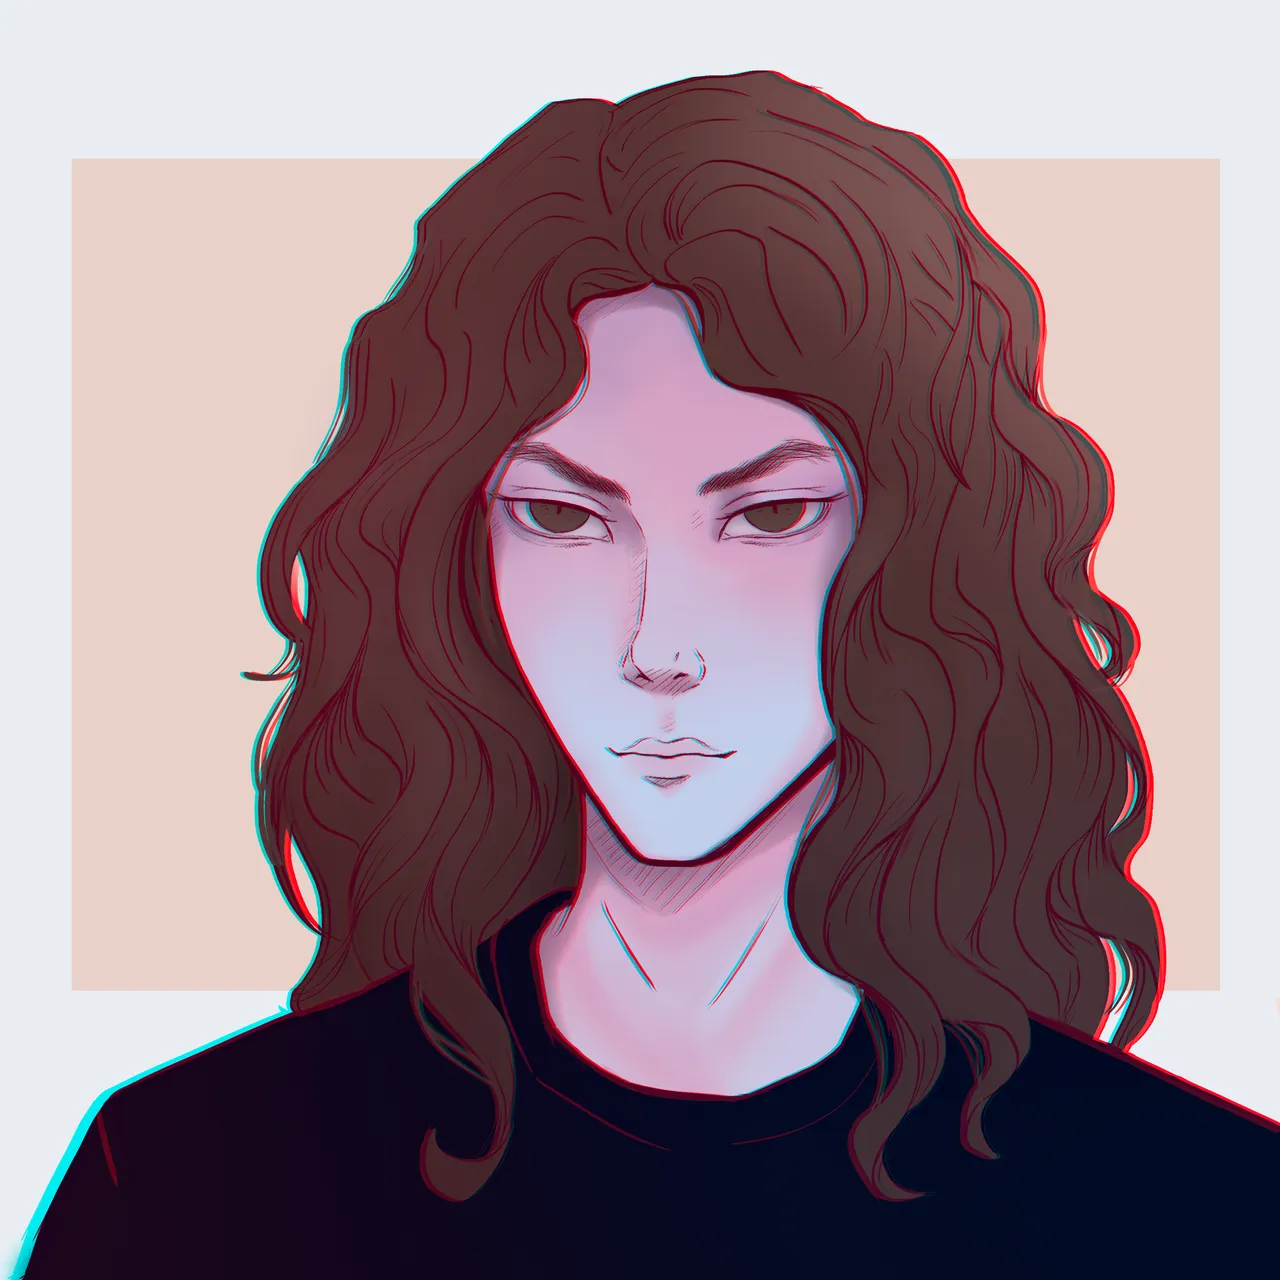
to finish add a light colored box as a background and a top layer in clear mode with bluish glow.
I hope you like it <3
Thanks for the support! <3
Follow me on my blog @genyway
https://www.instagram.com/geny_art/