
Hello friends! :-)
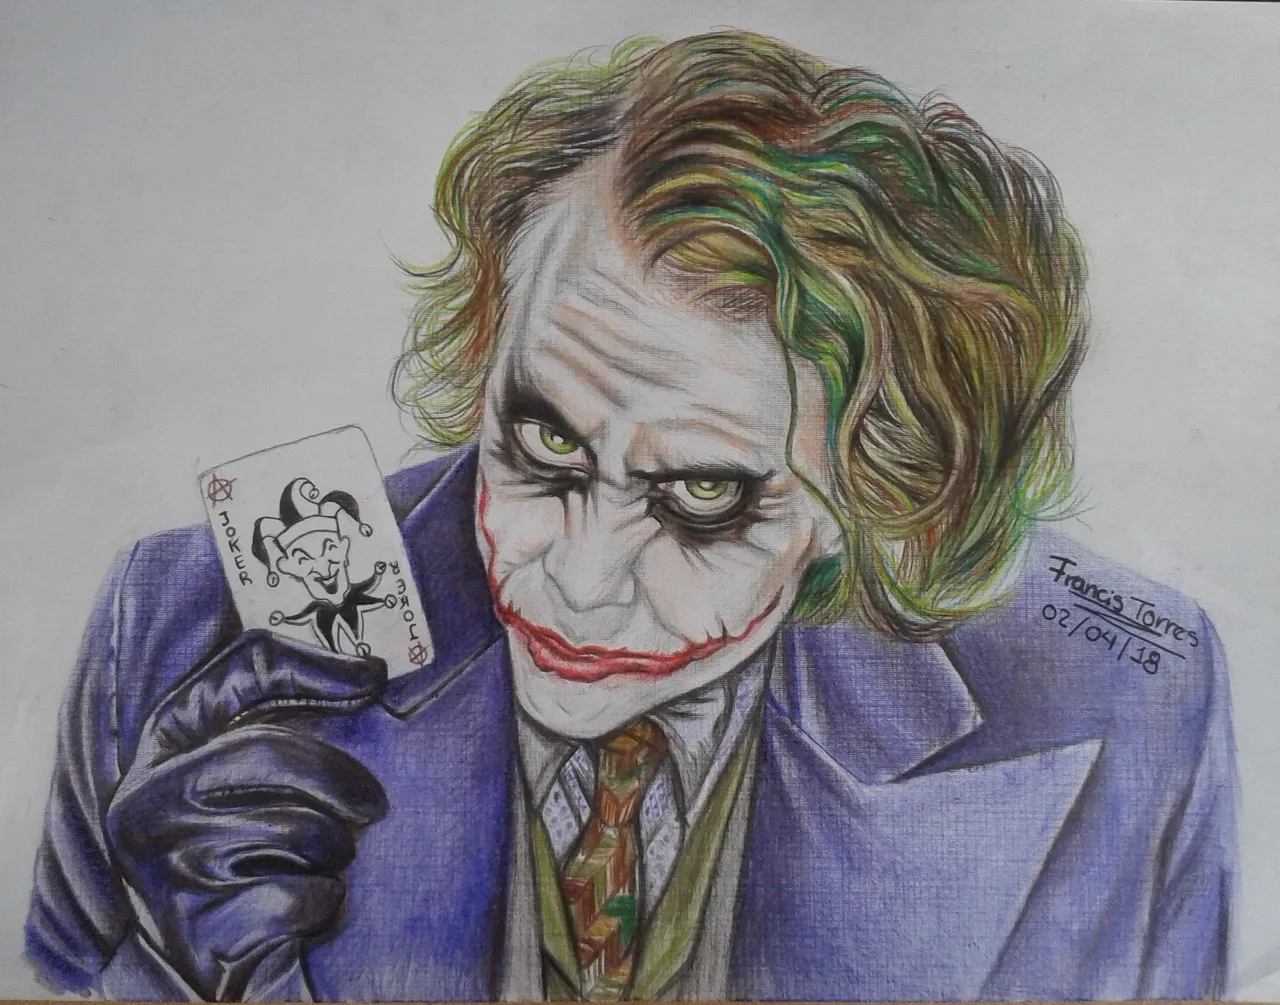
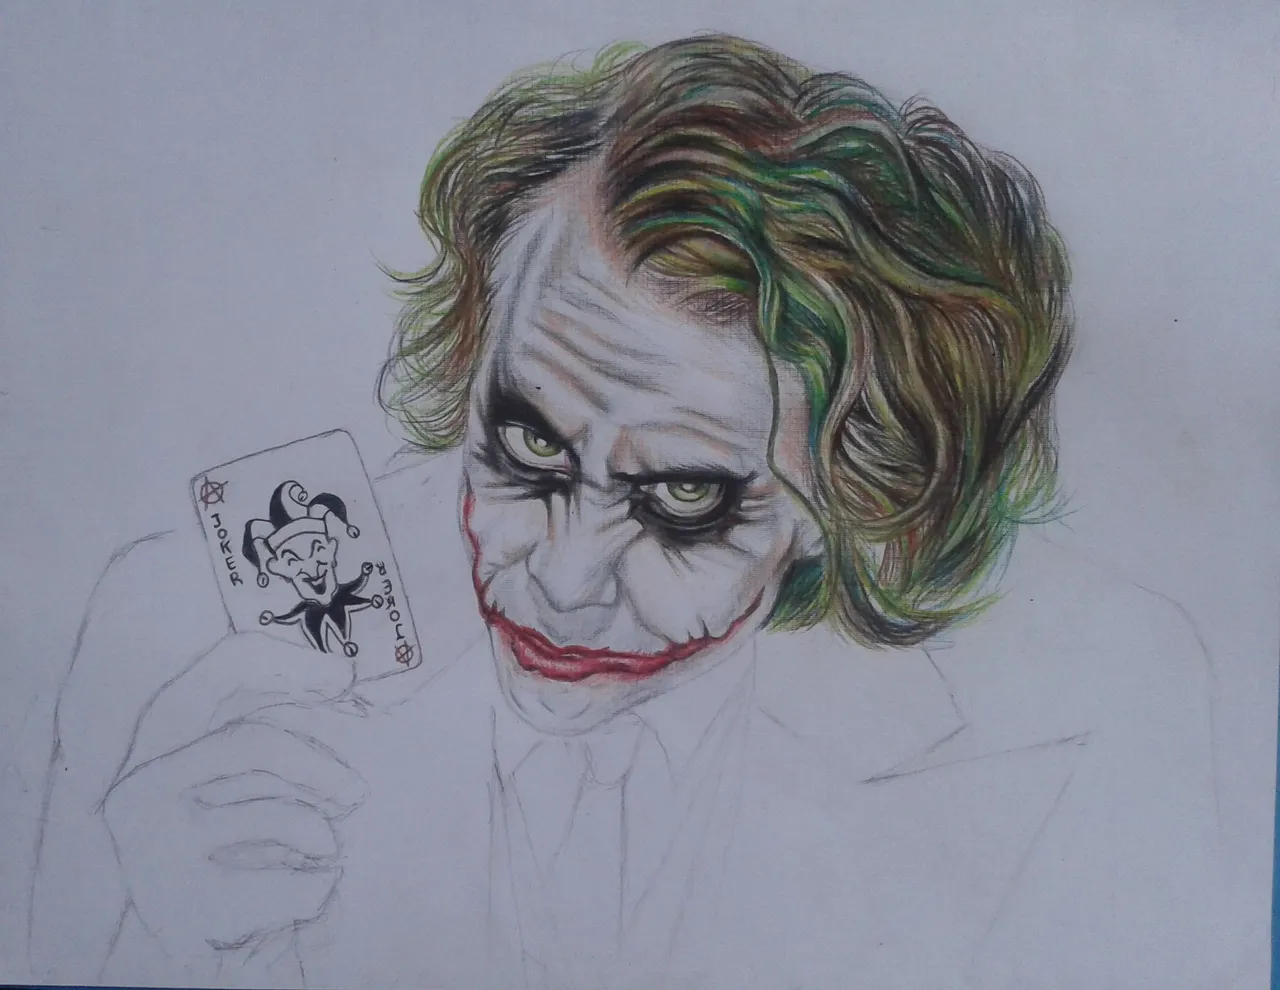
Final drawing:

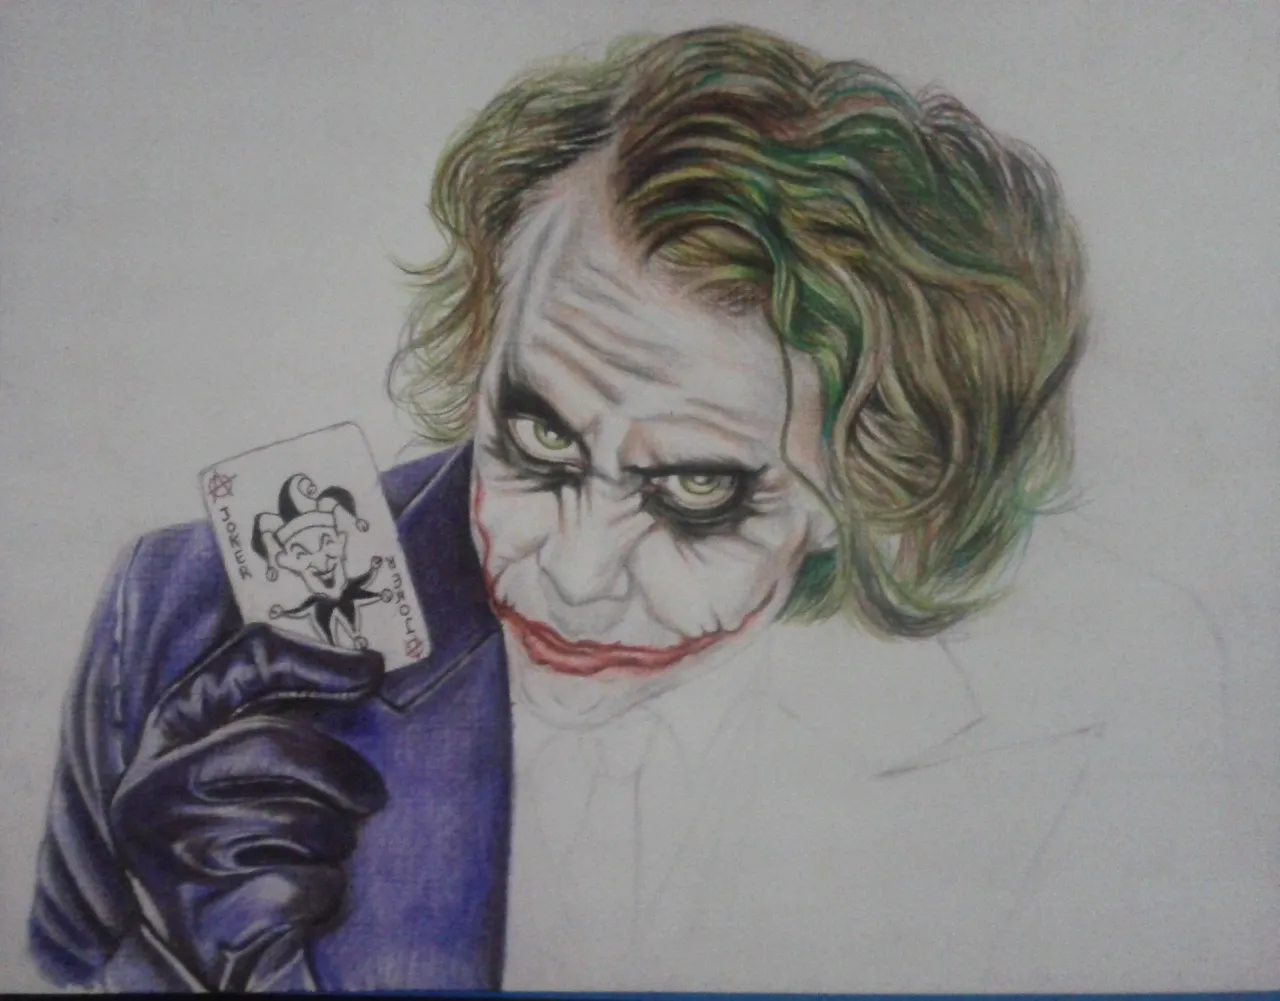
Process pics.
With a pencil, I drew the silhouette of the image.
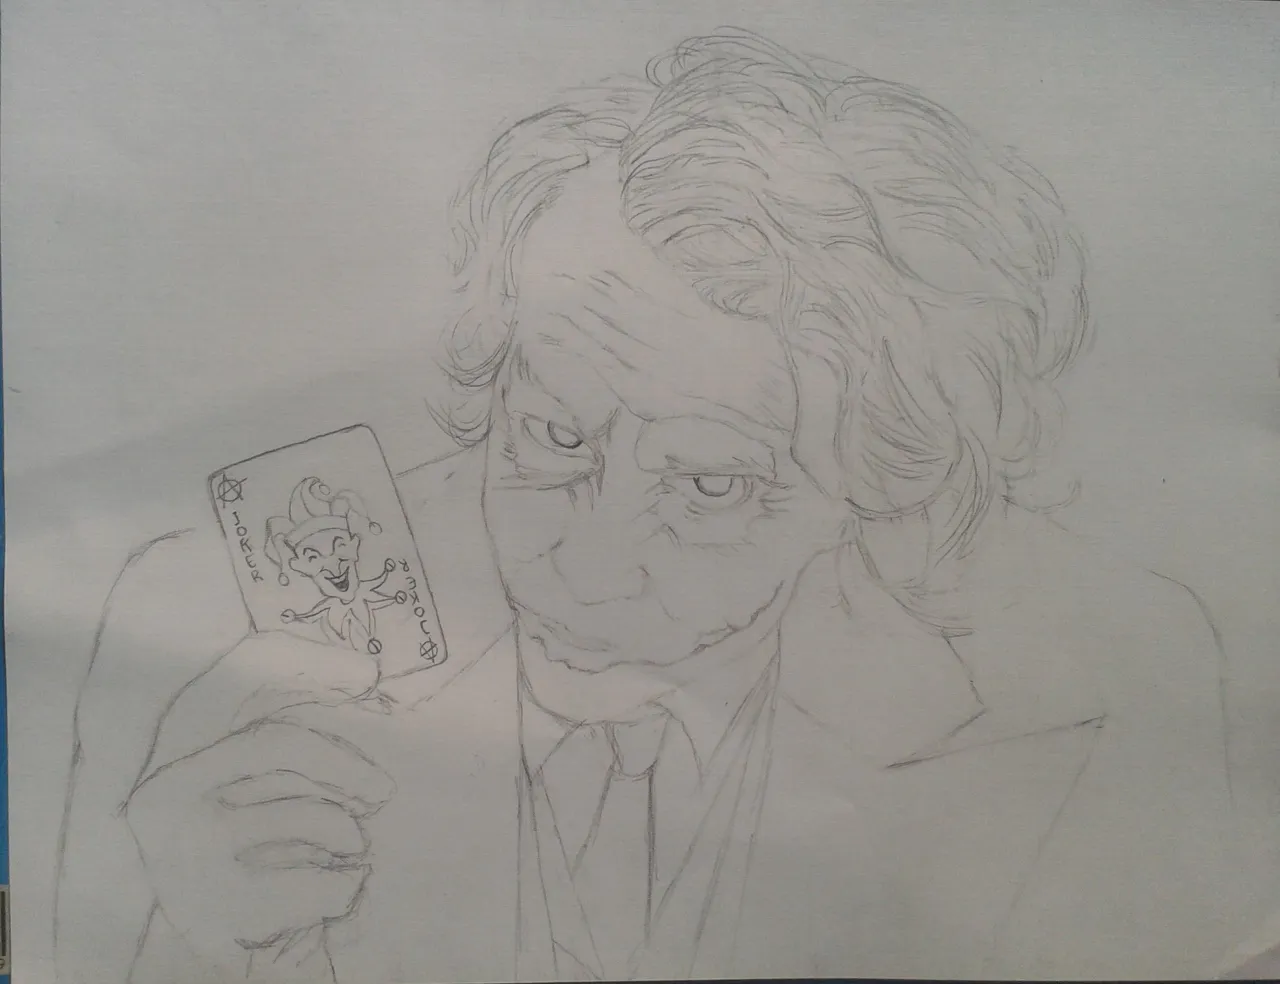
I drew the shape of the eyes. It's my favorite part because it makes the drawing more attractive. It was very fun to do this part :-).
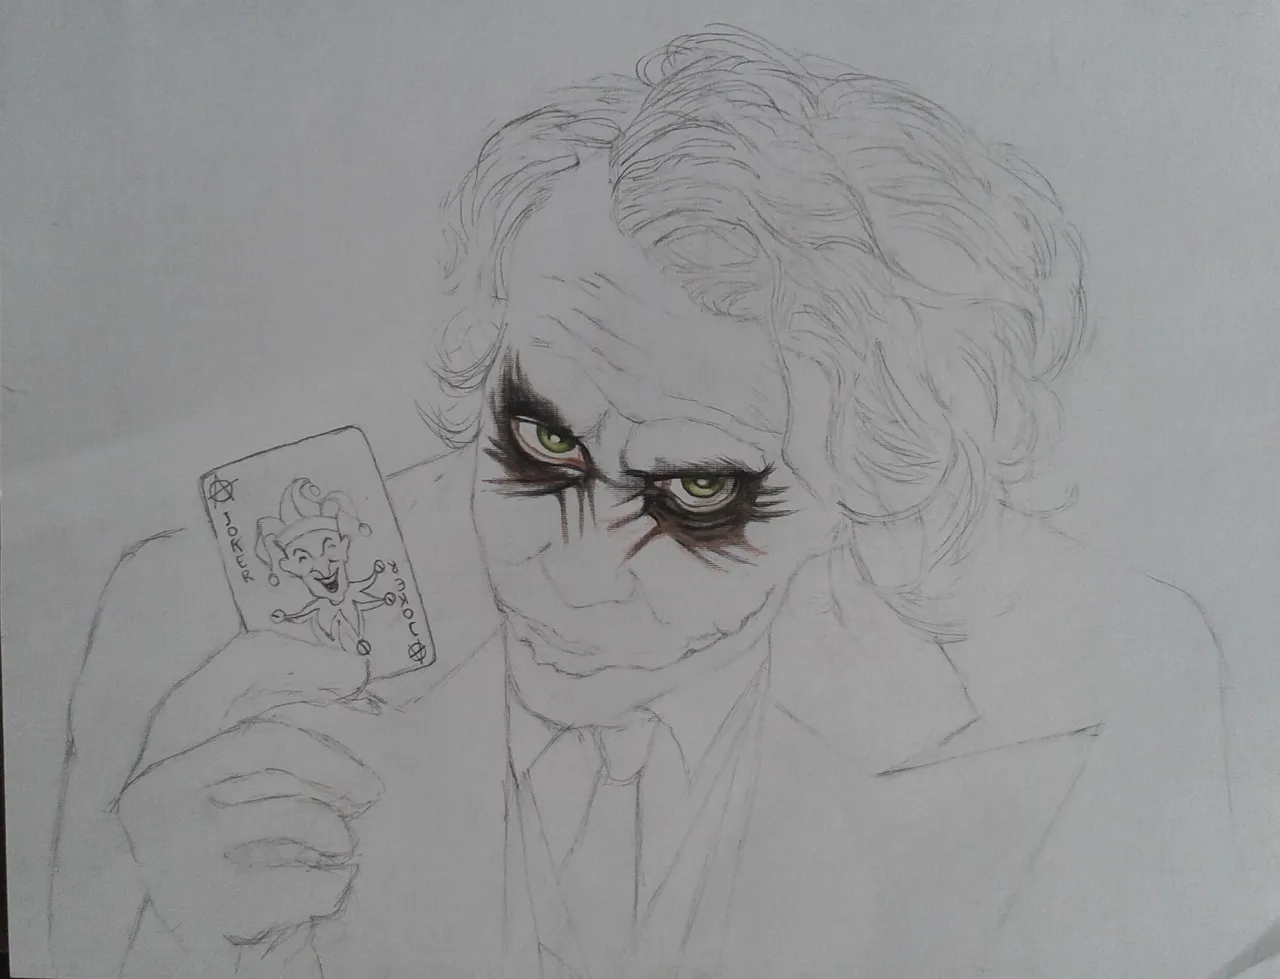
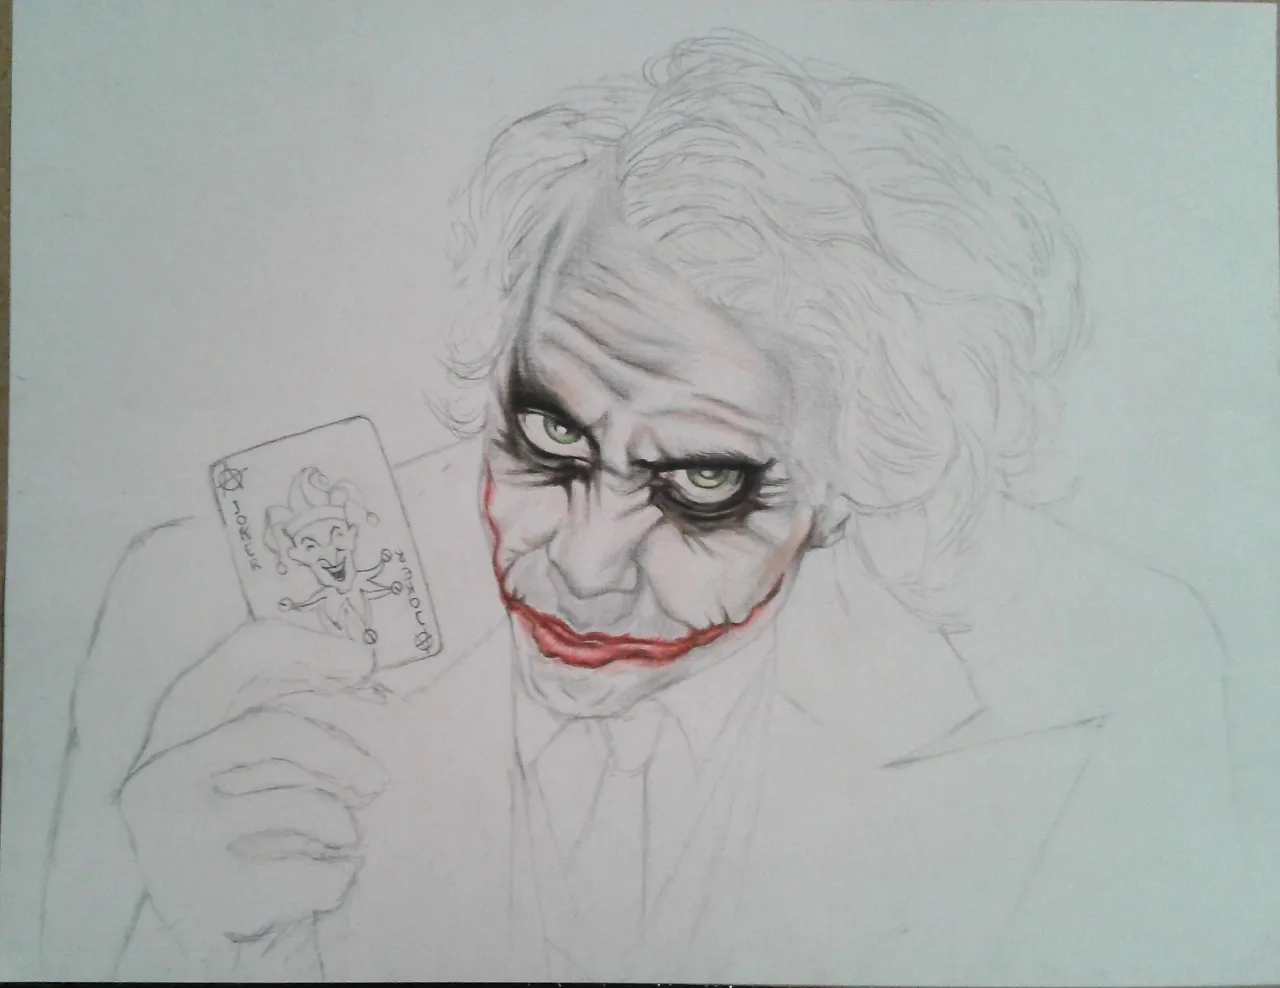
The wrinkles of the face were formed with the gray color. The main element of the drawing is the mouth, a macabre smile in synonym of terror and vileness. For this, I made a thin layer with the color red, and then added darker shades to detail the shape of the cut.
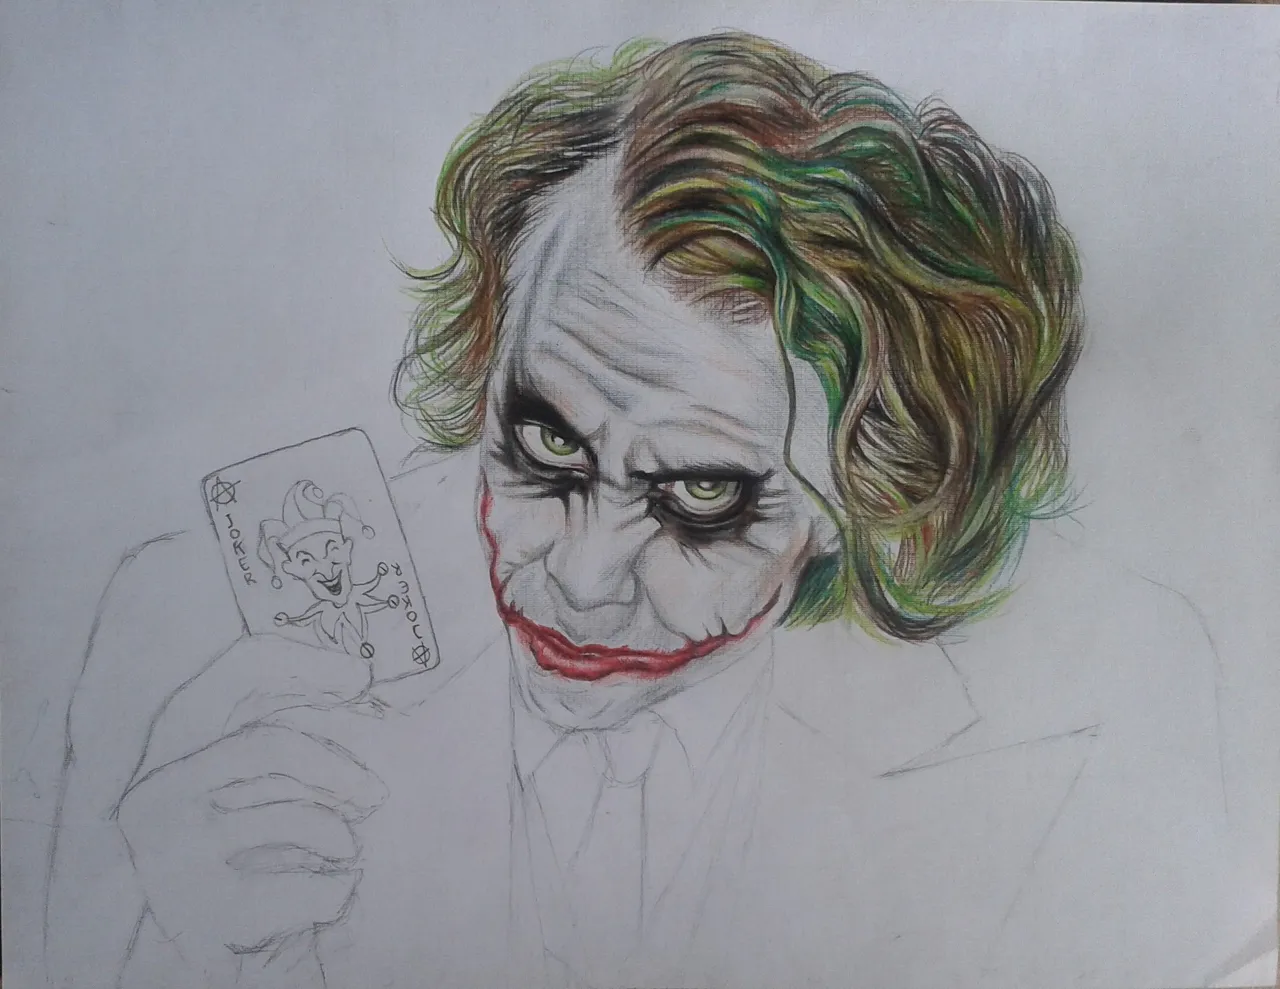
For the hair, I added light color as a base. This is useful for the lights that the character's hair has.
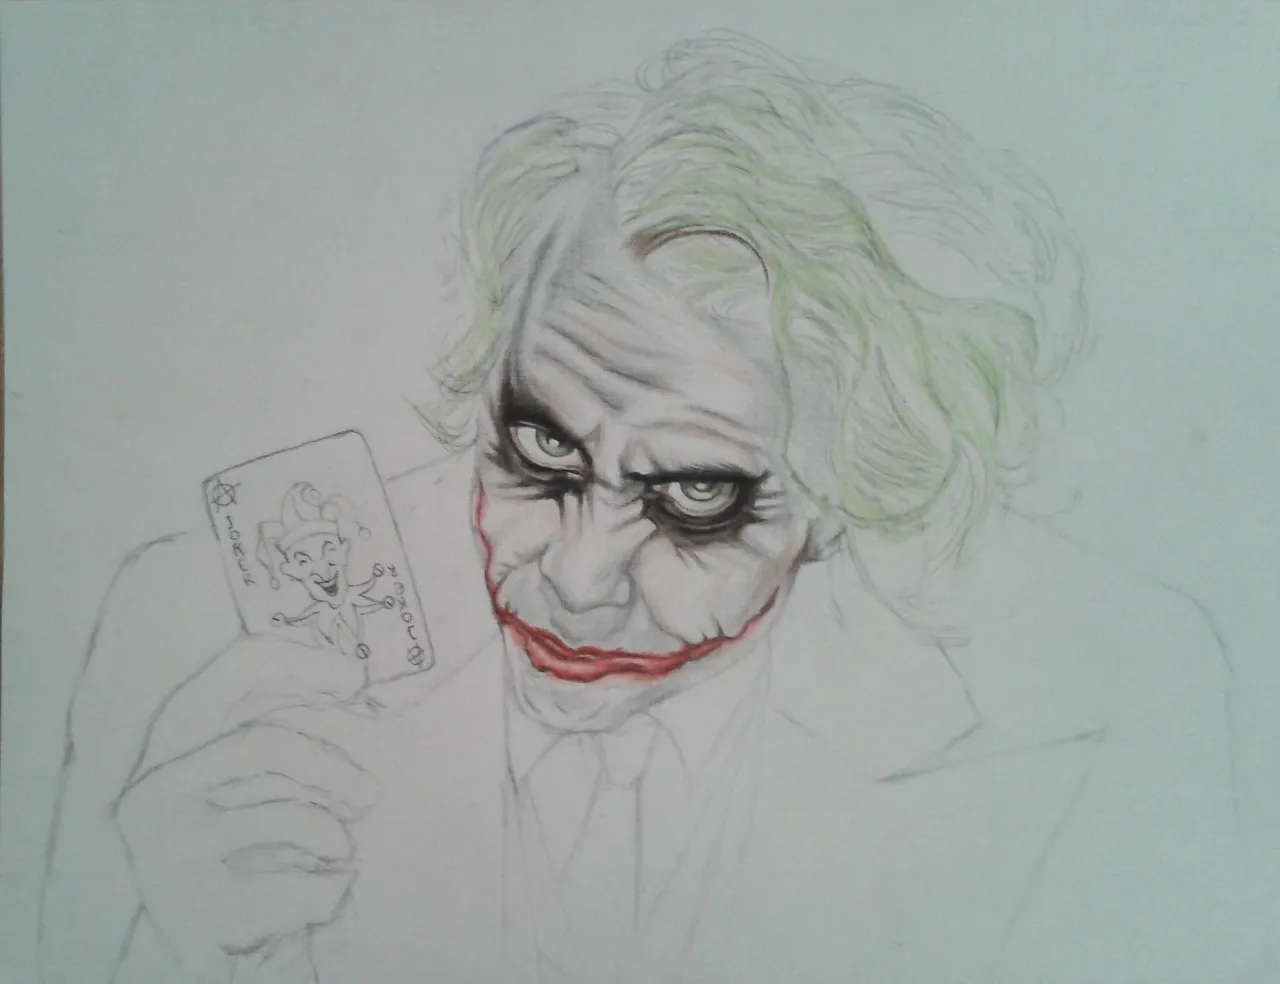
To shape the hair, I drew dark lines.
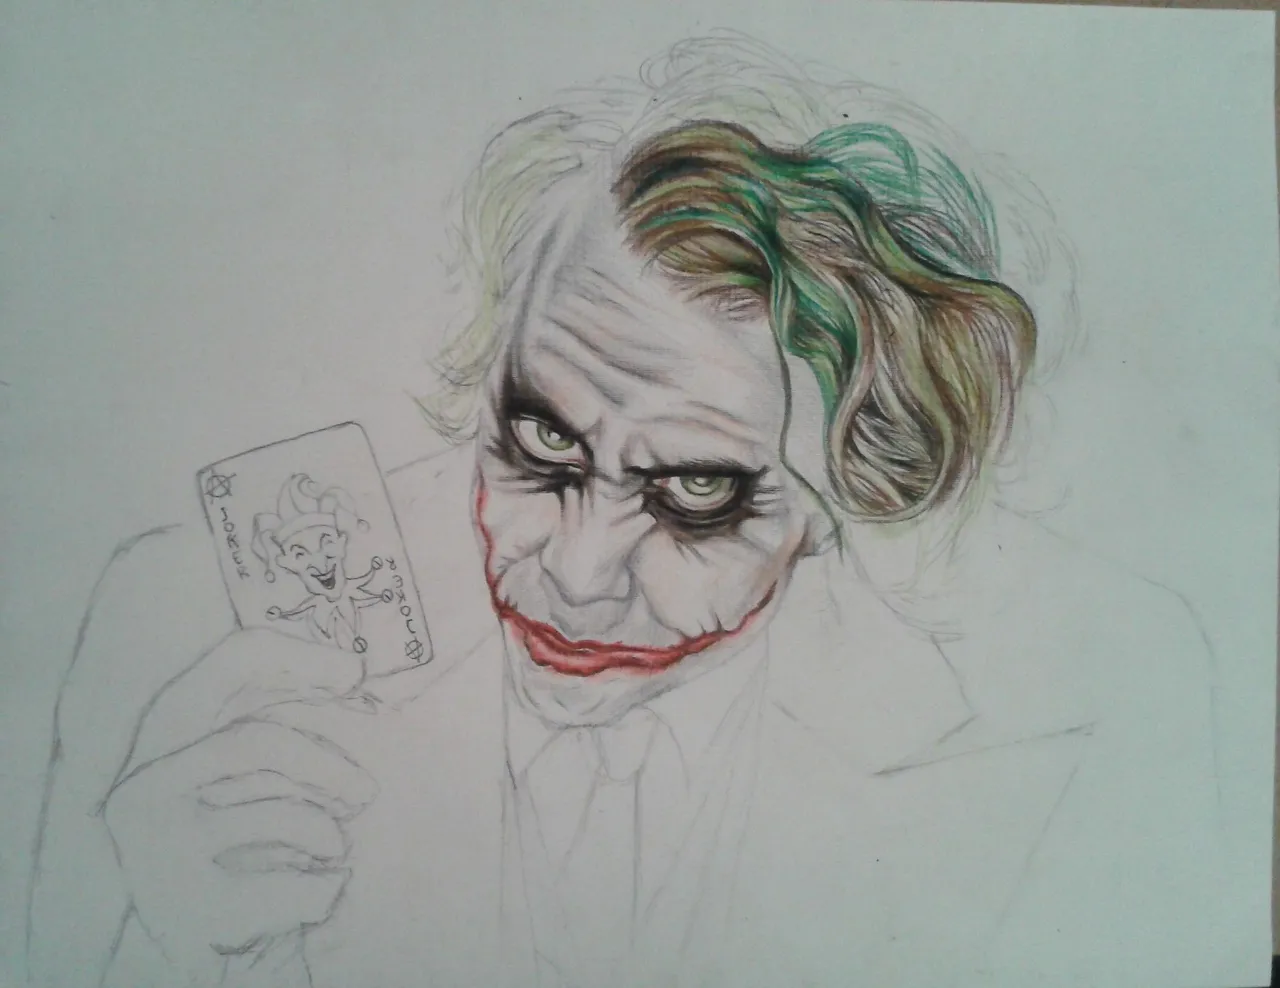
I added black and red color to the card.
For this step, I made a layer of purple light, little by little I was adding darker tones and thus achieve the effect of a suit and glove.
I drew the inside of the suit, the shirts and the tie.
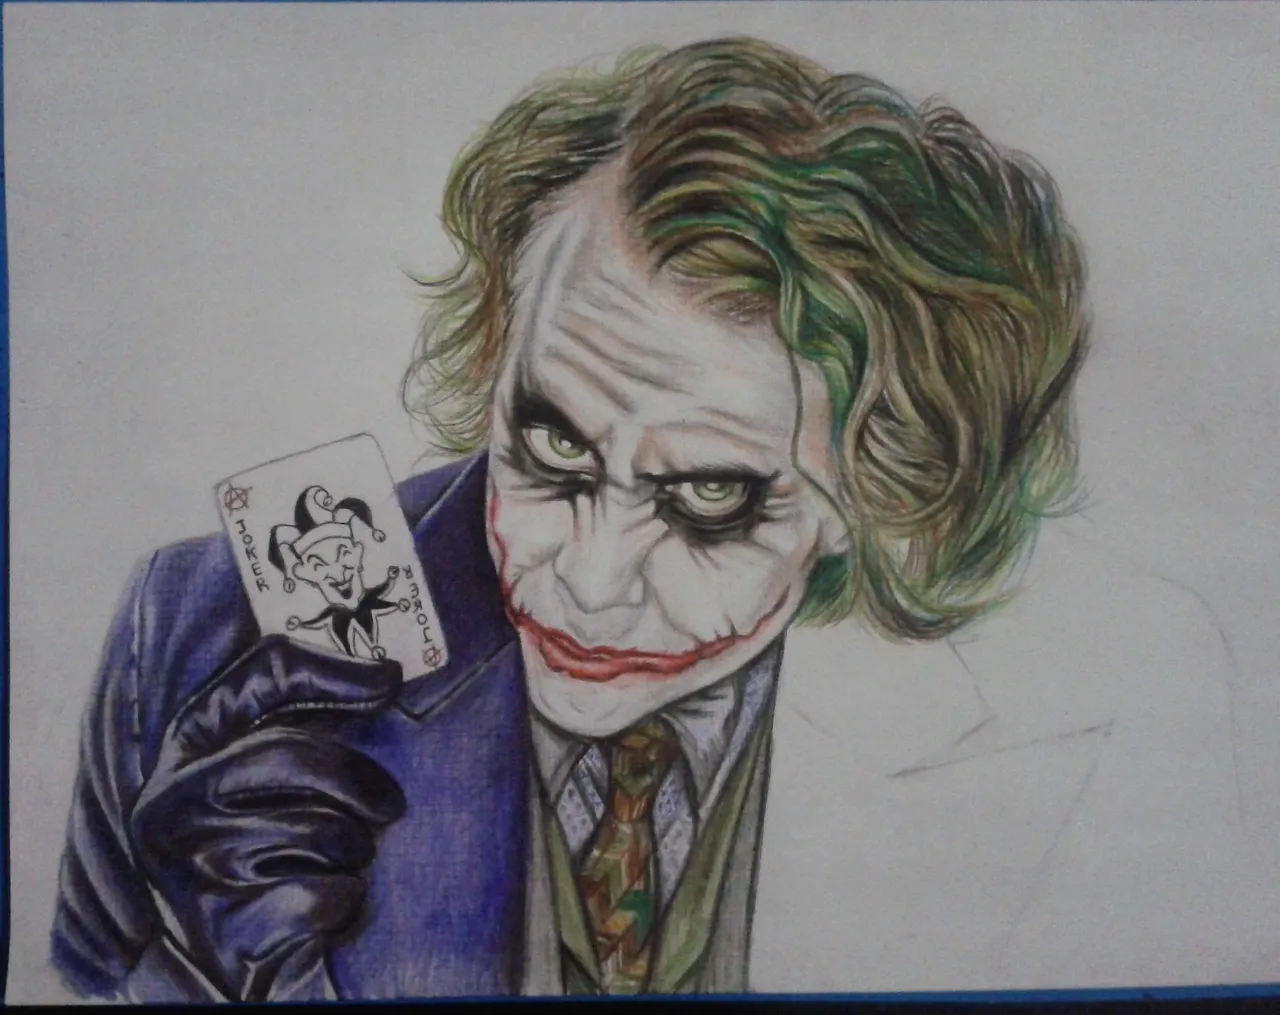
And finally, I finished painting the suit.