
Editado en Canva || Edited in canva

Feliz martes amigos de Hive.
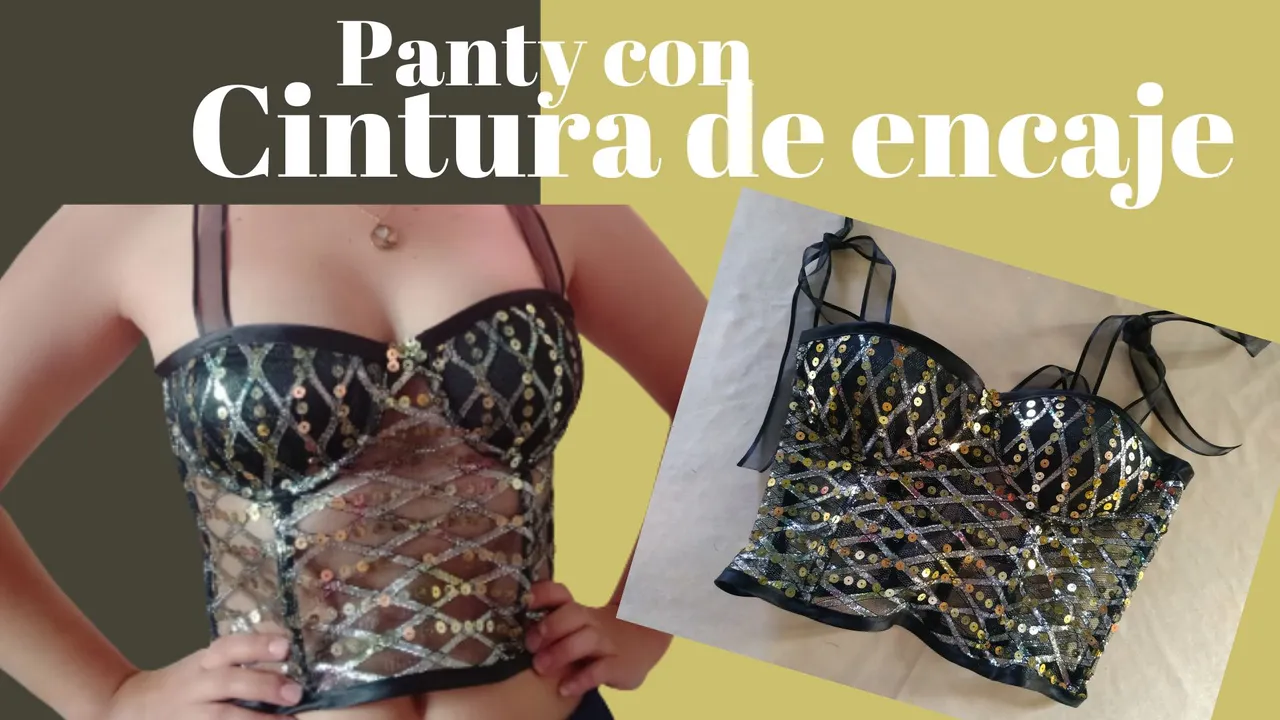
Hace unas semanas les compartí el tutorial de cómo elaborar un bustier de dama, el resultado fue muy bueno, pero debo decir que las copas no quedaron como esperaba.
Yo tengo los pechos pequeños y la copa quedo muy grande para mí, aunque luego le hice algunas modificaciones, el resultado no fue de todo el esperado. Así que tomé otra tela que tenía guardada hace un tiempo, y decidí volver a hacer un bustier pero esta vez utilizando copas mas pequeñas y ya pre-armadas.
Estas copas las reutilicé de un brasier viejo que tenía, así que esa si era mi talla jaja.
El proceso que les voy a enseñar es similar al del primer bustier, a exepción de lo que les acabo de comentar sobre las copas. No obstante, quise mostrarles de nuevo el paso a paso para aquellas personas que no pudieron ver la publicacion mencionada.

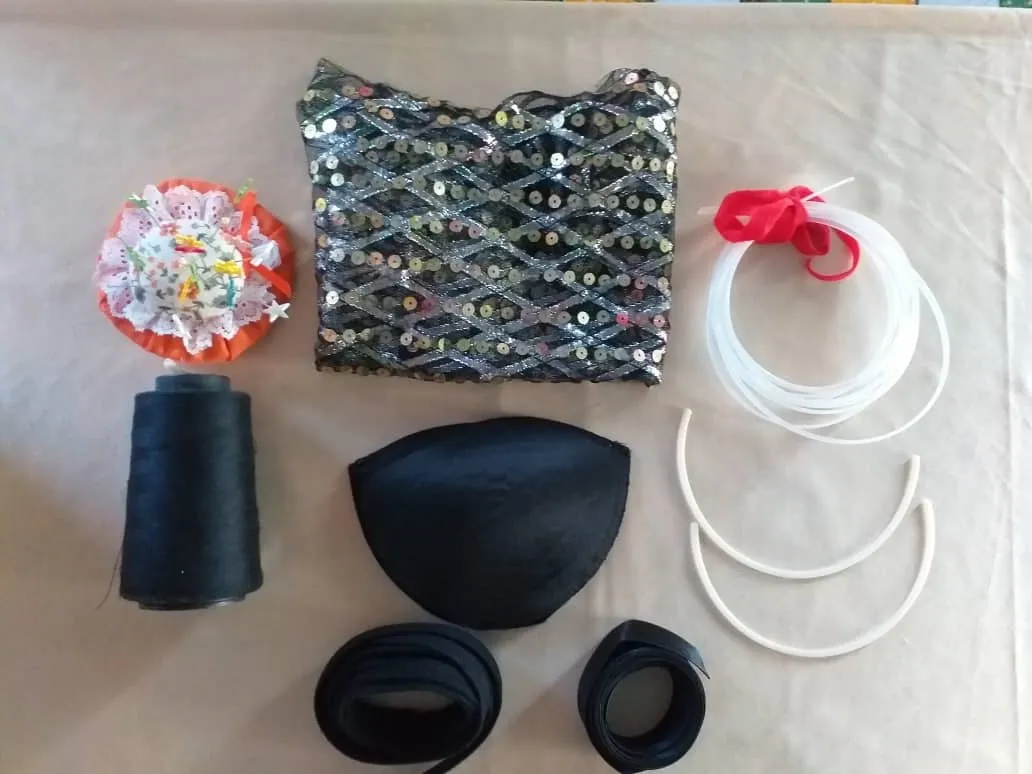
- 1/2 m de tull de lentejuelas.
- 3m de Pasa ballenas.
- Ballenas o varillas.
- Sesgo elástico.
- Copas.
- Hilo y agujas.
- Patrones.

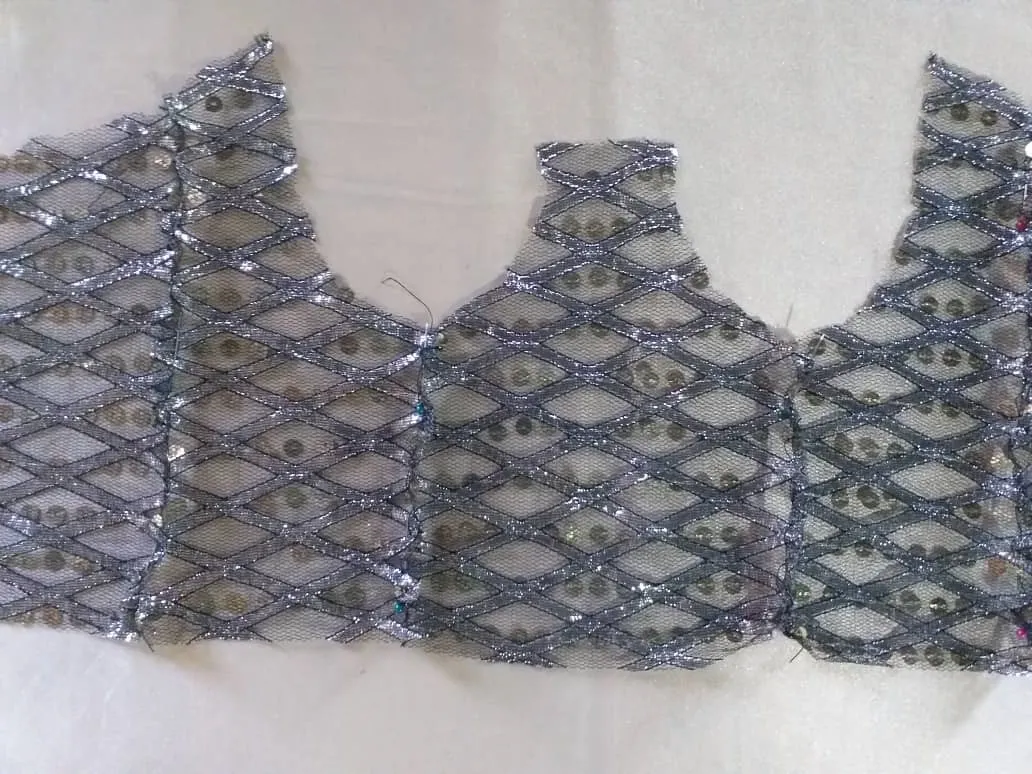
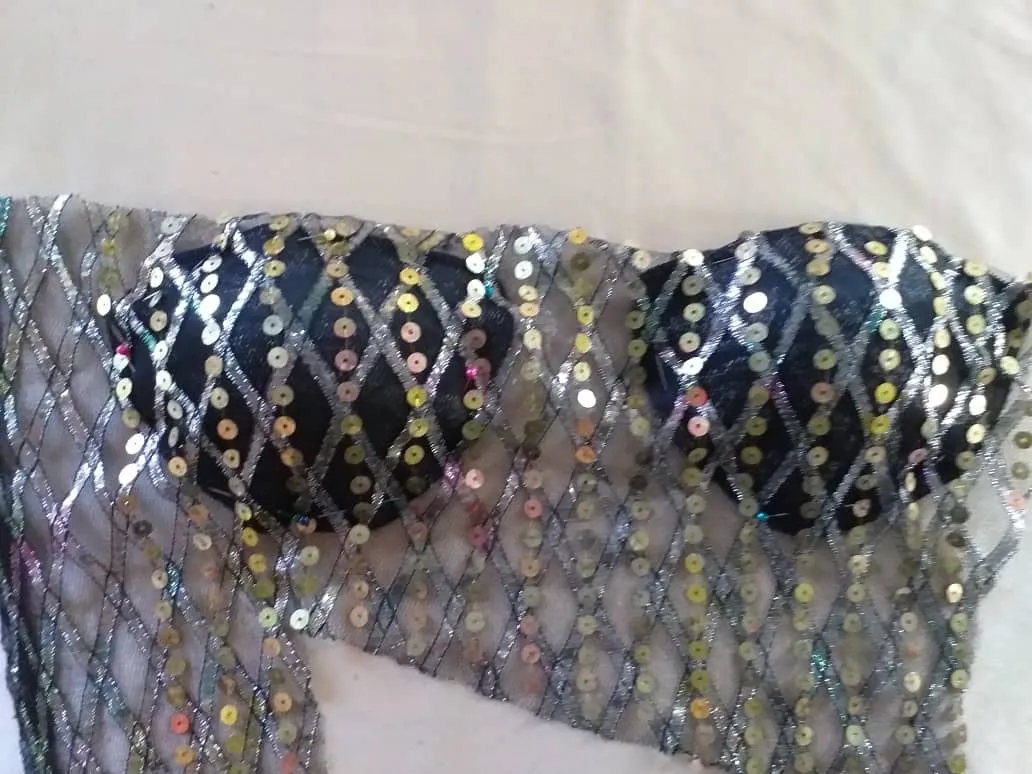
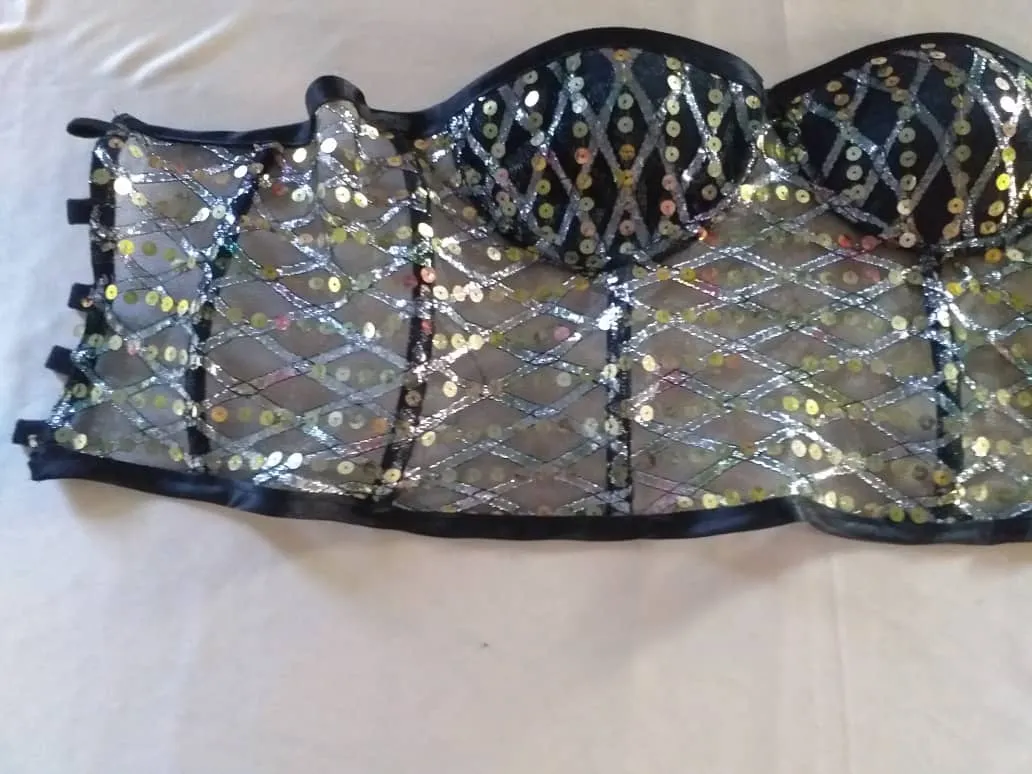
Como primer paso vamos a colocar sobre los moldes la tela, vamos a necesitar uno del centro y dos de cada lateral y espalda. Cuatro de cada copa y cuatro de la parte superior de las copas.
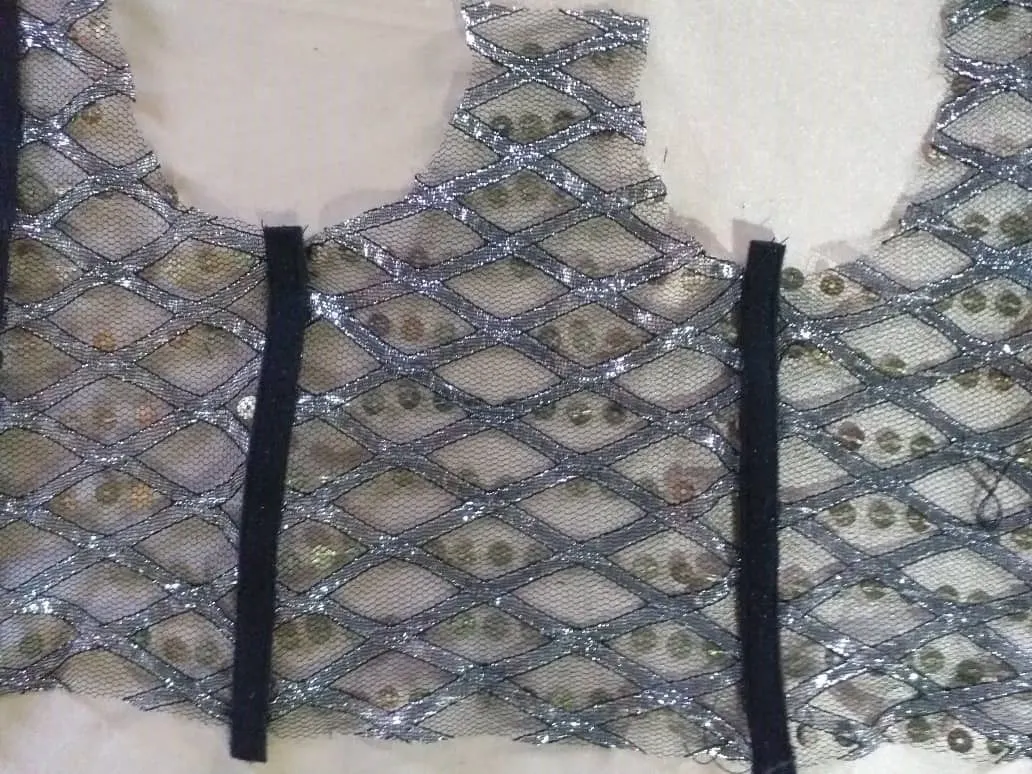
En cada unión vamos a colocar el pasa ballena, vamos a coser y luego colocamos varillas plasticas para mayor estabilidad,
luego procedemos a colocar el sesgo elástico por el contorno de la parte superior de la espalda.
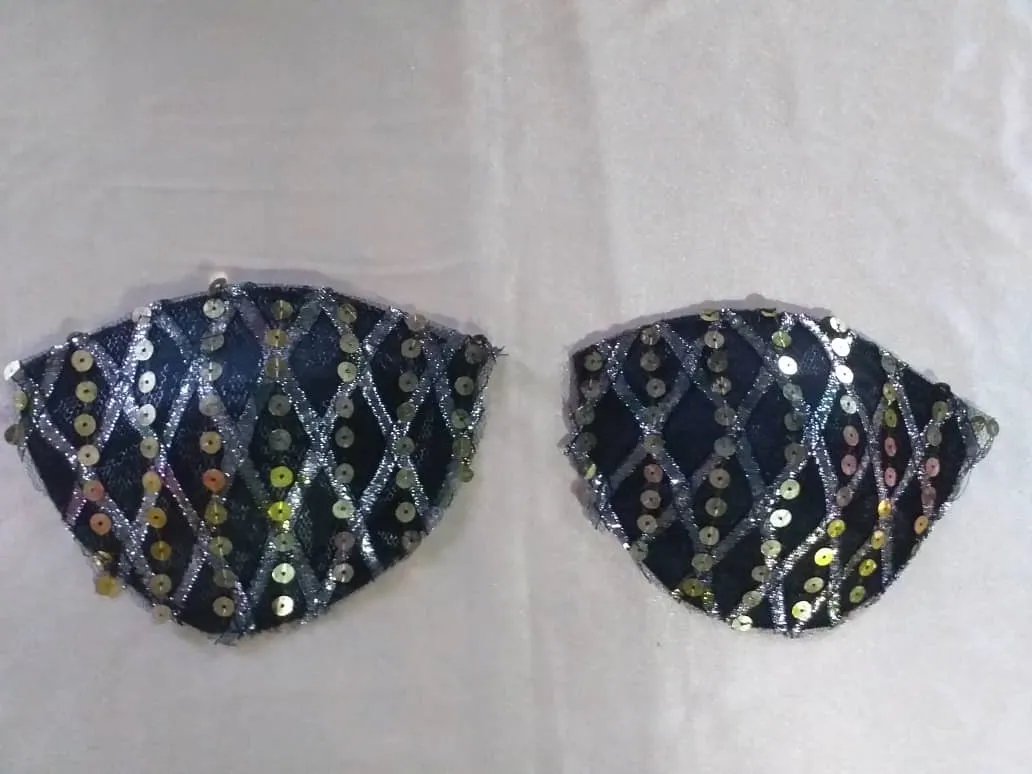
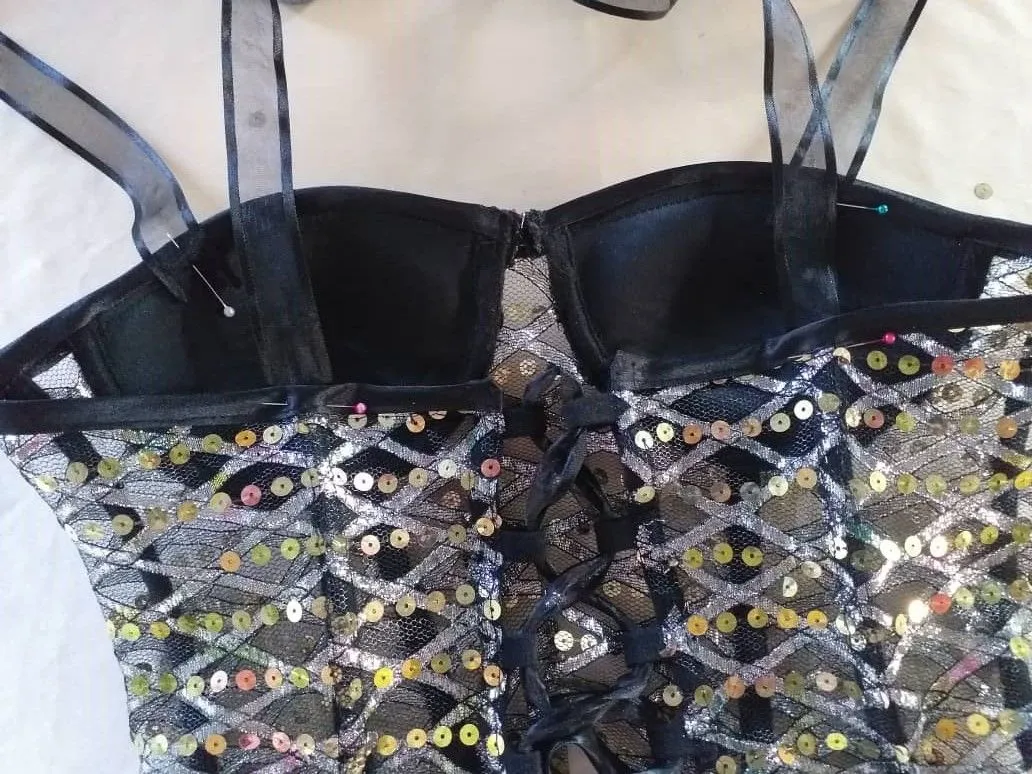
Forramos las copas con la tela de tull solo por la parte delantera.
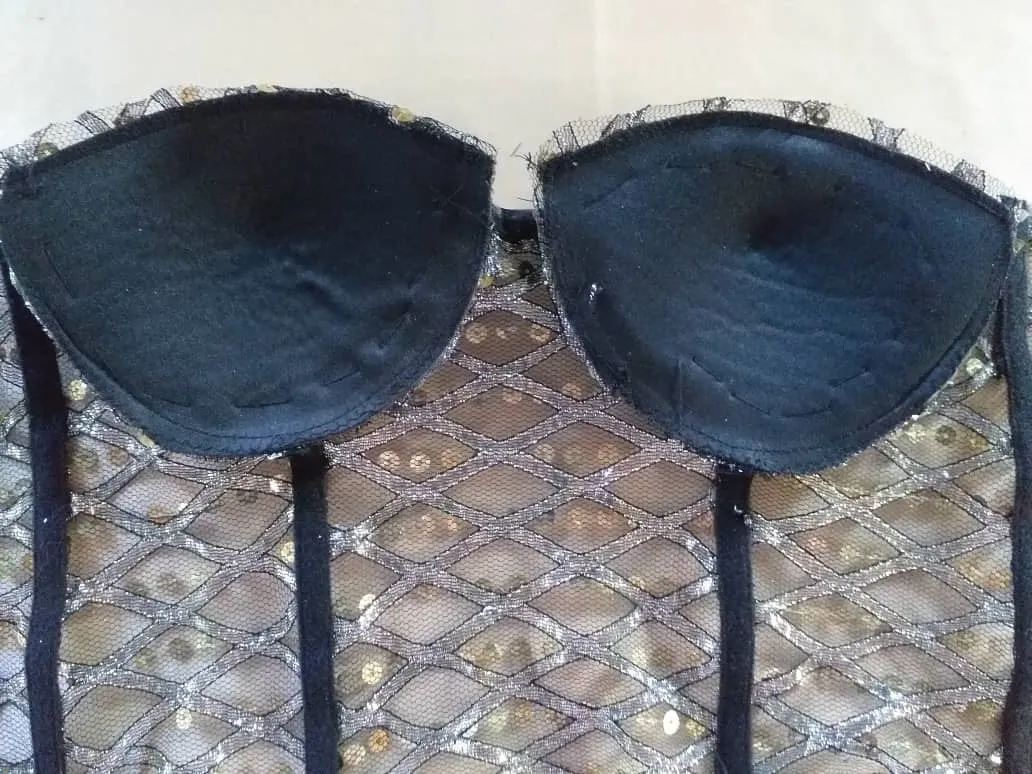
Colocamos el pasaballena y las varillas y lo unimos a la parte del torso, ayudandonos con unos alfileres
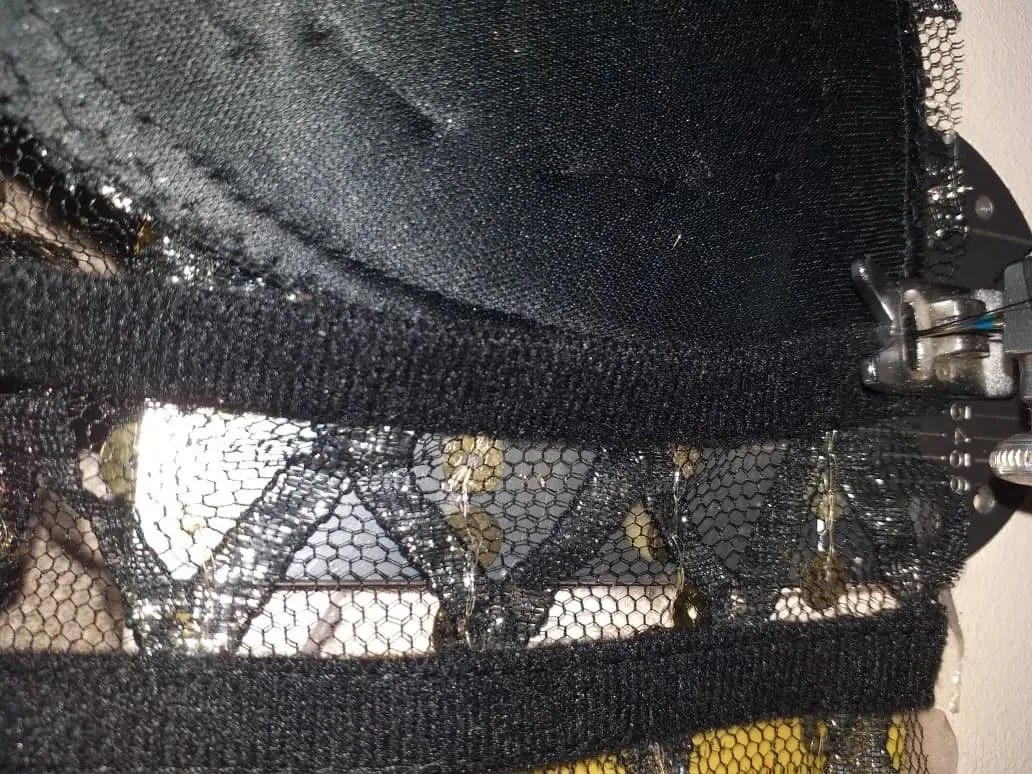
En la parte de la espalda decidí hacer unos pasadores con el mismo pasaballena color negro, hice cinco medidas a la misma distancia una de las otras tomando como medida principal la del medio y de ahí partí para las demás. Las colocamos en cada marca con ayuda de un alfiler y pasamos costura.
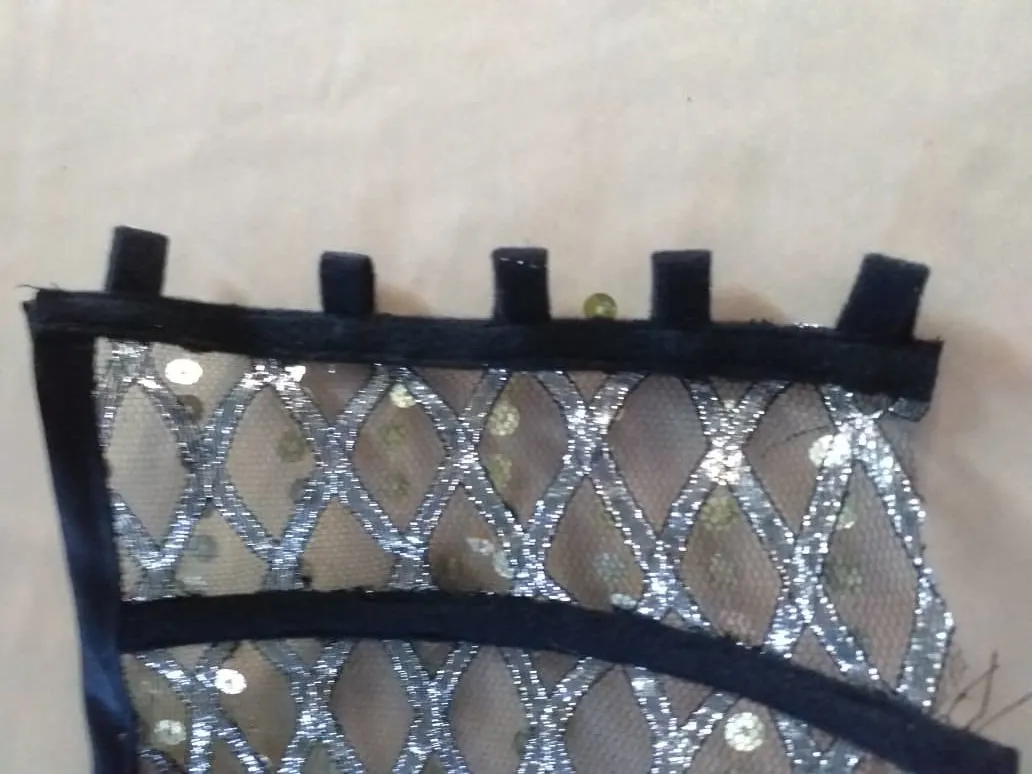
Luego tapamos con el pasa ballena y repetimos el proceso en el otro lado. Tambien colocamos el sesgo por la parte de la espalda superior y la parte inferior.
Colocamos cinta de la unión de la espalda, de color negro y de unos 3cm de ancho.
De manera opcional cosemos unas cintas en la parte superior para darle un toque más bonito al bustier, y con eso tendremos listo este bello modelo.
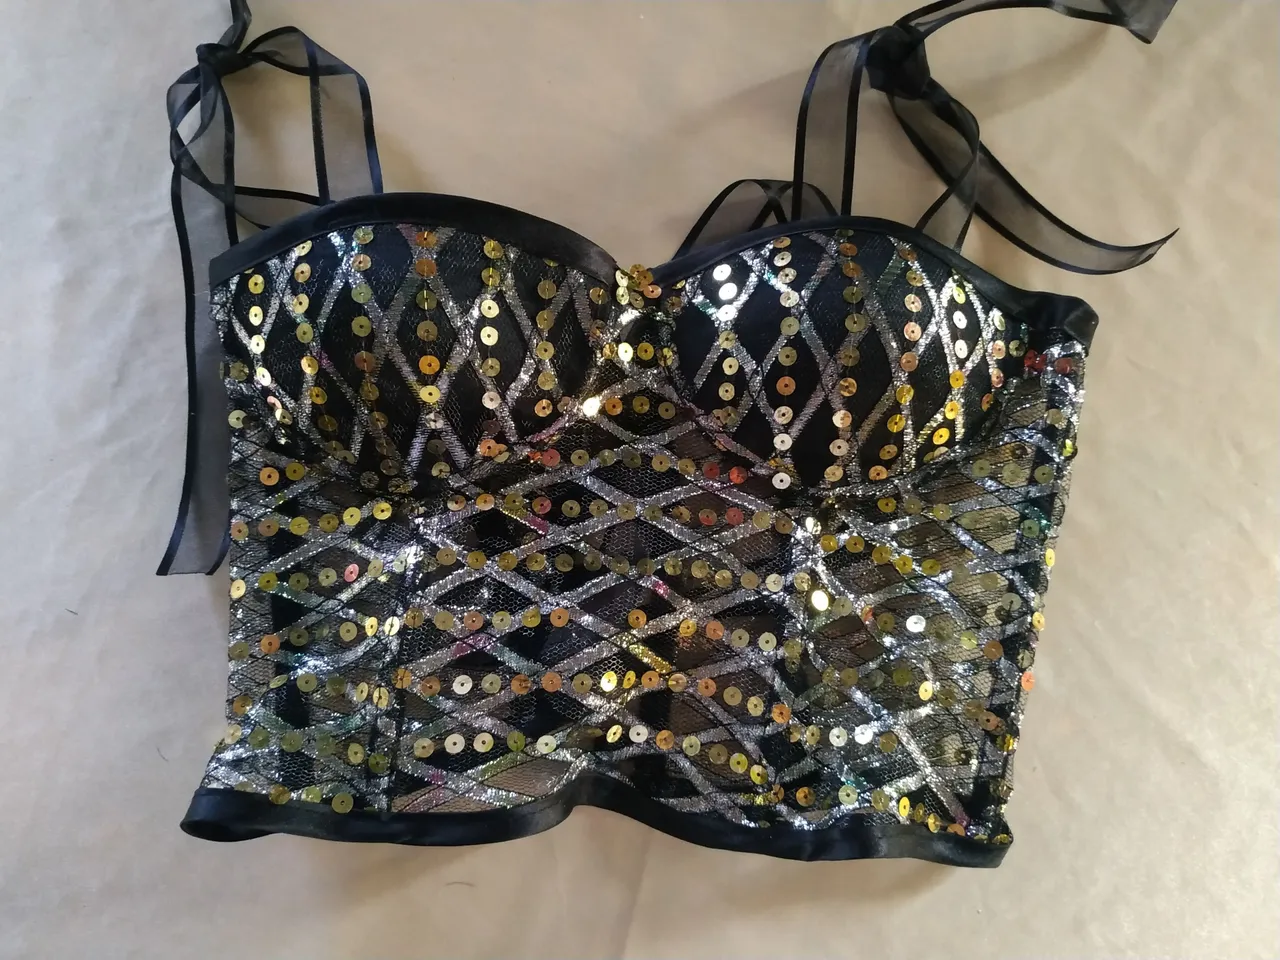
Debo decir que amé el resultado de este bustier, me encantó como quedaron las copas y se ajusta muy bien a mi tipo de cuerpo, en este caso debo decir que el segundo intento mejoró mucho en comparacion al primero, claro, sin desmeritar el trabajo que hice en ambos.
Como siempre, quiero agradecerles por leer mi blog y por siempre dejar sus comentarios tan bonitos, les deseo que tengan un buen día y noche.

Happy Tuesday Hive friends.
A few weeks ago I shared with you the tutorial on how to make a lady's bustier, the result was very good, but I must say that the cups were not as I expected.
I have small breasts and the cup was too big for me, although I made some modifications, the result was not quite what I expected. So I took another fabric that I had saved some time ago, and decided to make a bustier again but this time using smaller cups and already pre-assembled.
I reused these cups from an old bra I had, so that was my size haha.
The process I'm going to show you is similar to the first bustier, except for what I just told you about the cups. However, I wanted to show you again the step by step for those who could not see the publication mentioned above.

- 1/2 m of sequins tull.
- 3m of whalebone dowel.
- Whales or rods.
- Elastic bias.
- Cups.
- Thread and needles.
- Patterns.

As a first step we are going to place the fabric on the molds, we will need one from the center and two from each side and back. Four from each cup and four from the top of the cups.
In each joint we are going to place the whalebone pass, we are going to sew and then we place plastic rods for more stability,
then we proceed to place the elastic bias along the contour of the upper part of the back.
We line the cups with the tull fabric only on the front side.
We place the whalebone and the rods and attach it to the torso part, helping us with some pins.
On the back I decided to make some pins with the same black pasaballena, I made five measurements at the same distance from each other, taking the middle one as the main measurement and from there I started for the others. We placed them on each mark with the help of a pin and sewed.
Then we cover with the whalebone and repeat the process on the other side. We also place the bias binding on the upper back and the lower back.
We place the ribbon of the union of the back, of black color and about 3cm wide.
Optionally we sew some ribbons on the top to give a nicer touch to the bustier, and with that we will have ready this beautiful model.
I must say that I loved the result of this bustier, I loved how the cups were and it fits very well to my body type, in this case I must say that the second attempt improved a lot compared to the first, of course, without detracting from the work I did in both.
As always, I want to thank you for reading my blog and for always leaving your nice comments, I wish you have a nice day and night.

Editado en Canva || Edited in canva
Fotos tomadas de mi teléfono Xiaomi Redmi Note 6 Pro y mi teléfono Samsung J4 plus || Photos taken from my Xiaomi Redmi Note 6 Pro pone and my Samsung J4 plus phone.
Fuente del editor de imágenes y separadores || Image editor source and separators