
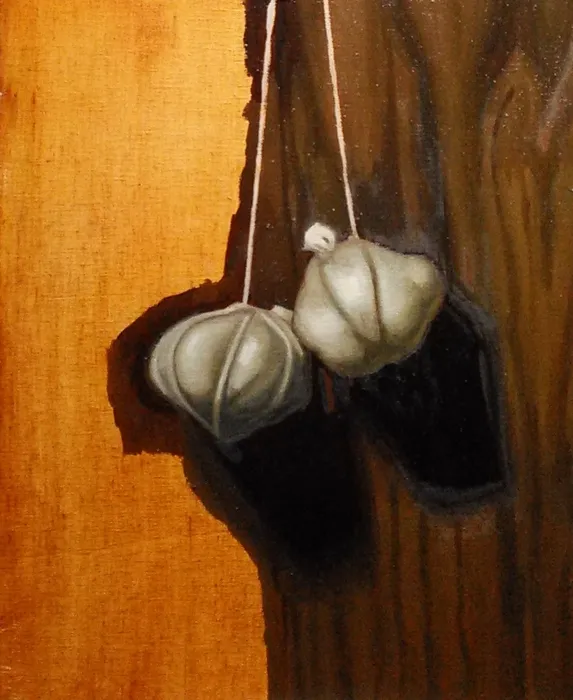
My Latest Still Life Painting (“Vampire Repellent”) and Its Development.
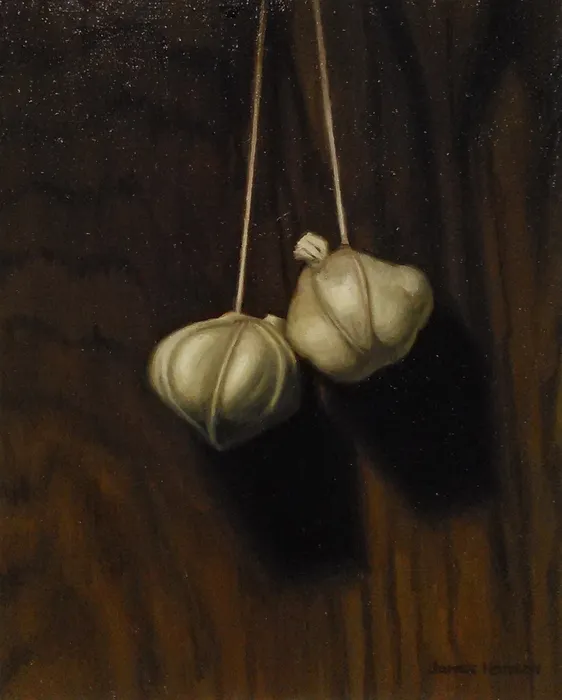
”Vampire Repellent”
8” x 10”
Oil on birch panel
2018
Greetings Everyone,
In this post I wanted to share my latest still life painting and how it developed.
But before I begin to take you through my usual technical breakdown and progress, I thought I would take the time to point out that this was the first painting I experimented with this new (new to me) M. Graham alkyd painting medium.
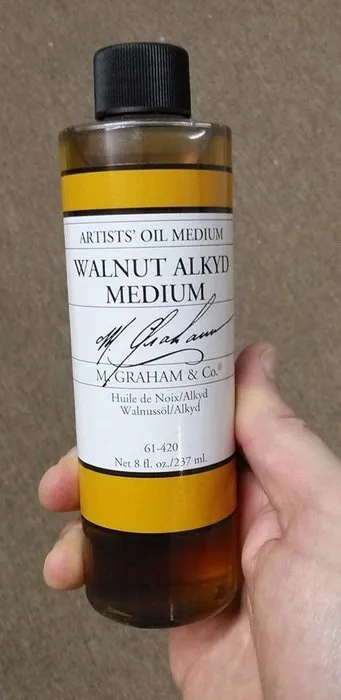
Now I have to say that considering all of the painting mediums I've used throughout the years, this medium has been by far my favorite. This still life has been so fun because of it. This stuff just does exactly what I need it to do :)
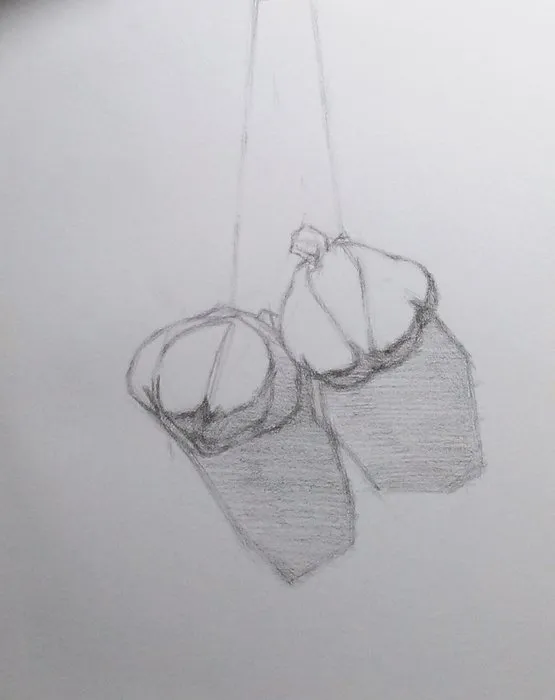
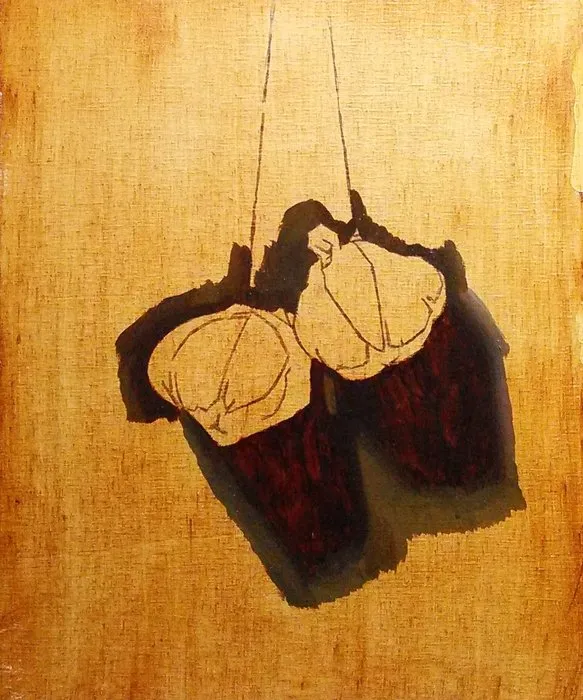
Now of course once again in the beginning, I started with a traditional armature drawing to which eventually would be transferred onto my painting surface.
To put it simply, this drawing is a basic refined block in, accurately depicting the simplest of shapes in shadow and in light.
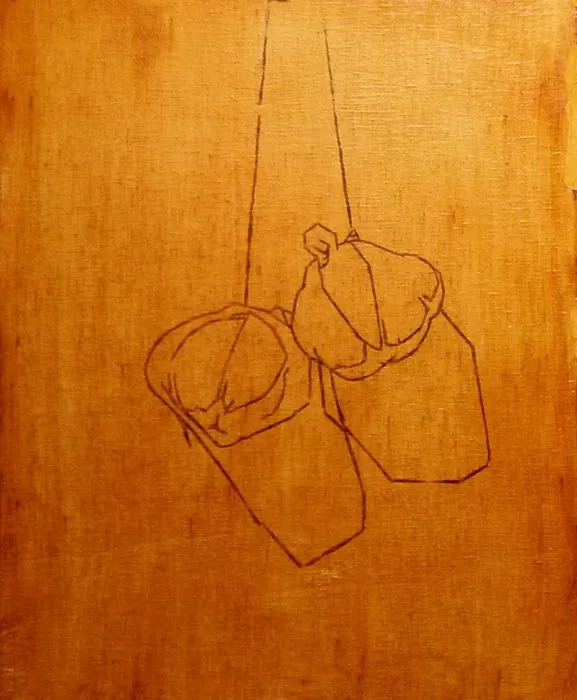
Once the drawing was finished I then transferred the drawing onto the birch panel. I did this by rubbing vine charcoal on the back of the drawing and tracing it over with a ballpoint pen.
After tracing the drawing, I then removed the paper and then traced over the charcoal stencil with a simple Micron brand pen. I enjoy these pens as they have a tendency to dry very fast :)
Then after the ink has dried, I then rubbed a little transparent brown oxide paint onto the panel. Before I began painting, I let this tone dry. This toning of the surface has acted as what we would call an “imprimatura”.
I forgot how much I LOVED this color! I have to admit that it has been a very long time since I used it last. I swear it’s like a cross between burnt umber and transparent oxide red. It’s such a beautiful deep chocolate rust color!
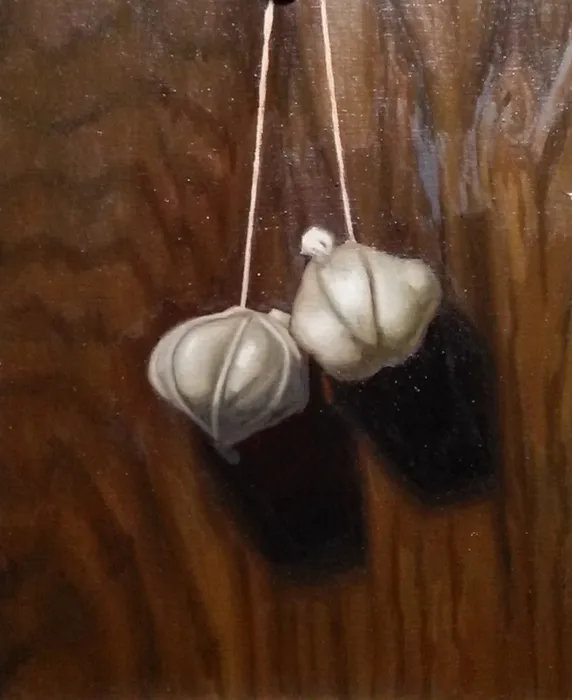
The next day as I began painting, to immediately establish my value range I thinly massed in the shadows of the garlic bulbs.
Thankfully due to the quick drying nature of the medium, I was able to go over those shadows a lot sooner than usual. This allowed me to more accurately define my range of values (lightest lights and darkest darks).
Moving on from those shadows, I then worked on the garlic’s immediate surrounding background, as to better control their edges.
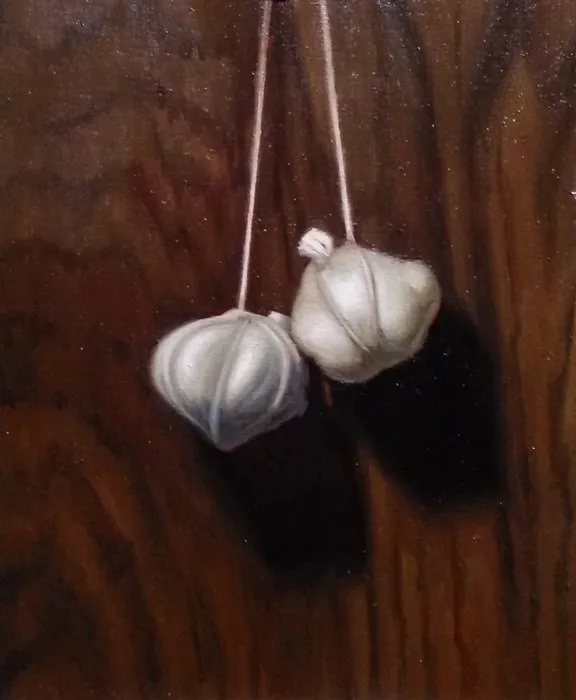
Now working on the 1st bulb, from the inside to the outside I then started to lay in masses of value as basic generalized shapes, making sure not to make edges too sharp too fast.
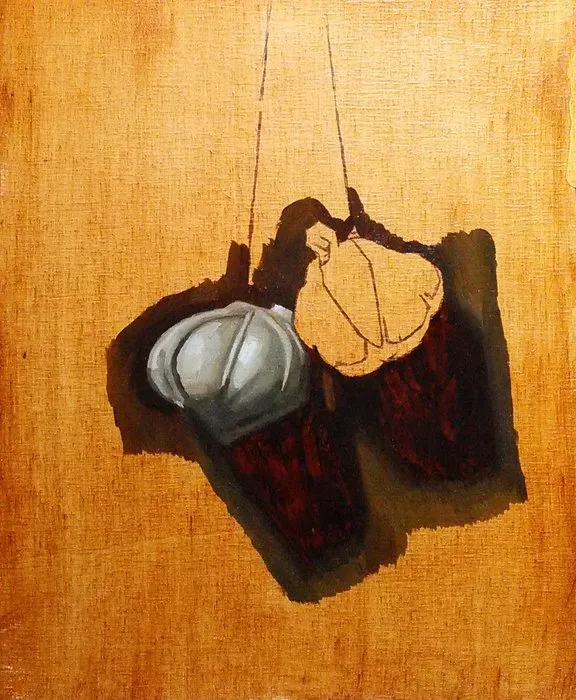
As I approached the 2nd bulb I could begin to have a greater overall sense of value, temperature and color for the whole of the painting. This allowed for a greater sense of direction in that it would be less likely for me to meticulously work on a section only to find that later it would’ve had to have been changed.
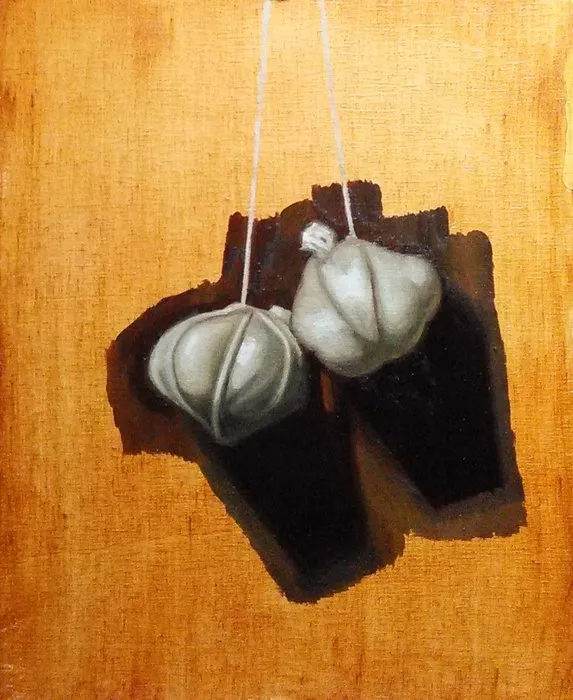
After finishing my first pass on the garlic, in an almost “blooming” like fashion I then shifted my focus onto the wood grained background. This was actually some of the more enjoyable parts of the painting.
After I was able to finish the 1st pass of the background, once again thanks to the alkyd medium I didn’t have to wait too long before I could go over it again. Oiling out was so much easier as I was able to keep the oils from sinking in at bay, as you can see it a little from the matte glare at this stage.
On the next day before beginning my painting session, I then oiled out the entire surface very thinly with some Oleogel to make sure the entire still life was reading correctly. I then started to rework the garlic by adjusting edges and chroma, and finally adjusting the background as needed while aiming for a finish.
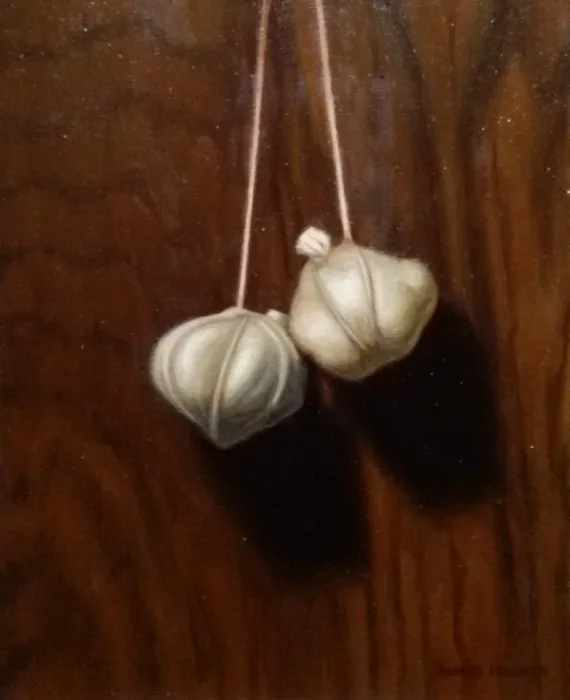
..Aaaand it’s finished!!