
Happy NeedleworkMonday lovely Steemians!
I love covers - pillow covers, cushion covers, seat covers, book covers, any covers for that matter. The reason? I love to be able to wash and keep them clean plus be able to change the look by mood or feel for the week 😊.
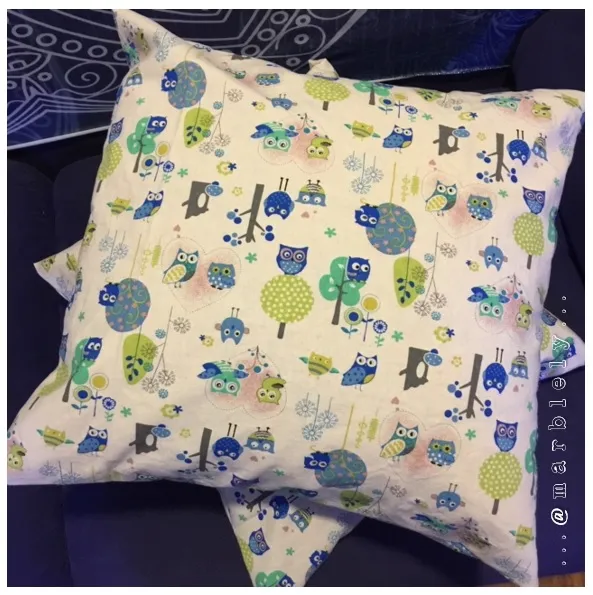
So, this week, I sewed a new pair of cushion covers, envelope cushion covers to be specific, one that doesn't need zippers and the 2 covers were completed in less than an hour. It really is just as simple as measure, cut, fold and sew.
I like the simplicity of these type of covers because it is fast to sew and we need not worry about zippers. But, we can add a button for the fun of it to keep the envelope in place.
-- M e a s u r e - C u t --
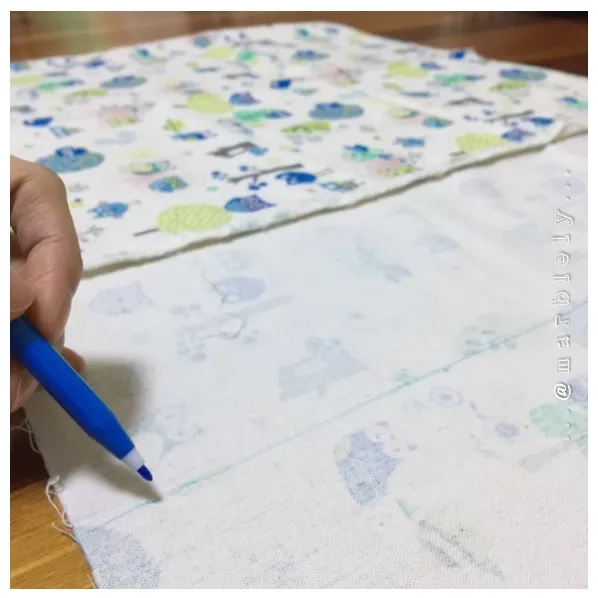
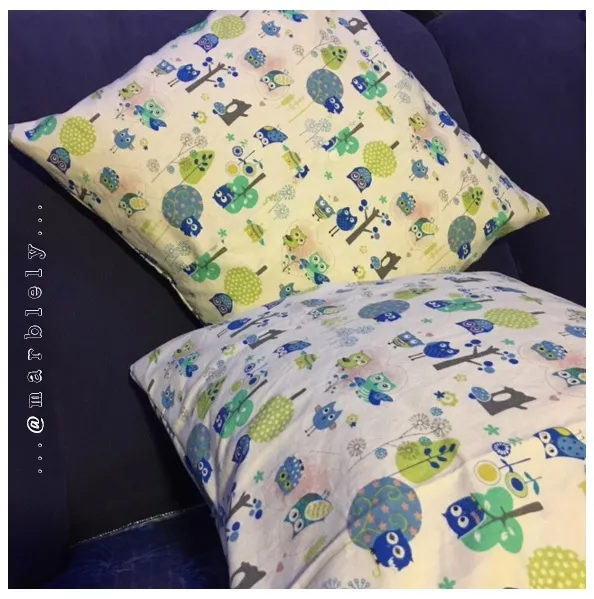
First, I used the existing cushion cover as my template and the fabric I chose is linen and has cute little owls and trees as prints. The fabric measures 140cm wide x 100cm.
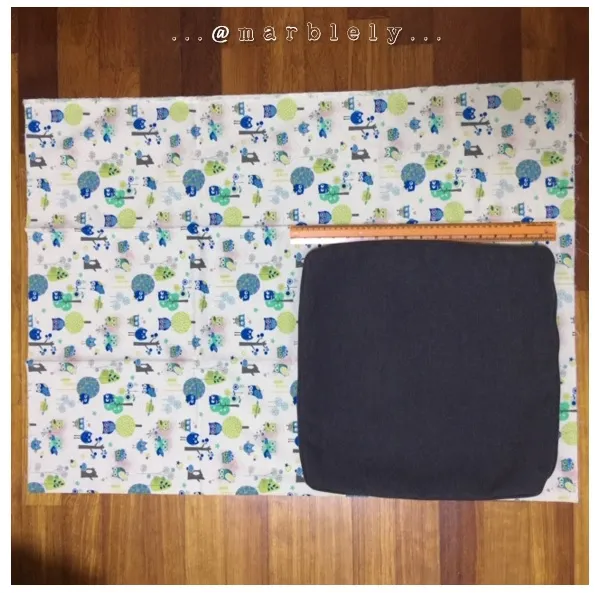
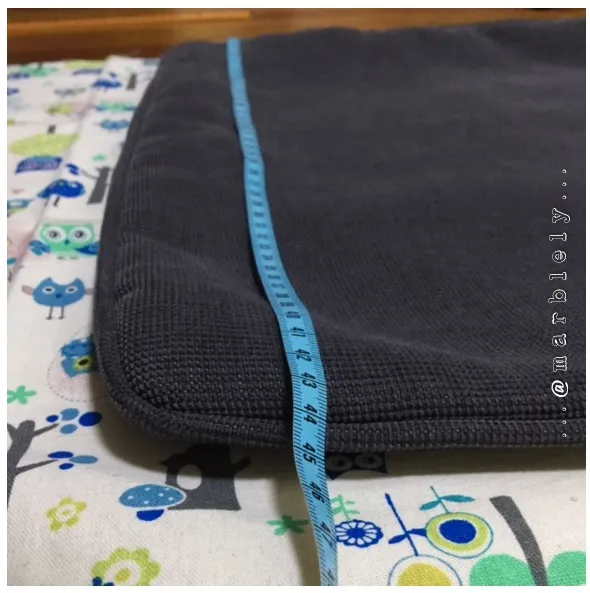
The current cushion covers (which came with the sofa) are a wee bit tight for my liking and it takes quite an effort to stuff the cushion in. For this one, I will make them slightly bigger.
The current cushion cover is about 45cm in length and width.
I measured 50cm on the fabric and cut out the 50cm, maintaining the 140cm width.
The seam allowance will be about 0.7cm on both sides.
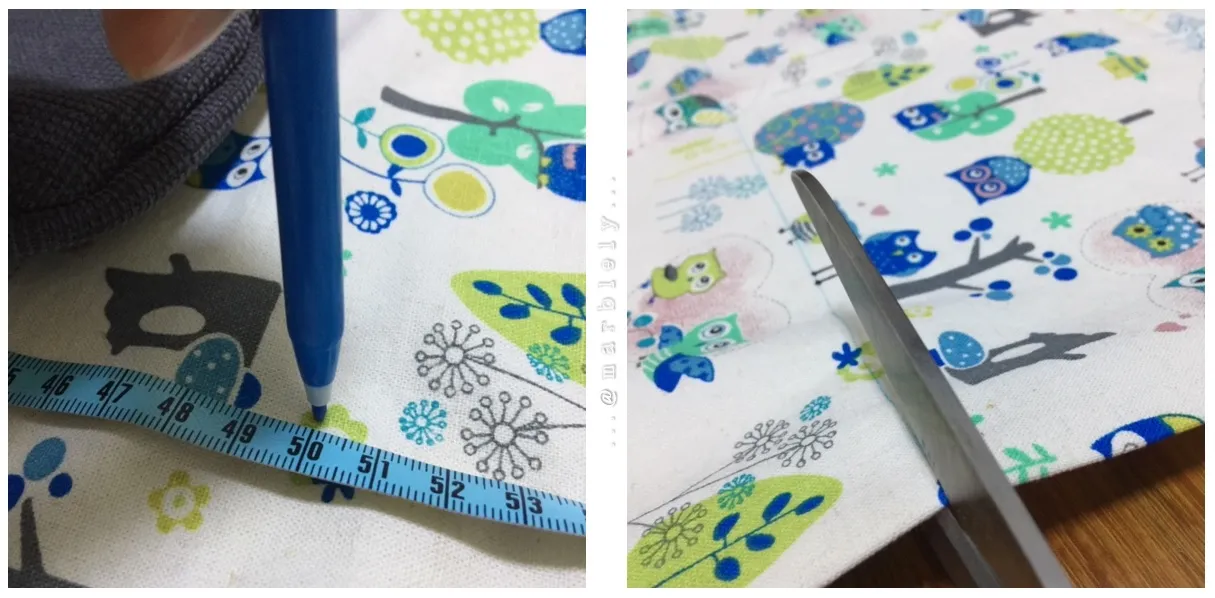
Then, I cut out the excess fabric of 140cm by measuring 50cm + 50cm + 15cm,
the additional 15cm is for the envelope fold.
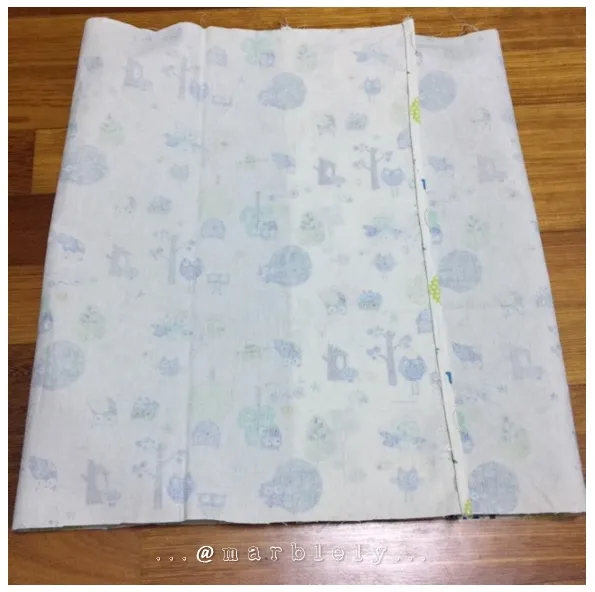
Now, the fabric measures 50cm x 115cm.
-- S e w --
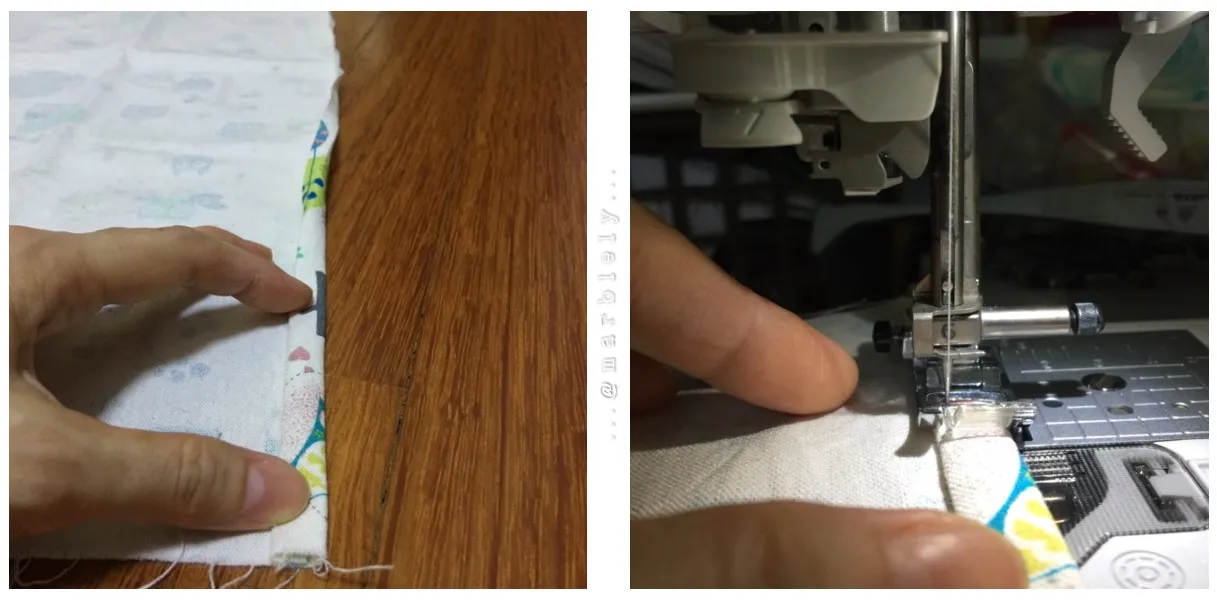
Next, I hemmed both sides of the 50cm edges.
-- F o l d --
Once both edges have been hemmed:
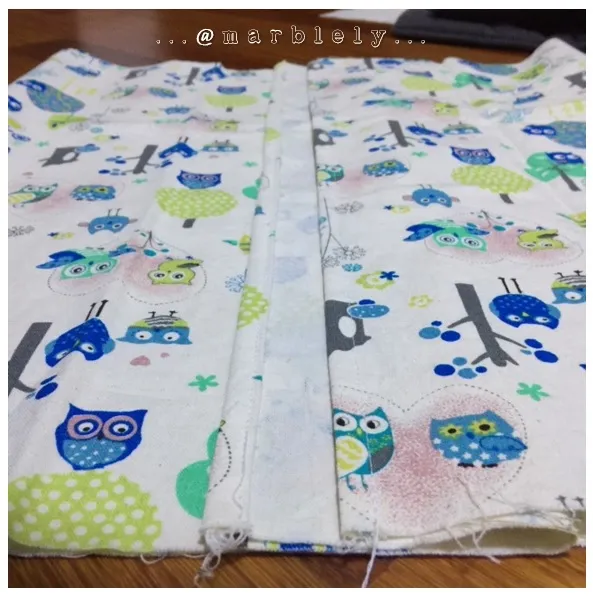
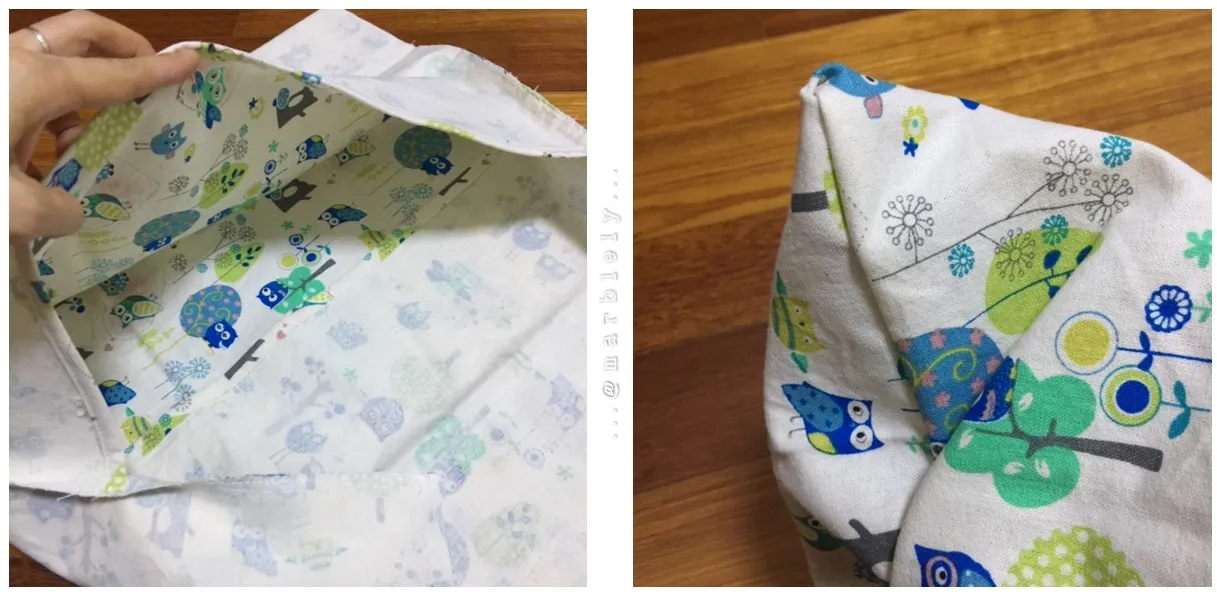
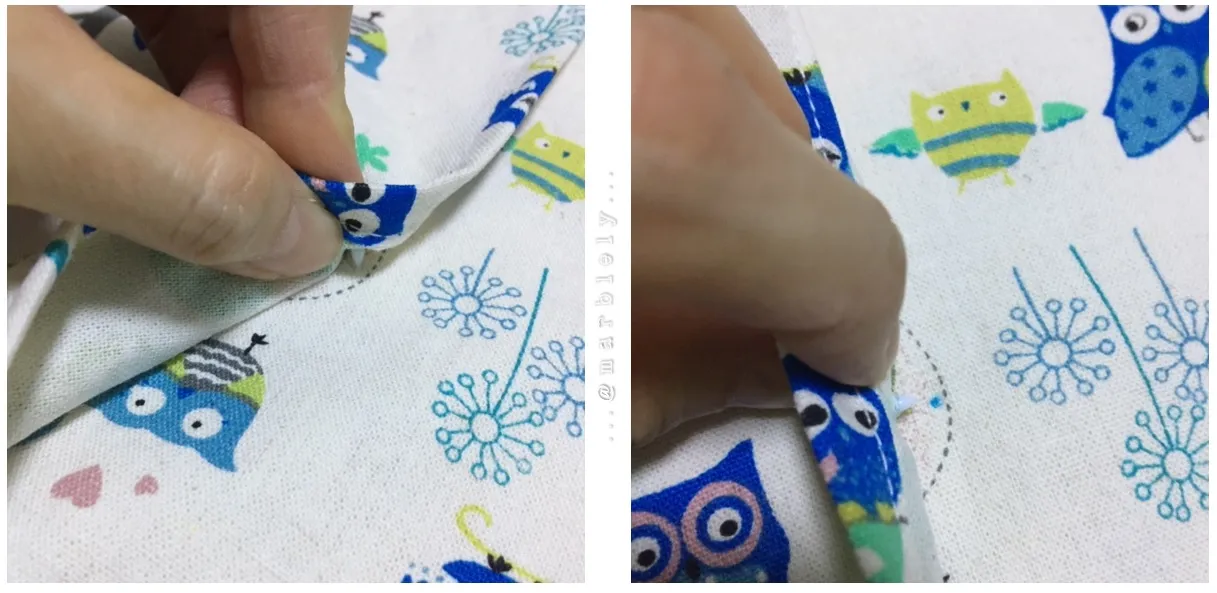
I placed the current cushion cover at the center on the hemmed fabric and folded the first side to the center.
This part of the edge will show as the outer side of the fabric once it is sewn at the sides.
Next, I folded the other side to about 2/3 or 3/4 from the opposite folded side.
This edge of the fabric will be hidden inside the cushion cover once the cover is turned inside out after sewing.
-- S e w --
After folding, I placed the pins at the sides to keep them in place before sewing.
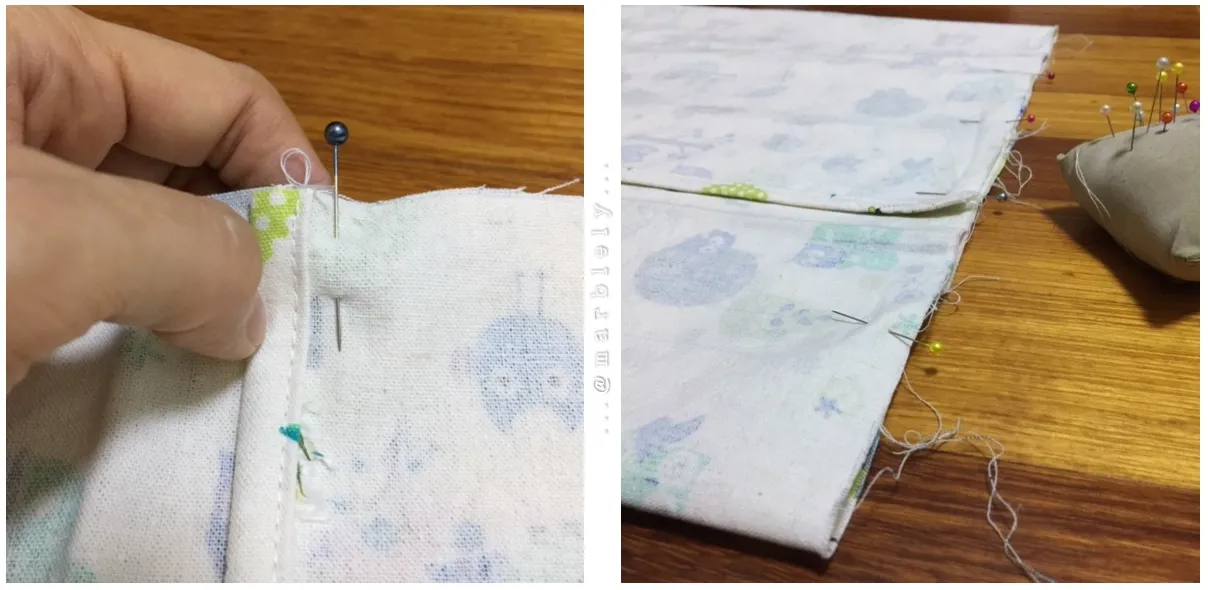
I straight sewed the sides with about 0.7cm seam allowance.
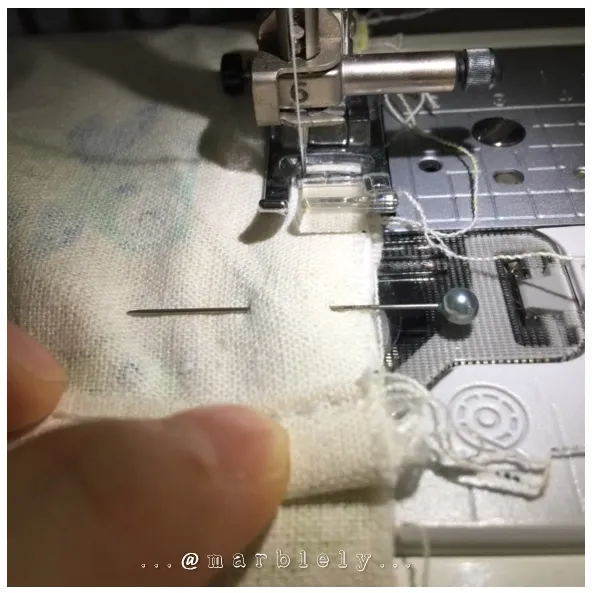
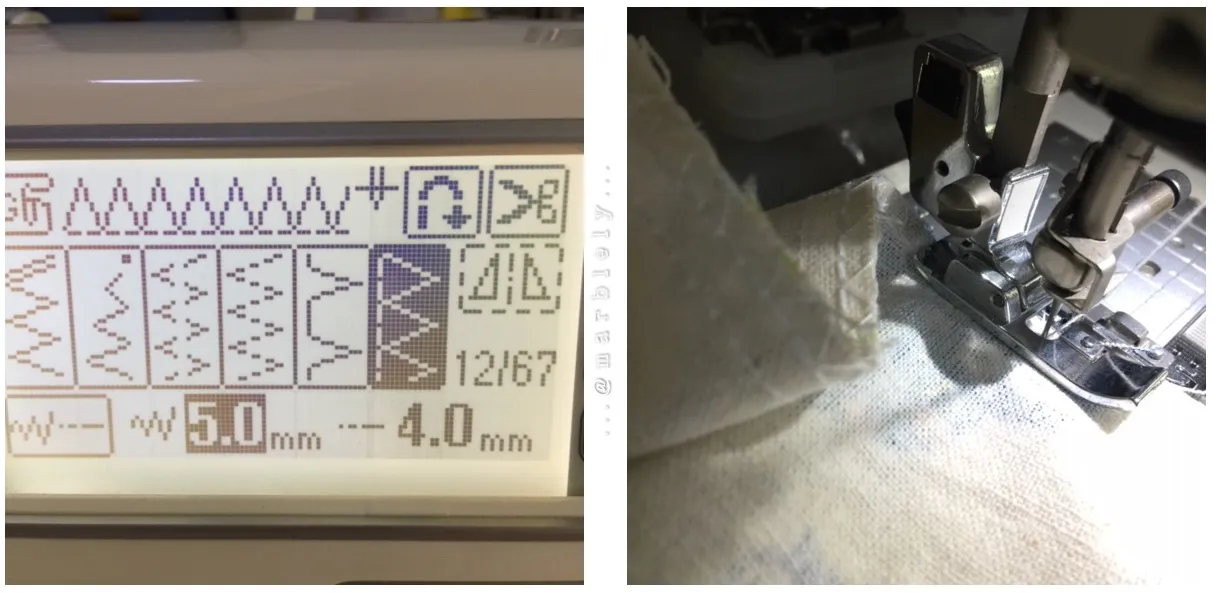
And then, I edge stitched both the edges using an edge stitch foot to prevent fraying.
If you have a serger, you can serge the sides.
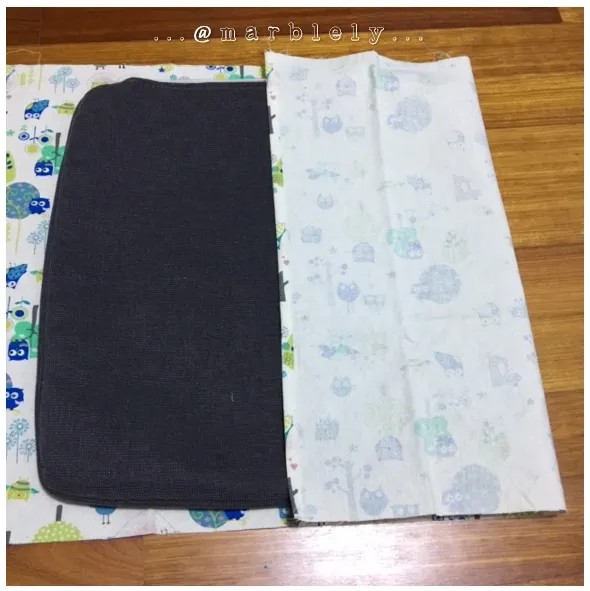
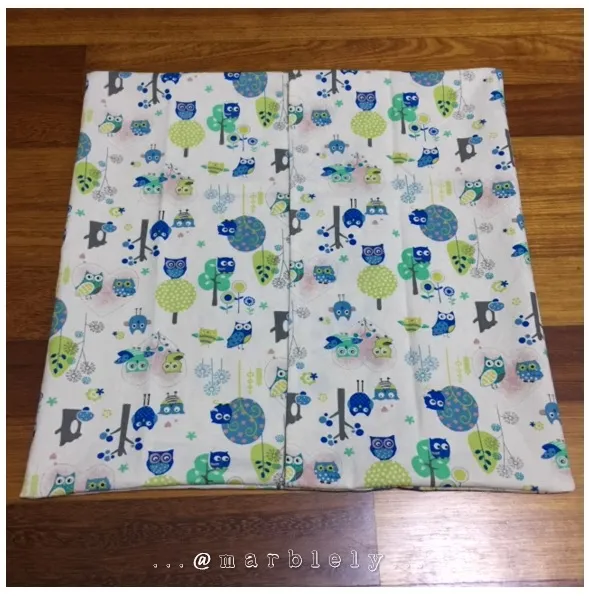
After the little bit of sewing, the cushion cover was done!
And all it takes now was folding the cushion cover inside out.
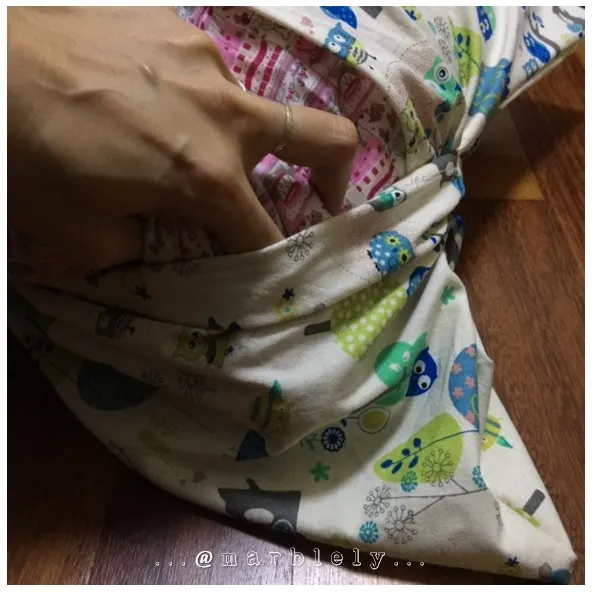
When the cushion cover has been turned inside out:
I stuffed the cushion into the envelope fold:
Ta-da!

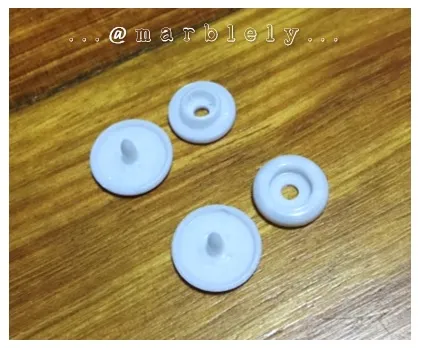
But, I decided to add a fastener / button using the a snap button pliers like this one that I used:
https://www.dritz.com/quilting-sewing-supplies/mass-merchant/fasteners/snaps/14051/
I love sewing gadgets 😍
These are the parts of the snap button to be pressed onto each side of the envelope edge of the cushion cover:
-- S n a p - B u t t o n --
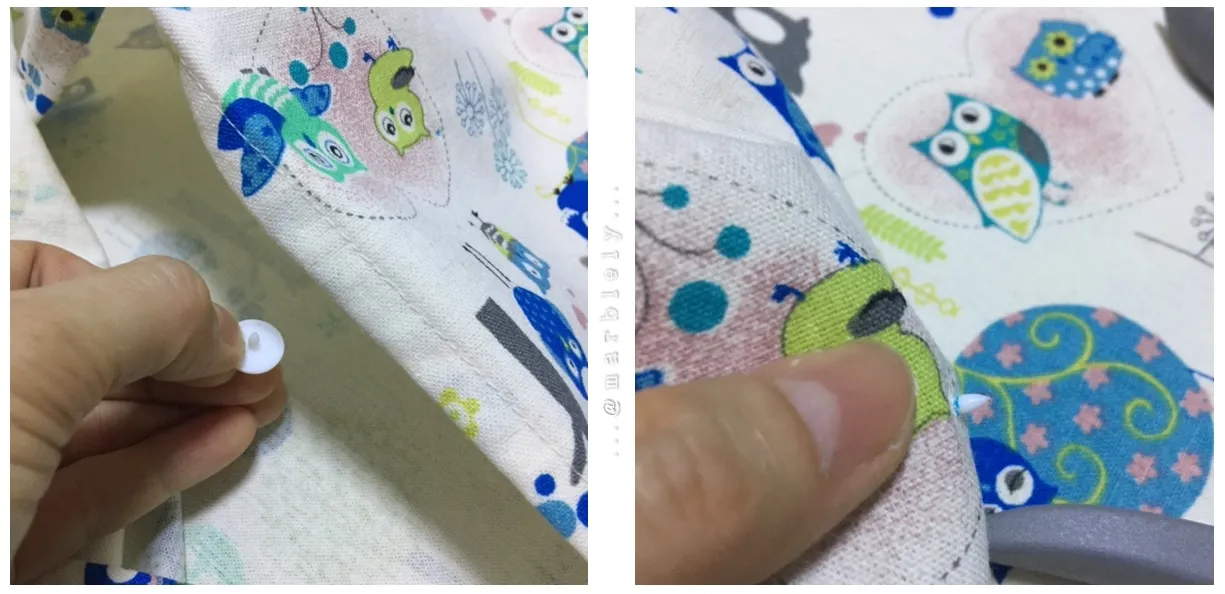
Before installing the snap button, I folded the cushion cover to half and marked the center of the cushion cover where I wanted to place the button:

Then, I poked the first thumbtacks looking part of the snap button into the marked center:
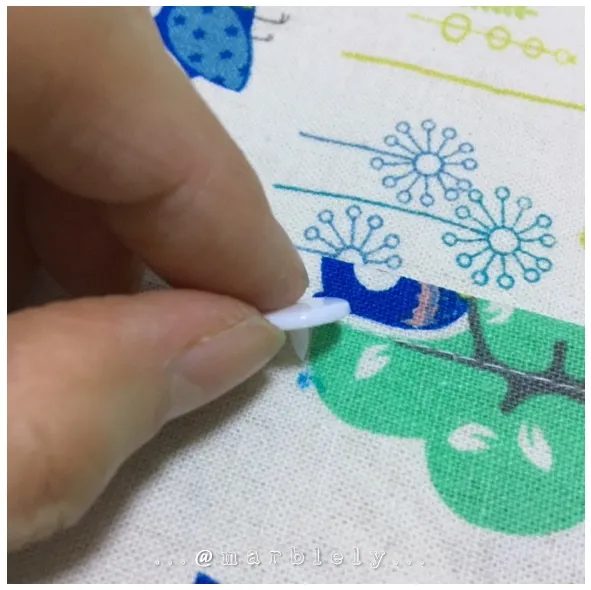
and poked it through to mark the interfacing part of the cushion cover that needs to be buttoned and marked that too:
Now, each part of this snap button has a name but I don't really know which is which. If you would like to read the instructions, you can read it here:
https://www.dritz.com/quilting-sewing-supplies/mass-merchant/fasteners/snaps/14051/
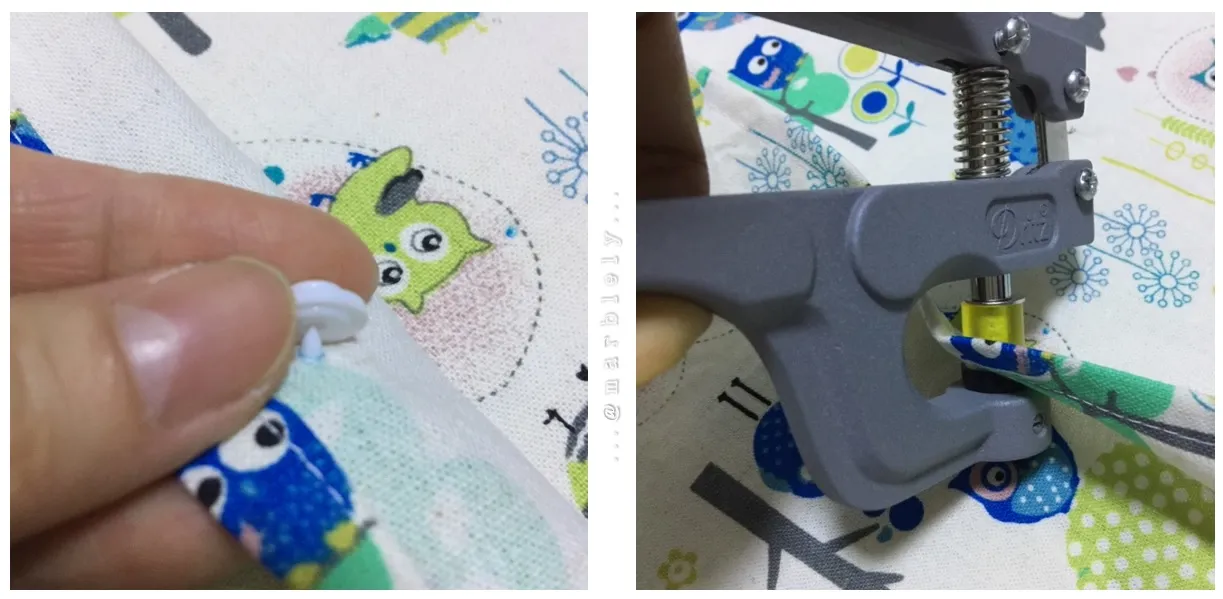
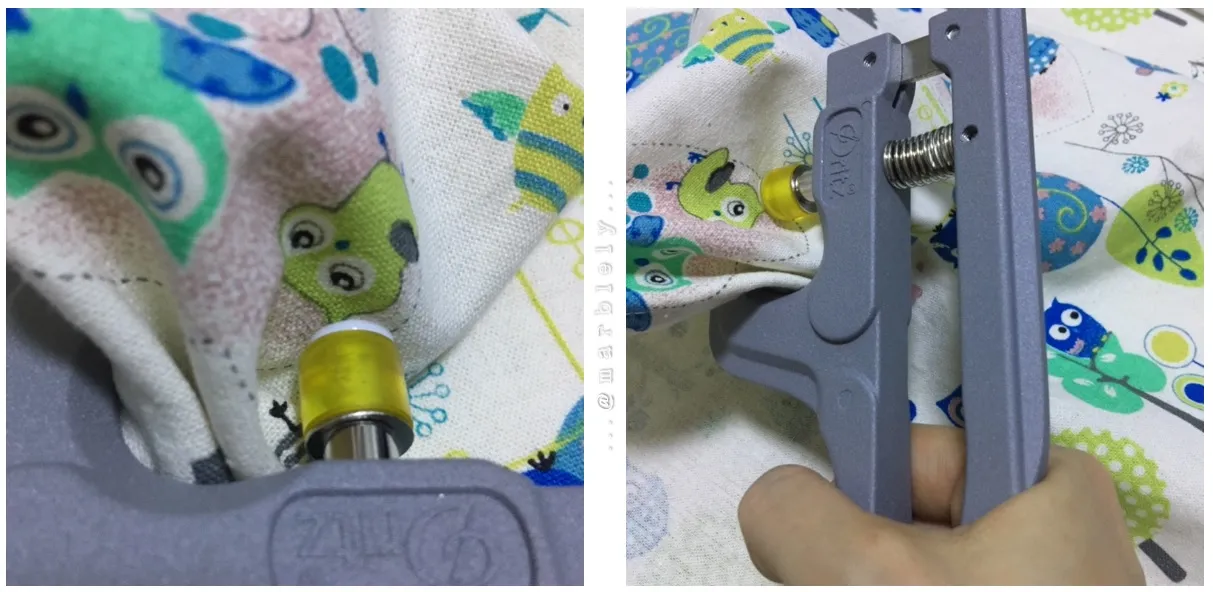
But, I chose one part of the snap button as the top and the other as the bottom.
So, taking the top part of the snap button and flexing my muscles, I pressed the button onto the fabric:
And here is the result of the top part of the snap button:
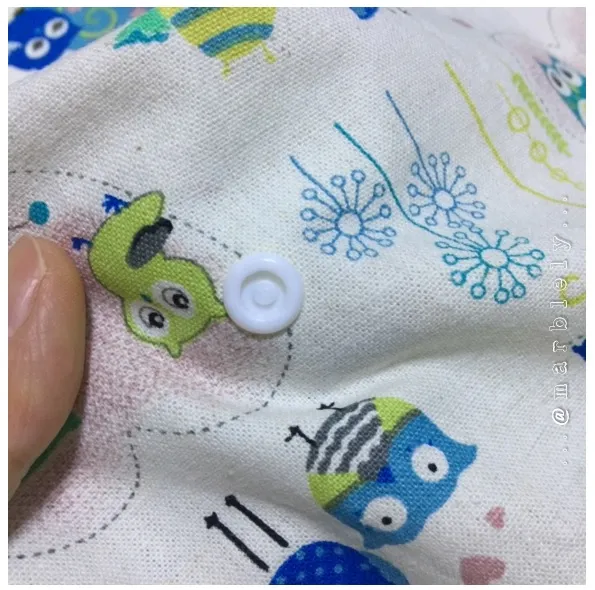
Next was the bottom part of the button, in which I poked the second thumbtacks looking part through the interfacing fabric from bottoms up:
And placed the bottom part of the snap button that will snap to the upper part of the snap button before flexing my muscles again to press them down onto the fabric:
(Sorry for sounding soooo confusing. I do recommend watching their Youtube video tutorial on how to use this tool)😅
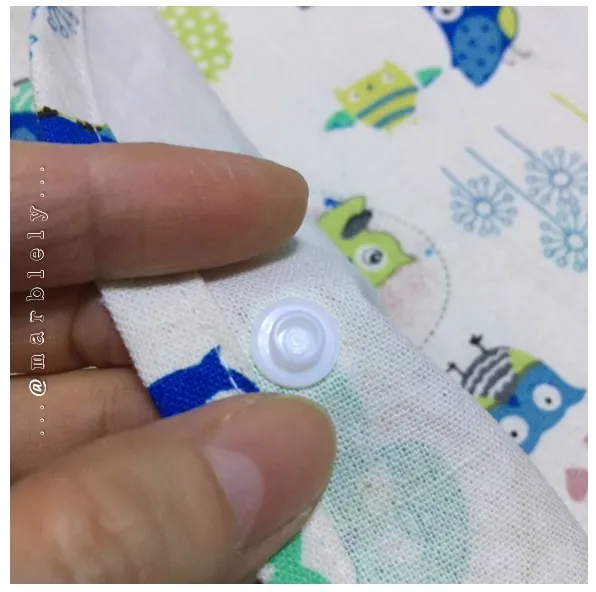
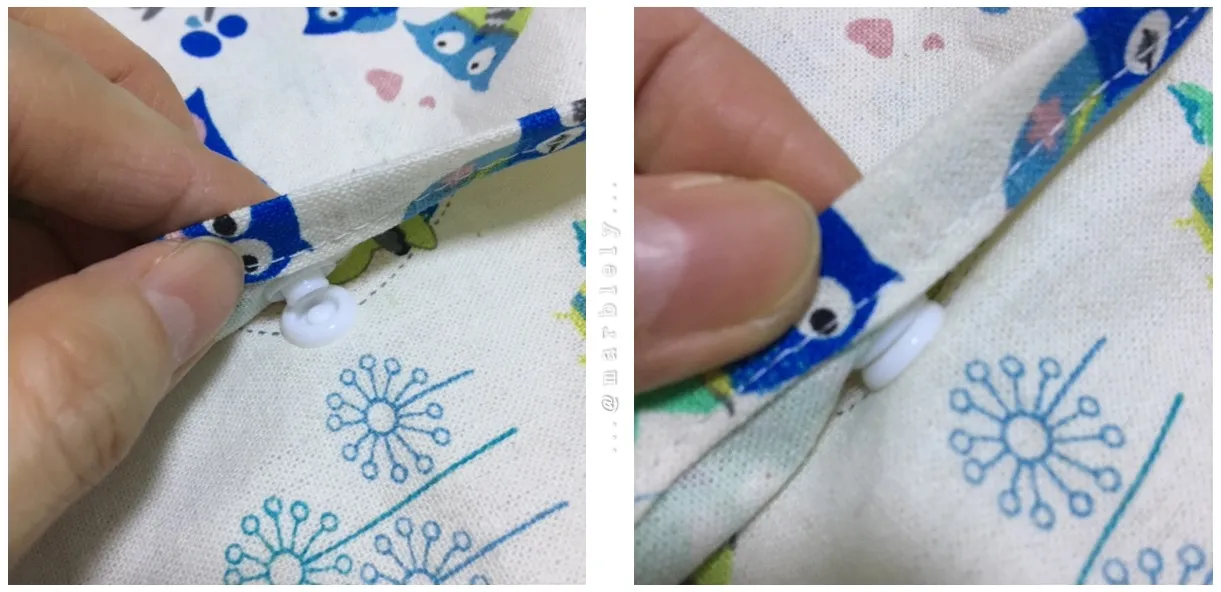
Here is the result of the muscle flexing:
The center should have been flatter but I was out of flexing energy 😜
Once pressed, the buttons were ready for snapping!
Done!
Thank you again to @crosheille for starting this wonderful community and to the awesomely supportive #NeedleWorkMonday community!
If you love any craft that uses needles, come and join the fun with us here every Monday! You can also join us every other day at #NeedleWork.


This is an Invitation to join #ccc for Guaranteed 👍 Daily Income 💵 and Payout 💸 for Newbies (2.0) 🐟 🐜 🐛 in #ccc 👣 and Follow 👣 the Honor Code 🏅 - the Creed (Conditions and Limits Inside)
AND
the latest update <<< please click to read.