
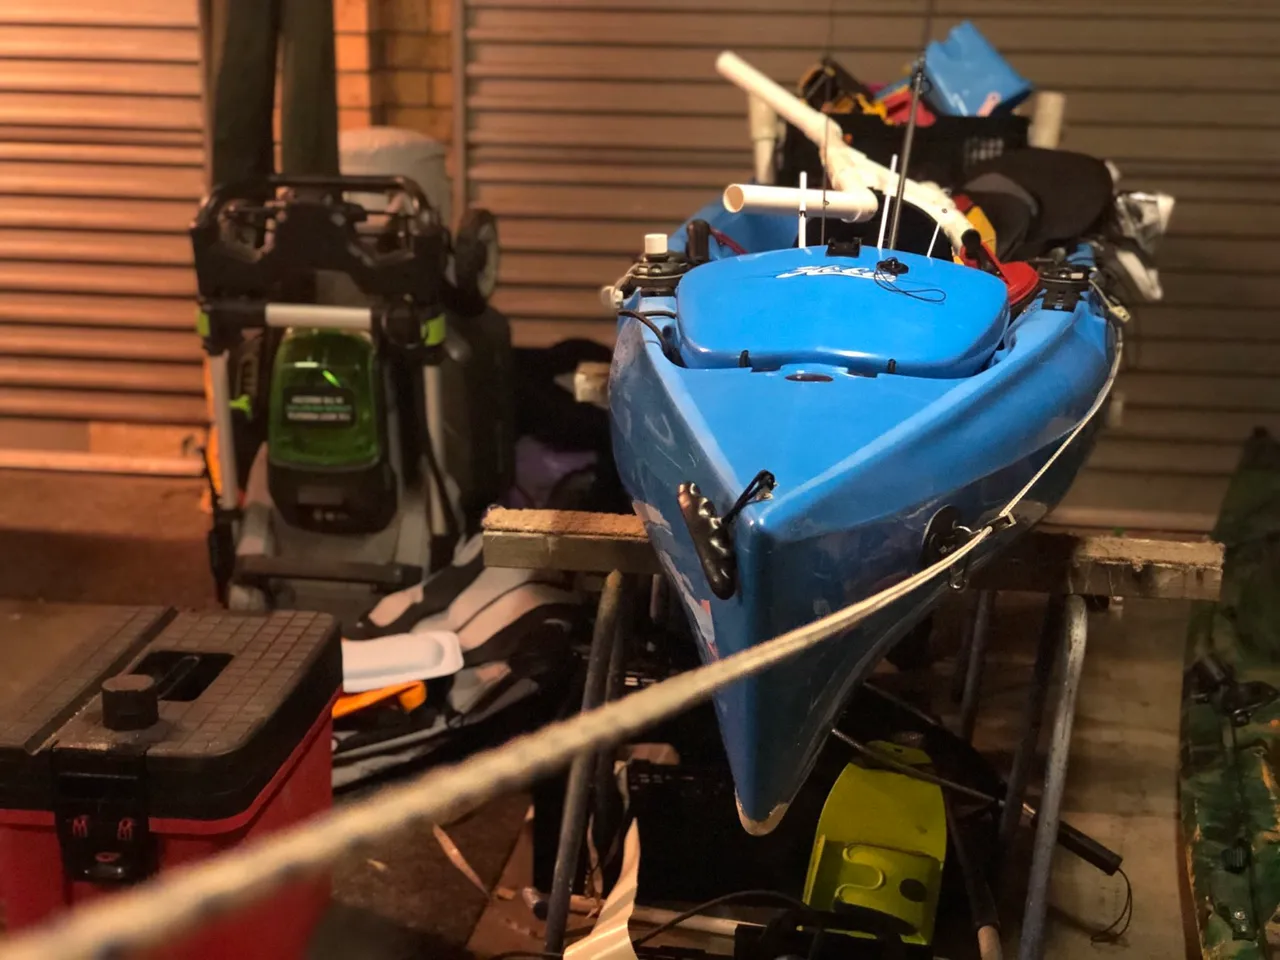
Getting this new kayak has woken up my passion for kayak fishing. I almost stopped it about a year ago after getting torn shoulder rotator cuffs on both shoulders. The Hobie Revolution 11 is a pedal kayak so I can use my strongest muscle groups to power the yak and let my shoulder heal properly.
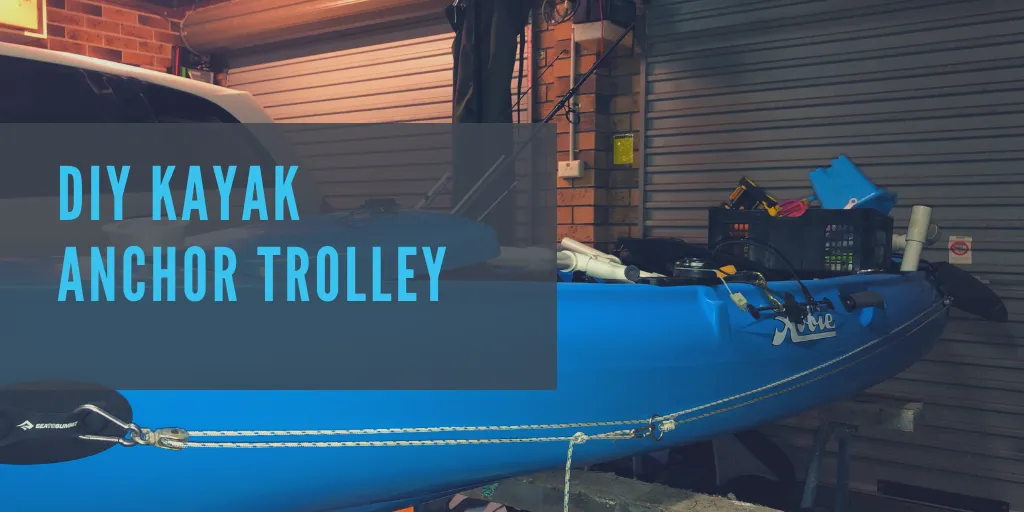
One DIY modification I do to my fishing kayaks is an anchor trolley. When fishing not too deep areas (less than 10 - 15 meters), I often like to stay at one position and cast out in all direction to find the fish. Anchoring the kayak is, hence, necessary. However, depending on where you want to cast and which way the current and wind are pushing your kayak towards, you might want to anchor your kayak from the bow (front) or stern (back) and this can change from location to location and sometimes even within the same location, say if you find out that the fishes are hanging behind your back. An anchor trolley allows you to easily change the anchoring point on your kayak by just pulling on a rope that slides on a pair of pulley, one at near the bow and one near the stern (as seen on the photo above).
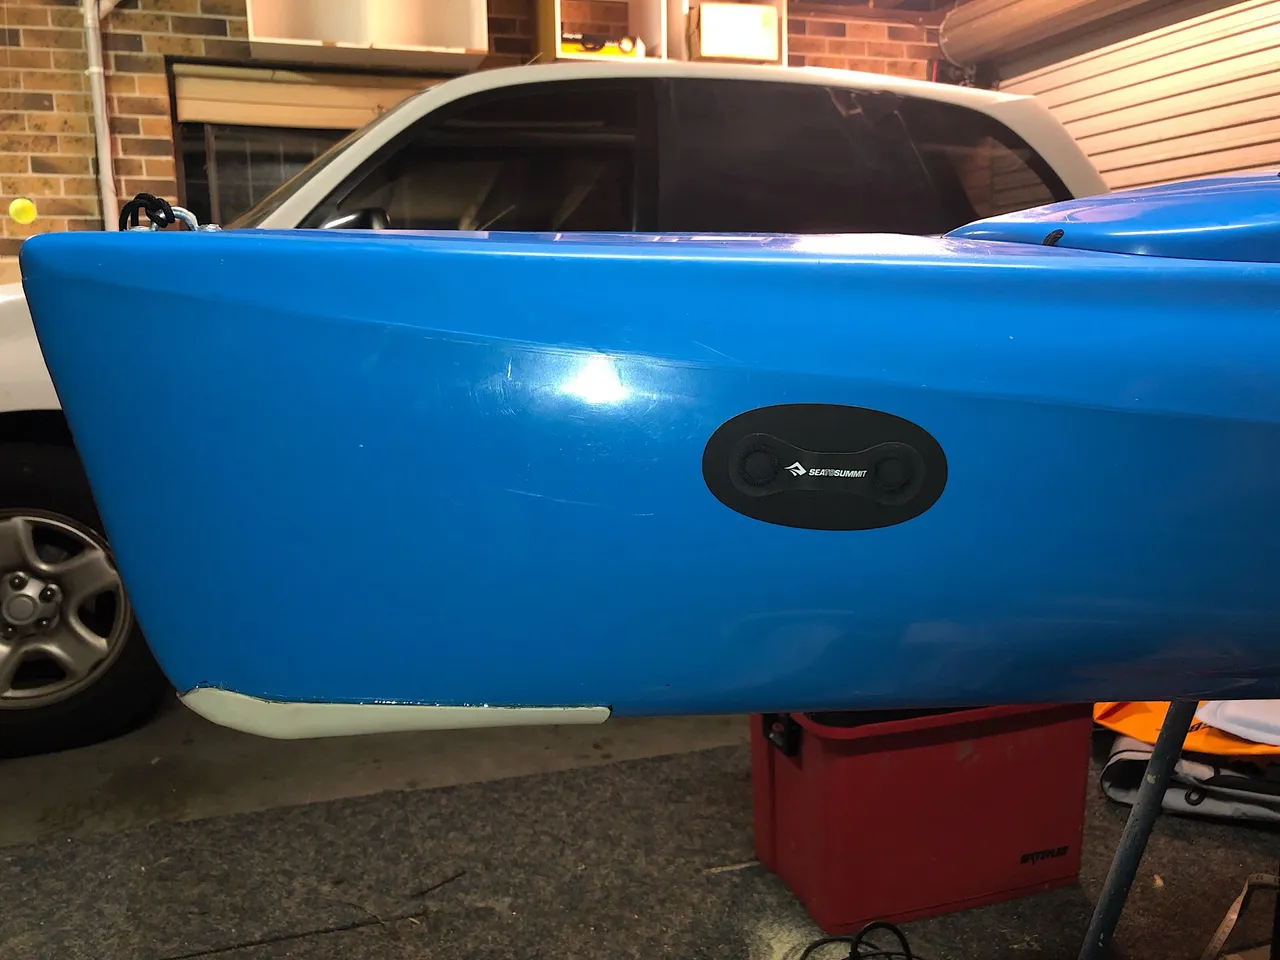
As I didn't want to drill more holes in my kayak, I decided to give a go with the Self Adhesive Lash Points pads by Sea To Summit. They stick to your boat with 3M VHB super strong adhesive that cures to 100% after about three days. The adhesive should be strong enough to carry the weight of the kayak itself but that won't be necessary as it does not require a lot of strength to hold a kayak on the water, even a small 20cm fish can tow your kayak (really).
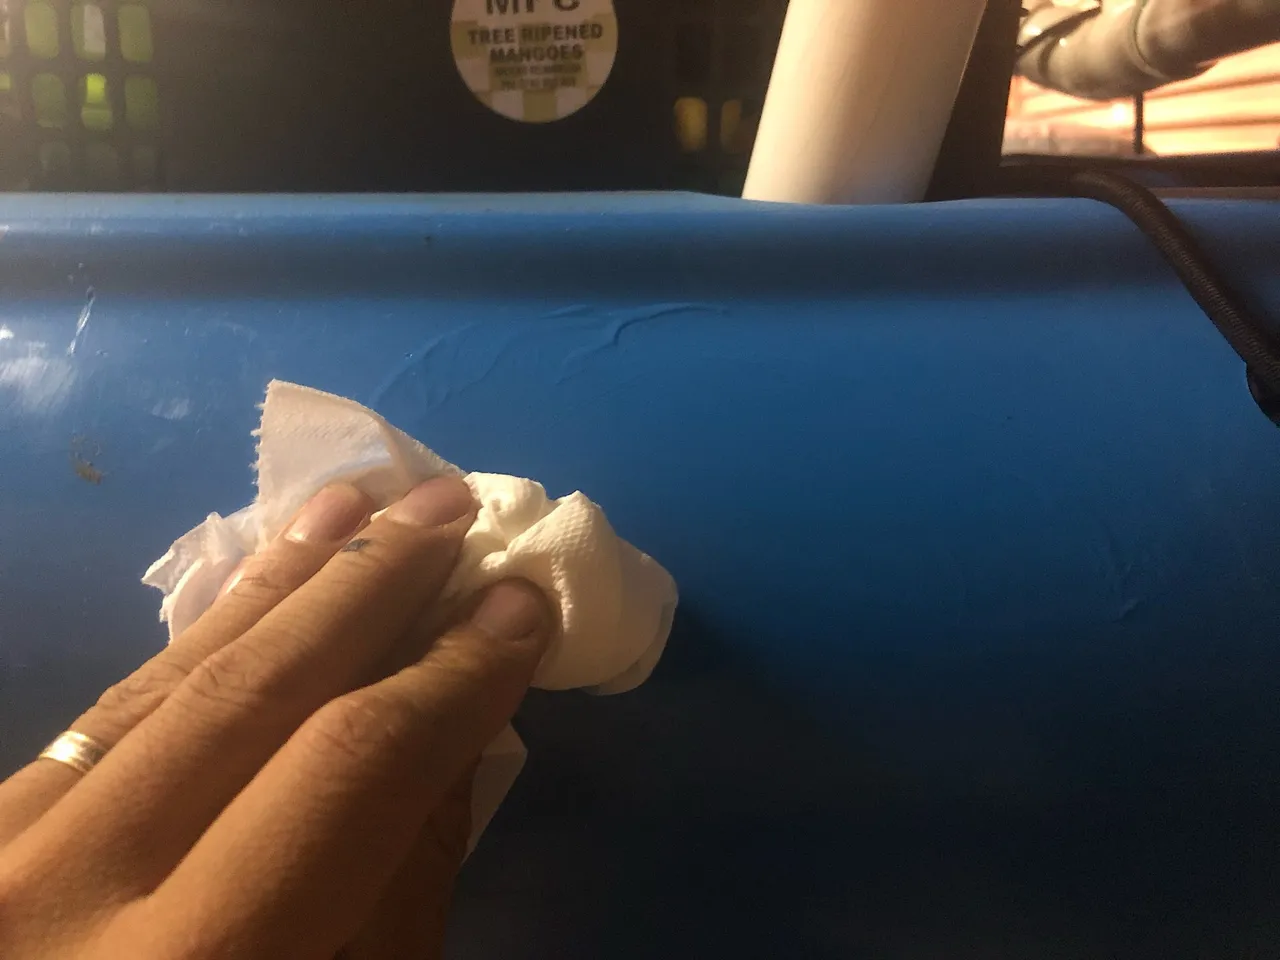
So I first started to clean the surface of the kayak with some alcohol to ensure optimum adhesion.
I then peeled off the liner from the adhesive on the pads and stick it in place.
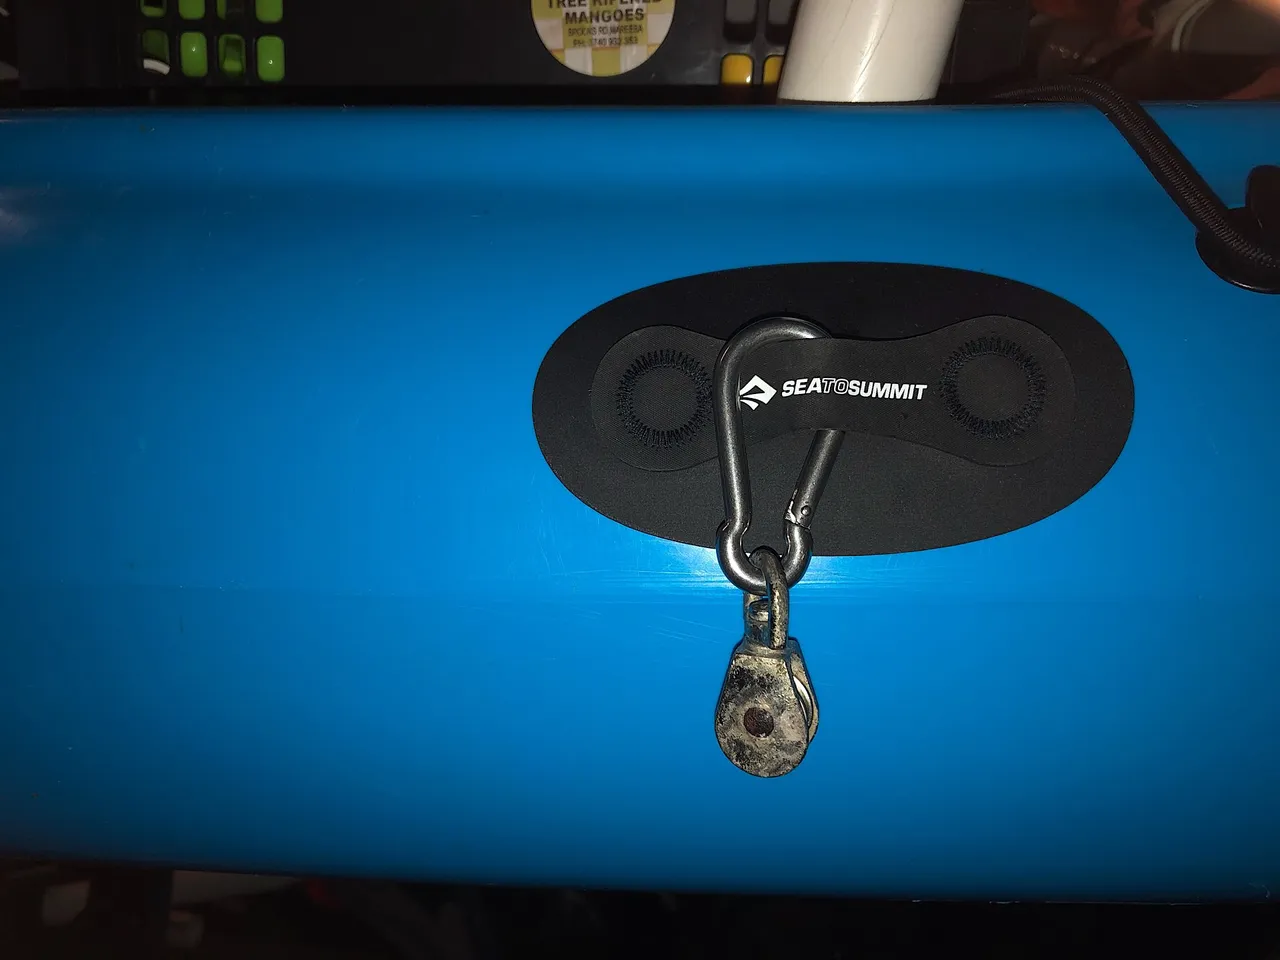
I then did the same at the stern and then hooked a stainless steel carabiner pulley onto a stainless steel carabiner and the carabiner to the lash point. My current pulleys are old and rusty and I'm waiting for the replacements to arrive by post.
A length of paracord rope (a little bit over twice the length of the kayak) is then threaded into one pulley, the top of the rope then goes through a small stainless steel ring. After threading the other end of the paracord through the second pully, I tied one end of the rope to the ring and the other end to a carabiner which will then hook into the ring.
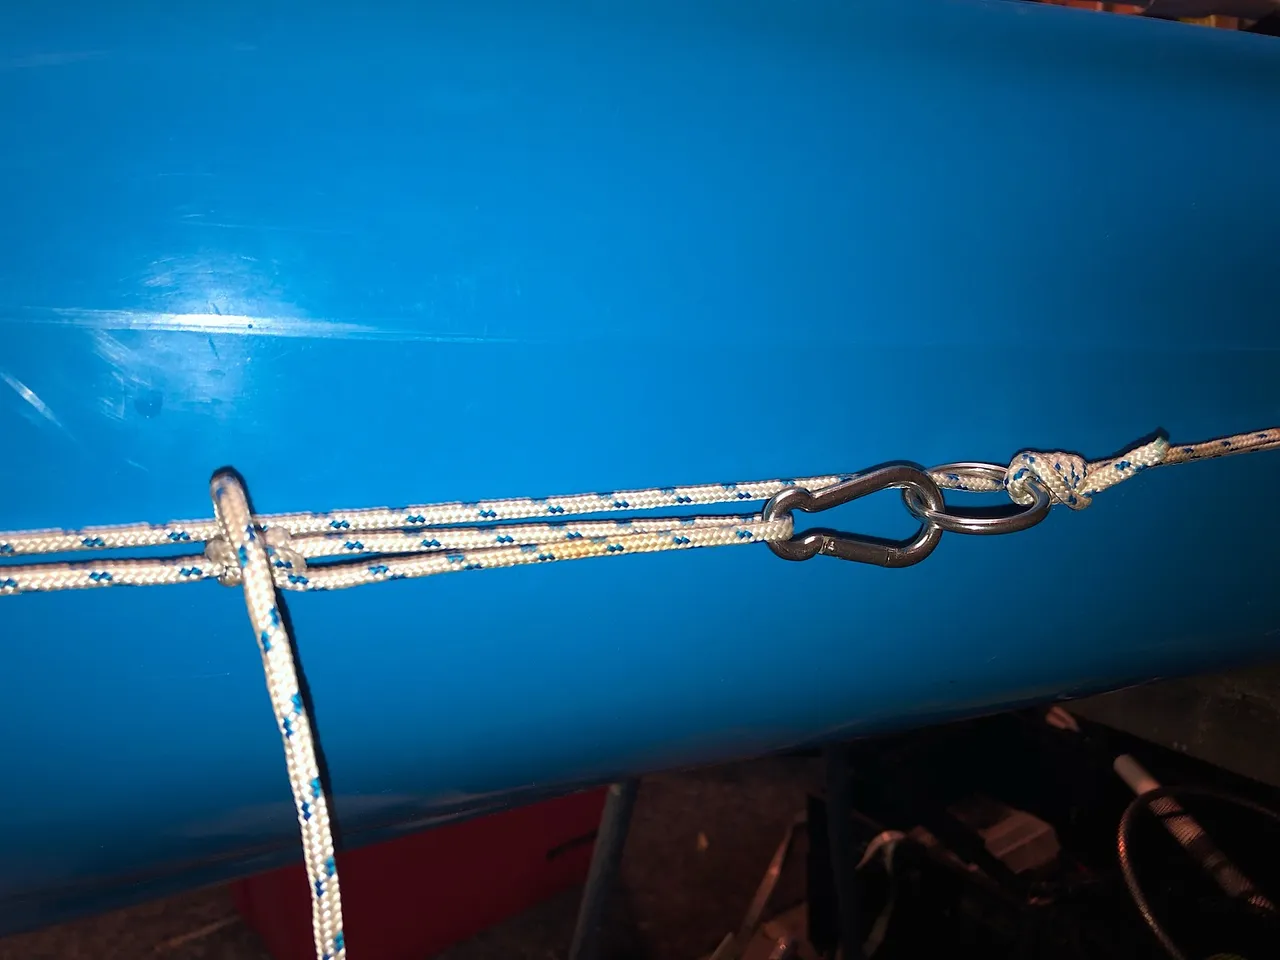
The knot made on the carabiner is a sliding knot that allows me to adjust the tension on the rope as it will change when the rope gets wet or dries out.
The purpose of the ring is for:
- Attach the actual anchor rope using another carabiner.
- Use the top end of the rope for additional strength.
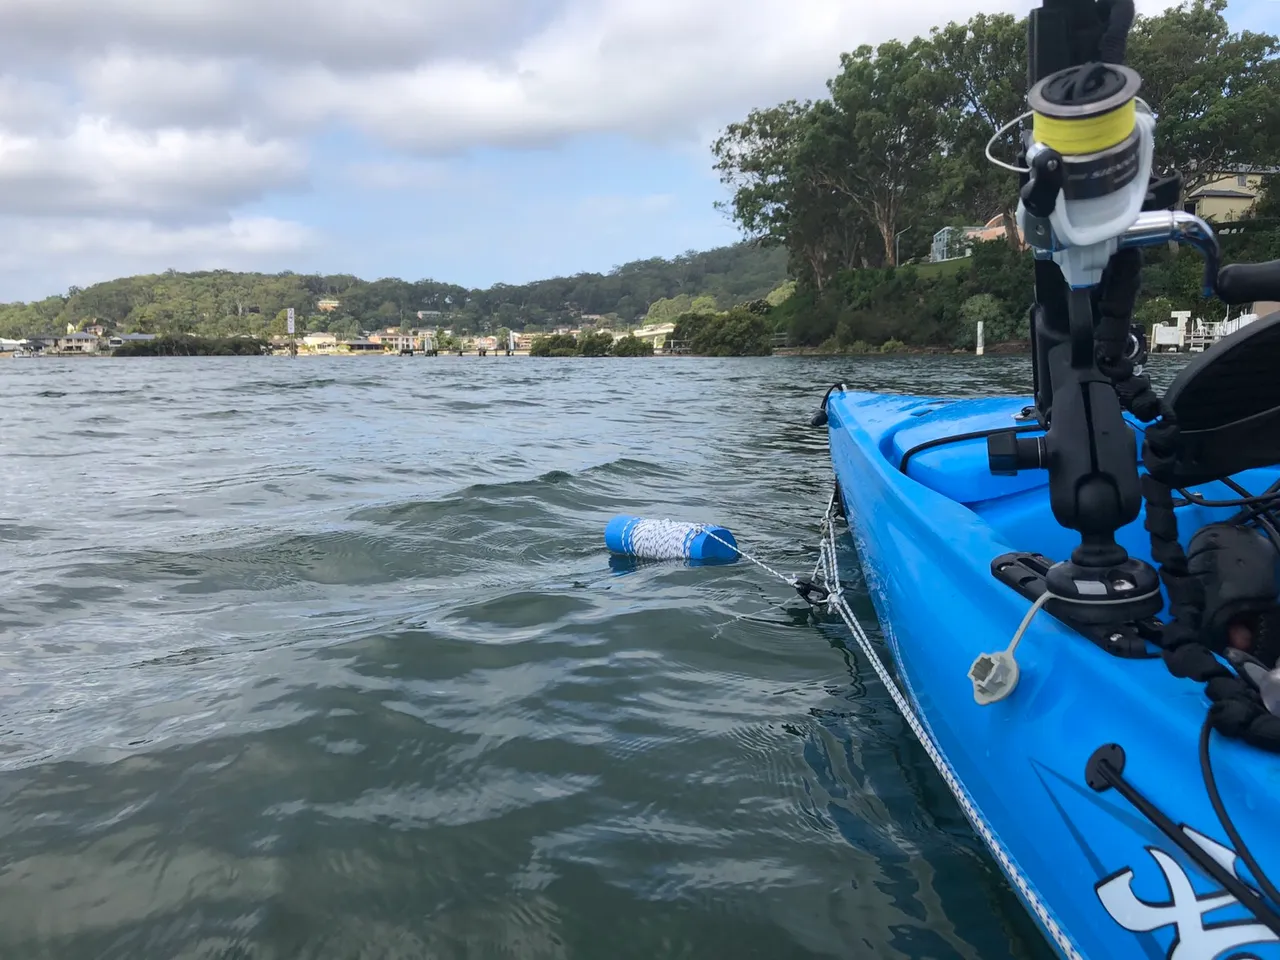
The purpose of the carabiner hooked to the ring is to allow using the system as a towing rope as seen in the following picture.
I will also attach another carabiner on the other end of the rope so that I can also tow another kayak behind me. I do sometimes go kayaking with my son on his own youth kayak and he likes it when link his yak to mine so he is not worried being drifted away from me. I've also, in one occasion, had to tow a mate with whom I went a bit offshore, he was on a wide double seater and on the way back the current was too much for him as his wider kayak was creating a lot of drag and slowing him down too much. That would have been useful too if he has lost his paddles for some reasons.
Once all was tested, I used a little lighter to melt each end of the paracord rope to prevent them from fraying. The following photo shows my anchor attached to the trolley system with a plastic carabiner. Why plastic? Because that was a left over from another project. The carabiner is attached to another paracord which is then tied to a pool noodle at one end and then the rest of the rope is then wrapped around it. At the other end, I've obviously attached a small compact anchor.
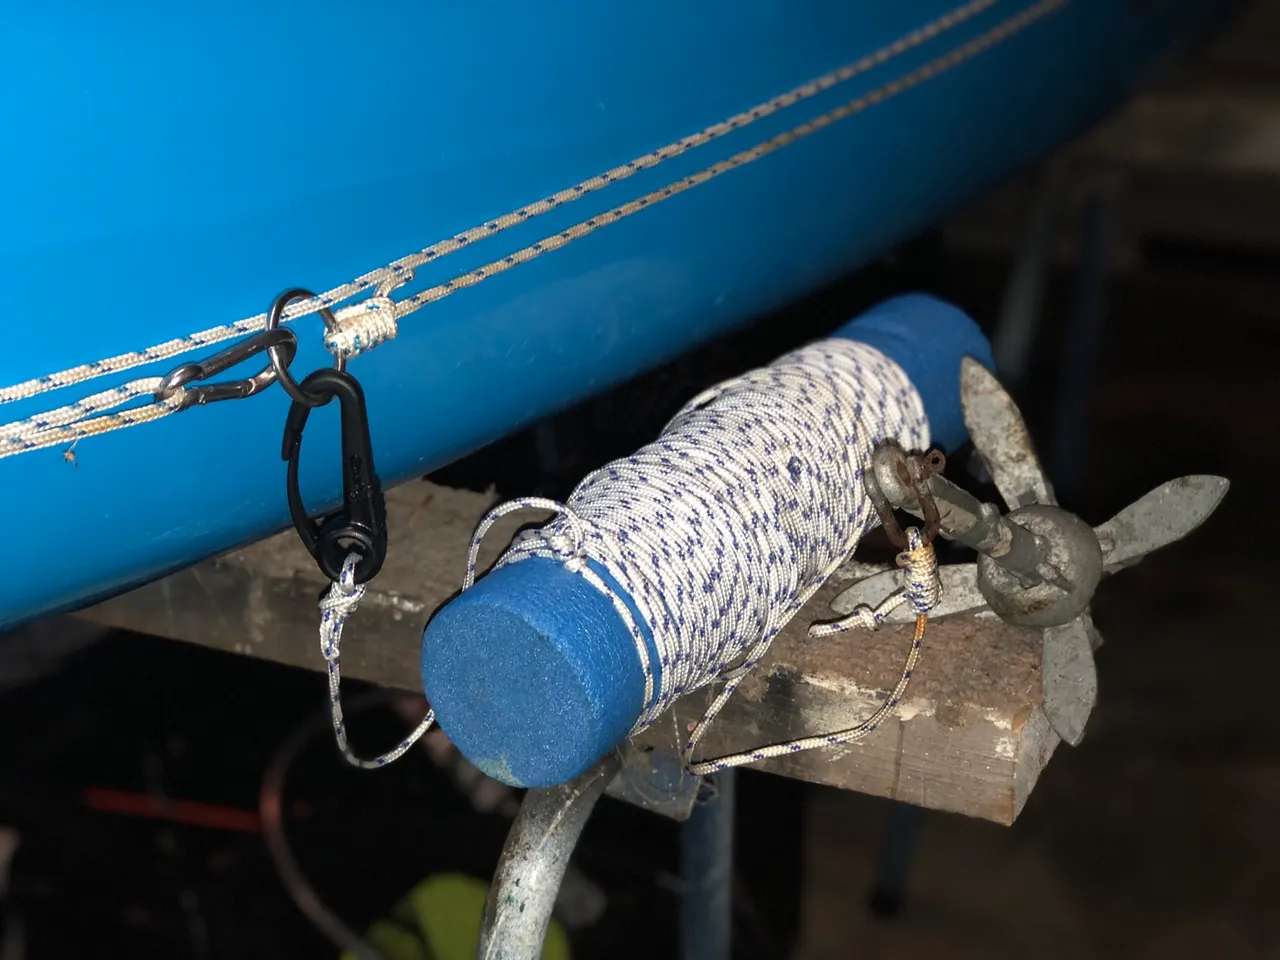
The pool noodle serves as a spool for the paracord but also as a float. If I hook up with a big fish, I can quickly unhook the anchor line and come back later to retrieve it.
Now, to use it, I just need to get hold of the anchor trolley line and pull it back or forth to adjust the anchoring point position to what I need.
UPDATE:
I just went back from a little session to test the system and it works great. The lash point pad is holding strong, 3M VHB adhesive seems to be really good. Adjusting the anchoring point was easy and allowed me painless reorientation of my kayak for casting opposite directions.
I hope this little tutorial will help some of you.
Previously on my blog:
- Rigging a Hobie Revolution 11 kayak for fishing
- Kayak Fishing with my new Hobie Mirage Revolution 11
- Found a Jewels of Opar aka Fake Ginseng on the side of the road
Vote for my witness
On Steem, Witnesses are playing the important role of providing a performant and safe network for all of us. You have the power to choose 30 trusty witnesses to package transactions and sign the blocks that will go in the Steem blockchain. Vote for me via SteemConnect to help me do more useful projects for the communities.
| I'm a member of | these communities |
|---|---|
 |  |
 |  |
 |  |
 |  |
 |  |
Credits
- The image at the top has been generated with the Canva app using my own photo.

Banner by @josephlacsamana
Protect your money against Phishing Scam!
Cryptos accounts are the target of international scammers because they want your hard earned money!
Those people are very clever and in a moment of inattention, you've given them your login and password!
I've created a Chrome extension that can help you detecting scam links!
Install Steemed Phish Chrome desktop browser extension now!
Password and Private Keys security
You all know that your Steem password is the access to all your STEEM, SBD, posting, transferring, everything... right?
So, please, follow these simple steps and keep yourself safe:
- Apart from the initial setup of your account, NEVER use your password ANYWHERE, if stolen, it will give full control to your Steem account.
- Backup your password and keep it somewhere safe. Use a password manager like Lastpass, print it on paper and put it in a safe (no kidding). If you forget your password, no one can help you out.
- To login for creating content and curating, use your Private Posting Key
- To make transfers and account operations, use your Private Active Key
- To encrypt and decrypt memos, use your Private Memo Key