
English
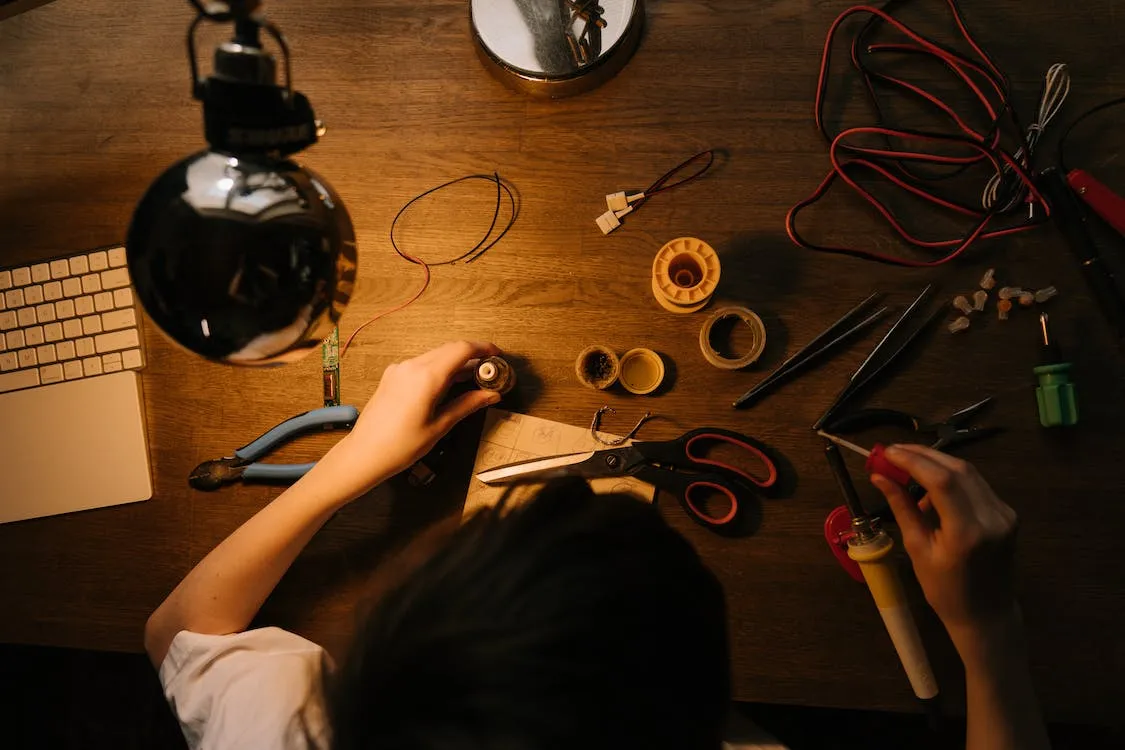
Image's Source - Fuente de la Imagen
Greetings, as always it is a pleasure to spend a moment again and share with the Hive DIY community. I hope you are doing as well as possible and if, due to any circumstance, you are going through a bit of a tough time: I wish you a lot of encouragement so that in the end you can move forward.
Life itself is like a big rigged test, where they give you the exam without giving you the lesson or any guidance, but somehow we get ahead despite everything. Some faster, others with more time, but we are all moving forward.
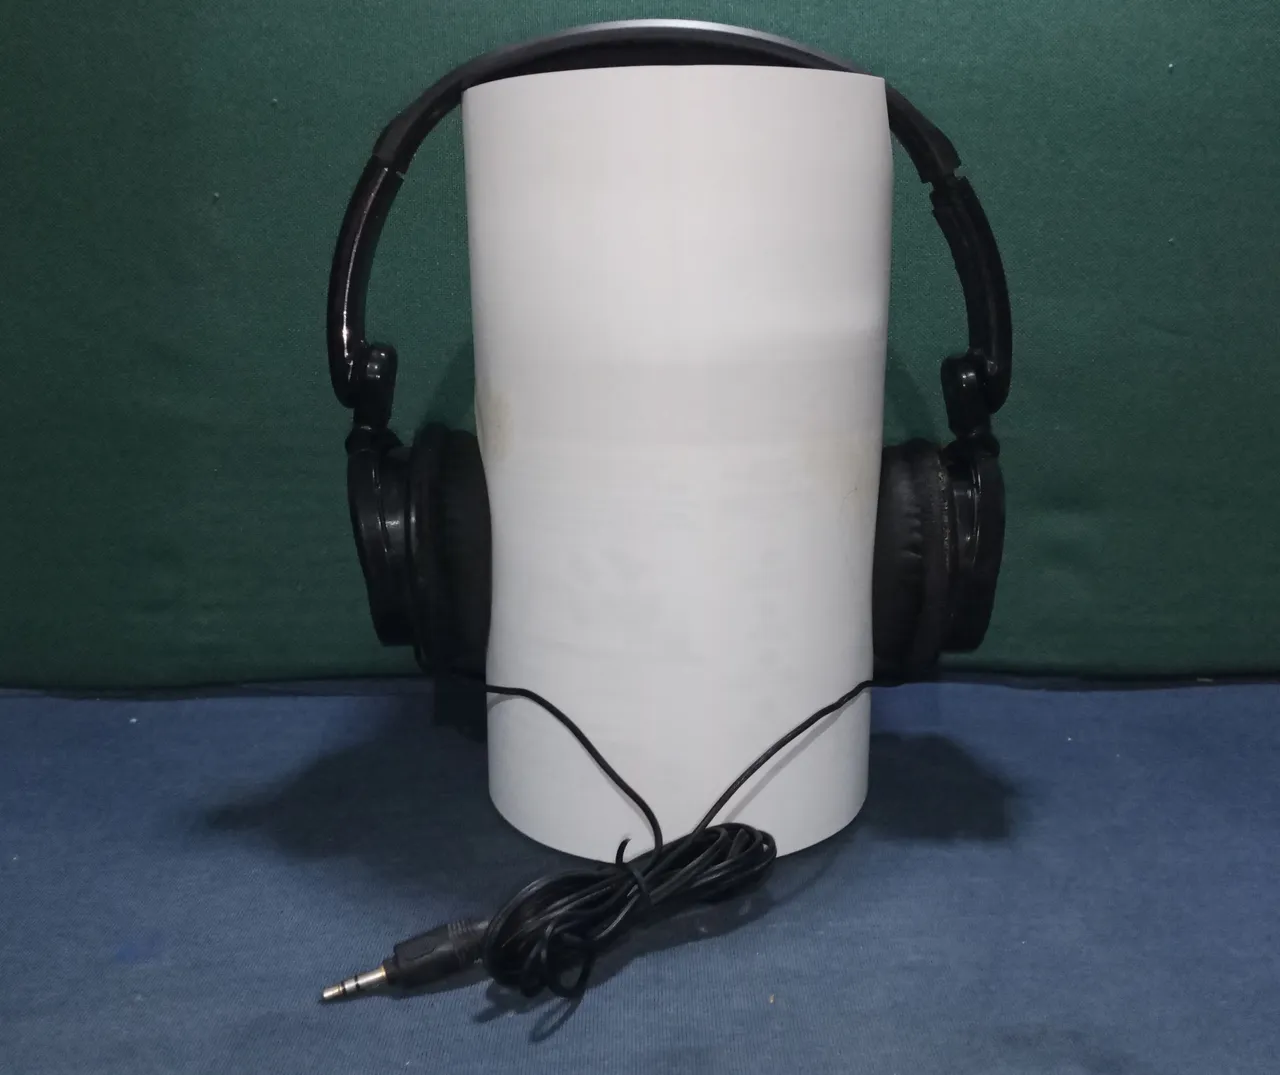
This is a fairly simple publication, it has its tricks, but I think it is within anyone's reach. I had told you before that I had pending repair of my hearing aids, I have tried to show it in the best way, I hope it is clearly understood.
Maybe it doesn't make much sense to repair them in another context and for other people, it is more comfortable to just buy other hearing aids and move on. That's a valid thing, but I'm more of a believer than what I was taught:
“He who does not take care of what he has, he stays asking for it.”
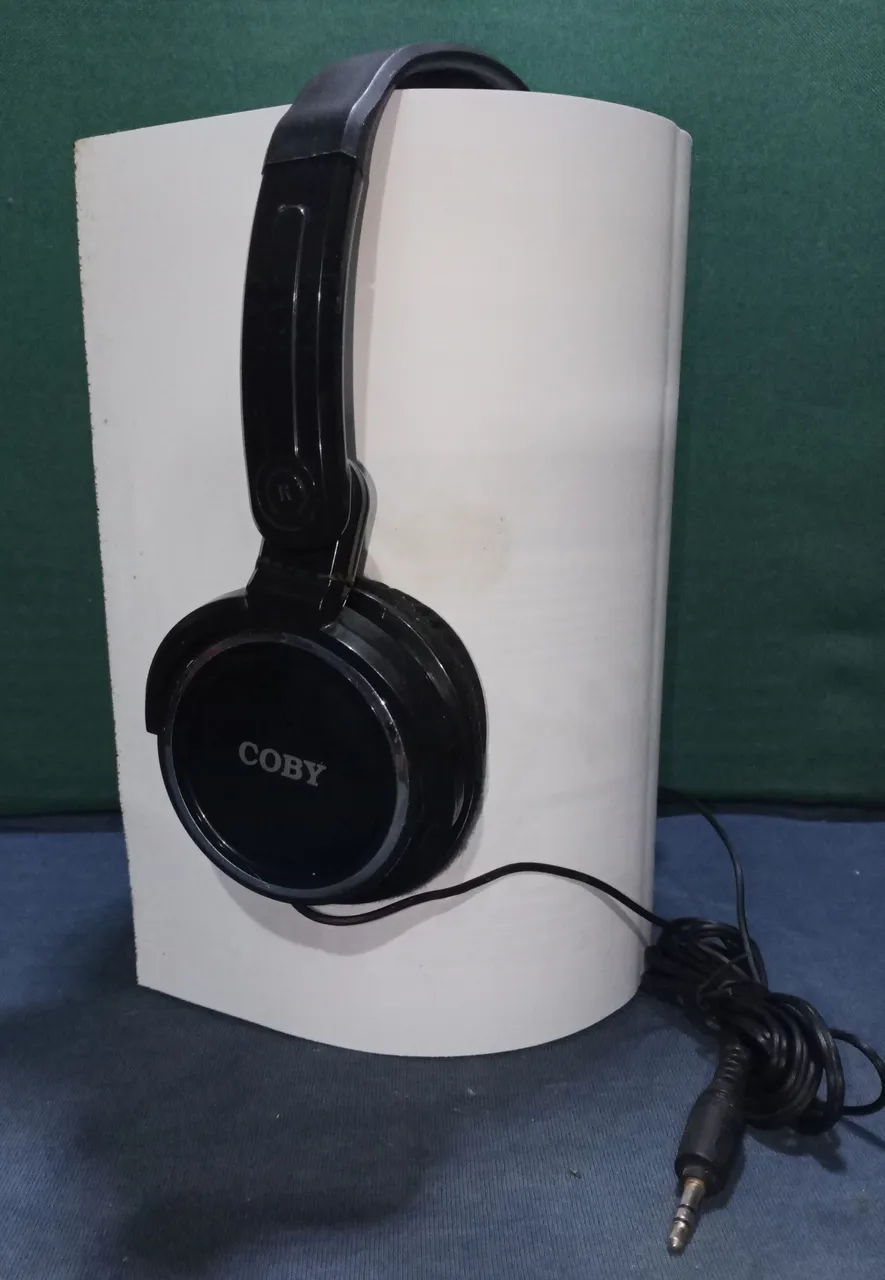
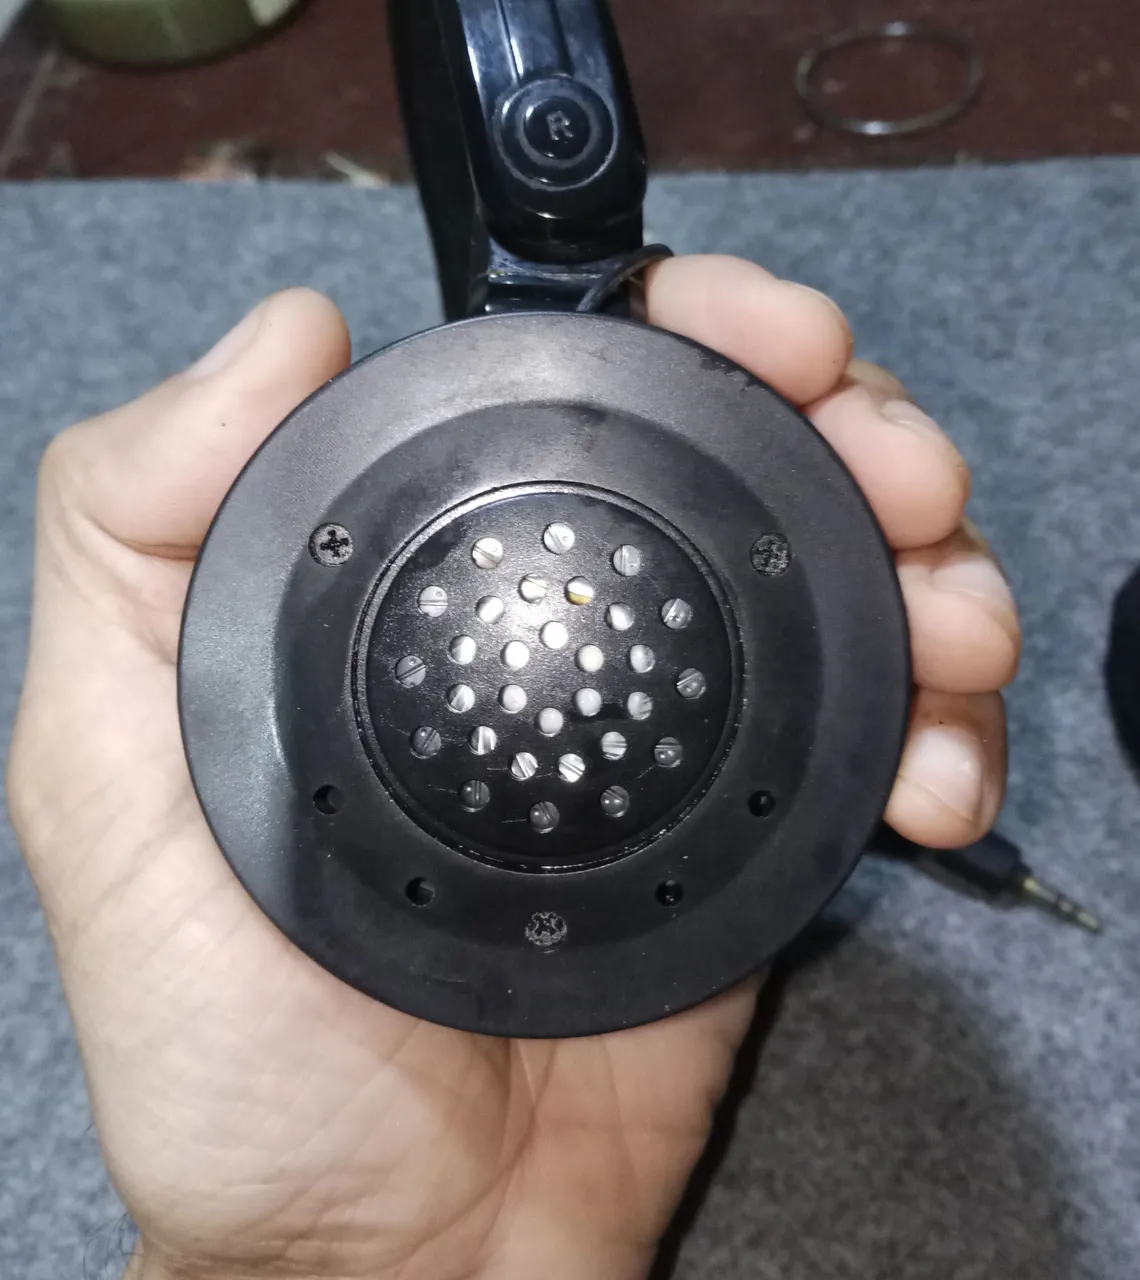
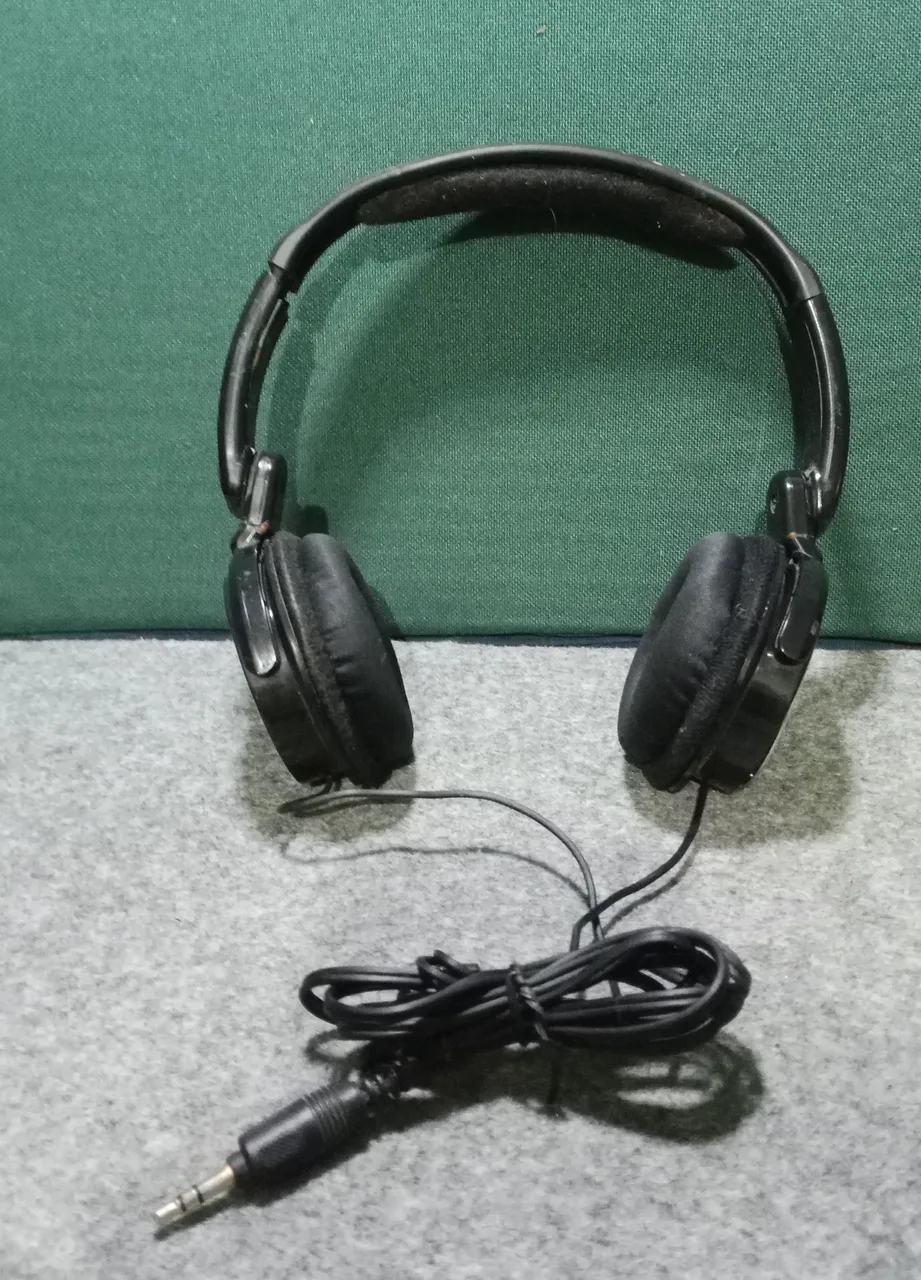
The right horn of the headphones was stopping working, and when I moved the cable at the base of the right horn a little, it worked intermittently at times. (This is a consequence of the times I get up from my chair and forget that I have my headphones on)
Most parts of modern equipment, thanks to standardization, are generic and unless it is a specific brand design, they can be taken apart in a fairly similar way.
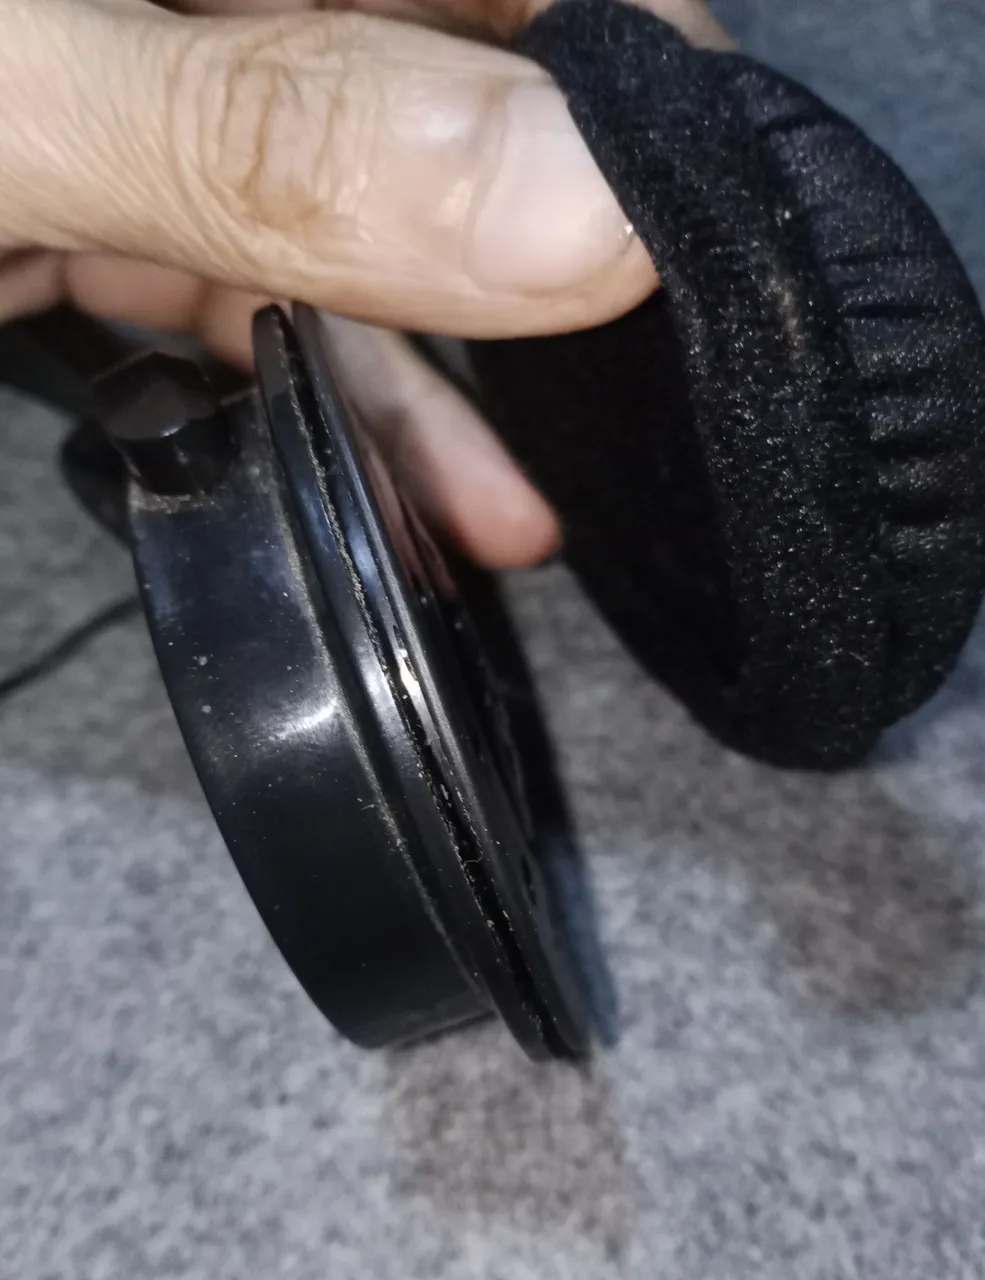
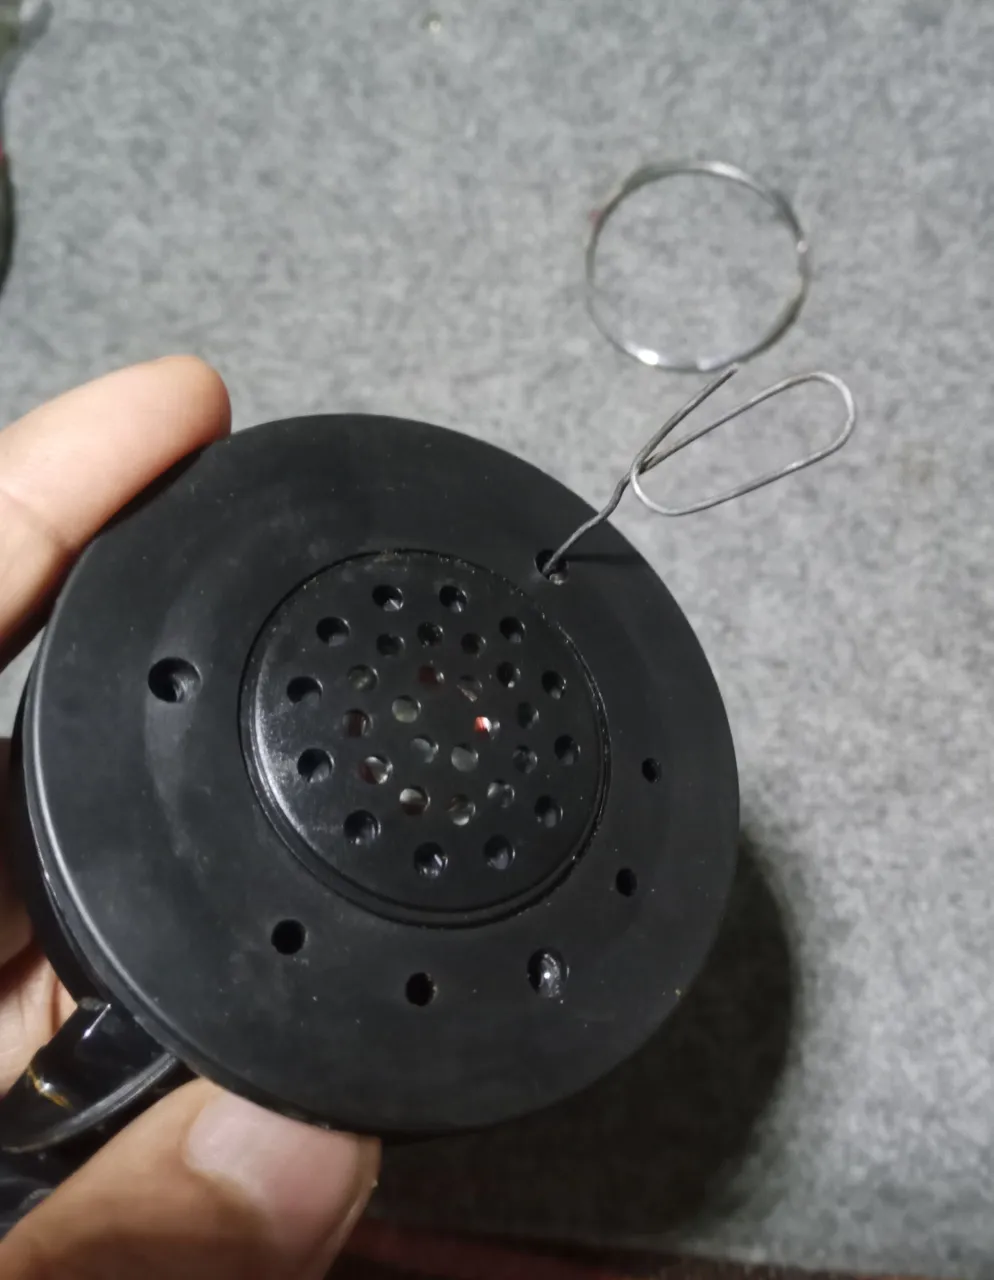
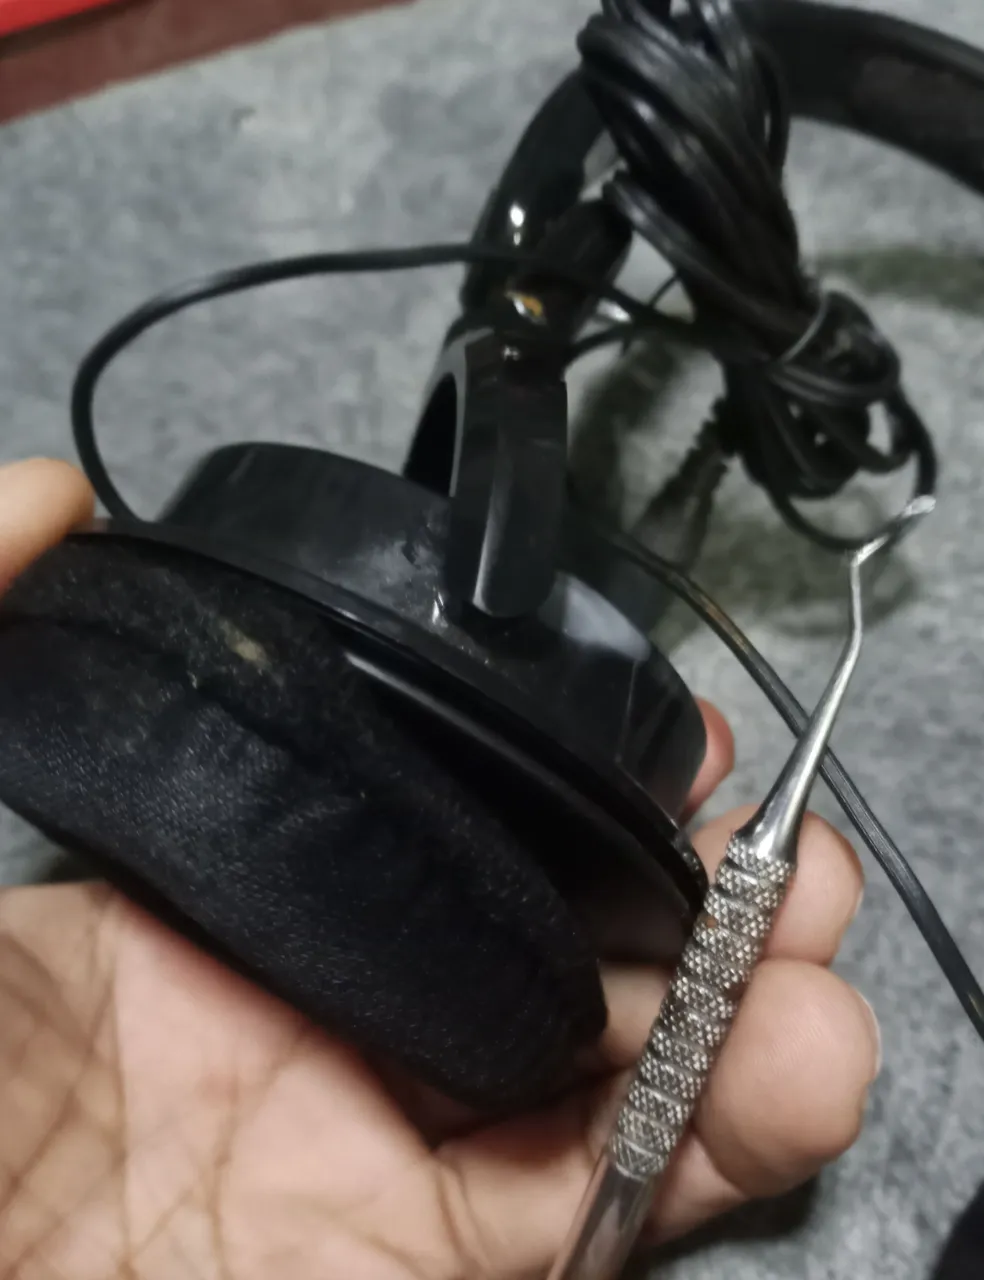
The pad on the cornet is placed as a cover, it can be removed easily, you just have to use a screwdriver or a very fine tool in the slot where it is inserted and take some care, which despite the material of the pad is quite flexible, if we exceed it, it can break.

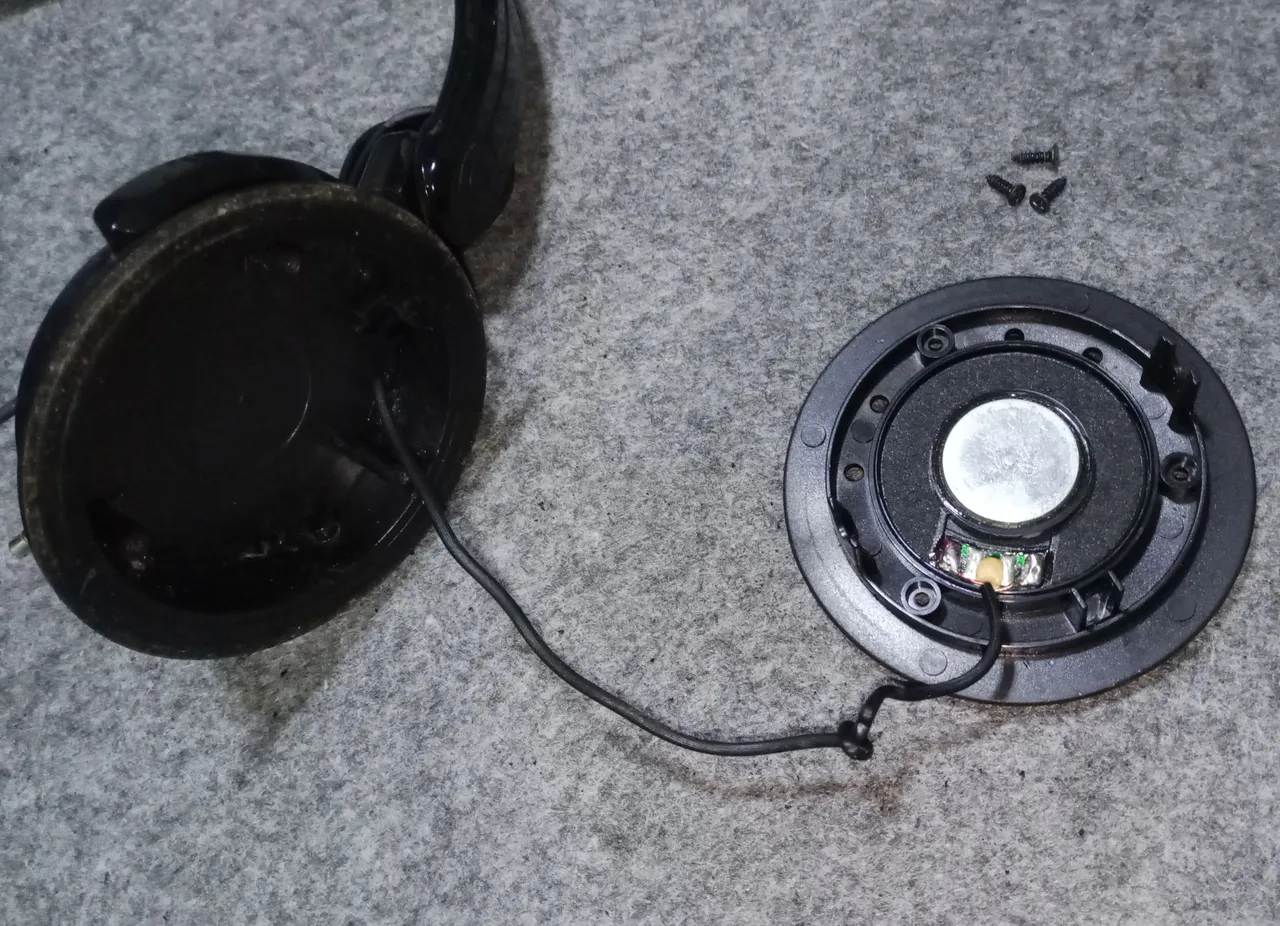
Now we have access to the screws that hold the covers, we can disassemble them safely.
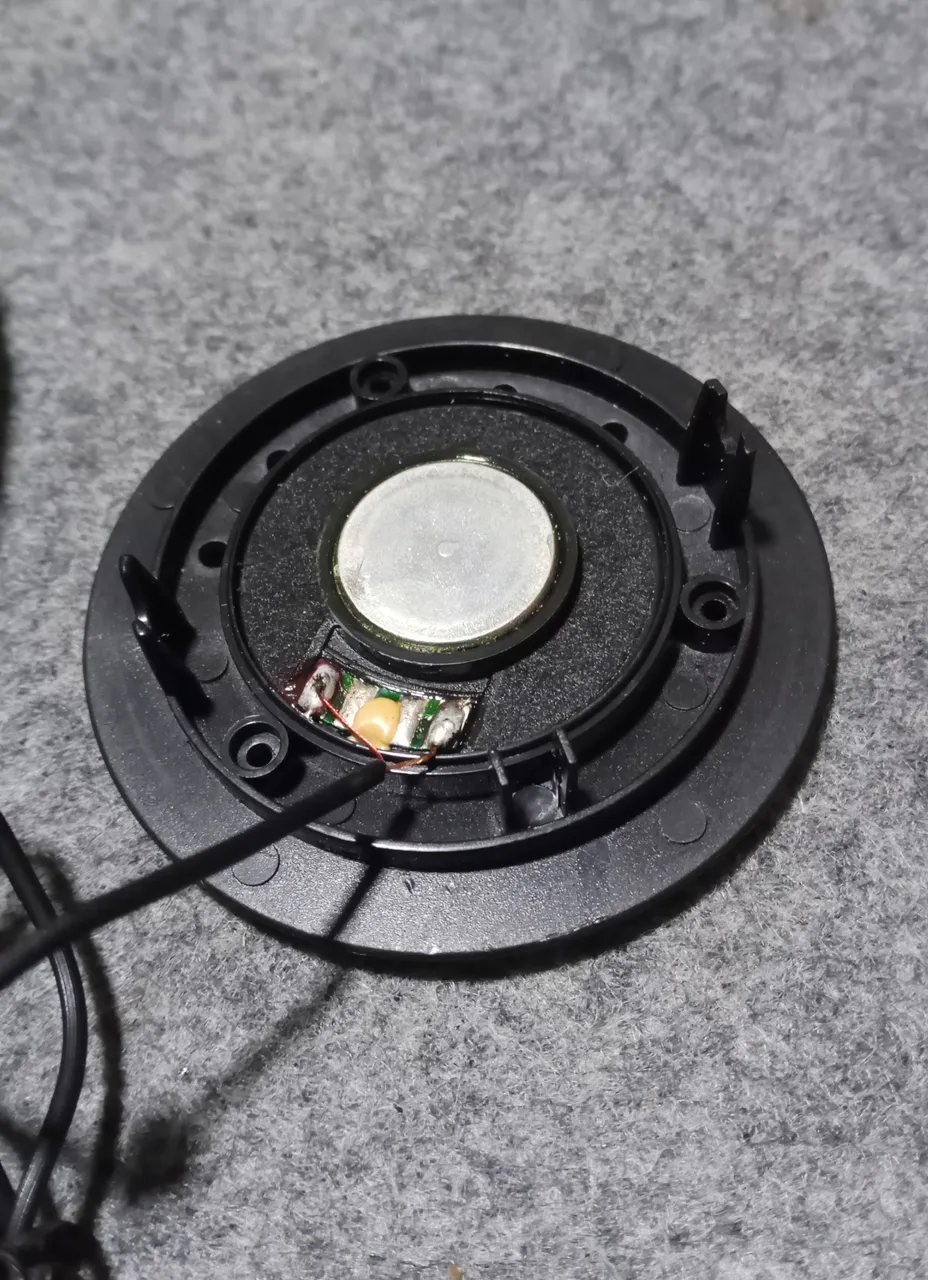
Depending on the quality of the headphones, the size of the horns that we will see after disassembling will change.
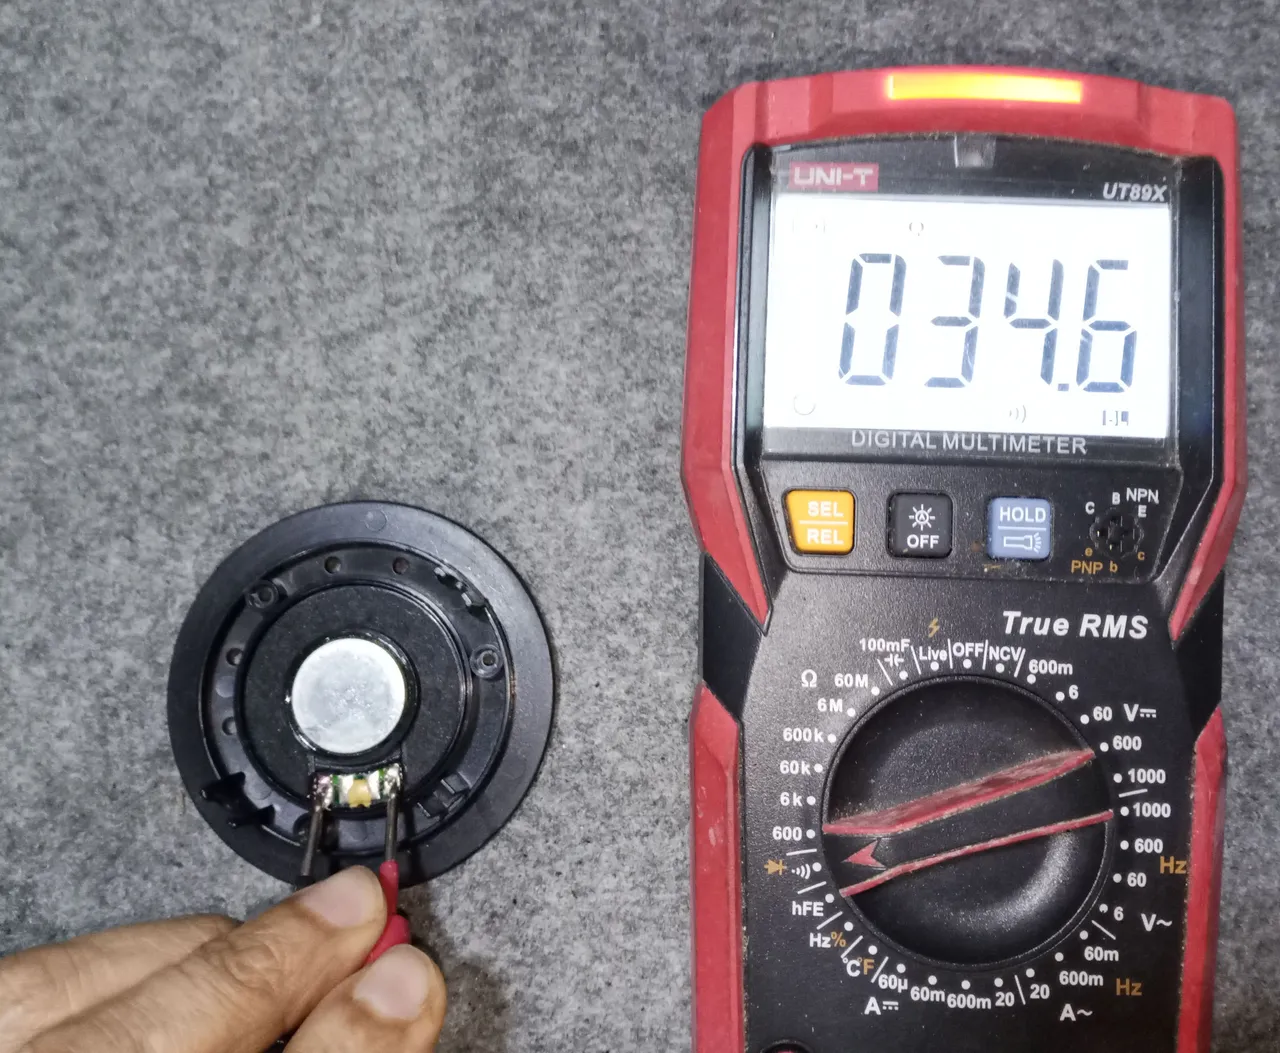
I verify that the horn is in good condition, a signal injector is also used in the tests, but since it is a tool that is not common outside of an electronic workshop, I do not add it to the publication.
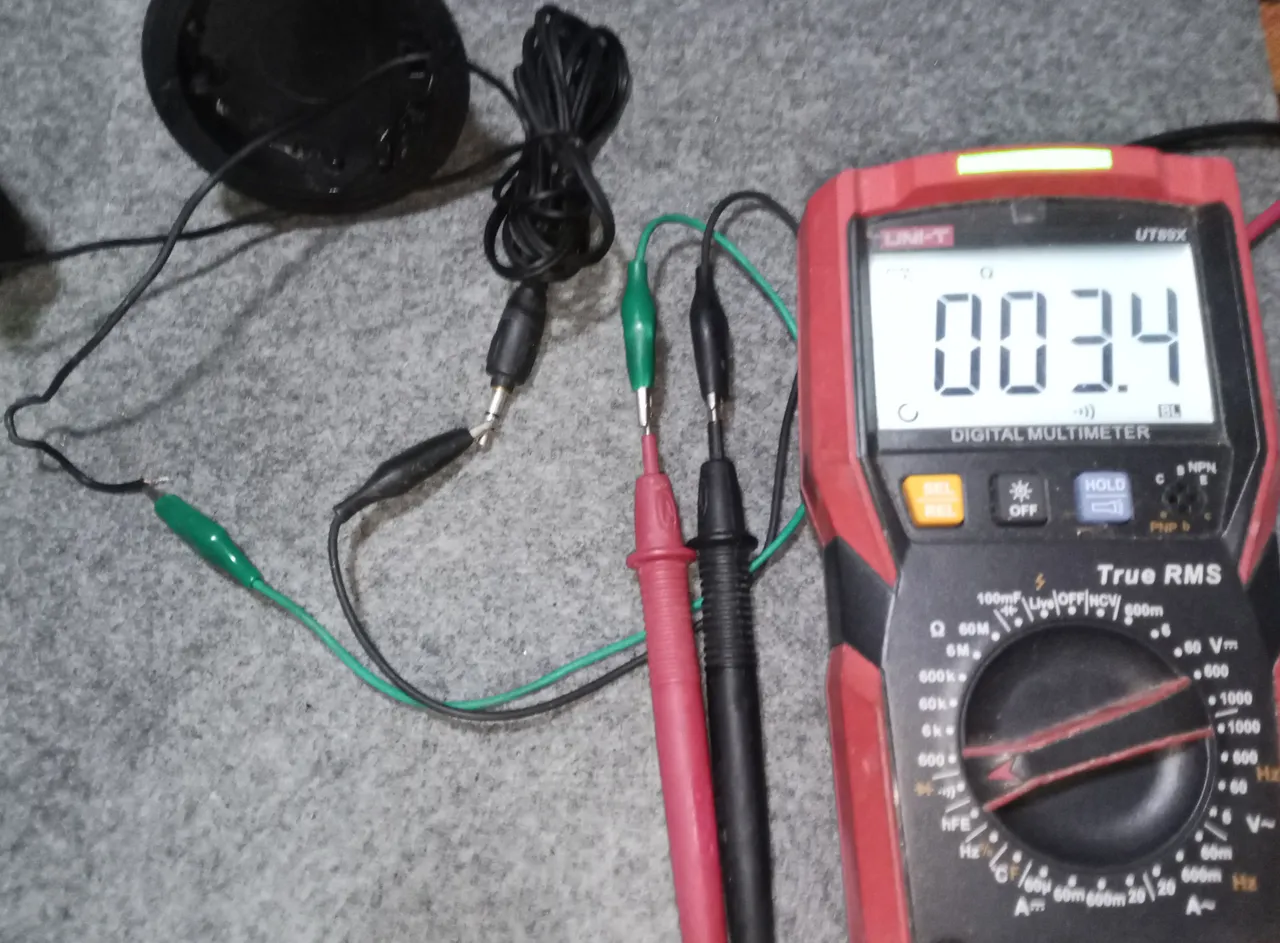
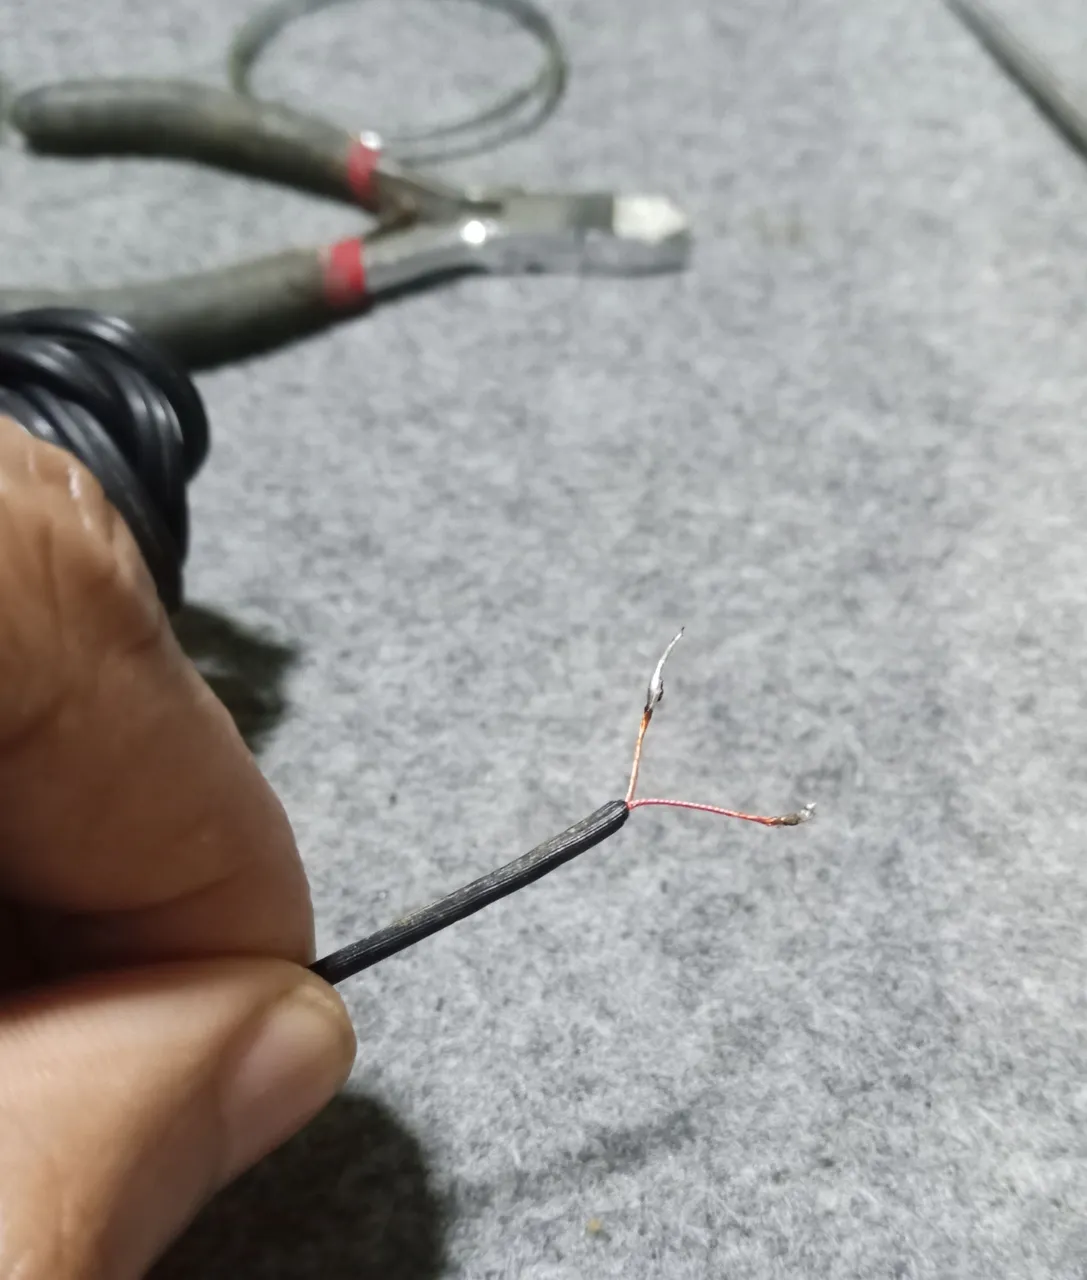
When I check the cables and the connection pin segments, and find what I had already suspected, one of the cables was interrupted.

I just had to trim the wire a little, remove the cover and tin the tips.
I have to highlight that: in order for the solder to adhere to these very fine threads, the varnish that protects them must be scraped off. I used a scalpel, fine sandpaper or a blade also works, then they apply a little solder paste. Only in this way can the tin from the solder be fixed on the cable.
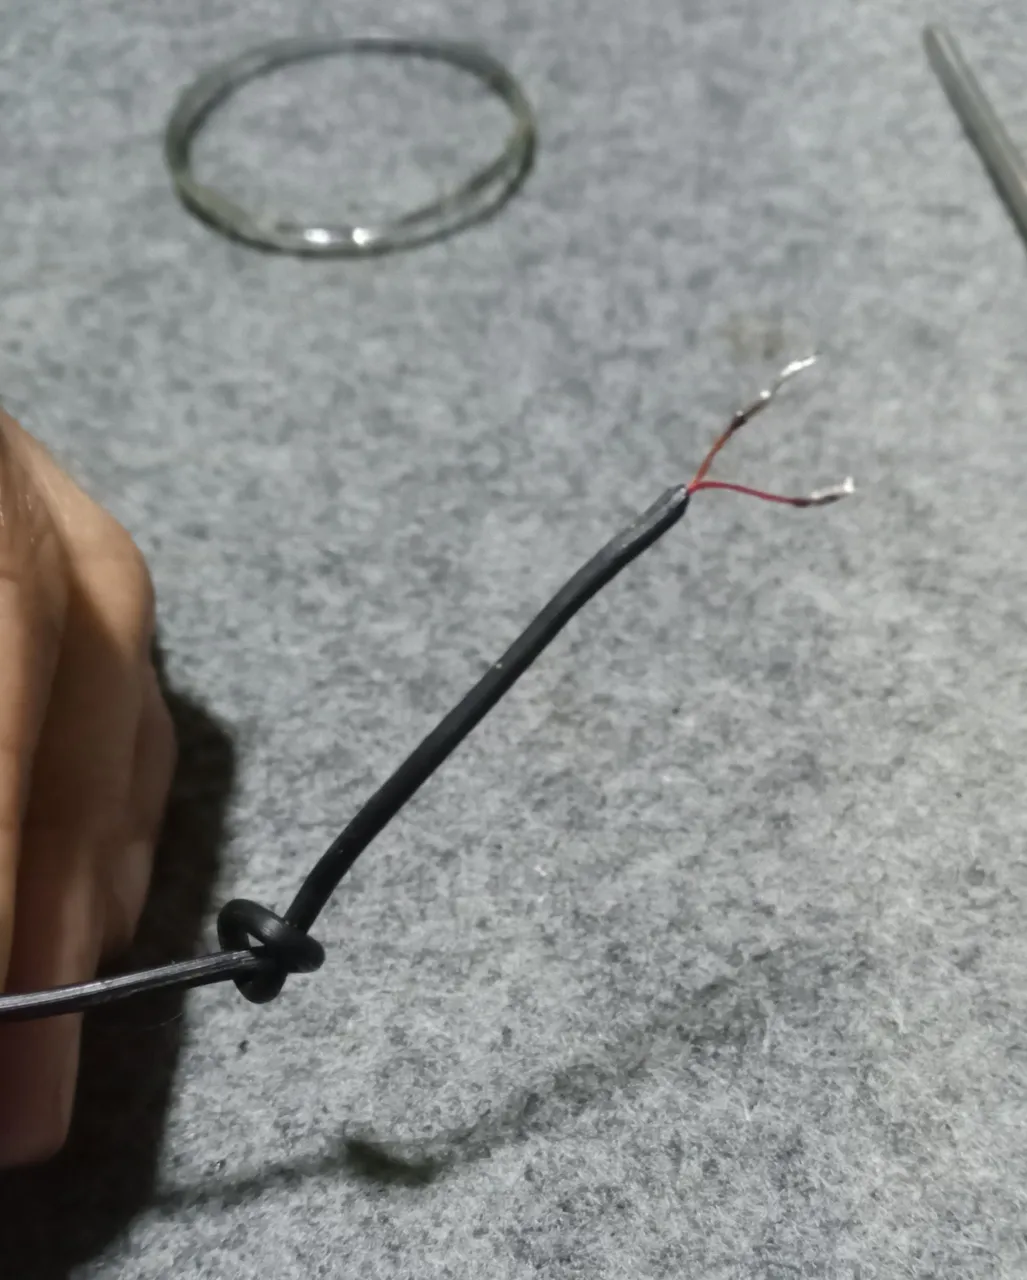
As always, a knot is tied to secure the cable inside the cornet housing. And we soldered, respecting the same polarities that it had when we disassembled it. (red left, gold right)
I use a clip to guide the position of the screws, making it easier to match the correct position.
All that remains is to place the pad, I use a dentist's tool, it has been very useful in the workshop for lots of jobs.
Well, it's not very scientific, as in a previous publication we had already changed the connection pin, I didn't see it necessary to make more explanations on the subject, so there is no major problem, it is a fairly simple repair.
Thank you very much for stopping by and reading me.
Have an excellent week.
Peace.
I have used Google translator for the English language.
Images unless noted are screenshots of my work in the workshop.
As always, I remind you: before doing any electronic work, take a basic repair course. To avoid accidents or damage to an item they are handling.
Español
Image's Source - Fuente de la Imagen
Saludos, como siempre es un gusto pasar nuevamente un momento y compartir con la comunidad de Hive DIY. Espero que estén lo mejor que sea posible y si por alguna circunstancia, están pasando por momentos un poco duros: les deseo mucho ánimo para que al final puedan salir adelante.
La vida en sí ya es como una gran prueba amañada, en que te hacen el examen sin darte la lección ni ninguna orientación, pero de alguna manera salimos adelante a pesar de todo. Unos más rápidos, otros con más tiempo, pero todos vamos avanzando.
Esta es una publicación bastante sencilla, tiene su maña, pero creo que está al alcance de cualquiera. Les había comentado antes que tenía pendiente la reparación de mis audífonos, he tratado de mostrarla de la mejor manera, espero que se entienda con claridad.
Tal vez no tiene mucho sentido el repararlos en otro contexto y para otras personas, les sea más cómodo simplemente comprar otros audífonos y seguir. Eso es algo válido, pero soy más creyente de lo que me enseñaron:
“El que no cuida lo que tiene, a pedir se queda”.
La corneta derecha de los audífonos estaba dejando de funcionar, y cuando movía un poco el cable en la base de la corneta derecha, esta funcionaba de forma entrecortada por ratos. (Eso es consecuencia de las veces que me levanto de la silla y olvido que tengo los audífonos puestos)
La mayoría de las partes de los equipos modernos, gracias a la estandarización, son genéricas y a menos que sea un diseño de una marca específica, se pueden desarmar de forma bastante parecida.
La almohadilla sobre la corneta está colocada a modo de una funda, se puede retirar tranquilamente, solo hay que usar un destornillador o una herramienta muy fina en la ranura donde está insertada y tener algo de cuidado que a pesar del material de la almohadilla es bastante flexible, si nos excedemos se puede romper.
Ahora tenemos acceso a los tornillos que sujetan las tapas, podemos desarmar tranquilamente.
Dependiendo de la calidad de los audífonos va a cambiar el tamaño de las cornetas que veremos después de desarmar.
Verifico que la corneta esté en buenas condiciones, en las pruebas también se usa inyector de señales, pero como es una herramienta que no es común fuera de un taller electrónico, no lo agrego a la publicación.
Cuando reviso los cables y los segmentos del pin de conexión, y encuentro lo que ya venía sospechando, uno de los cables estaba interrumpido.
Solo tuve que recortar un poco el cable, quitar la cubierta y estañar las puntas.
Tengo que resaltar que: para que a estos hilos tan finos se les adhiera la soldadura, se le deben raspar el barniz que los protege. Yo usé un bisturí, también sirve una lija fina o una hojilla, luego le aplican un poco de pasta para soldar. Solo así se logra que el estaño de la soldadura se fije en el cable.
Como siempre, se le hace un nudo para asegurar el cable dentro de la carcasa de la corneta. Y soldamos, respetando las mismas polaridades que tenía cuando lo desarmamos. (roja izquierda, dorado derecha)
Uso un clip para guiar la posición de los tornillos, y que sea más fácil casar la posición correcta.
Solo queda colocar la almohadilla, yo uso una herramienta de dentista, me ha resultado muy útil en el taller para montones de trabajos.
Bueno, no tiene mayor ciencia, como en una publicación anterior ya habíamos cambiado el pin de conexión, no vi necesario hacer más explicaciones sobre el tema, así que no hay mayor problema, es una reparación bastante simple.
Muchas gracias por pasar y leerme.
Que tengan una excelente semana.
Paz.
He usado el traductor de Google para el idioma inglés.
Las imágenes a menos que se indique son capturas de mi trabajo en el taller.
Como siempre, les recuerdo: antes de hacer algun trabajo en electronica, hagan un curso basico de reparacion. Para evitar accidentes o que se dañe un articulo que esten manipulando.