
This is the most flexible configuration I'm aware of for doing Ruby on Rails development. The goal is to have any version of ruby at your finger tips, so that any version of rails can be utilized. This allows you to work on older projects as easily as newer ones.
The key to doing this is using rvm (Ruby Version Manager). Another advantage to using rvm is that once everything is installed, you won't have to use sudo to install gems or do regular development.
I recommend MacPorts instead of Homebrew.
Step 1 - Install MacPorts
Install MacPorts from the package on the site:
Once MacPorts is installed, do a self update:
$ sudo port selfupdate
This will prompt you to install xcodebuild.

Once it's installed, make sure everything is up to date:
$ sudo port upgrade outdated
Step 2 - Install Ruby Version Manager
Before installing rvm, we need to install gpg.
$ sudo port install gnupg gnupg2
Next, install rvm from the steps on the site:
Step 3 - Installing Ruby
Close your terminal window and relaunch the terminal to load the new path. Now, we can install a more modern version of ruby.
$ rvm install ruby-2.2.5
Step 4 - Installing Rails
Now that we have a new ruby version, we can install rails.
$ gem install rails
Note, this version of rails will be associated with this version of ruby. If you switch to another version of ruby, you'll have to install rails again.
Step 5 - Starting a Rails Project
$ rails new hello_world
$ cd hello_world
$ rails s
The server will start and we can take a look by opening the browser:

To close the server, press ^C in the terminal.
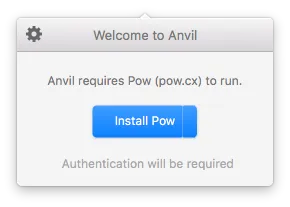
Step 6 - Anvil
If you're working on a bunch of projects, it's nice to be able to run them as needed without having to launch rails s. This tool will make it easy:
After installation, click on the anvil icon at the top of the screen and let it install pow.
Once pow is installed, next we can add our hello_world app example.


Now, point your browser to the app:
Optional
One of the best text editors out there is Atom, it works great with Rails projects: