
It have been for a while that I have not posted my digital art. In fact I feel that have been past a lot time without make digital practice. You know, the art is a continutly training, if you stop you not are going to grow or worst you are going to loose habilities as an artist. So here I would like to show a new step by step art. I hope to produce an art like this each week.
For whose do not know about who I am, my name is Abrahma Tansini. I am a freelance digital illustrator and graphic designer based in Merida-Venezuela.
Well lets start this adventure:
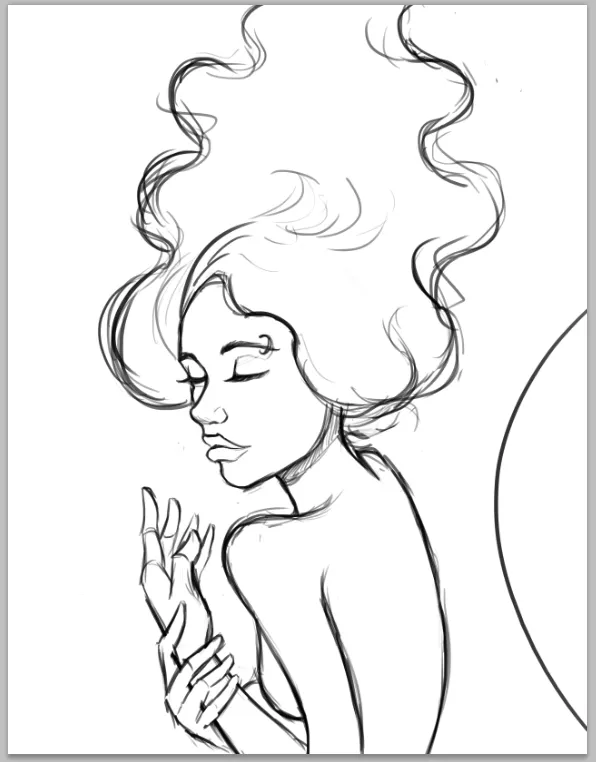
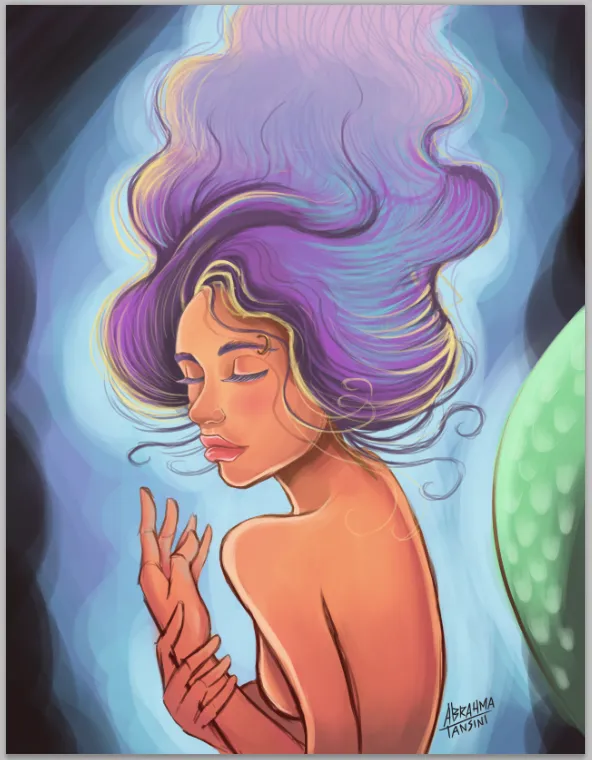
Step 1- Generally I start any digital drawing with a base sketch. Always as a reference for the future rendering. My inicial idea was to make a girl with floting hair and show a little part of her tail and insinuate that she is a mermaid. You know I like so much mermaid.
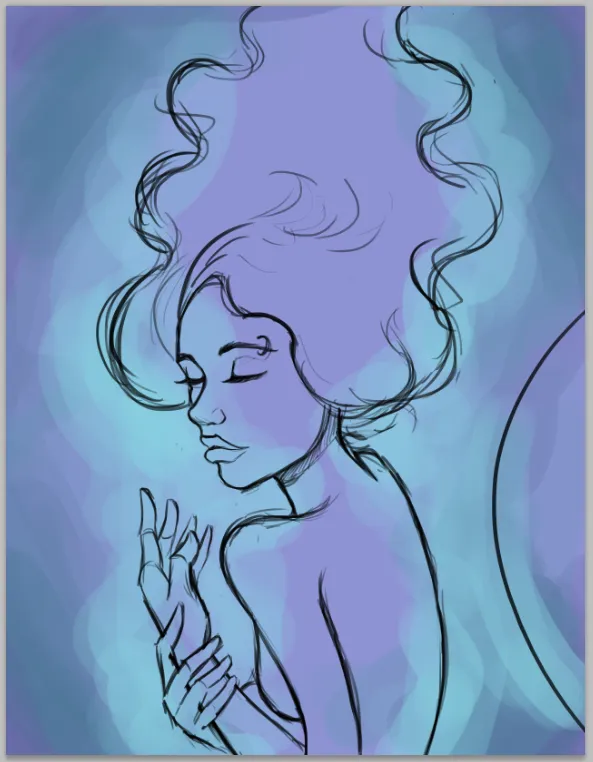
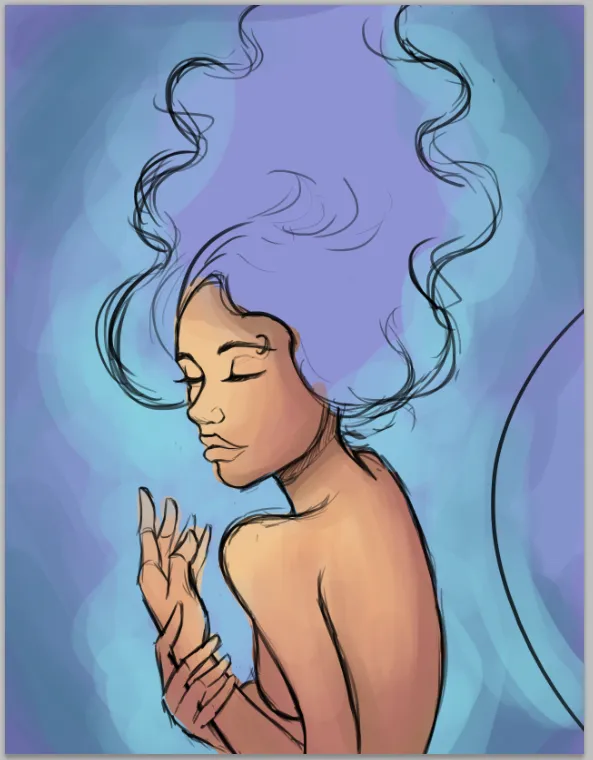
Step 2- I colored the background. It just a color reference. I am thinking to make a contrast between blue of background (cold color) and orange of her skin (warm color).
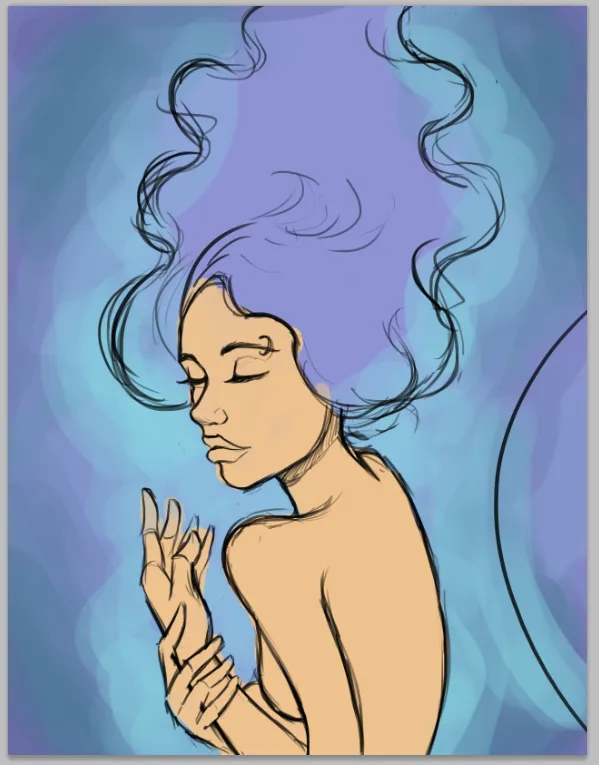
Step 3- I applied a base color of her skin (a beige color)
Step 4- in the skin color base I added some shadows with brown tones.
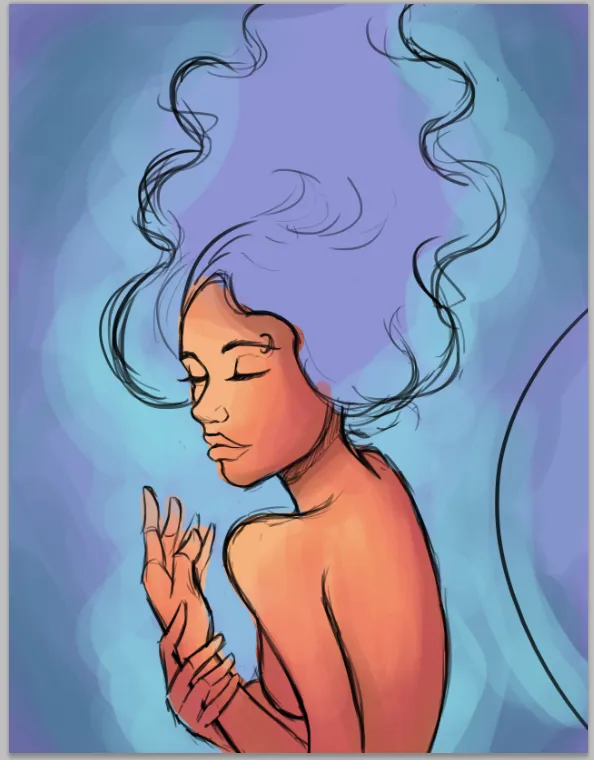
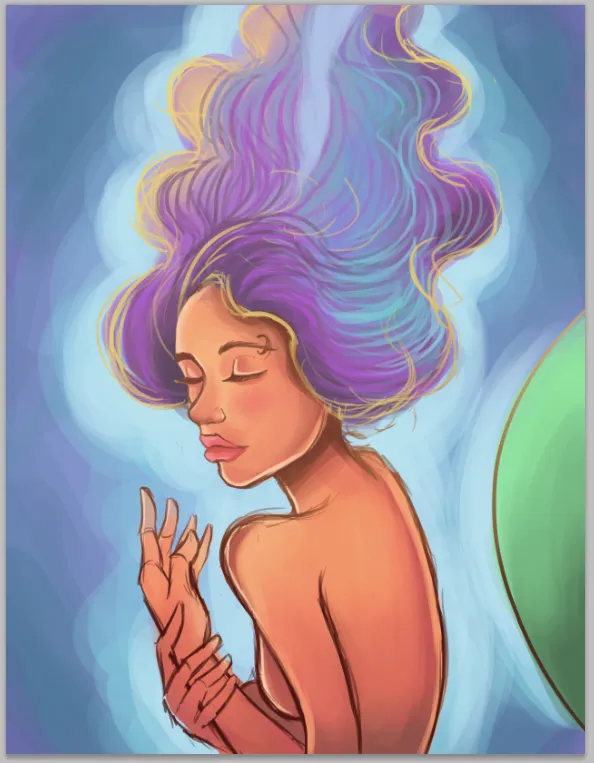
Step 5- At this point I realized that color skin was to gray so I decided to saturate the color and make it bright (as a orange color).
Step 6- I started adding color on hair. the purple is one of my favorite color for my main characters.
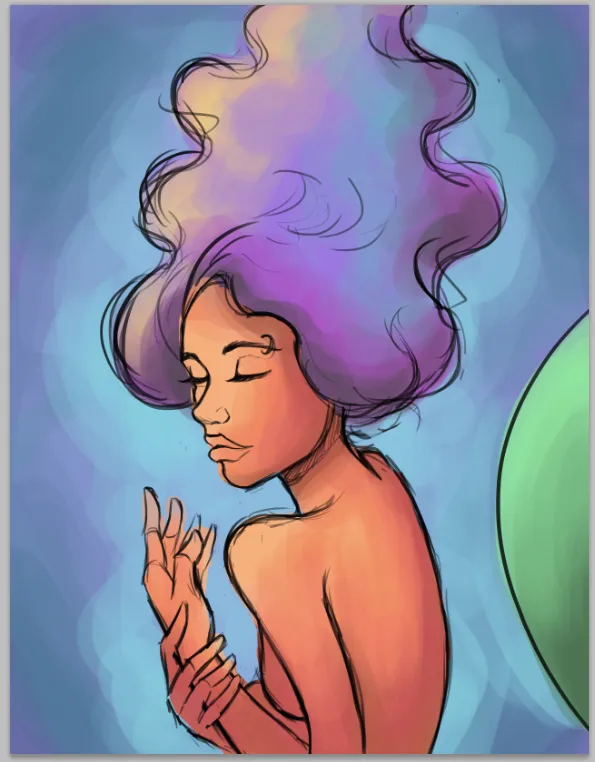
Step 7- Here I applied some color tones and gradient into sketch layer.
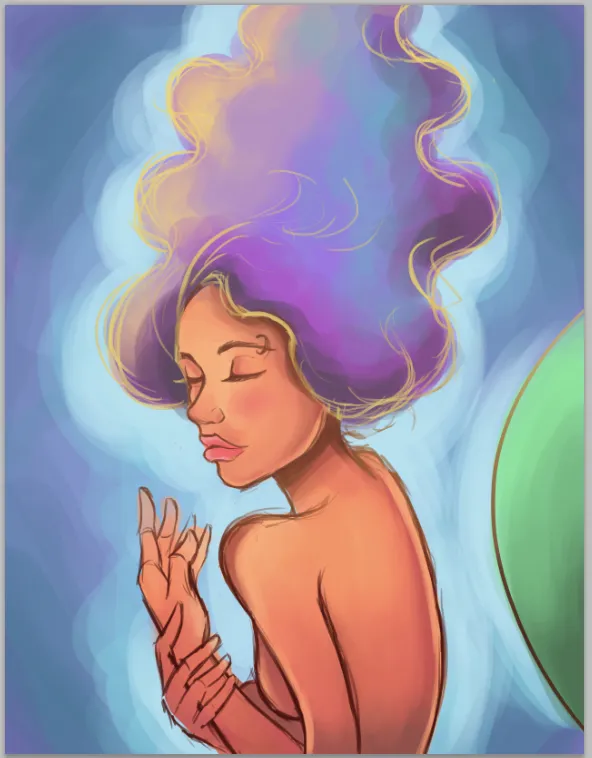
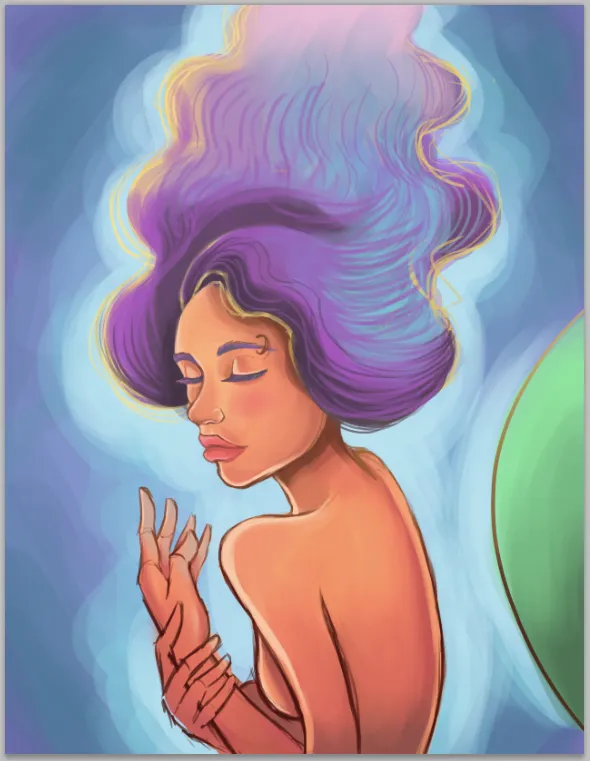
Step 8- I started to add details on hair and also in the skin adding light.
Step 9- In this step I combined the whole layers (layer hair, skin, lips,etc) and I combined all of them in one layer separate of another layer that is background. I added some color hair details and also I worked more blending the color skin. This step has a lot of work.
Step 10- Painting work on hair.
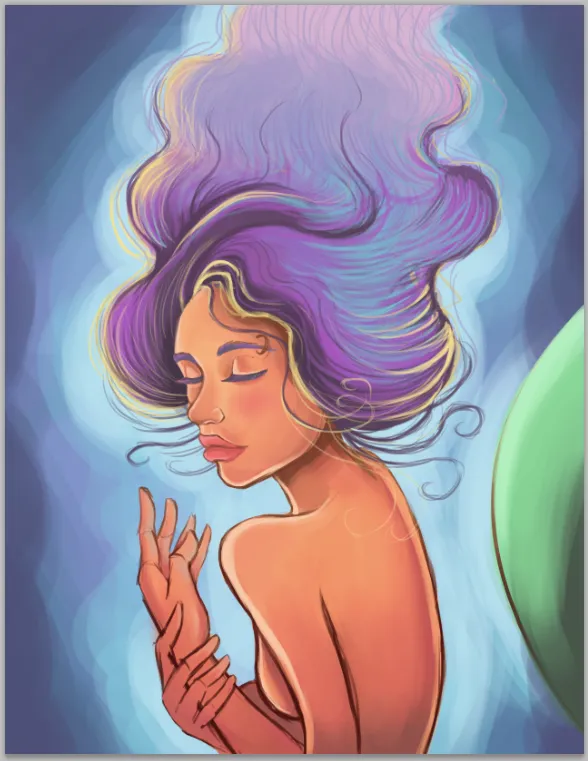
Step 11- To make background deeper I used a dark blue around the main character. It helps to focus the attention.
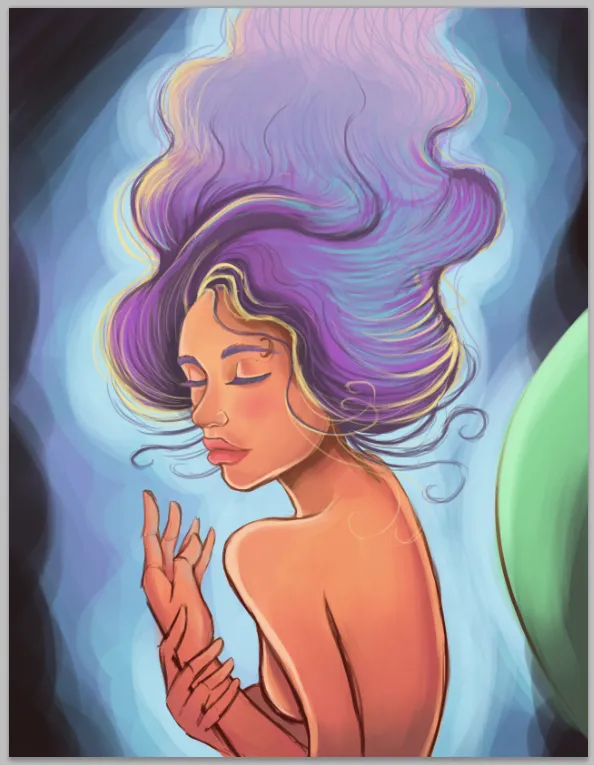
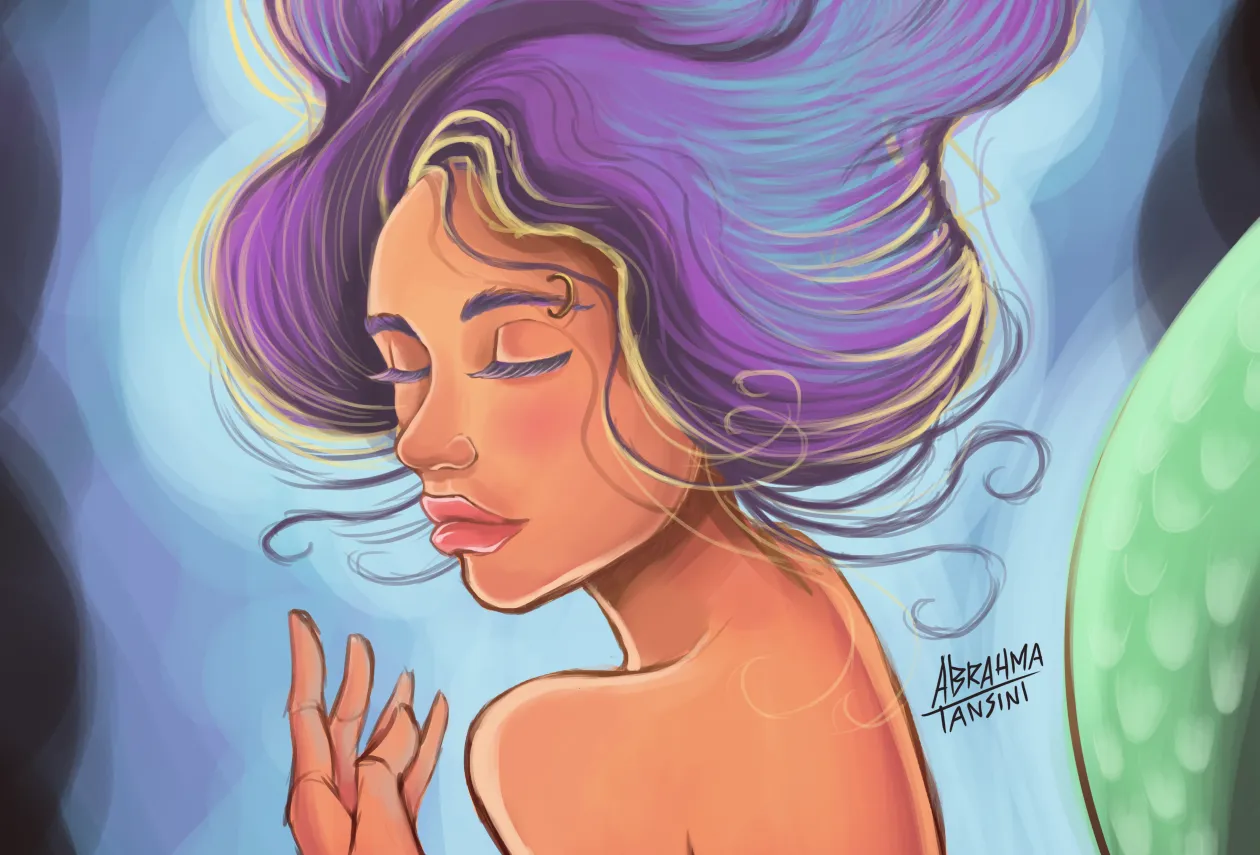
Step 12- I added detail on her tail. It turned out really nice.

Step 13- It is almost done. I added more details and lights on face (lips and tabs) and it is already completed. Yes I know, I could add more details ans also make a better blend color skin work, maybe work more the light and shadows, but it is just a fast training. My next post are going to be more complex, I promise.
Here I let to all of you the animation of step by step process of artwork.
I hope you have been enjoyed this step by step post. I really appreciate all of your feedback.
If you like what I have done and you want to support my art, resteem and upvote me.
Also you can see mor eof my artwork here on instagram: https://www.instagram.com/abrahmatan/
Have a wonderfull weekend all of you! See you in next time.
Copyright @abrahmatan - All Rights Reserved 2018
Media: Adobe Photoshop and creativity!