Hey guys, its been quite some time since I've posted anything. I'm not sure why I do this sometimes, but I'm glad to be back making a post. I just been busy with school and projects lately and since I only have two weeks left to go, its been crunch time. I have to make two commercial for a video editing class and the other one a presentation. Ugh, I don't really like getting up and talking in front of the class but its what I have to do to pass.
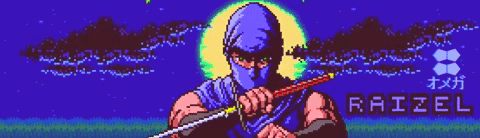
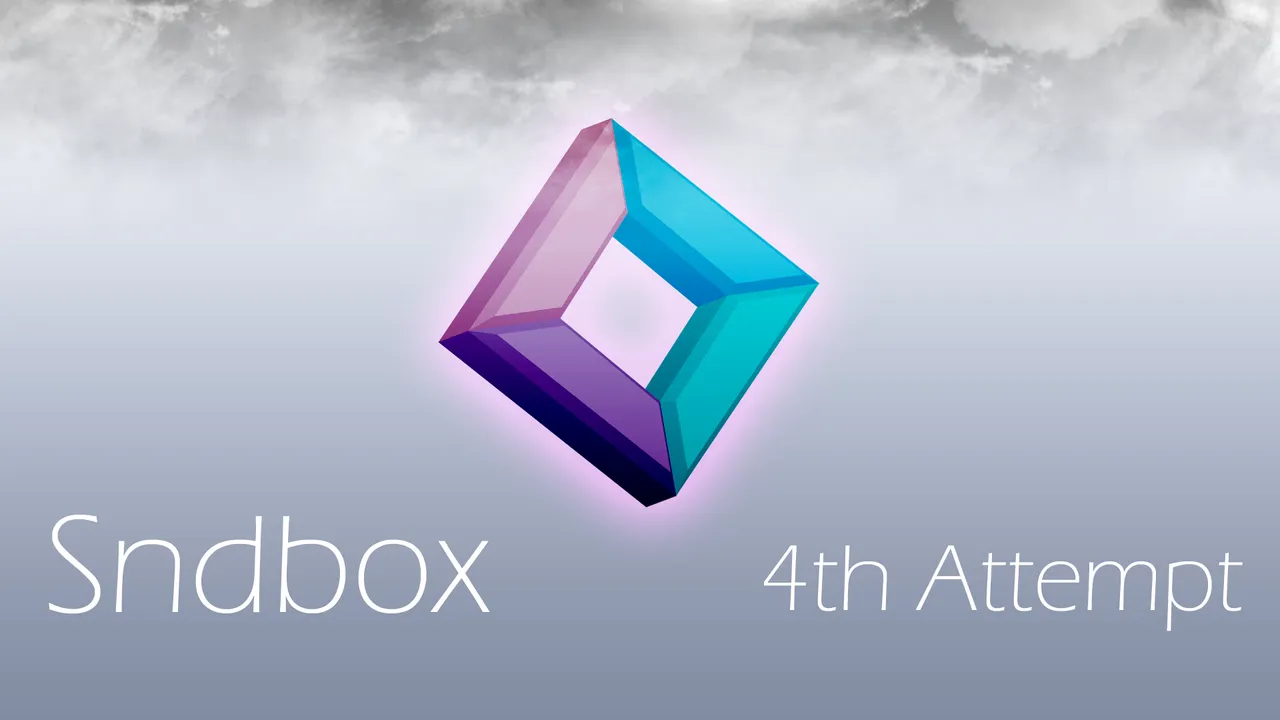
So I finally finished the 4th thumbnail for the sndbox competition, and I gotta say, I really like this one. I tried to be creative as much as possible. Well anyway, I guess I'll talk about the process. (*ゝω・)ノ
Ⓟⓡⓞⓒⓔⓢⓢ
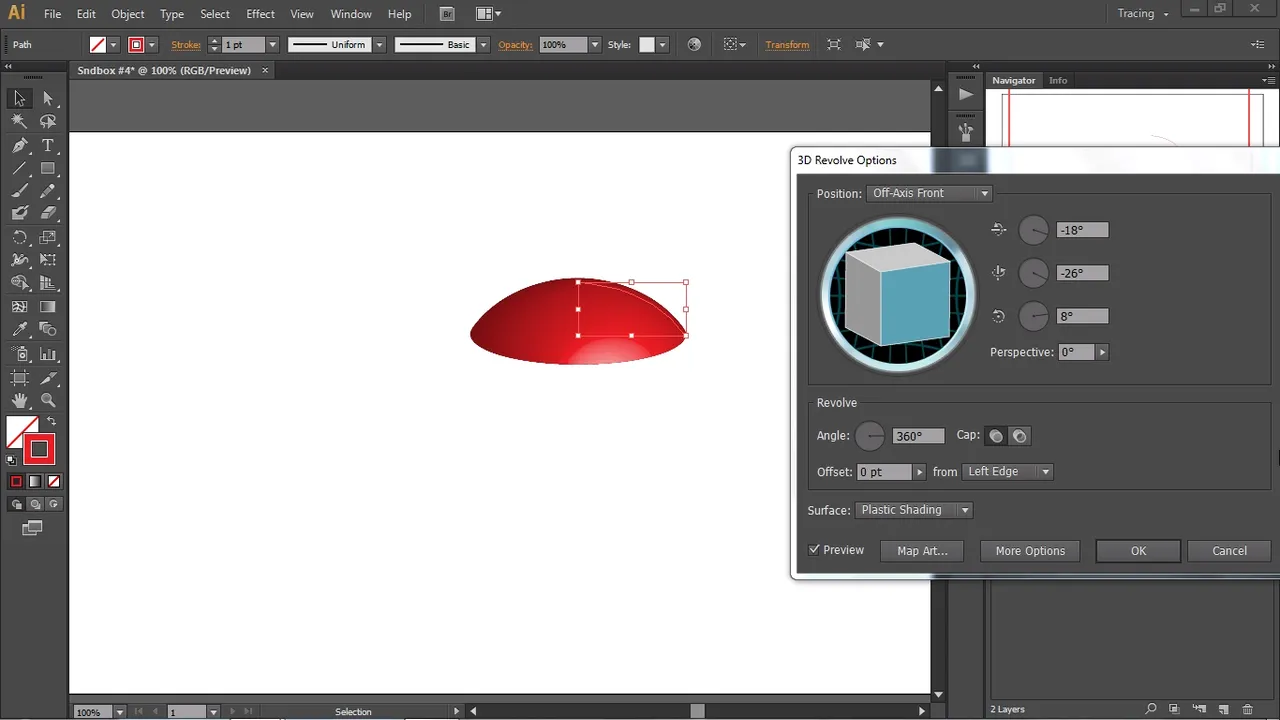
I started out making a curved path towards the right with the pen tool. I just found out that you can make spheres in Illustrator CS6 and I was pretty stoked about it. So I ended up choosing the revolve option in the 3D effects panel. I began to miss around with the rotation and the perspective of the 3D object. My main goal was to make an alien spaceship and in my head, I had it planned out on how it was going to look like.
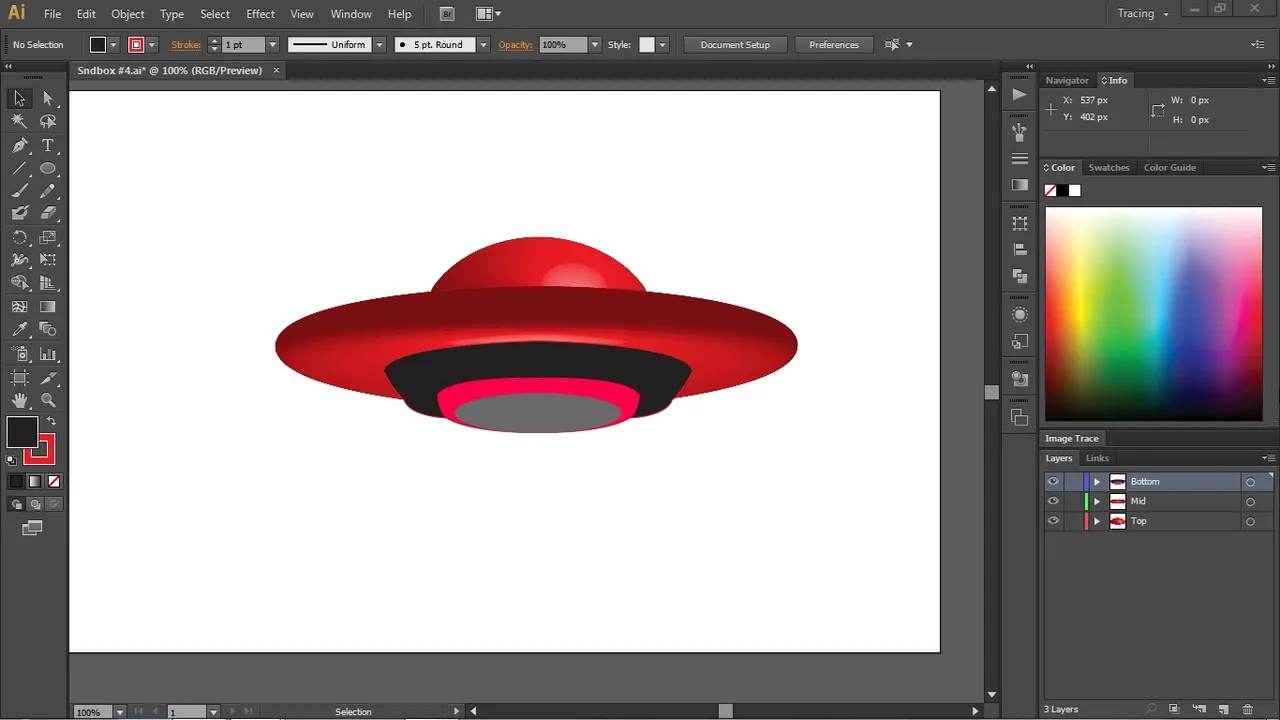
When I was done with the mid section of the spaceship, I started adding shapes and drawing with the pen tool for the bottom pieces. During the 3D process, I added in multiple light sources to the 3D objects. This is so that the spaceship can give off light while the logo is being abducted. (¯﹃¯*) So far I was pretty pleased to see how it was turning out. Learning new techniques and applying them to my work always feels good.
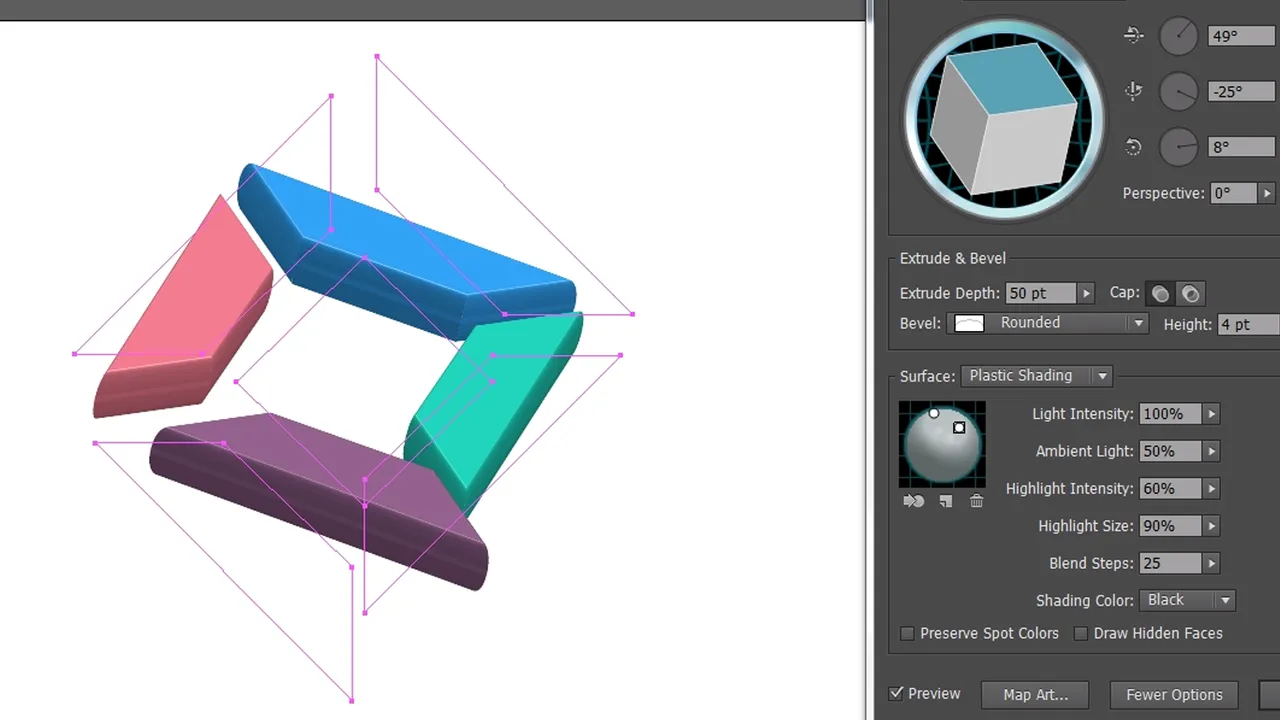
As for the logo, I also made it into a 3D object, but this time I wanted to spread out the individual pieces and make it look like a weightless object that's being taken by the UFO one by one. I then added in the light sources on top of the object. I tried experimenting with different textures for the logo, but I ended up going with a plain object for simple reasons.
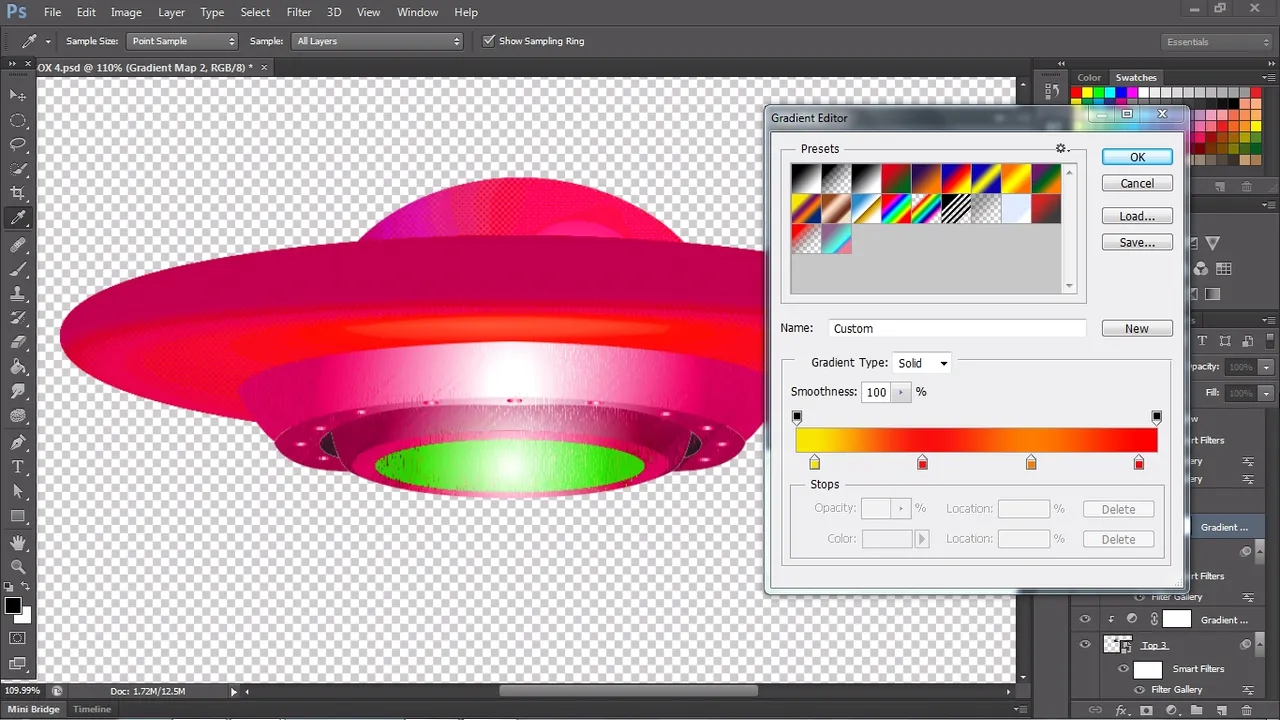
Lastly, I moved the spaceship parts one by one into Photoshop CS6 so I can edit and apply effects individually. I added in a texture for the bottom piece, several more textures to the mid and top piece, and a gradient effect to top it off.
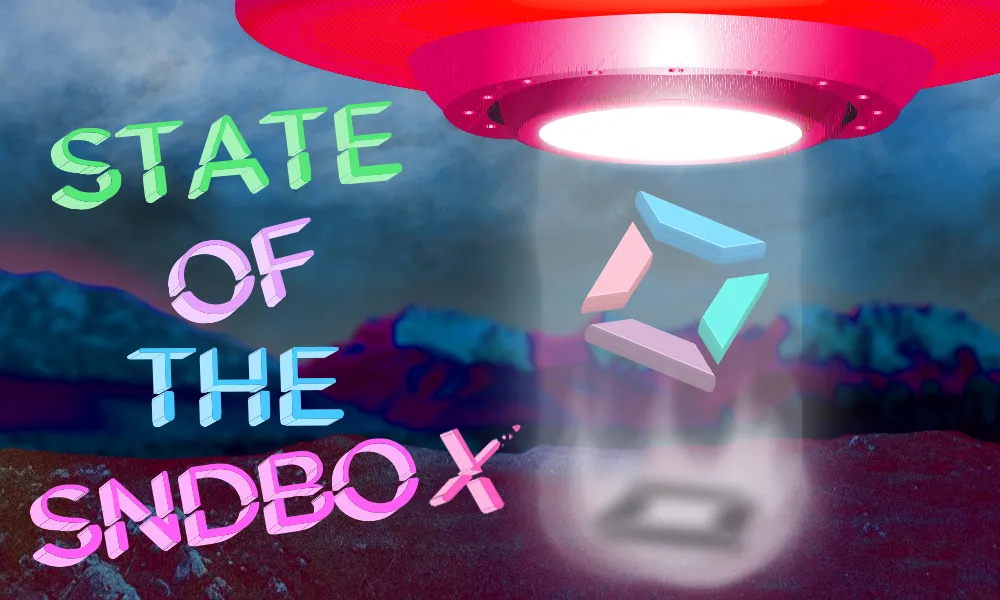
Of course there were more steps to making this thumbnail, but I would be talking about the process forever like Hue, saturation, and tilt shift (my favorite blur effect).
Illustrator CS6
Photoshop CS6