Are you looking for a FREE hosting to install your WordPress for the SteemPress Plugin?
If so, this tutorial is for you!
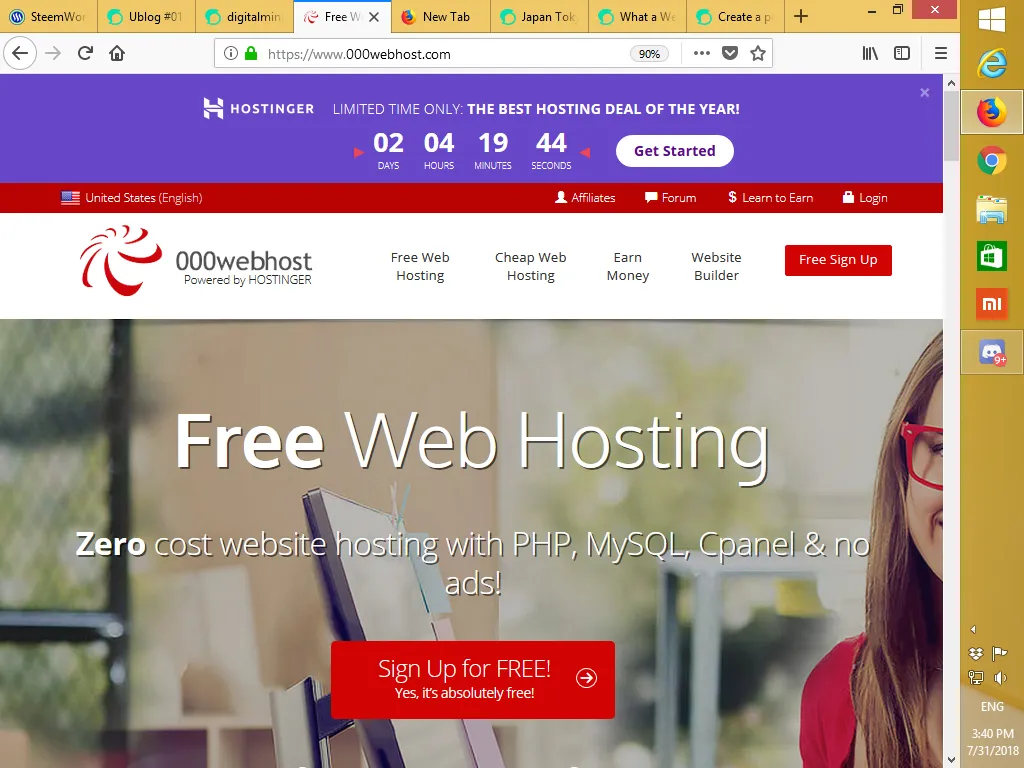
First thing you need to do is to access to the free hosting website 000webhost.com and click on the Sign Up for Free button. Then at the sign up box on the right, fill in your email address and your desired password and your website name. This name will appear in front of the website domain
yourname.000webhostapp.com
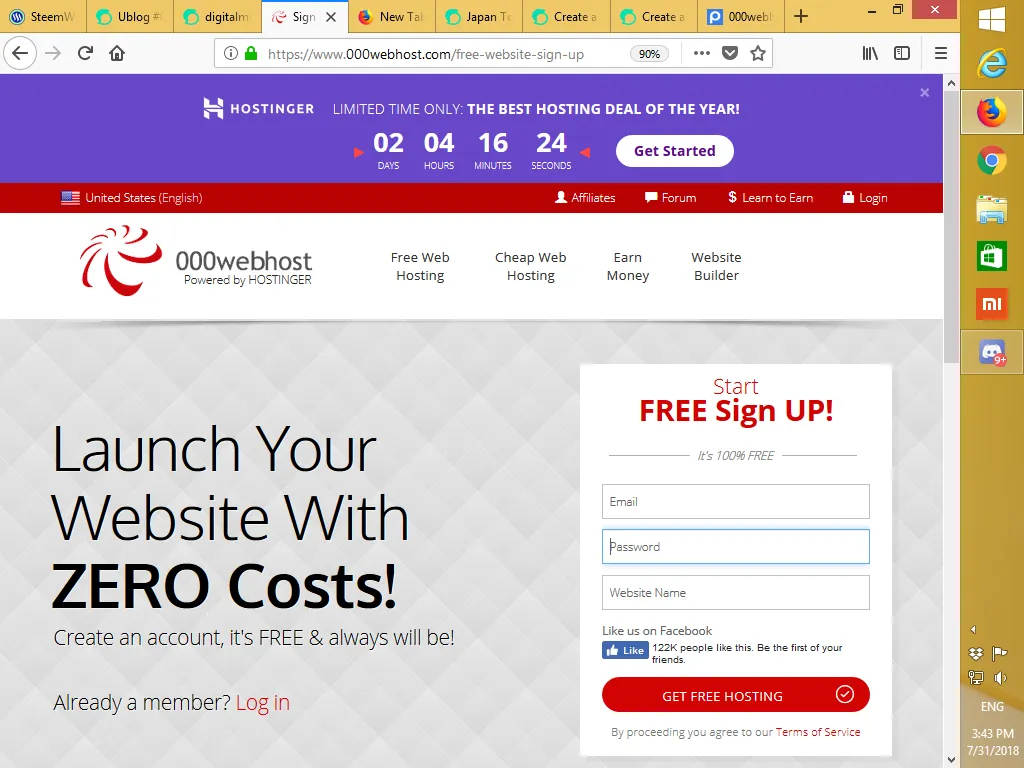
Please take that a short website name like "steemit" may be use. If it is already taken up, there will be an error message. Once you have entered the information, then click the Get Free Hosting button.
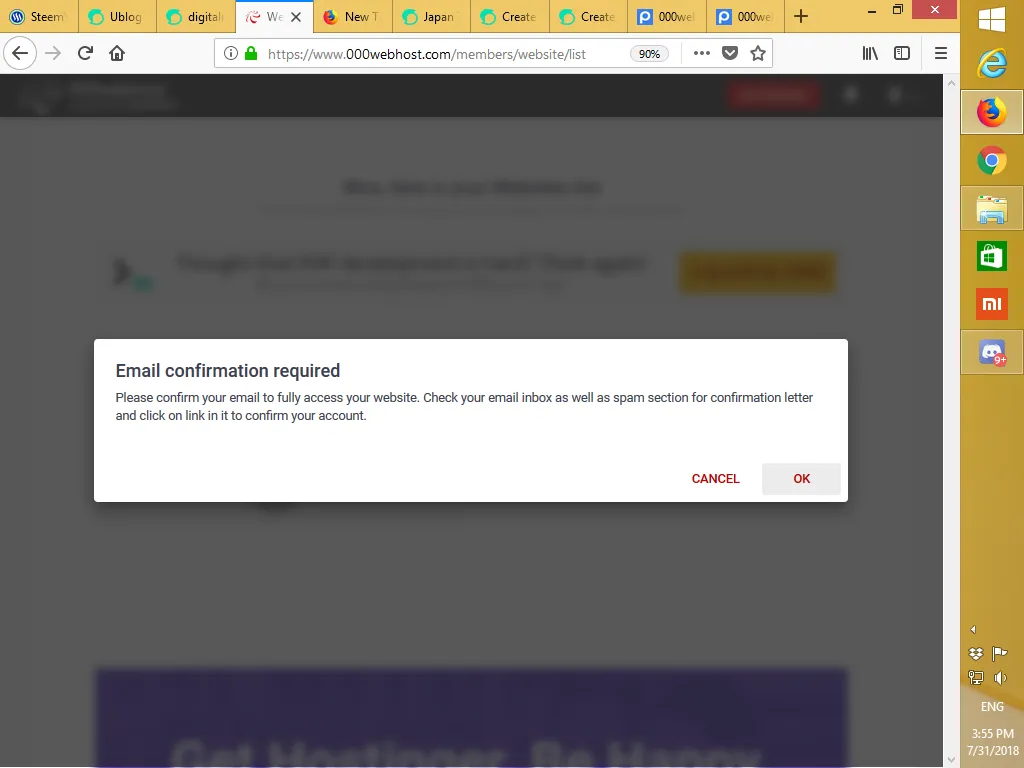
Once you have clicked the "Get Free Hosting" button, you need to check your email to confirm your subscription or an error message will appear like the screen shot.

Depending on the system, you may be shown this start up page instead. If you click on the "+" sign before you verify your email , you will get asn error message.
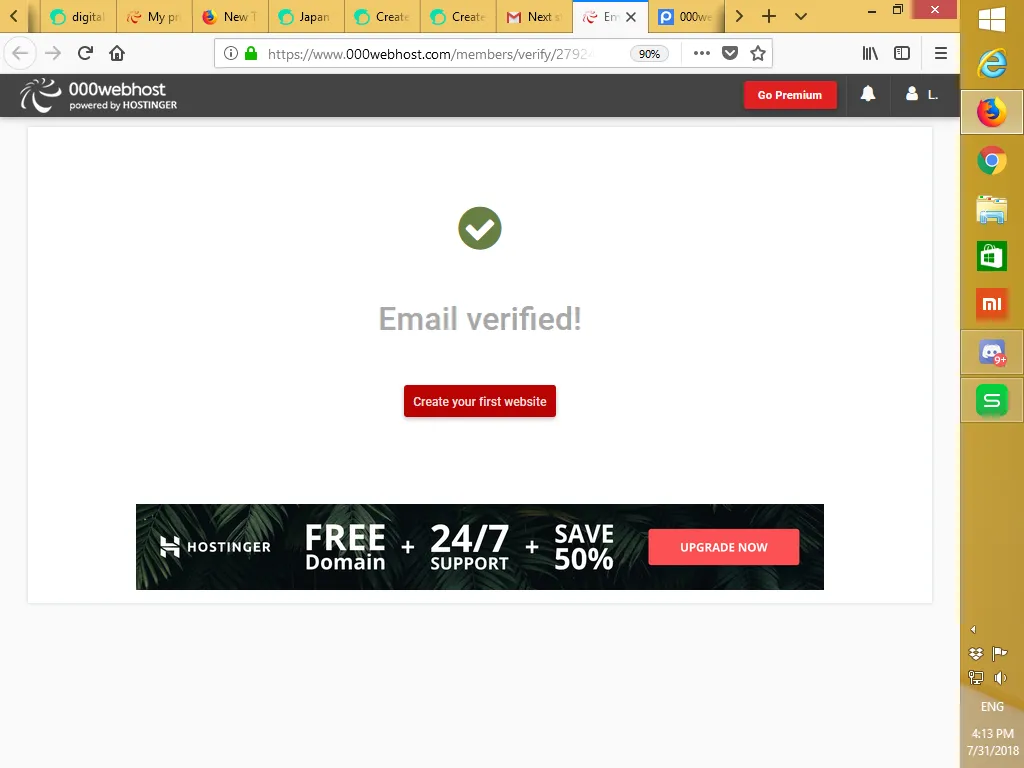
On the other hand, if you verified your email address successfully, it will take your to a "Email Verified" page and there is a red button for you to start to build your first website. Go ahead and click on it.
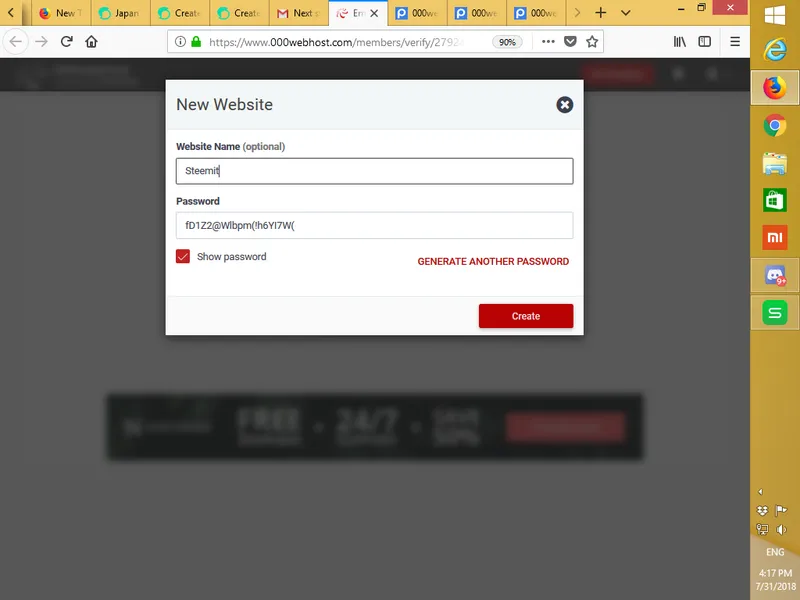
You will then asked to give a name of your website which is optional. In my case, I give a name "steemit-blog" and a password and click the button "create"
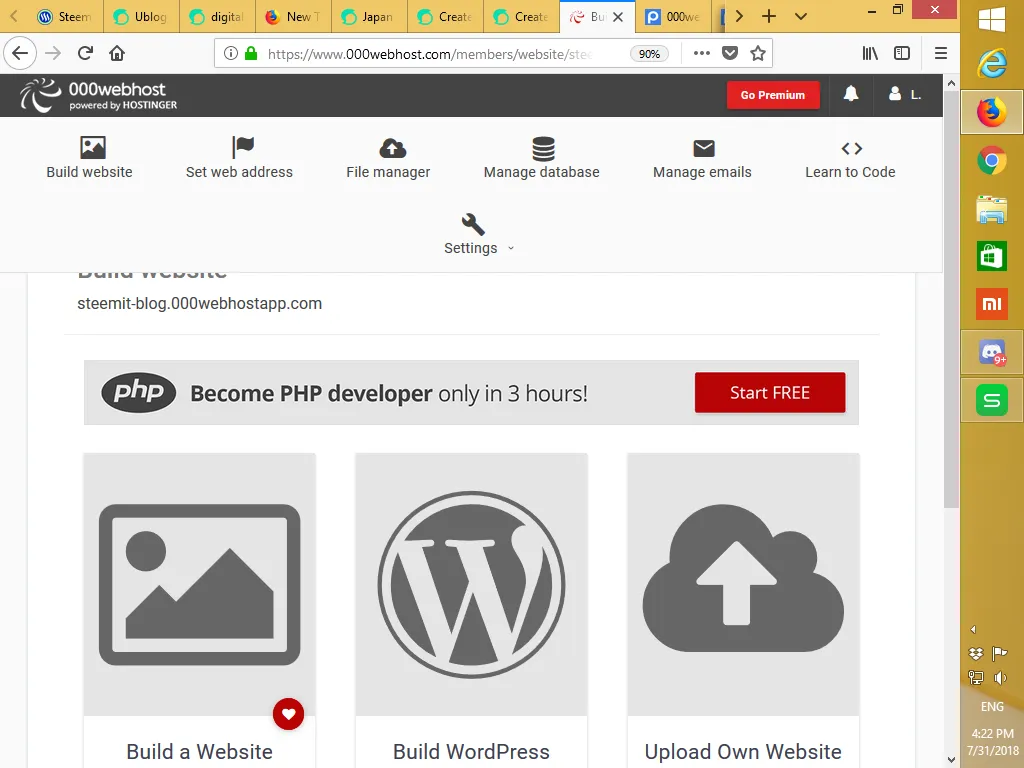
Once you have clicked the create button, a webpage will appear. This is the time you have to decided how you want to build your website. There are three options available. But for the purpose of this tutorial, you will click on the big WordPress blog "W" to begin installing WordPress
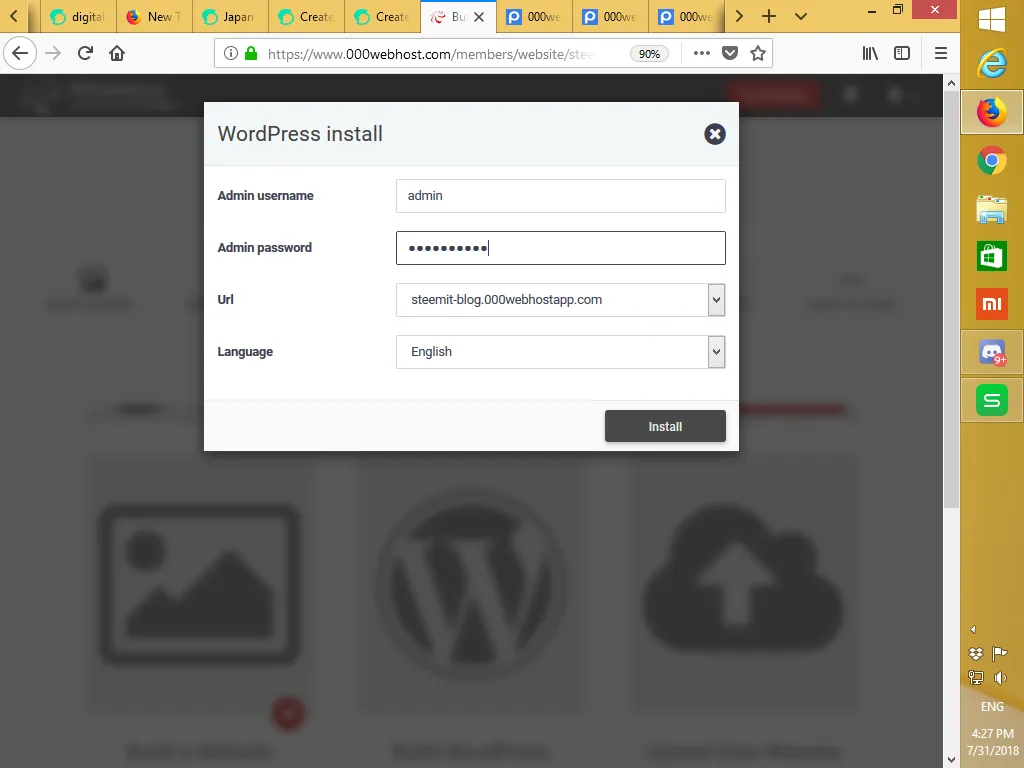
In this page, you will begin to set up your WordPress blog. Fill up the form with your username and password. Make sure you write it somewhere you can retrieve. Did you see your website URL that state
"steemit-blog.000webhostapp.com"
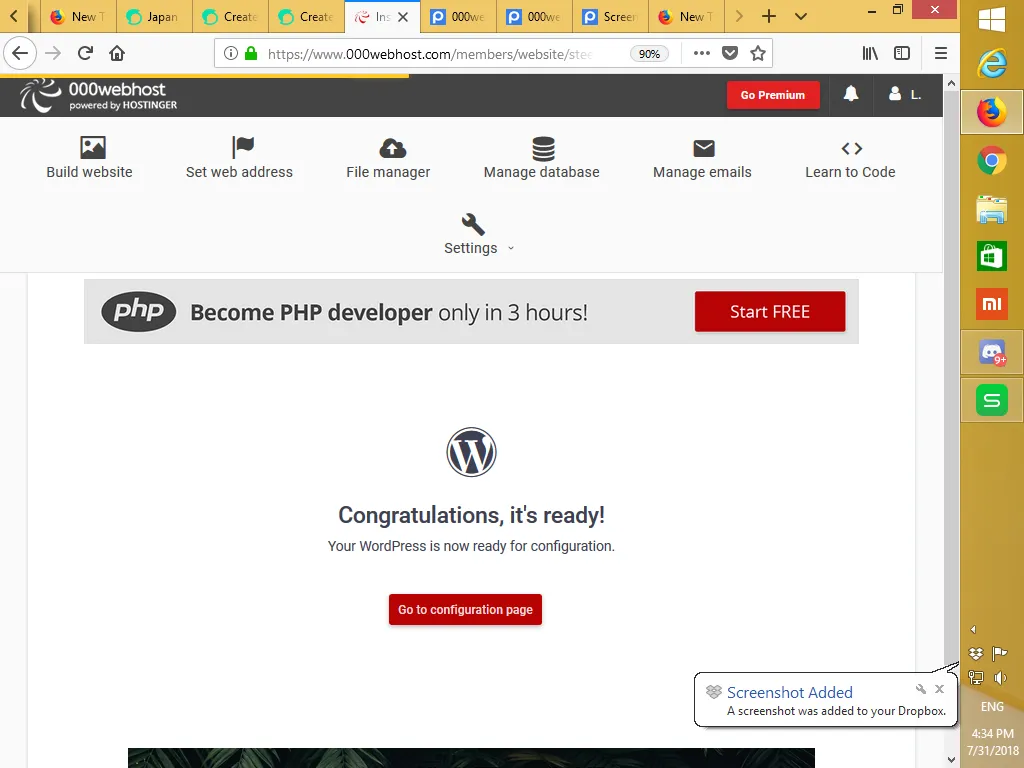
Go on an click the install button and hand on there. the installation will begin and it may take a couple of minute to complete. Once it is completed, it will show a "Congratulation, It is Ready" message like in the screenshot. Go ahead to click the "go To configuration Page" button
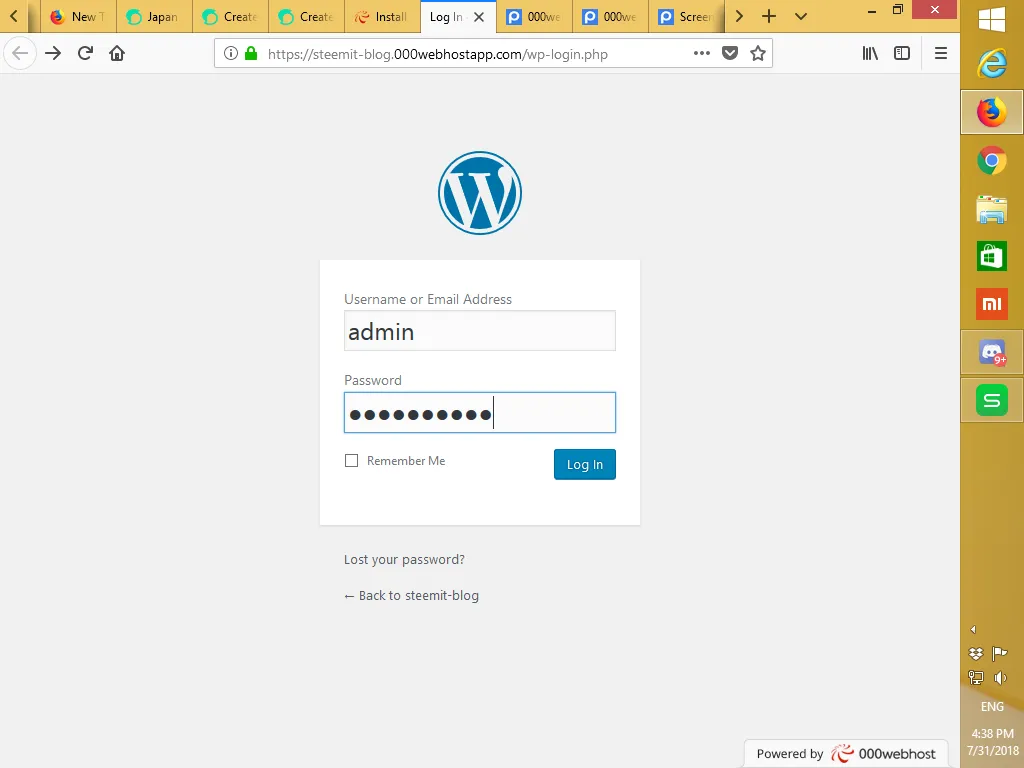
And it will take you to a log in page of your blog. Key in your username and password , then click "log In" button.
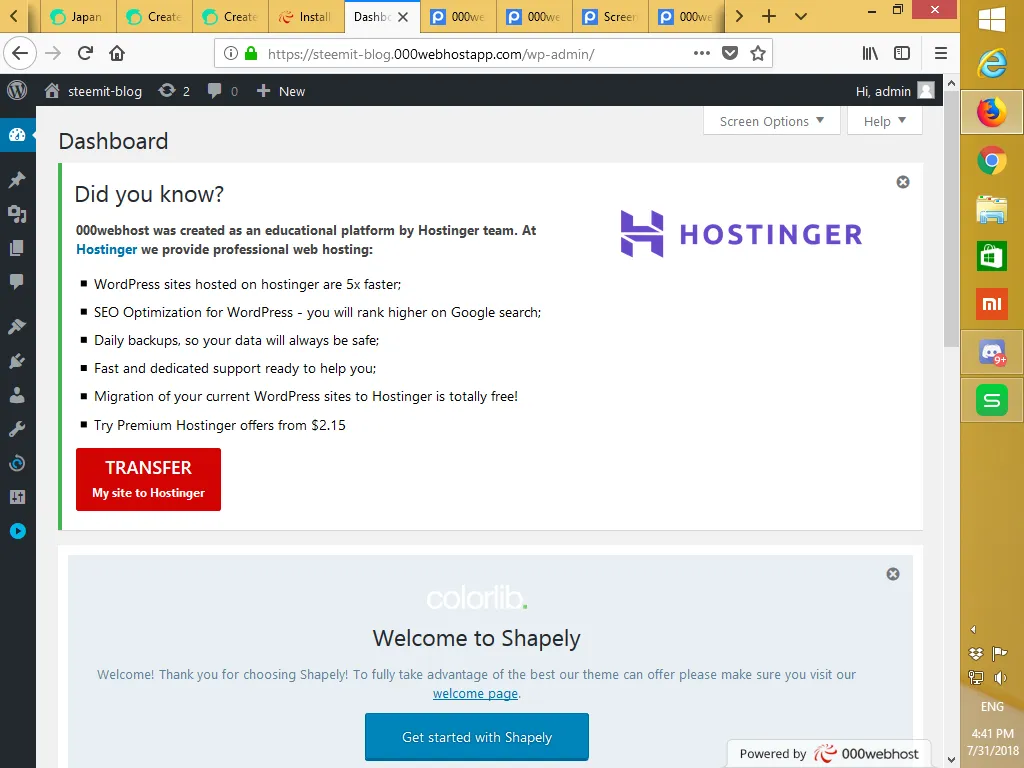
If you are logged in successfully, it will take you to the WordPress dashboard that shown in the screenshot. Please keep in mind that this is your first time log in dashboard appearance which shown some advertisement for your to take a full hosting package.
It is up to you to react to it. But for now, you will close the advertisement by click on the small "x" on the top right of the advertisement. Yu will also close the "shapely" advertisement with the small "x" on the top right.
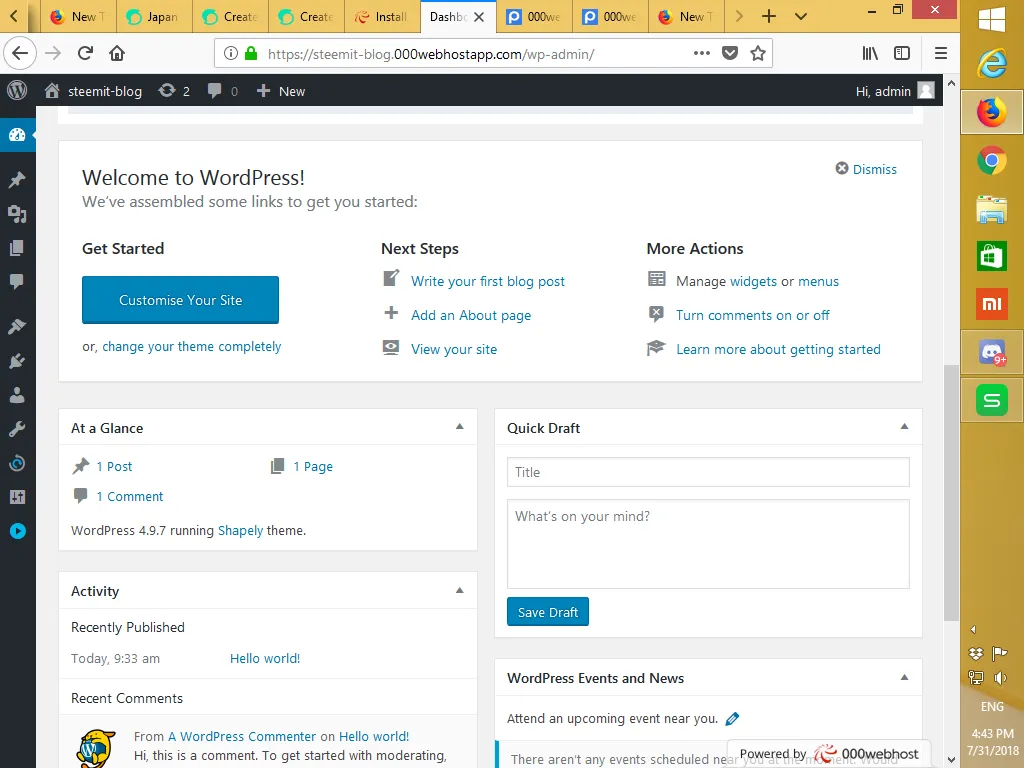
Once you have closed the two advertisement banners, you will see the page that shows the "customize your site". From here on, you can customize your website or blog the way you wanted. For now, you will click the "dismiss button on the top right of the "customize page"
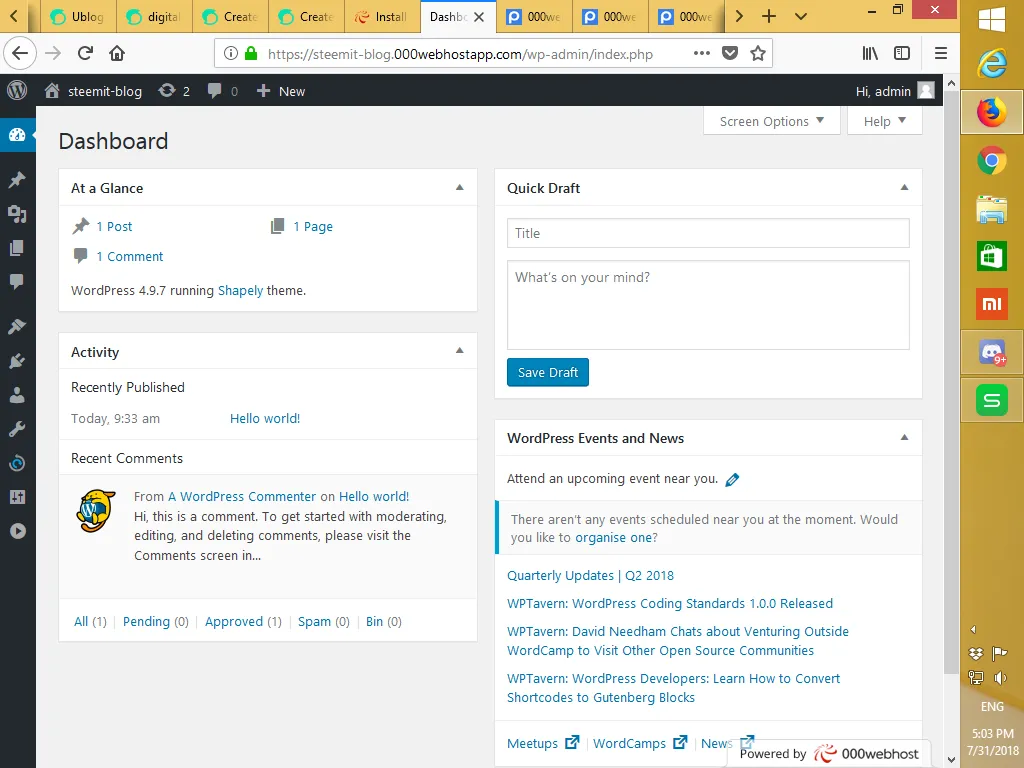
In this dashboard, at a Glance section ( top left) it show 1 post, 1 page and 1 comment. these are the default sample of a post, a page and a comment. Take you time to click on them and explore how it look like.
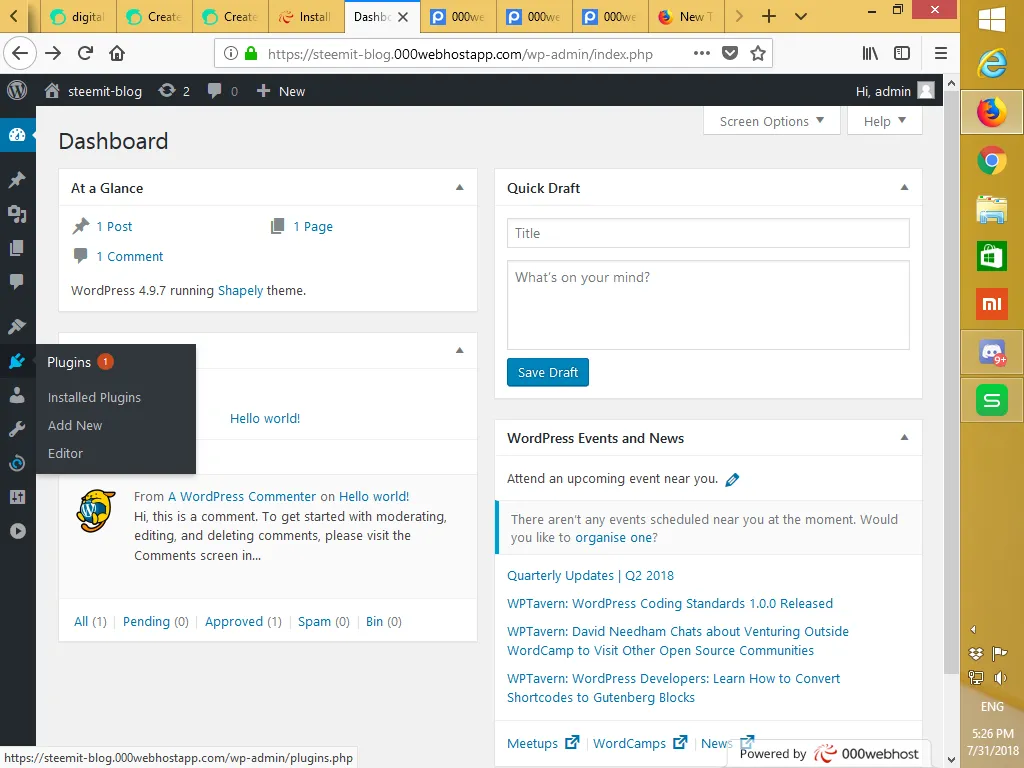
On the left, you can see a side menu which is black in color. By default, it is in a collapsed manner which you can see the icons. You can expand it by click on the small arrow icon at the bottom of the menu . For now, you can place your mouse pointer on top of those icon and you will see the description of those icon. You will stop at the icon where it show the "plugin" and you move the mouse pointed to "add new" and click on it.
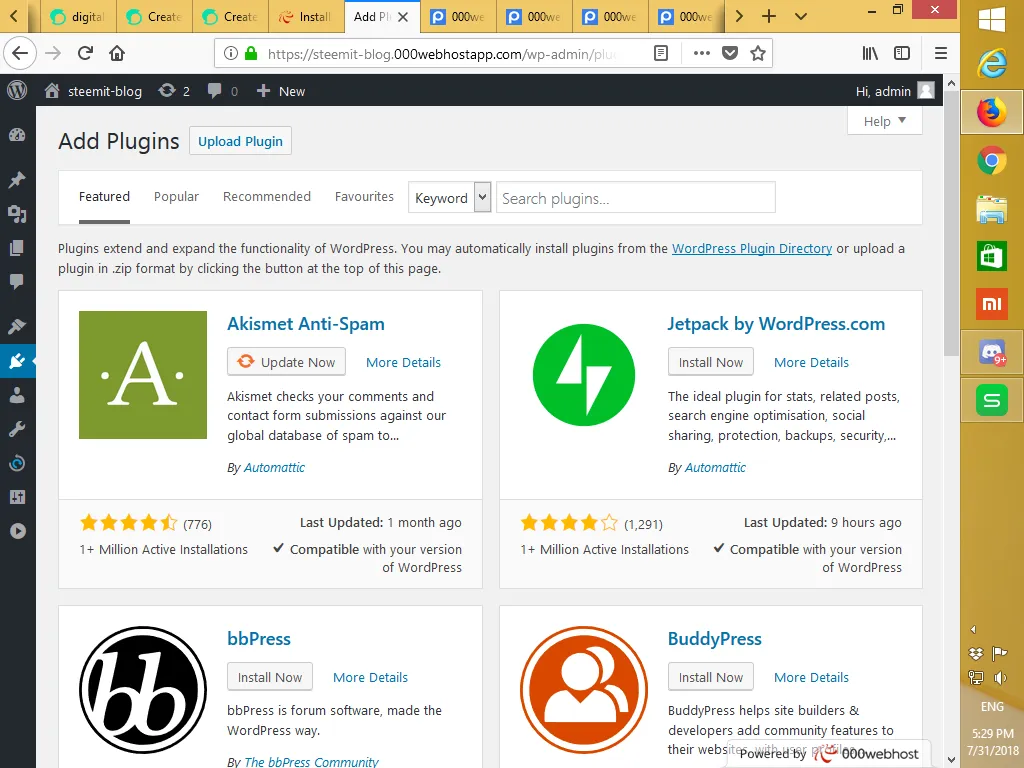
A default plugin page will appear, at the search box, you type "steempress" and press enter.
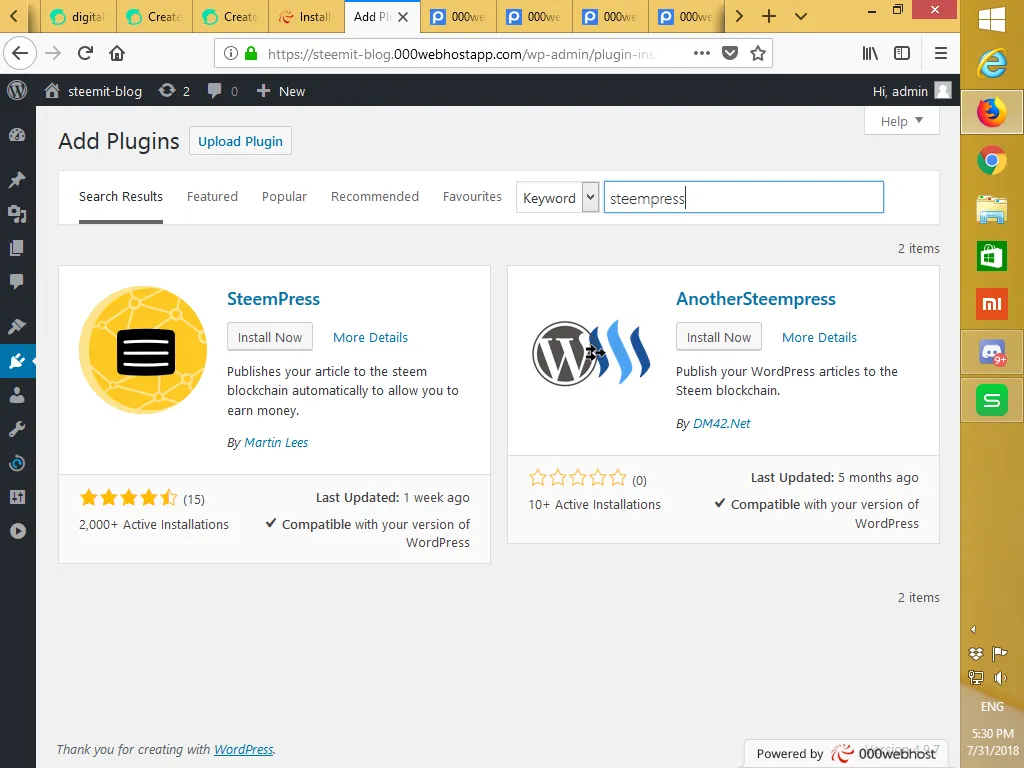
The display of SteemPress plugin will appear. At this page, you will look for the "install now" button and click on it. Let it install itself until finish. The The "install now" button will change to a green "activate" button. go on and click on it to activate the plugin.
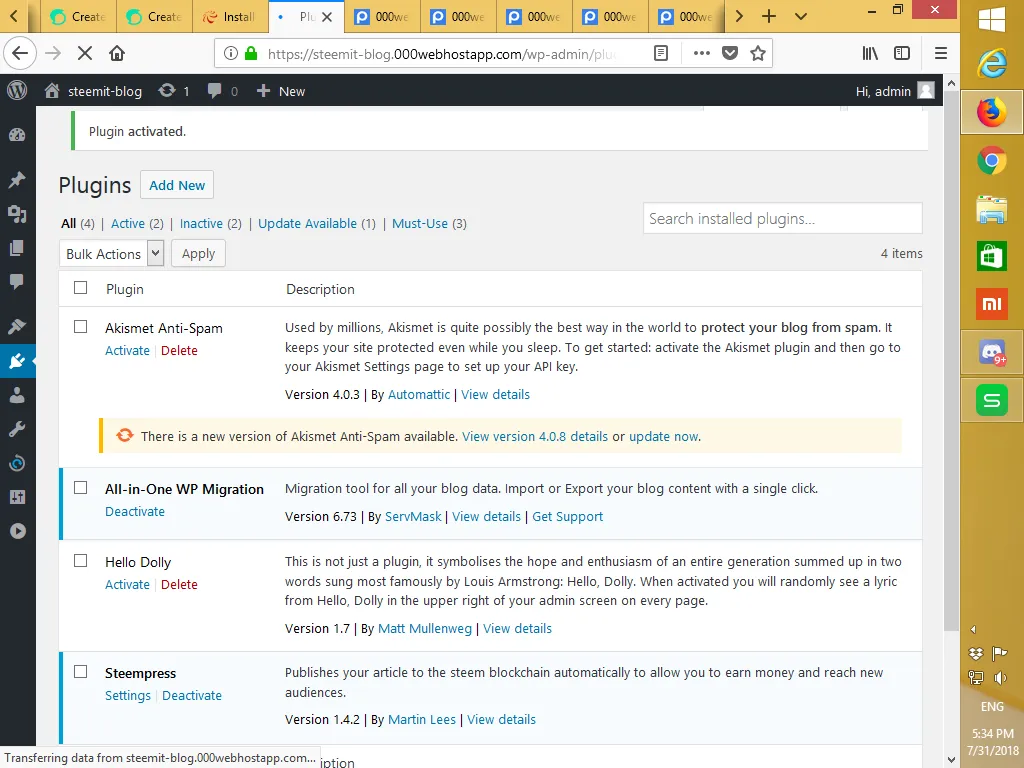
Once it is activated, it will be listed in the installed plugin page . At this point, you will locate Steempress plugin and click on the setting text.
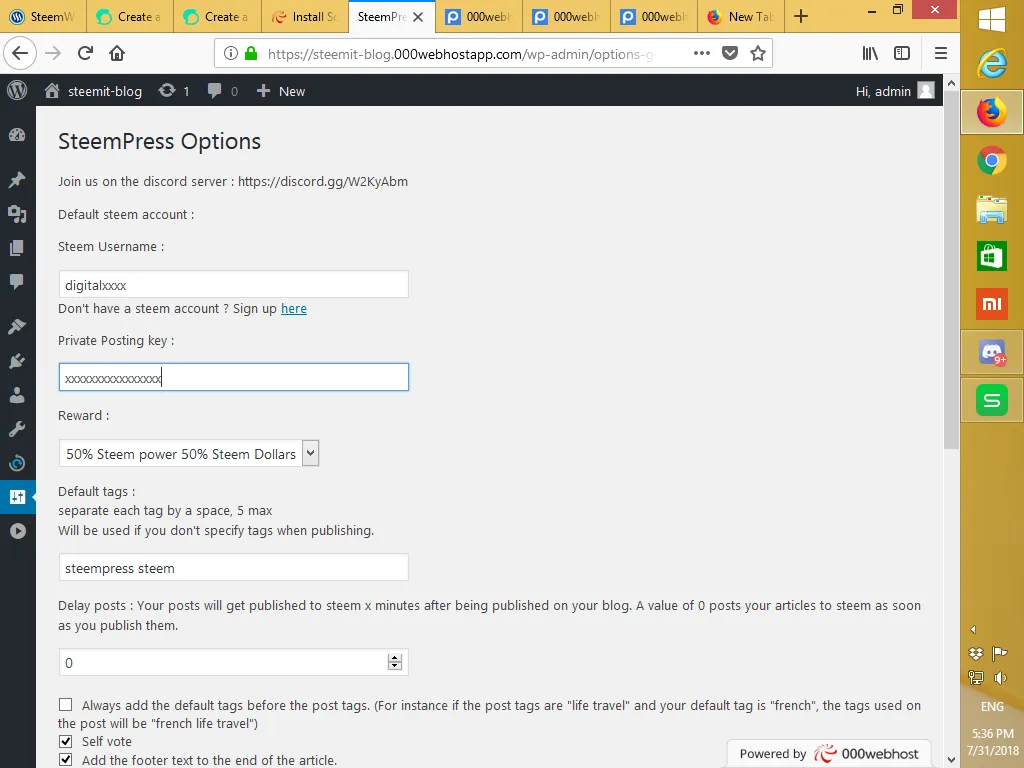
In the steempress setting page, you need to provide your steemit name, posting key and leave to rest to default and scroll to the bottom until you see the green "save all changes" and click on it to save your setting.
You are all set to set up your WordPress on a Free hosting as well as installed the SteemPress plugin. The rest in to post your article in the posting menu in the sidebar menu
Disclaimer:
- This tutorial of Installing a Wordpress and SteemPress Plugin is for illustration and sharing purpose only.
- All screenshots are taken from my blog
- The free web hosting is used for the purpose of this tutorial. Instructions may varies depending on the hosting company
- Performance of 000webhost.com is not the responsibility of the author
Posted from my blog with SteemPress: