
Hi,👋
I'm back with a new post where I'll show a origami paper flower that looks good and can be a part of the room decoration. And I'm joining DIYHUB MONTHLY CONTEST (January 2023) - FLOWER with this entry.
I followed most part of this DIY idea from a YouTube video and I don't credit myself for the original idea although I changed a big thing from the original idea.
Let's see how I made this origami paper flower that looks this good and anyone will be amazed seeing it as a room decoration.
Equipment's:
I used some color papers (6 colors to be precise), scissor, glue, compass, cardboard and pencil.
Steps to follow:
I followed a total of 4 steps to finish this up. 1. The cardboard, 2. The Leaves, 3. The Flowers, 4. The Rose.
I'm going to show the cardboard step first and then the other parts.
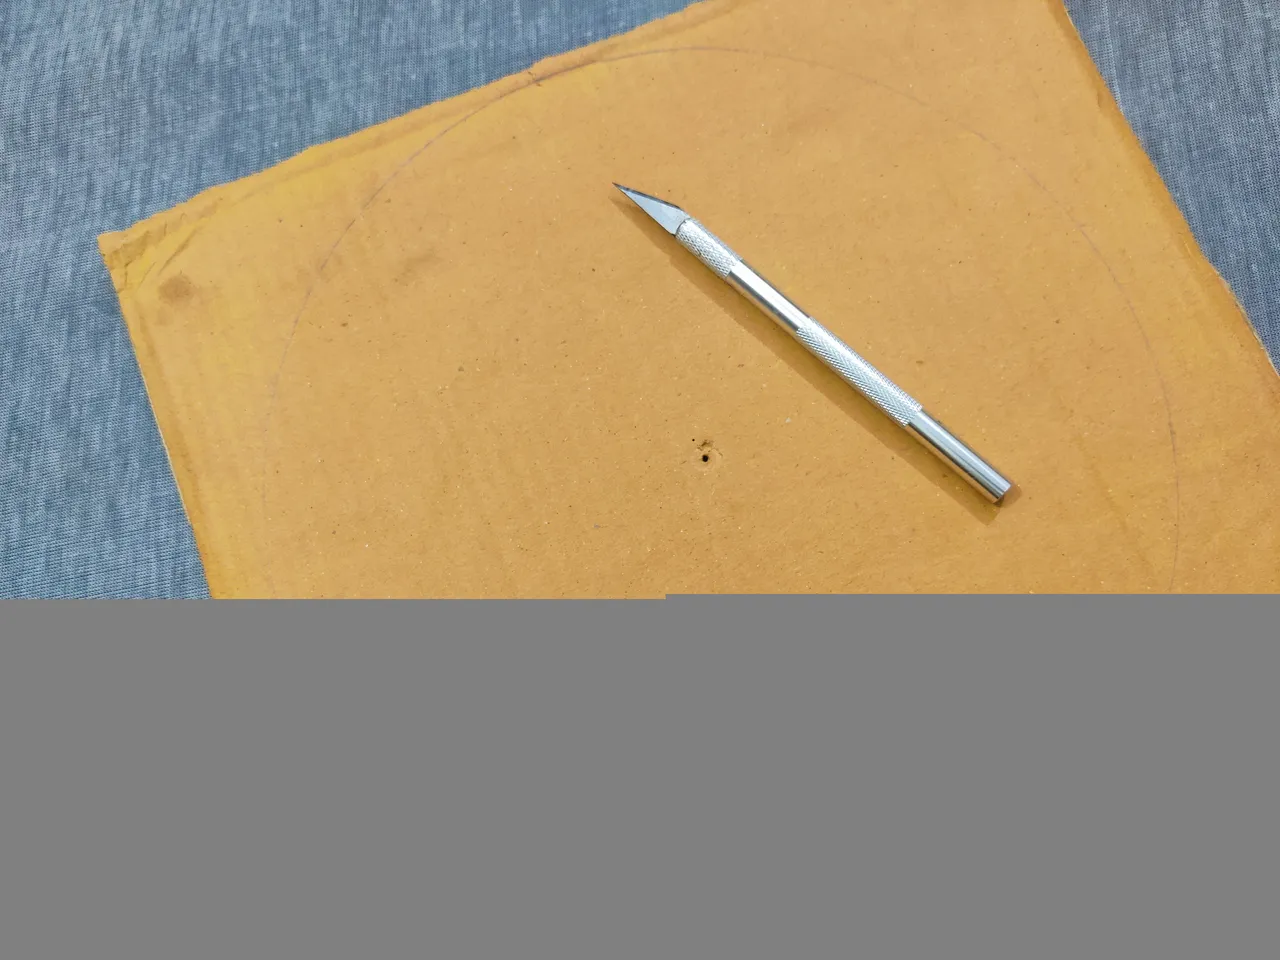
I needed the cardboard in a circle shape so I used a compass to draw a circle outline on the cardboard.

The I cropped and removed the extra part taking the circle shape and the cardboard was ready which was kind of the pillar of this diy.
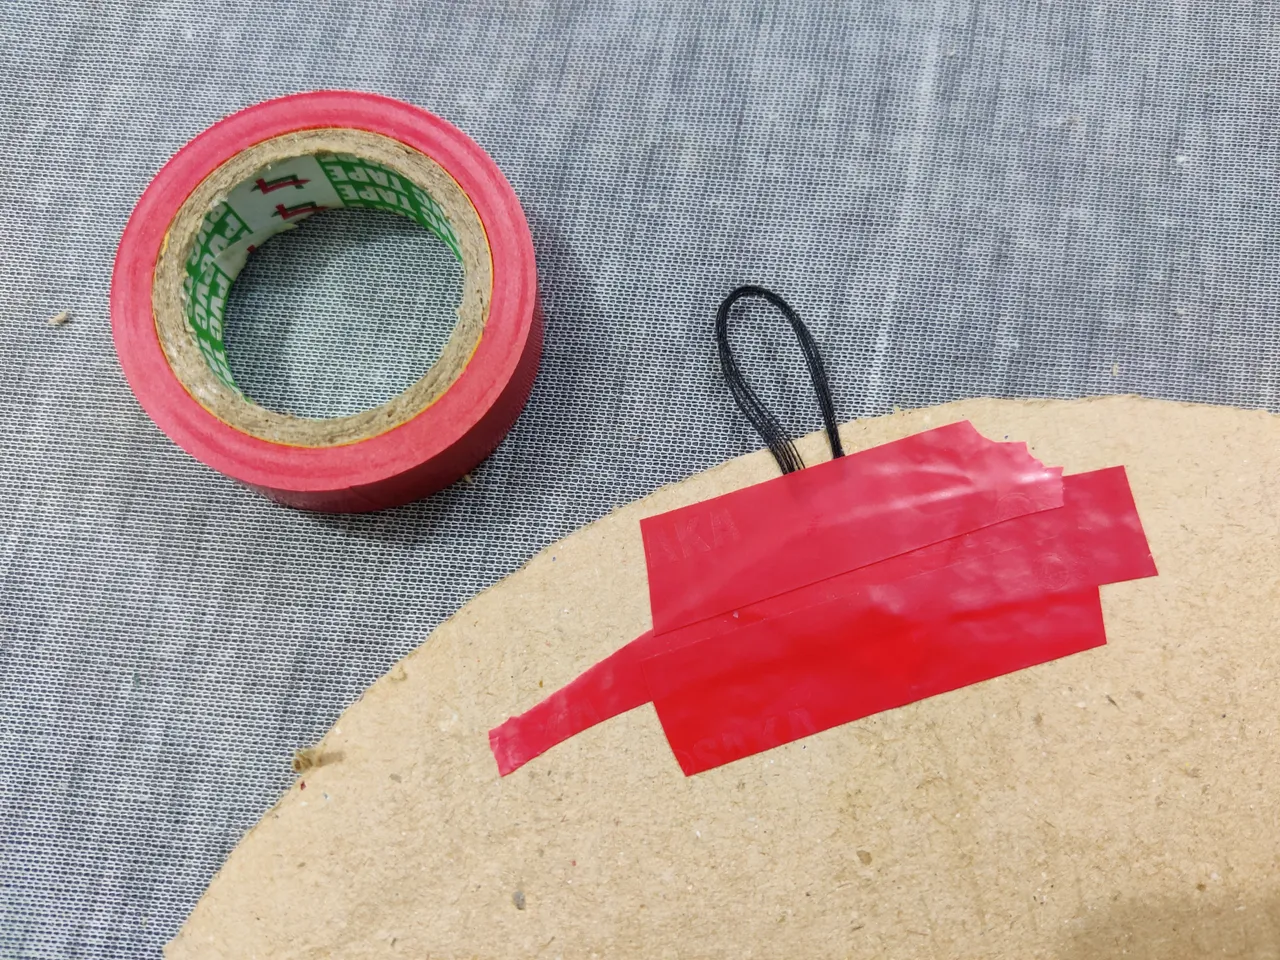
And I attached some thread on on side of the cardboard so that I can hook the finished work on a screw.
Then I used green color paper to make some leaves to decorate the outer side of the circle cardboard.
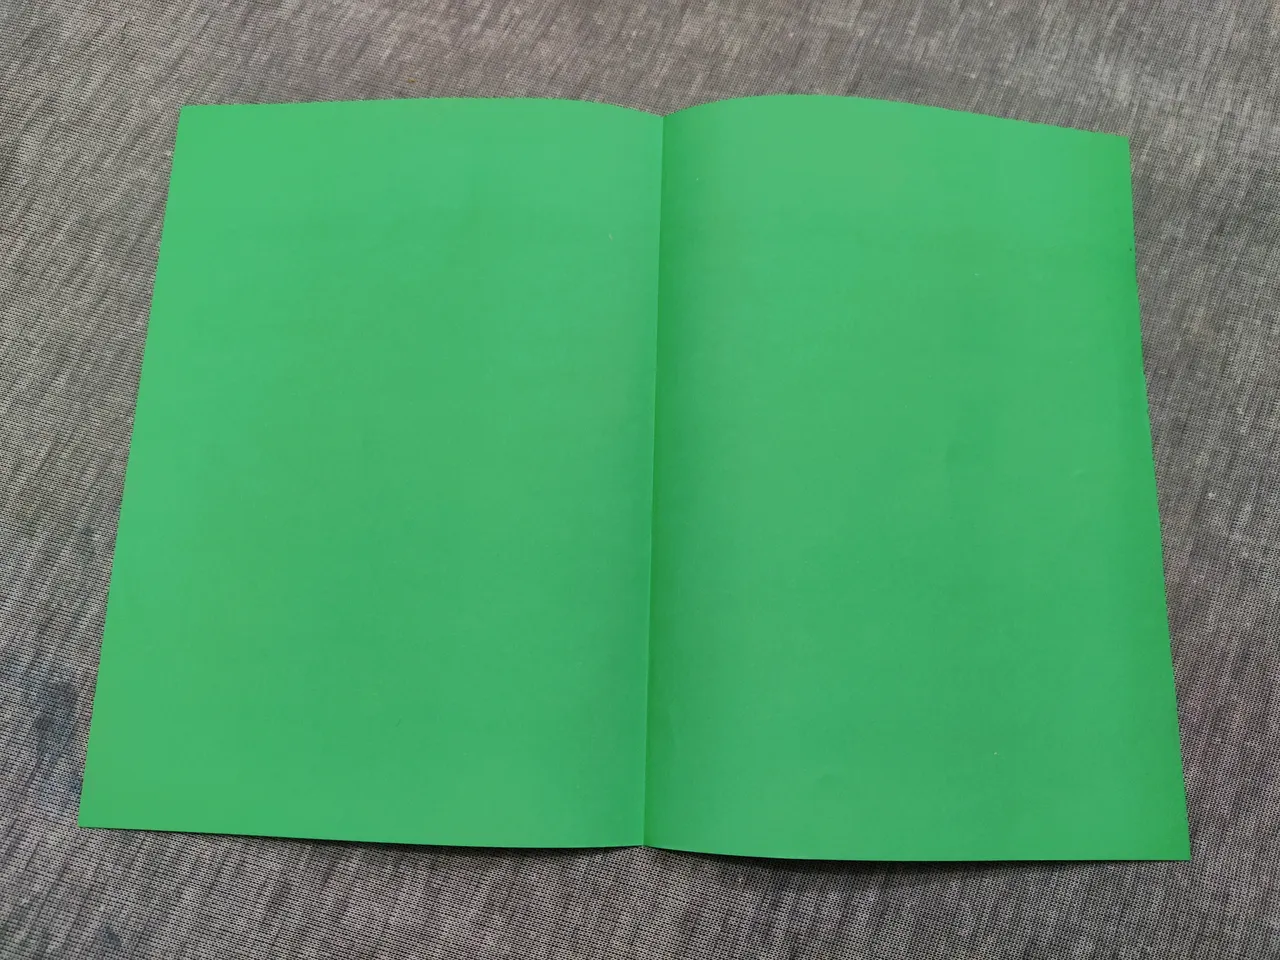
At first I folded the paper like above and I cropped in half.
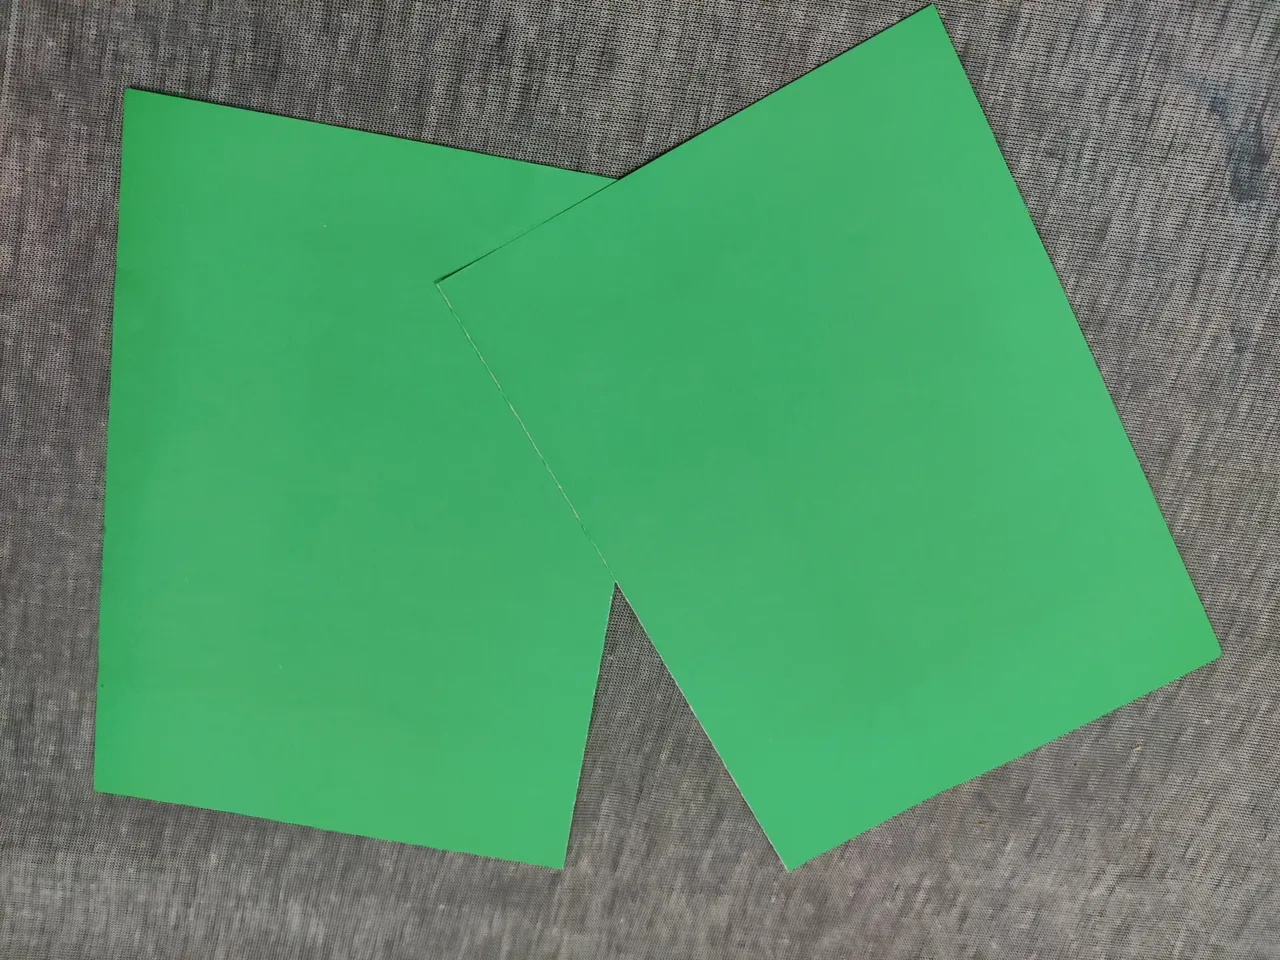
Now there are two halves that I'll use to make four leaves.
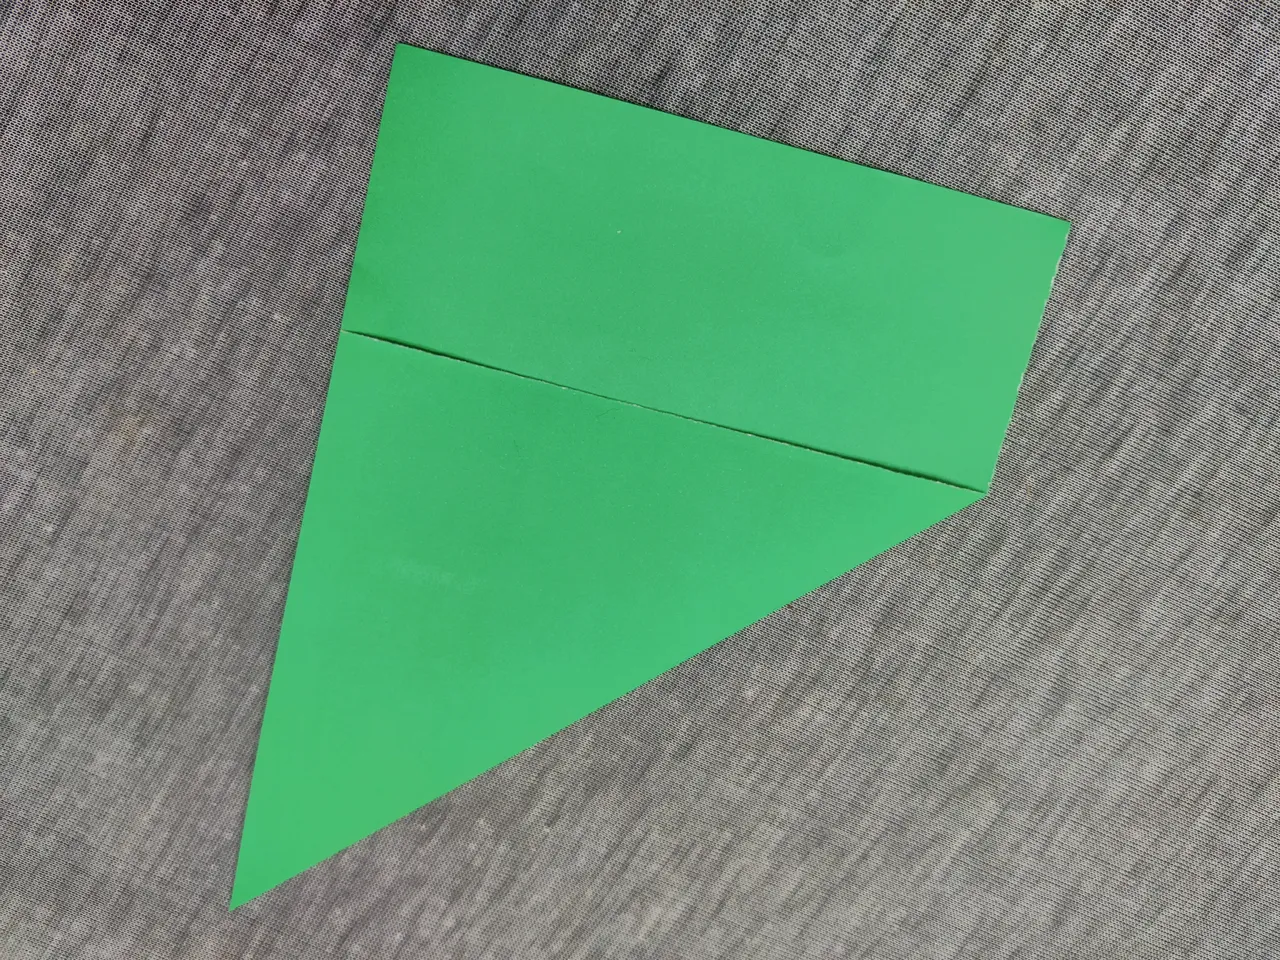
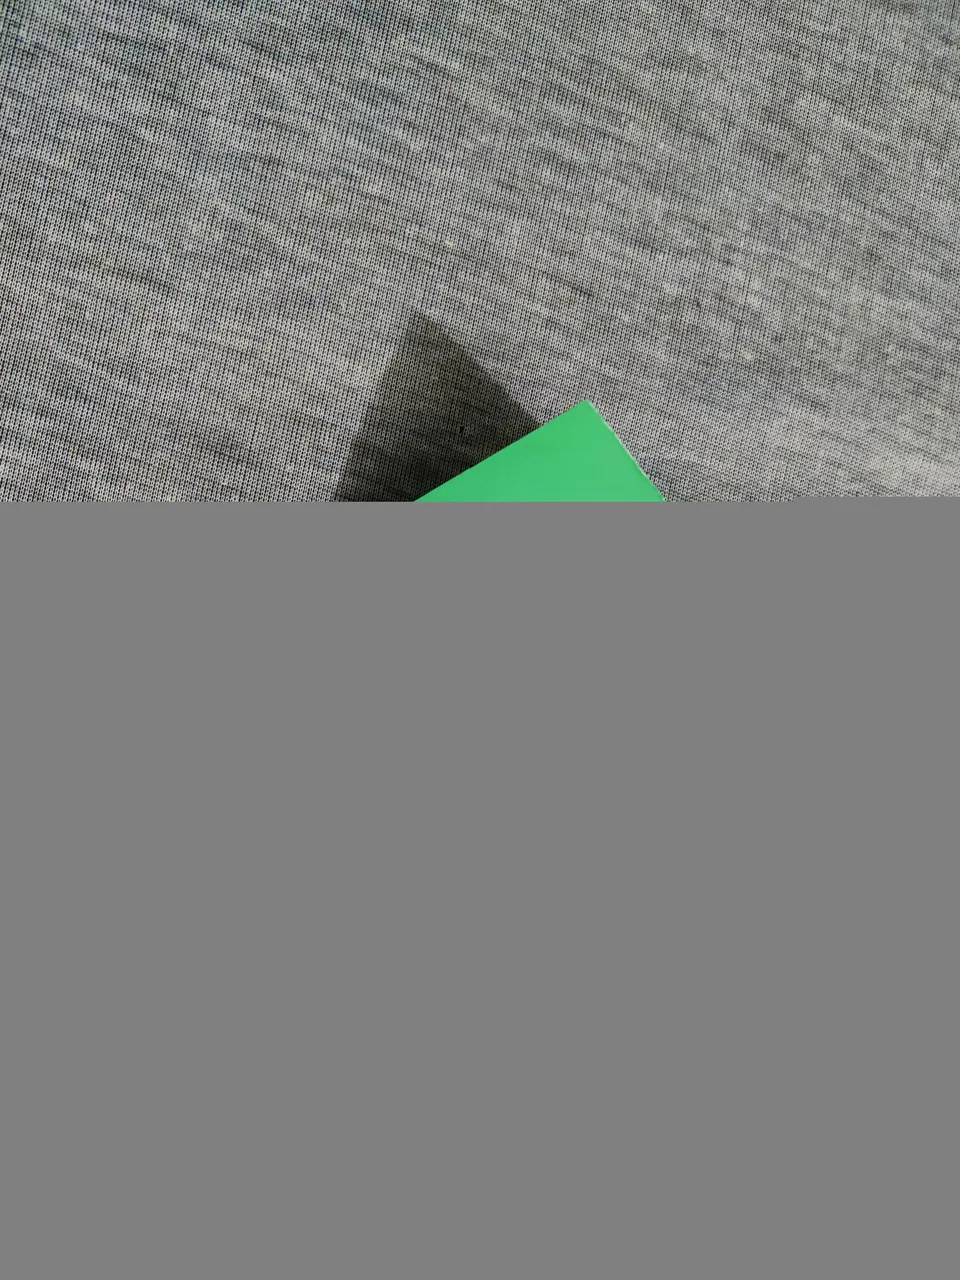
I needed a square shape of the paper so I folded it into a triangle and I removed the outer part which gave me a square.
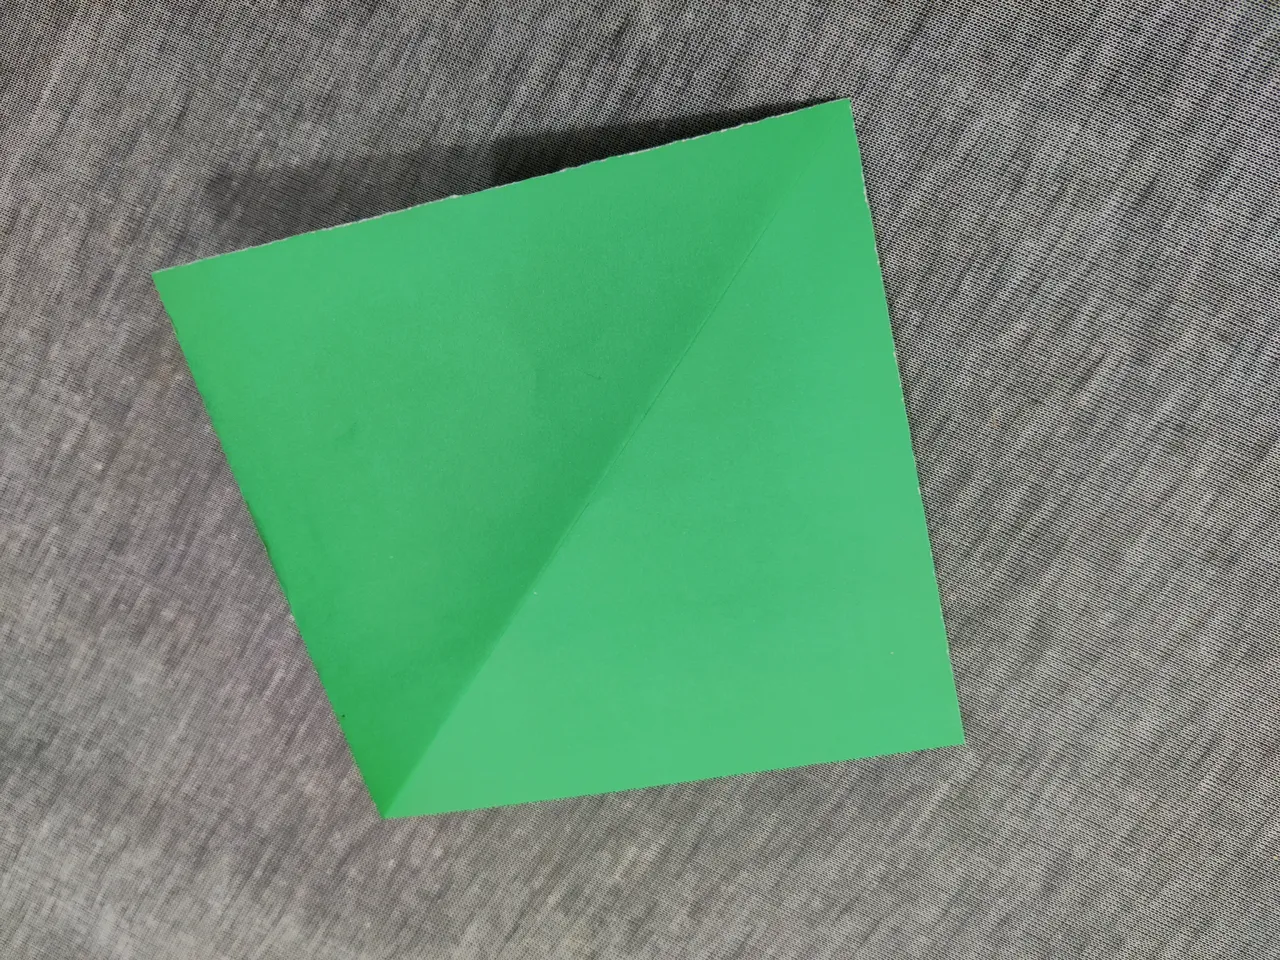
Now that I have this square with a fold of triangle, I need to crop it from the middle to get two triangles.
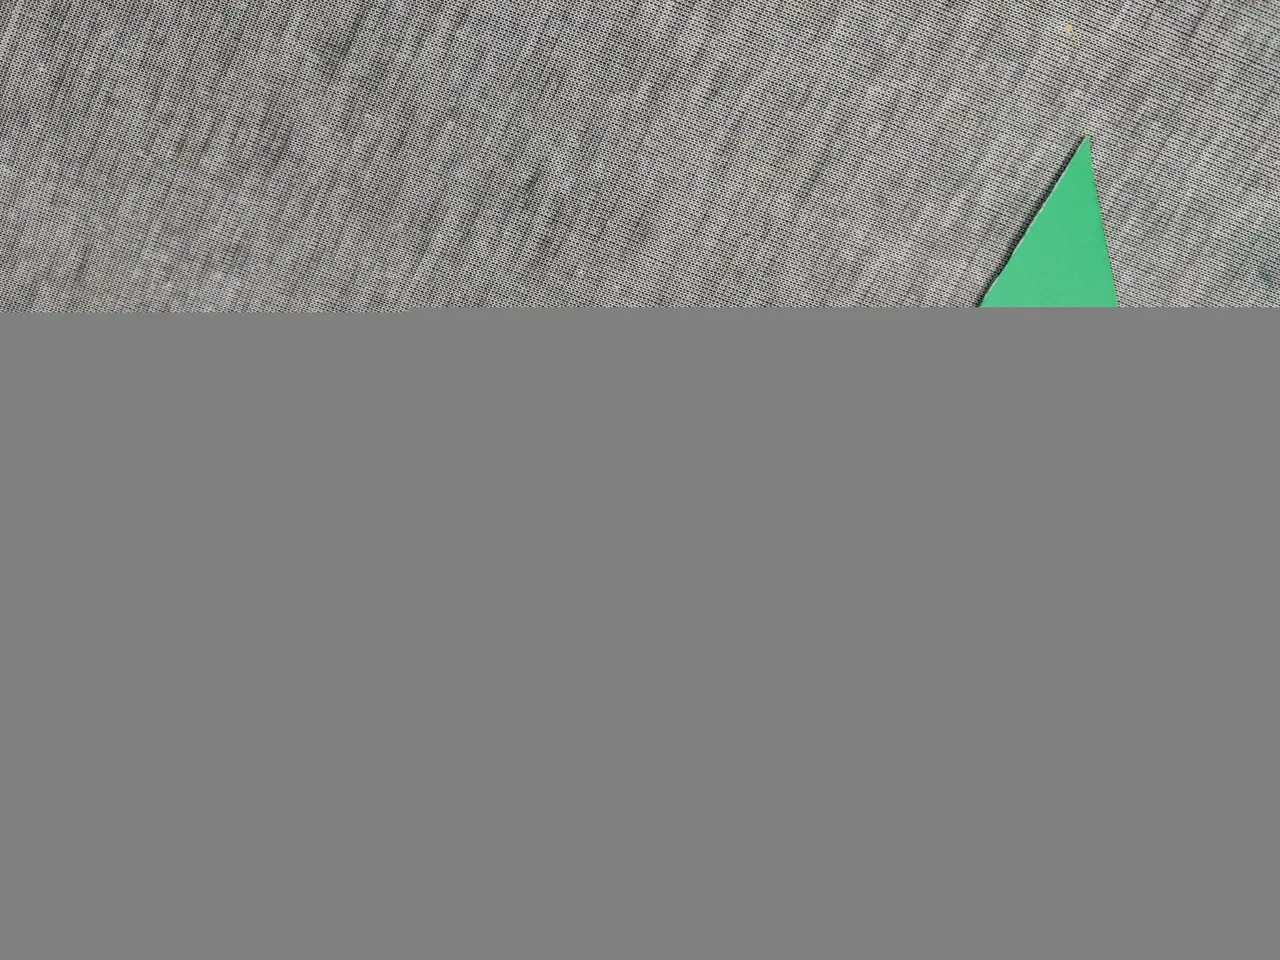
Here are the two triangles that will give me two leaves. It means one A4 size paper will give me 4 leaves, now lets see how many leaves I need.
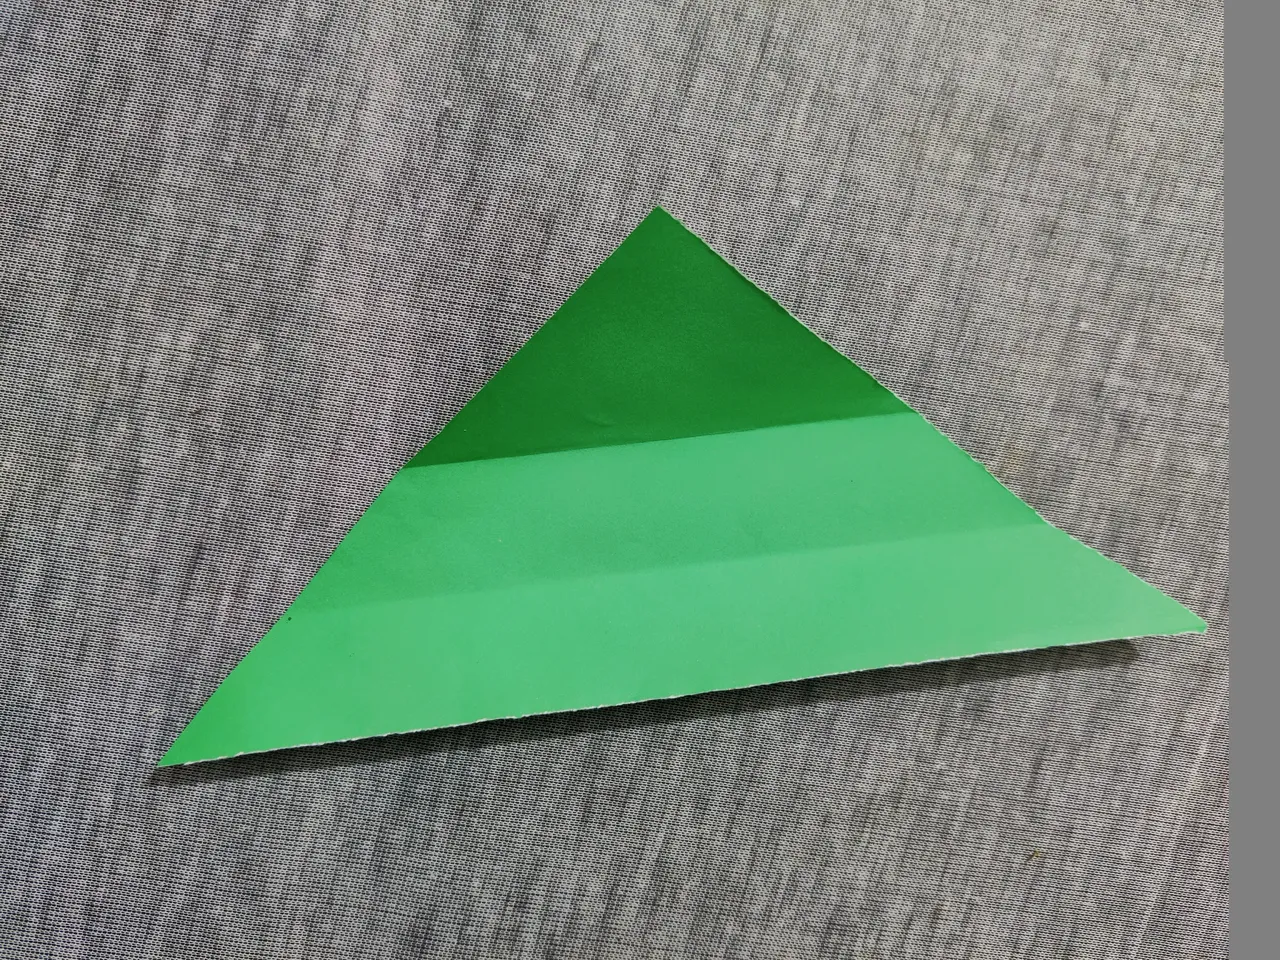
Its time to do some folding jobs. At first I needed to fold in the middle half from the triangle top like above.
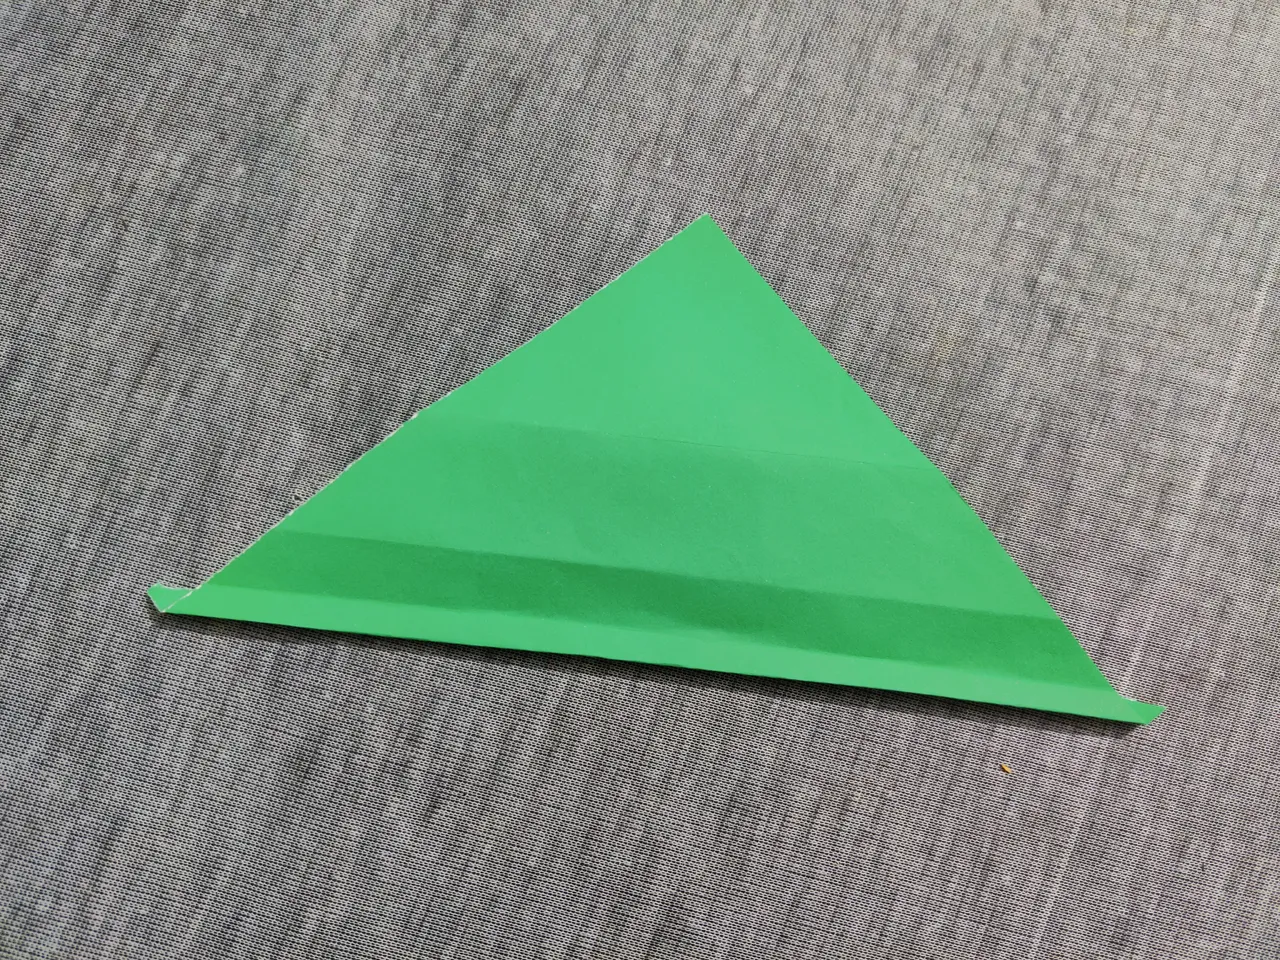
Then I folded the lower half into another half.

Then I folded the lowest half into another half which made total 4 parts in the lower half from middle of the triangle.
Then I folded the lowest part in the opposite direction and I kept folding with that size I got from the lowest folding and I kept folding till I got to the top of the triangle.
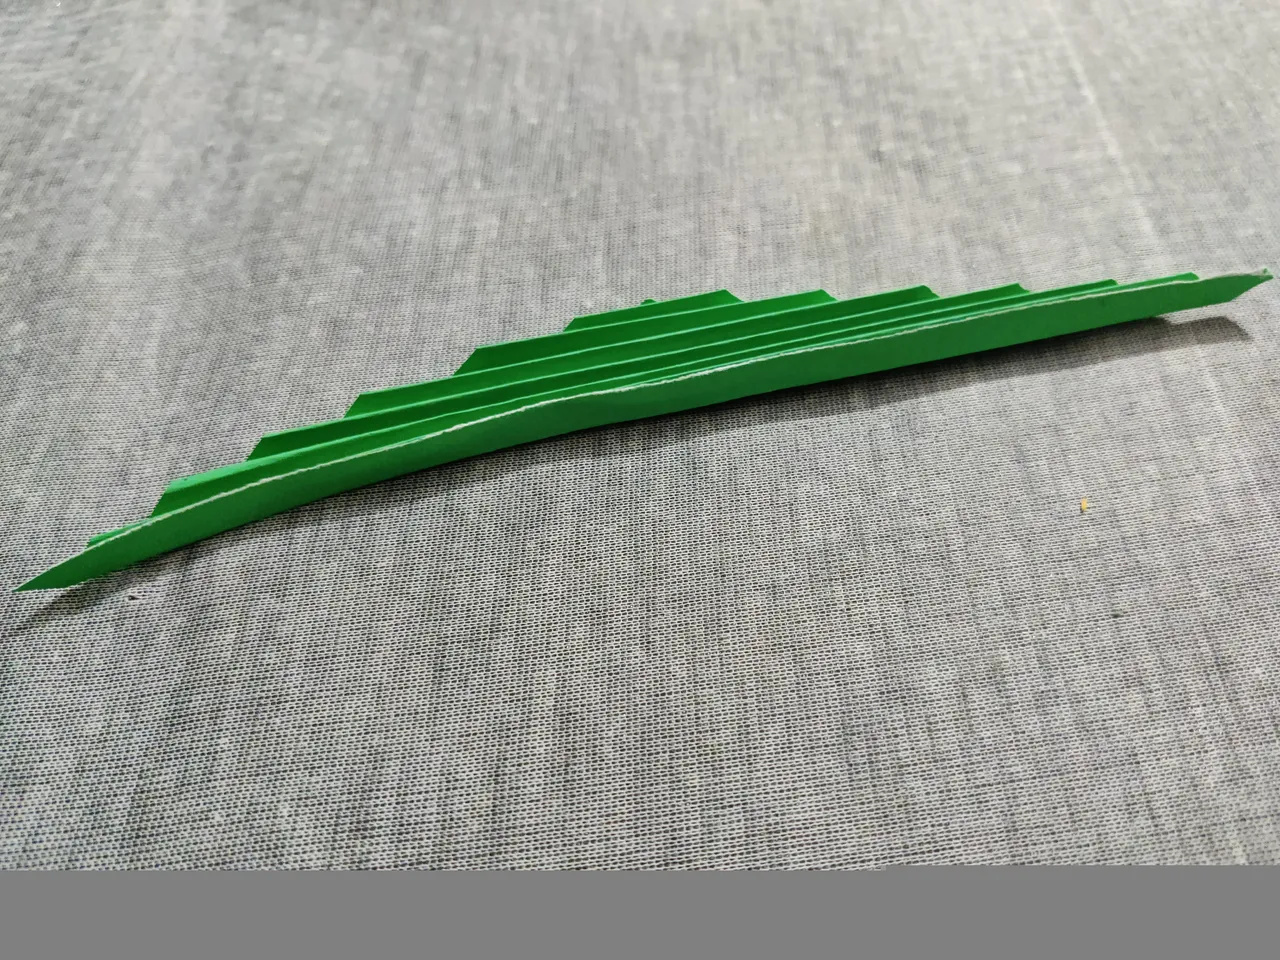
And it becomes like this.
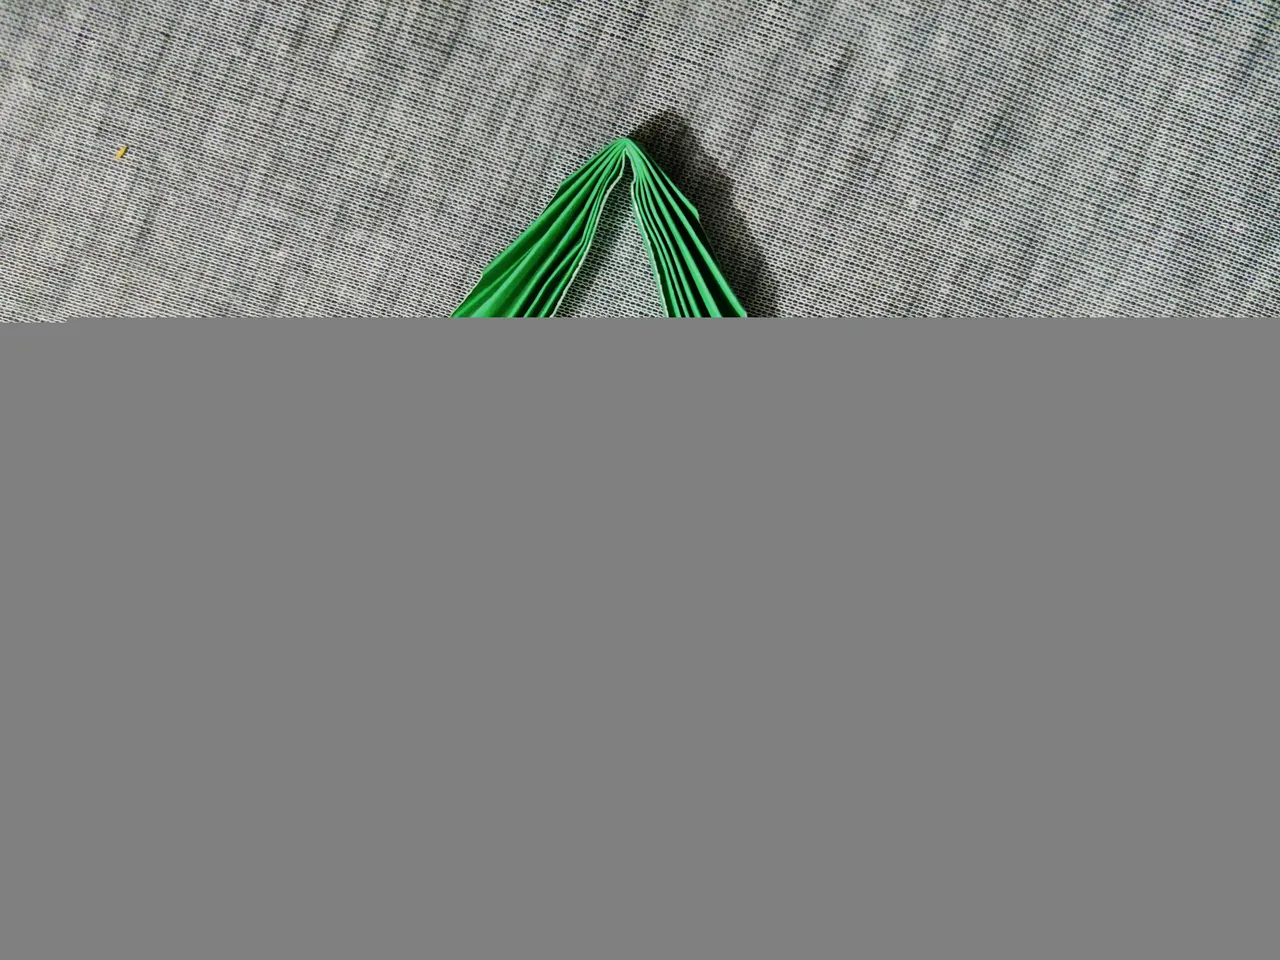
And then I folded the whole in half in another direction like above.
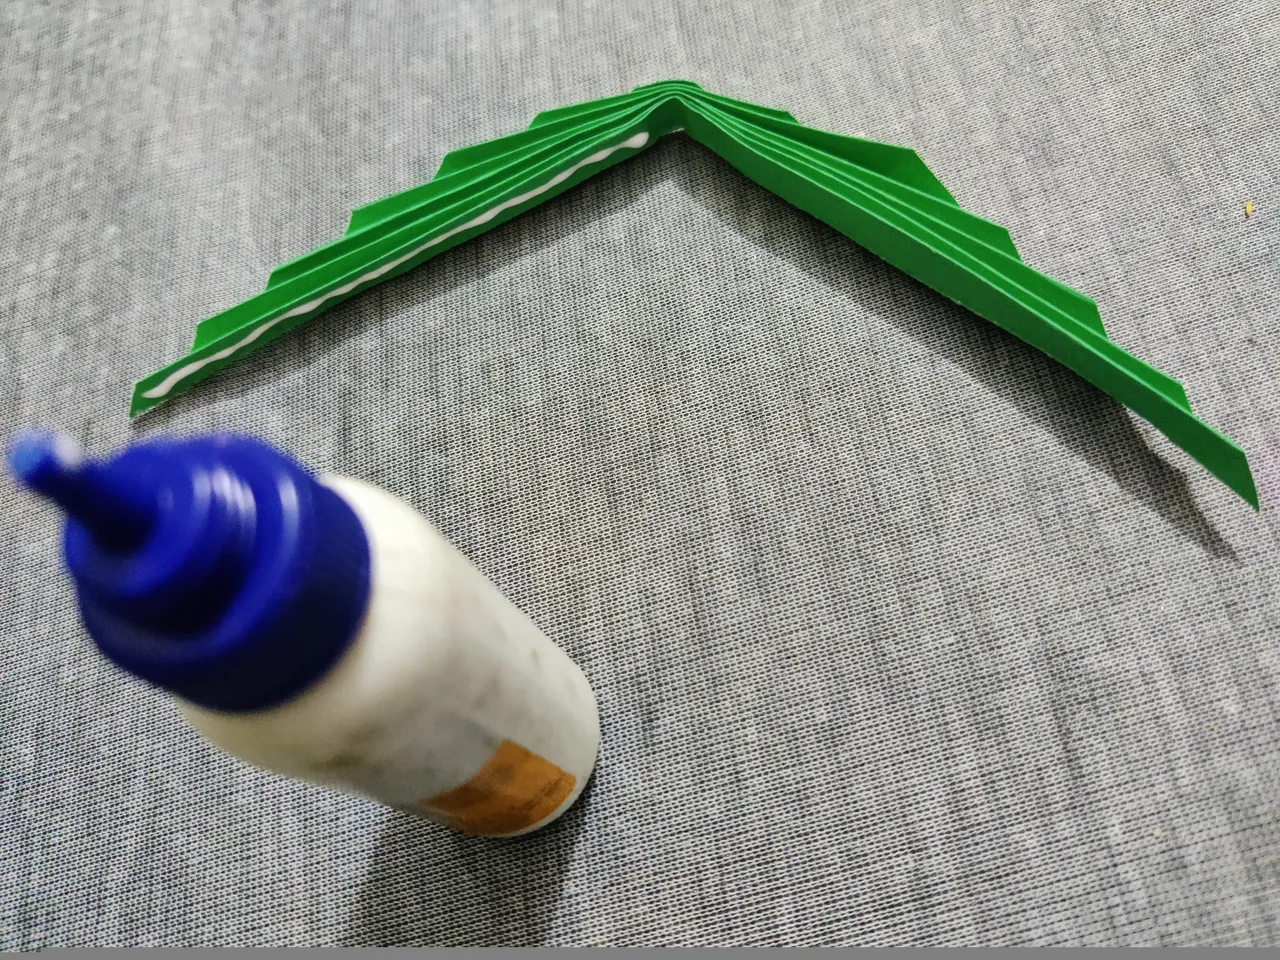
And now its time to do some gluing. I glued that part with the other part that you're seeing on the above picture.
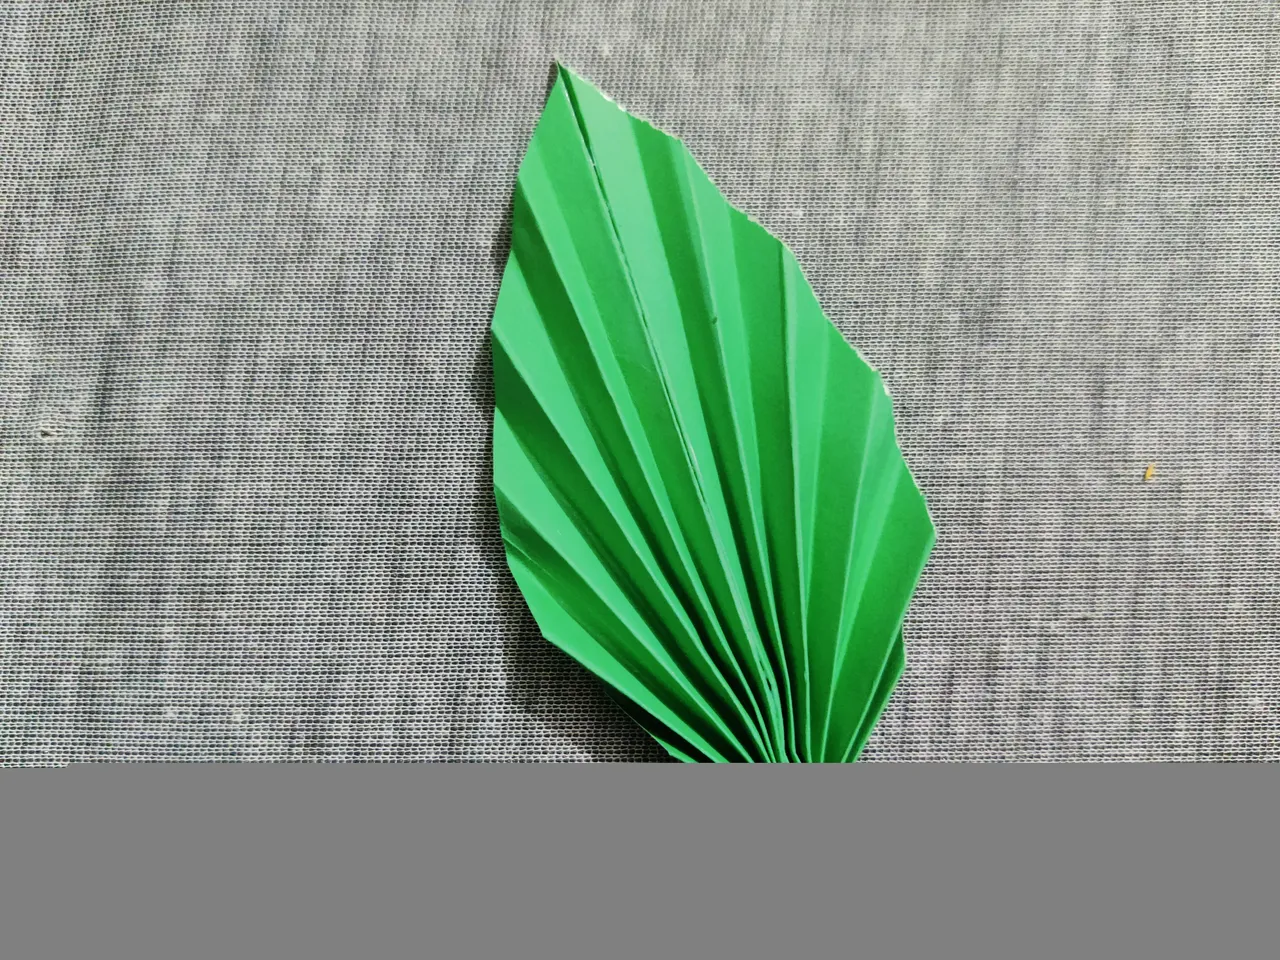
And it becomes like this. Yeah, a beautiful leaf.
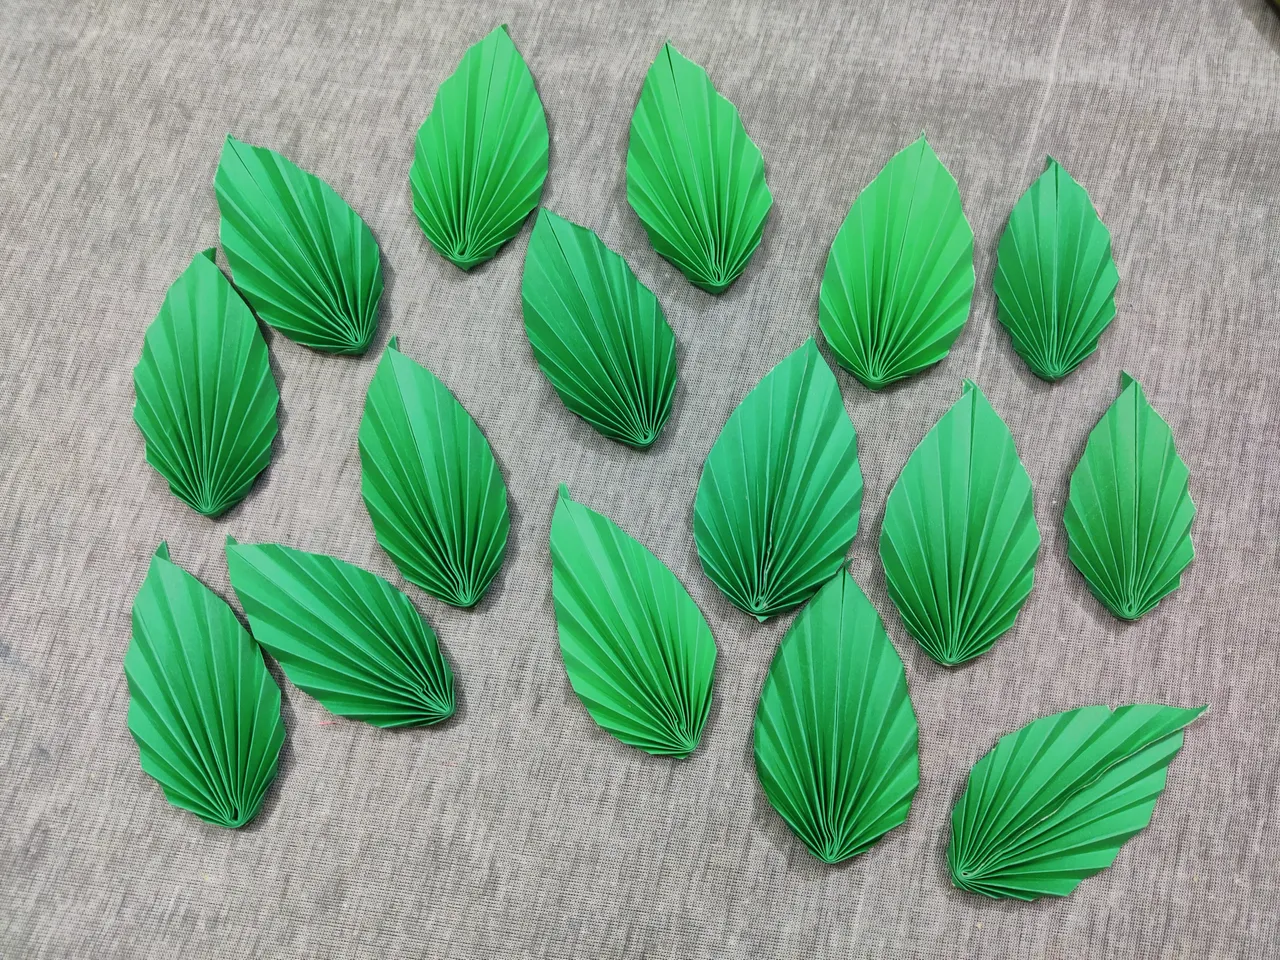
I made total 16 leaves which means I needed total 4 green colored papers for the leabes and I used all of them on the outer side of the circle cardboard, let me show you that.
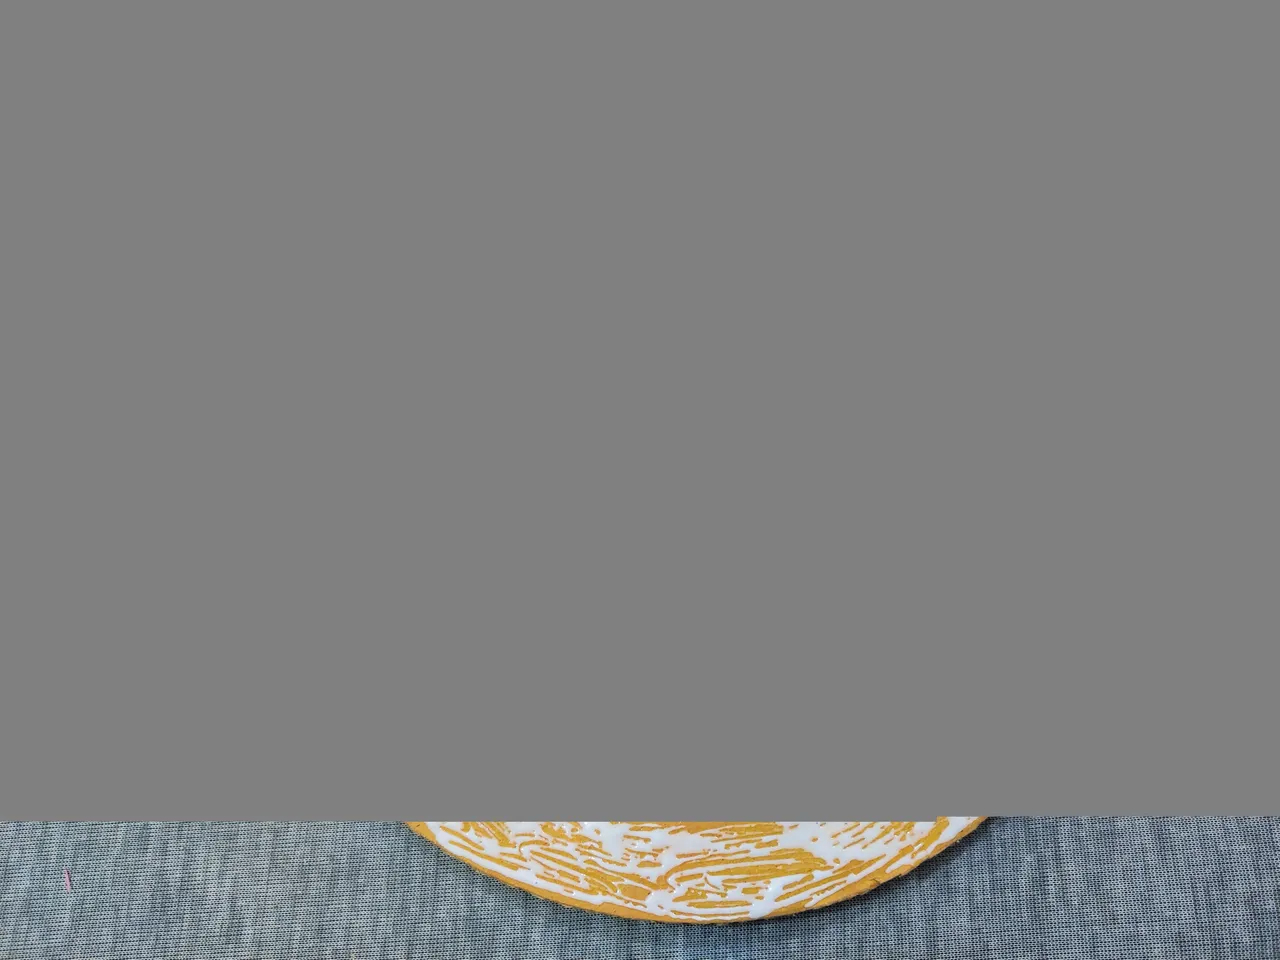
I drew another circle using the compass and I glued that whole area so that the leaves don't come falling after a while.
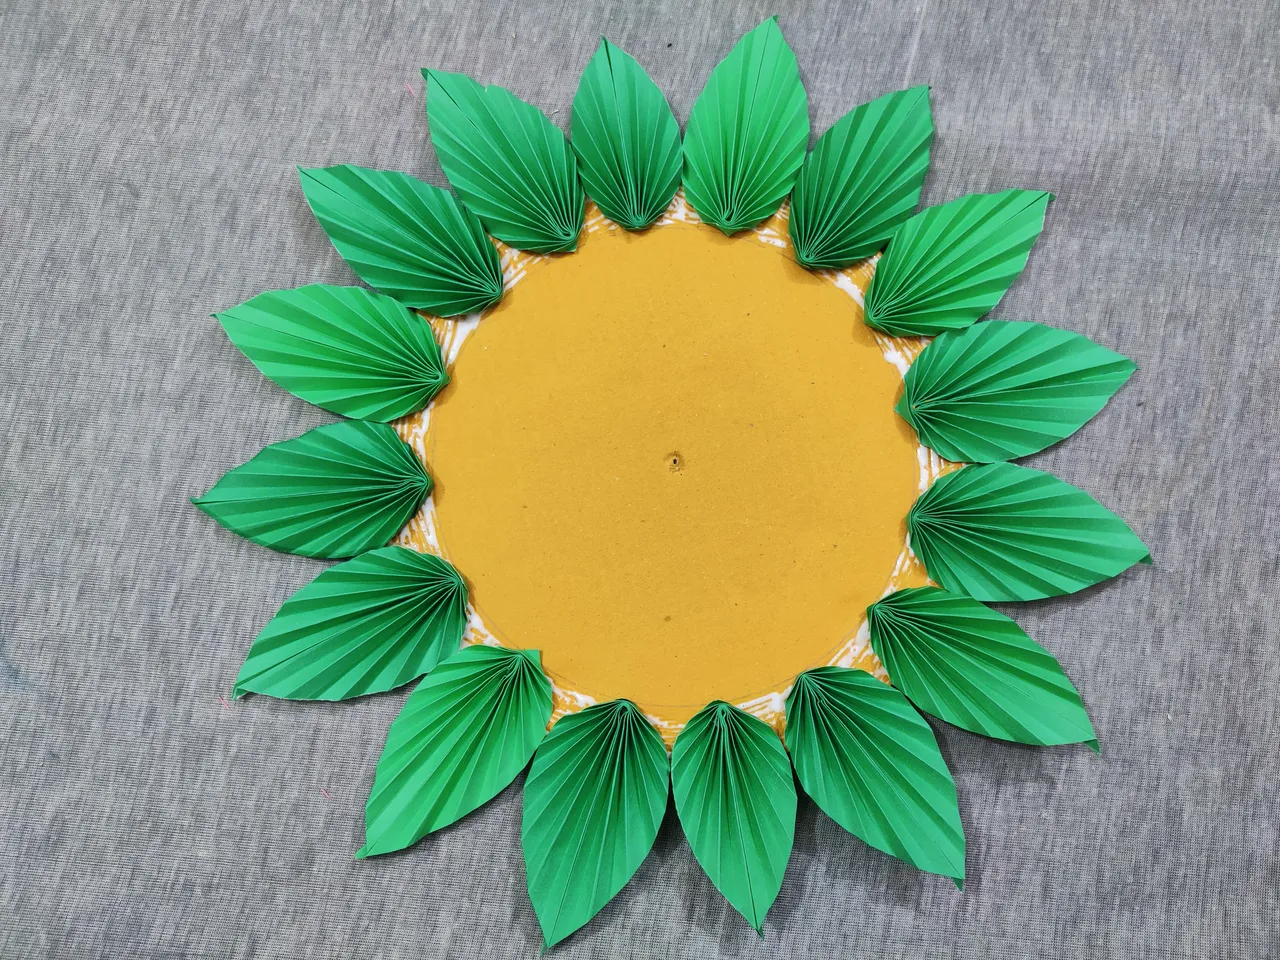
It becomes like this after I glued all the leaves with the cardboard. And I'm done with the leaves part.
Now its time to make some flower beads.
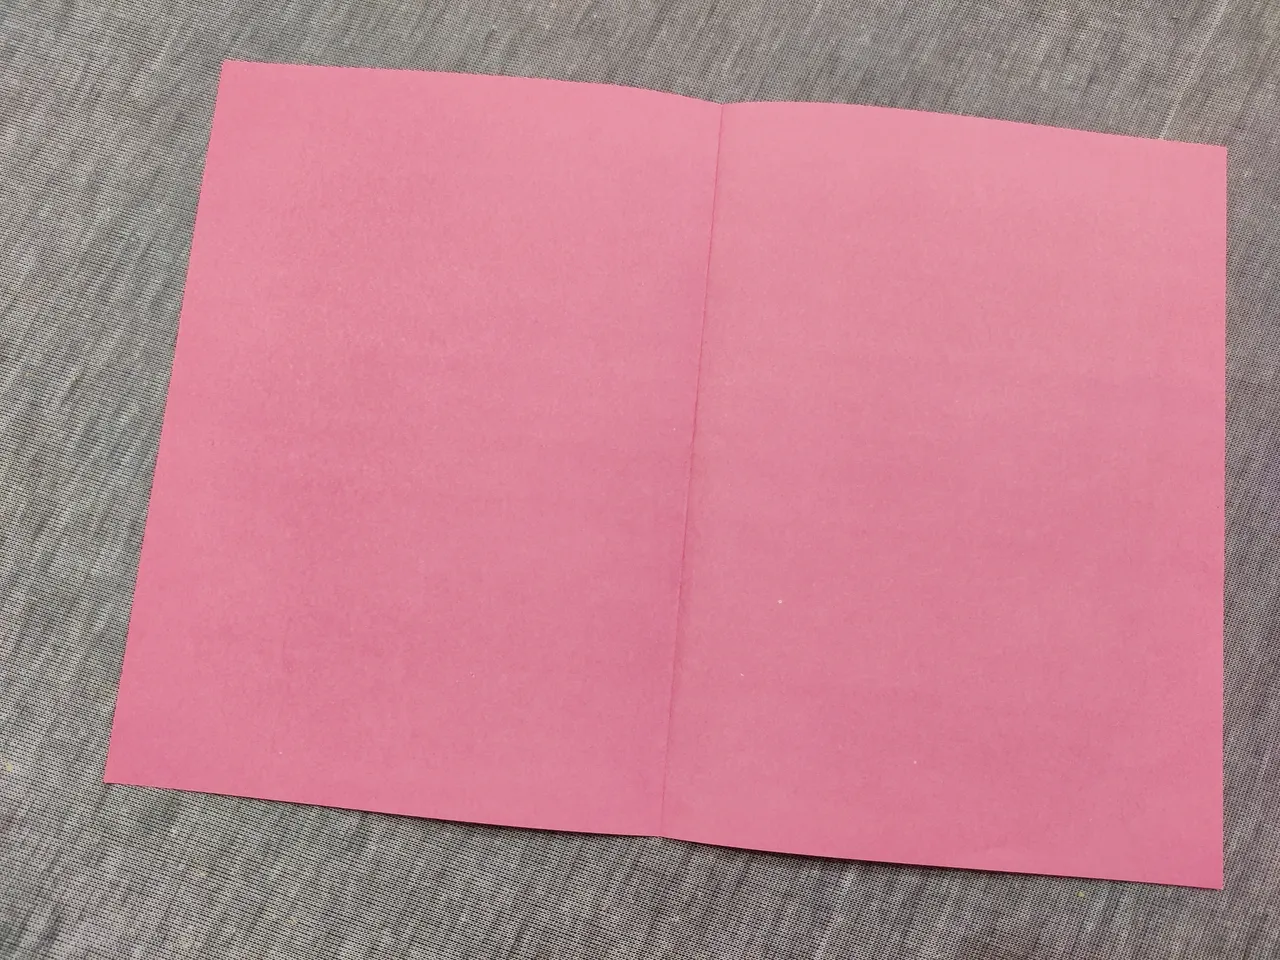
I chose three colored (pink then Yellow and then Blue) paper for this part. And I needed to fold the paper like above which is the same that I did with the first step for the leaves although I didn't crop the paper in half this time.

After the first fold, I did another fold and I got these folds inside the paper.
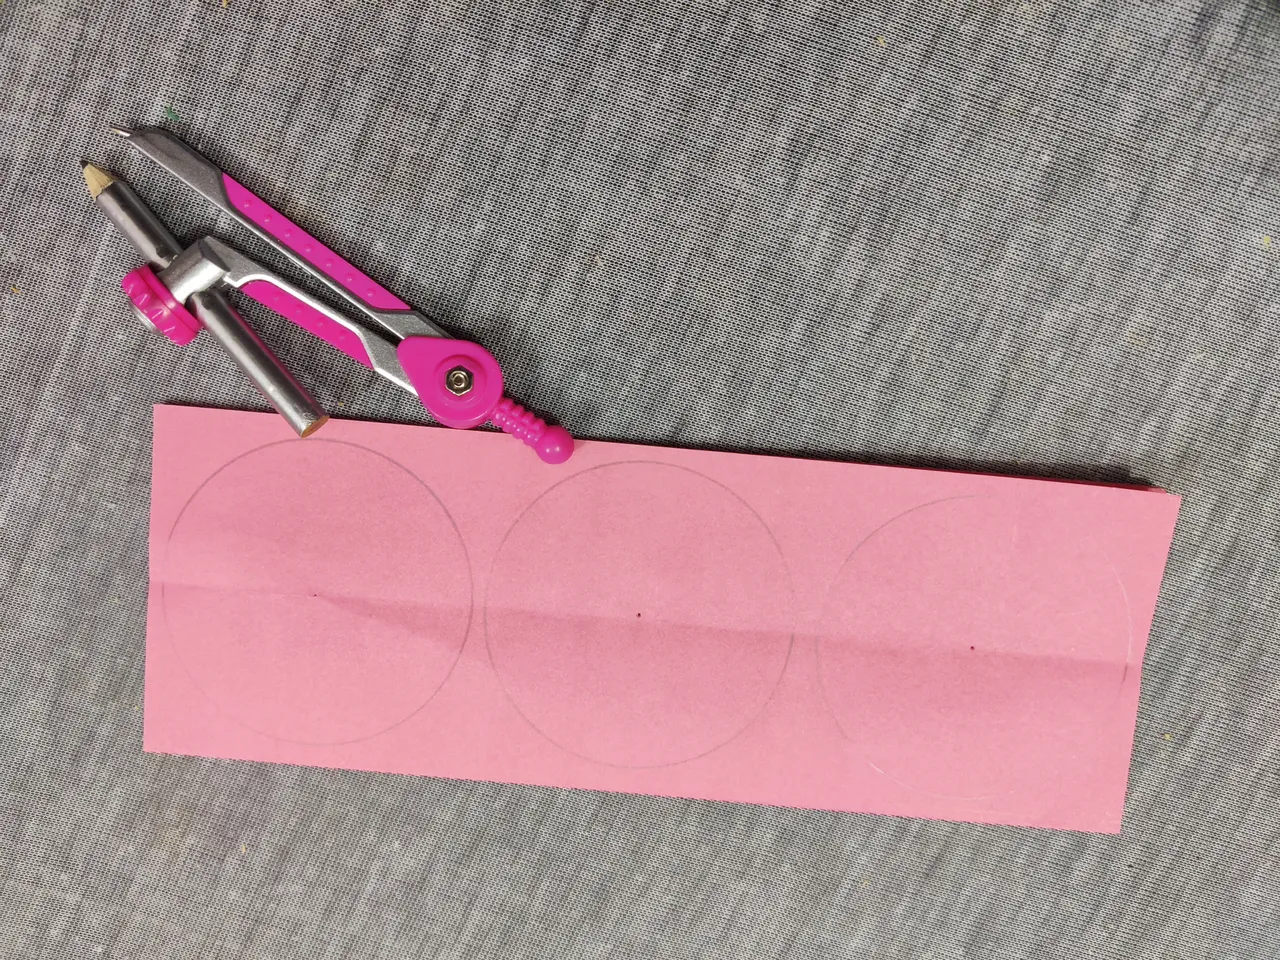
After folding and getting four parts, I drew 3 circles on one side and then I cropped the three circles.
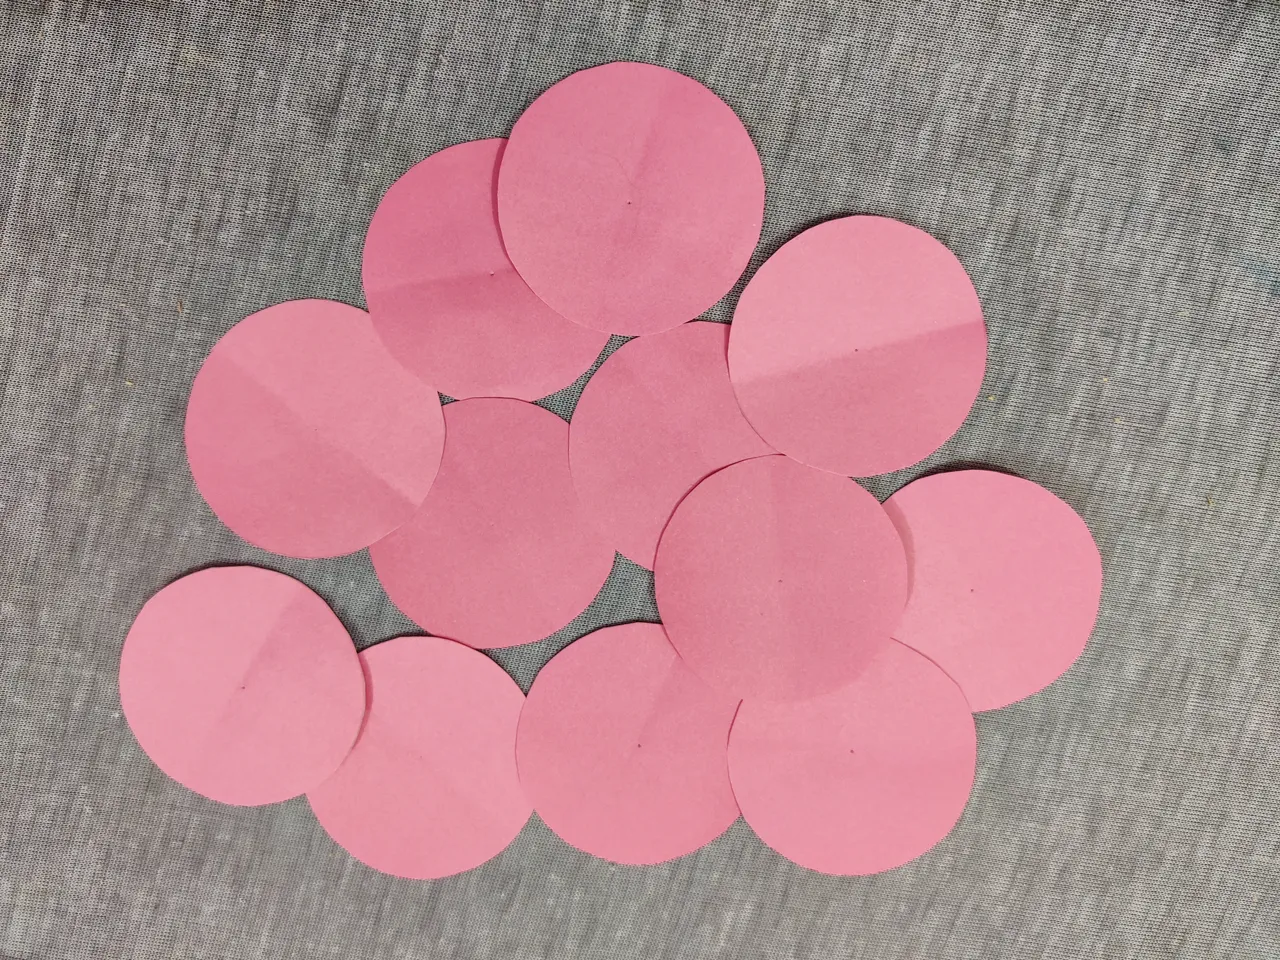
I cropped three circles but I got these 12 circle papers from those foldings.
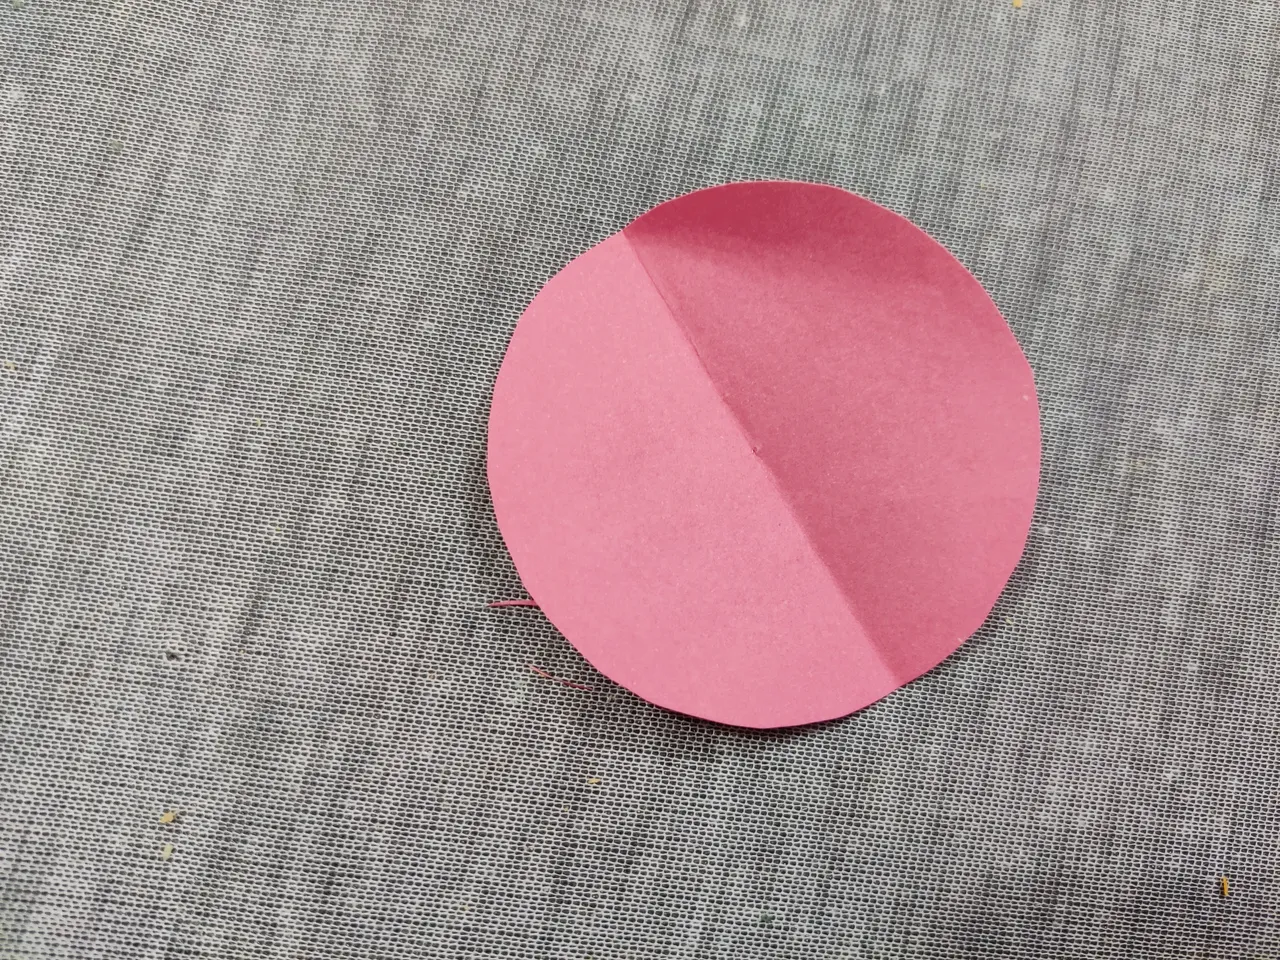
Now I needed to fold one circle into half so that I can easily fold it into a flower bead shape like below.

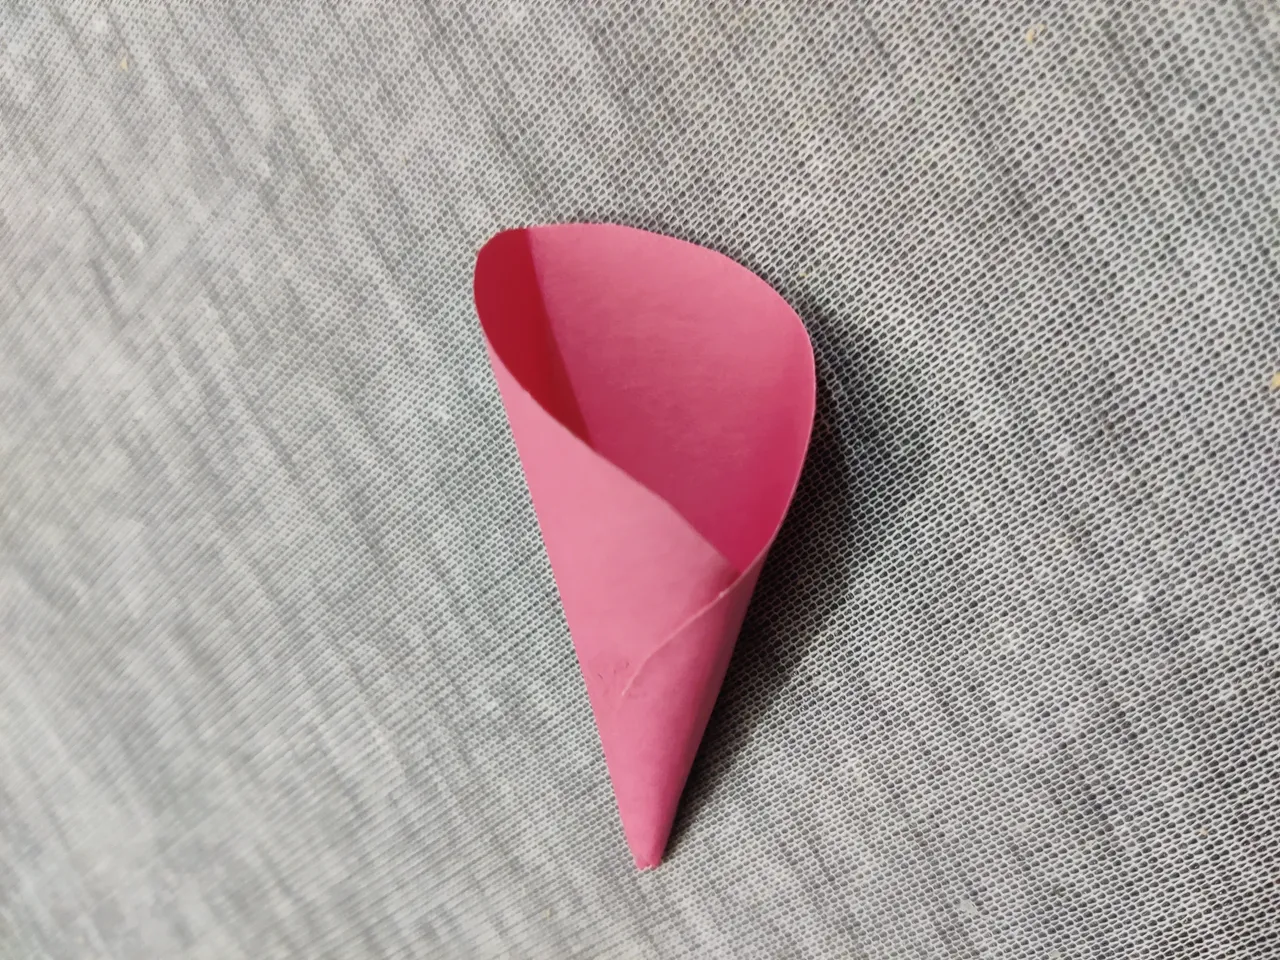
After gluing one part with another, I got this flower bead.
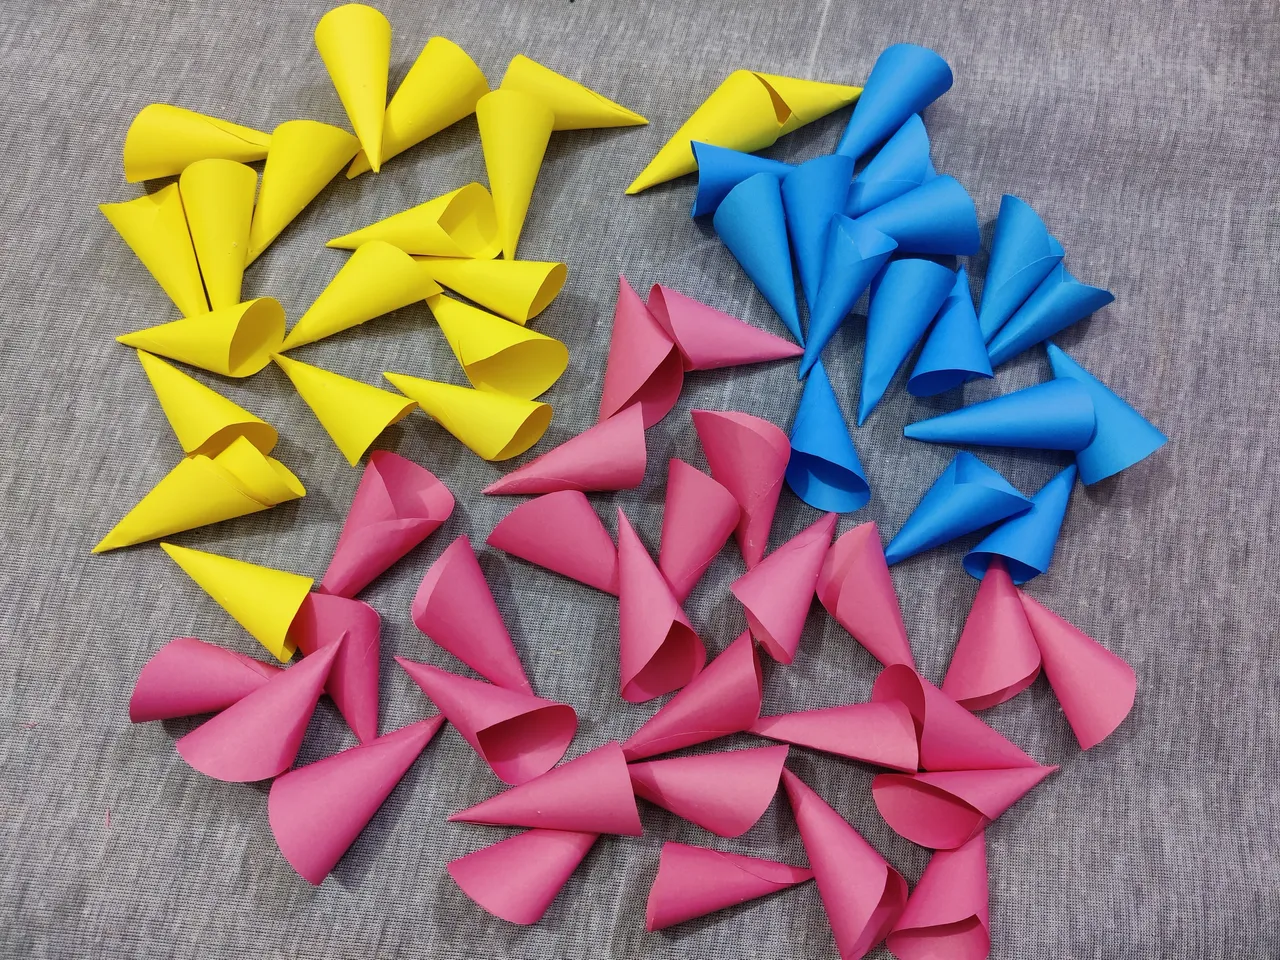
And I made a total of 32 pink flower beads, 27 yellow flower beads and 18 blue flower beads.
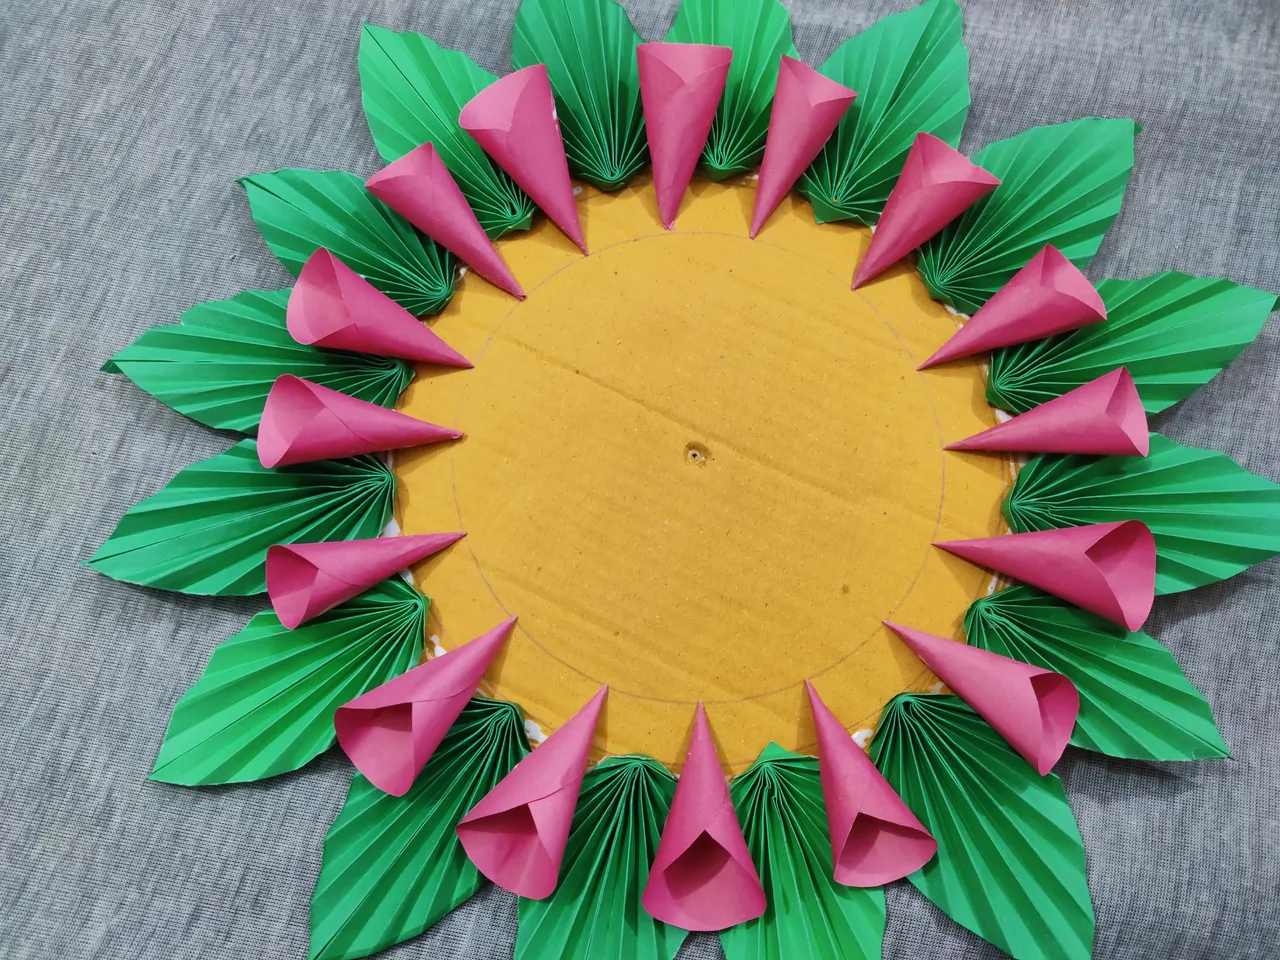
And I started gluing the flower beads on the cardboard like above.
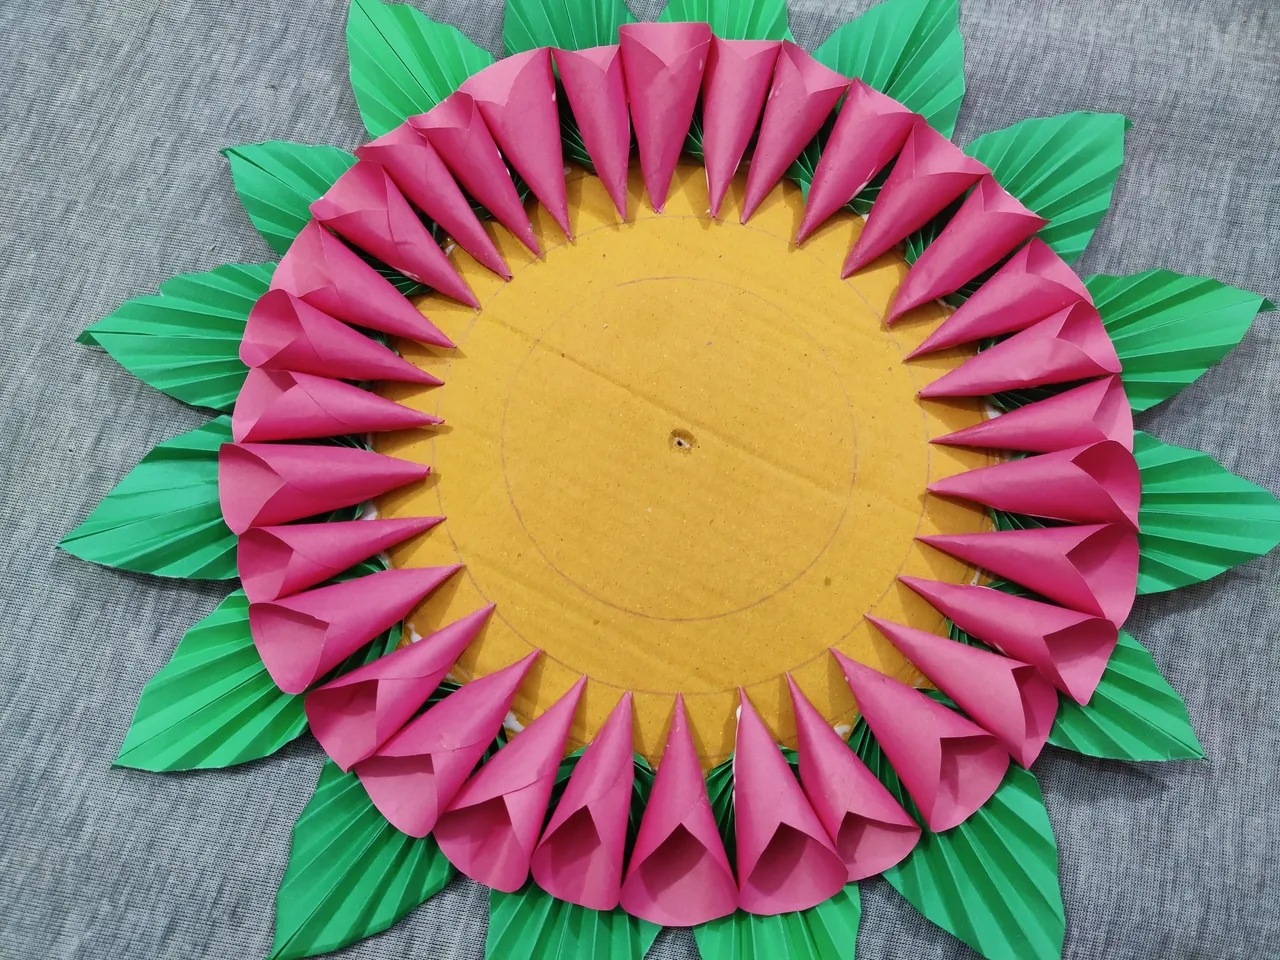
Then I attached the rest of the pink flower beads.
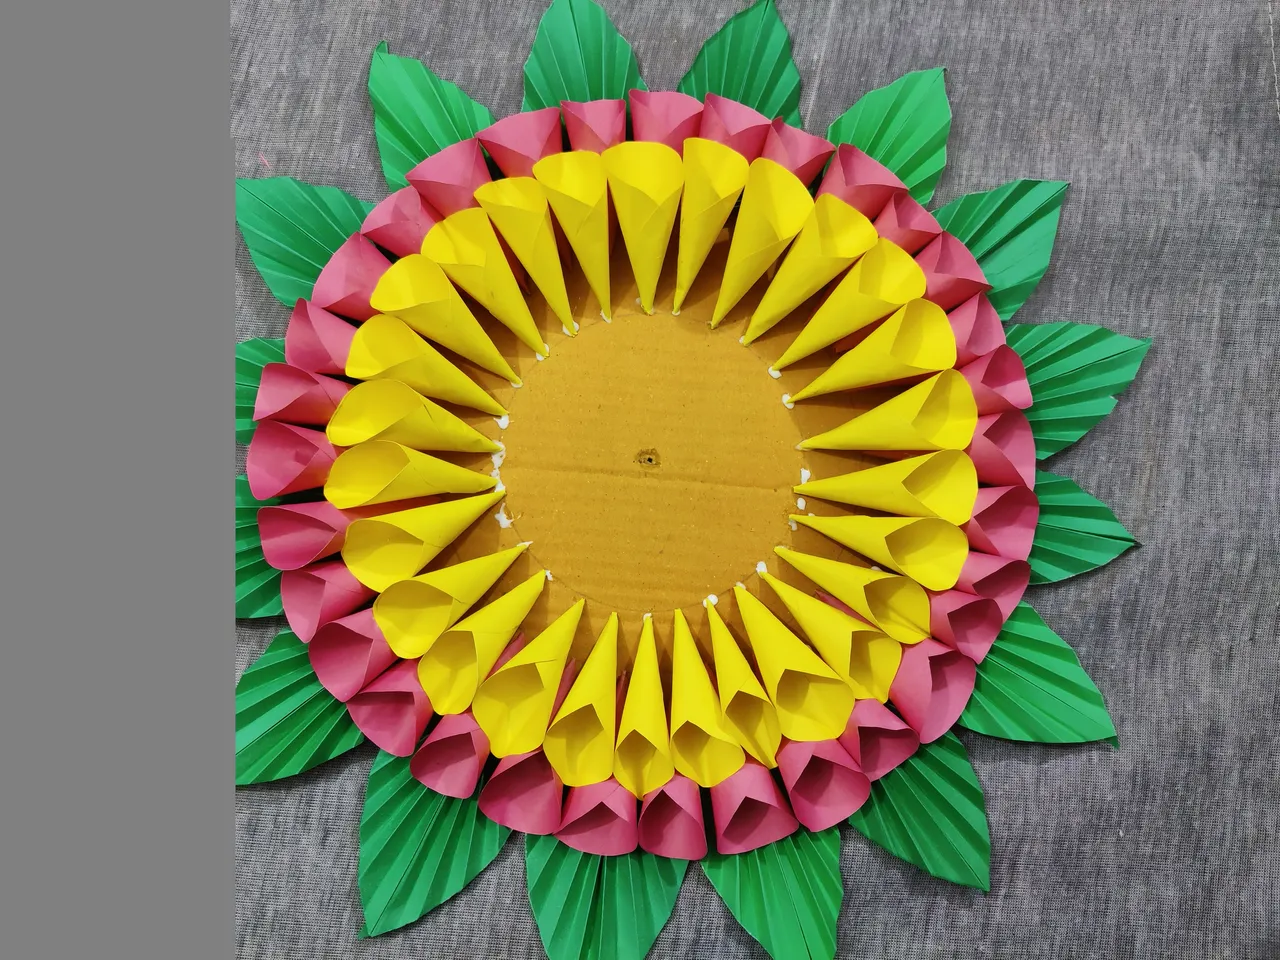
Then the yellow ones.
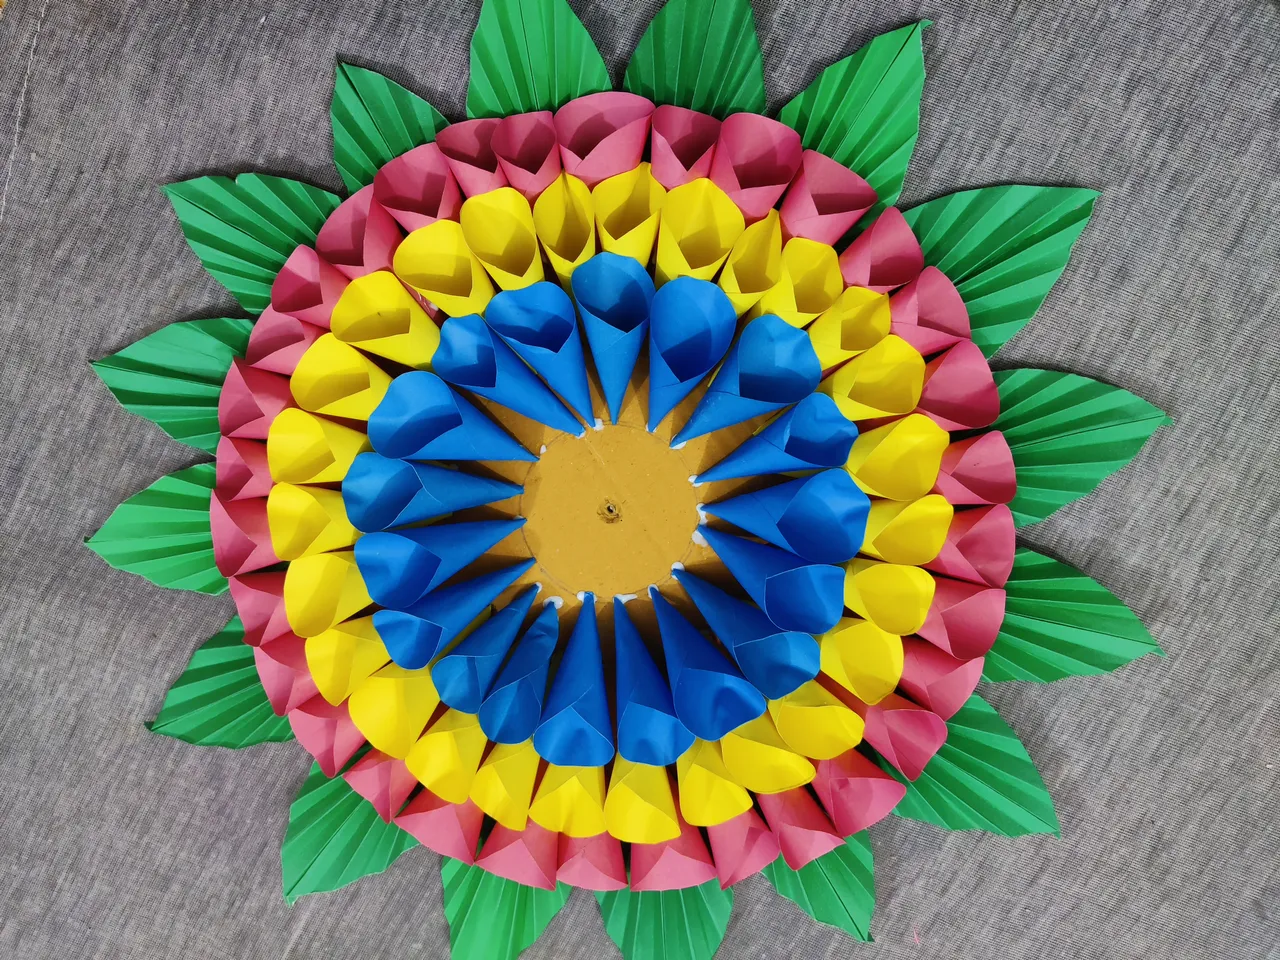
And the blue ones.
And then I did a changing from the original idea and I added a big paper rose on the middle where the original idea used something else.

Here's the paper rose and the finishing of this work. You can check the making process of the paper rose in this post.
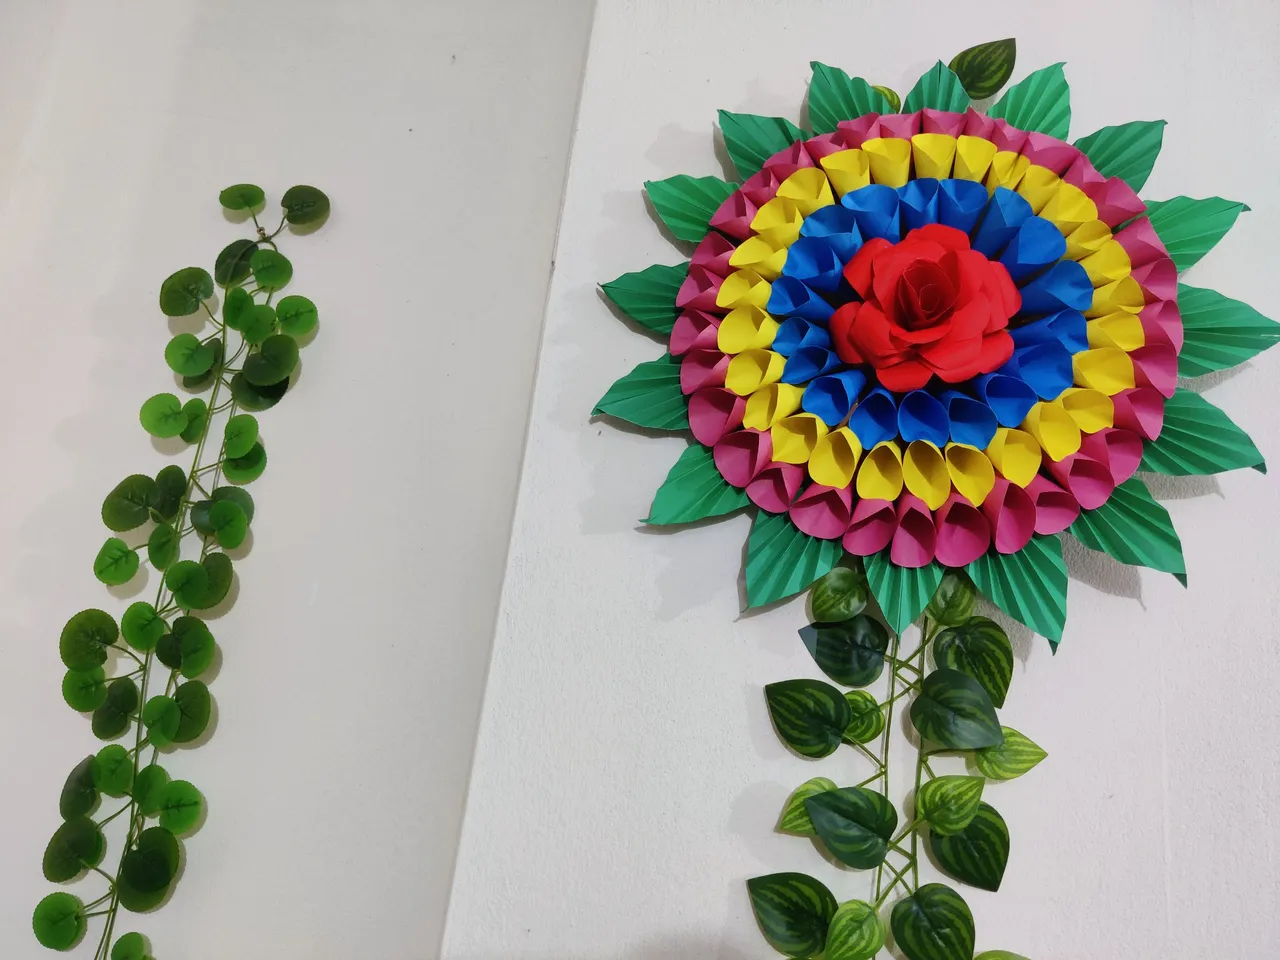
So after I finished making it, I started checking it on different walls with my other room decorations.

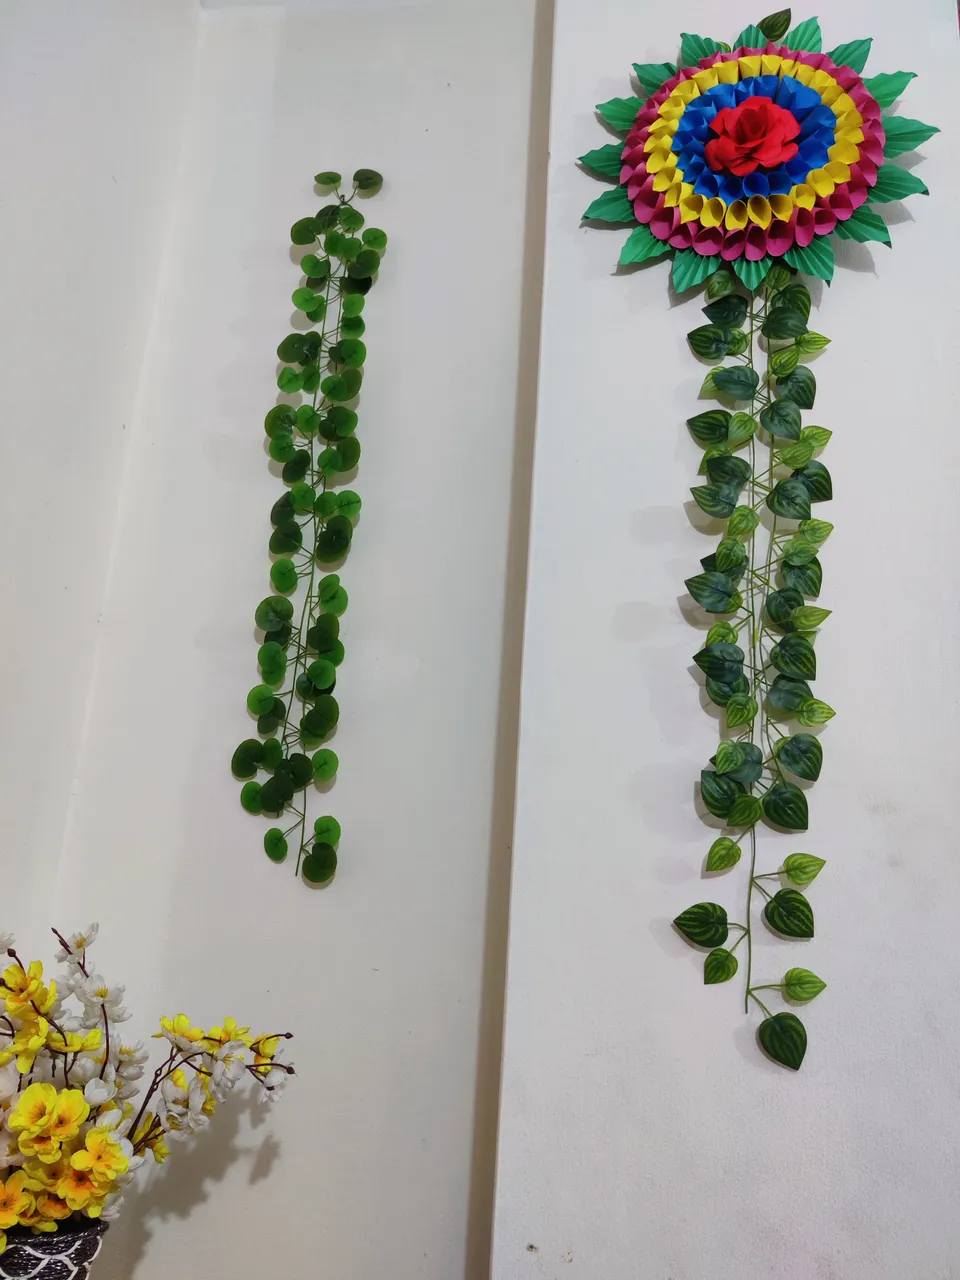
Here I was checking it with the artificial plastic leaf vine that I already had as my room decorations.
And then I tried hooking it there with the foreign lace that I used on another wall as a room decoration. Now this piece stays beside my television and the main door and it looks beautiful, trust me.
I may show more of my paperwork later and soon I may show a work that's been in my kitchen lately where you'll see the presence of this rose/this type of rose as well and I hope you'll like that very much.
No more today, I'll talk more later with another craft soon.
BYE BYE.