
The last piece clicked into place with a satisfying click; I sat bag on my chair, a self-satisfied smile on my face, and a slight tingling of Lego-thumb reminding me of the work I'd put into this build. "Finished," I said with a deep sense of contentment.
This build took a total of 24 hours all up. It was a lot of parts, and required some precise instruction-following, like all Lego Technic. I'm pleased to have completed it and to say that it all works as intended.
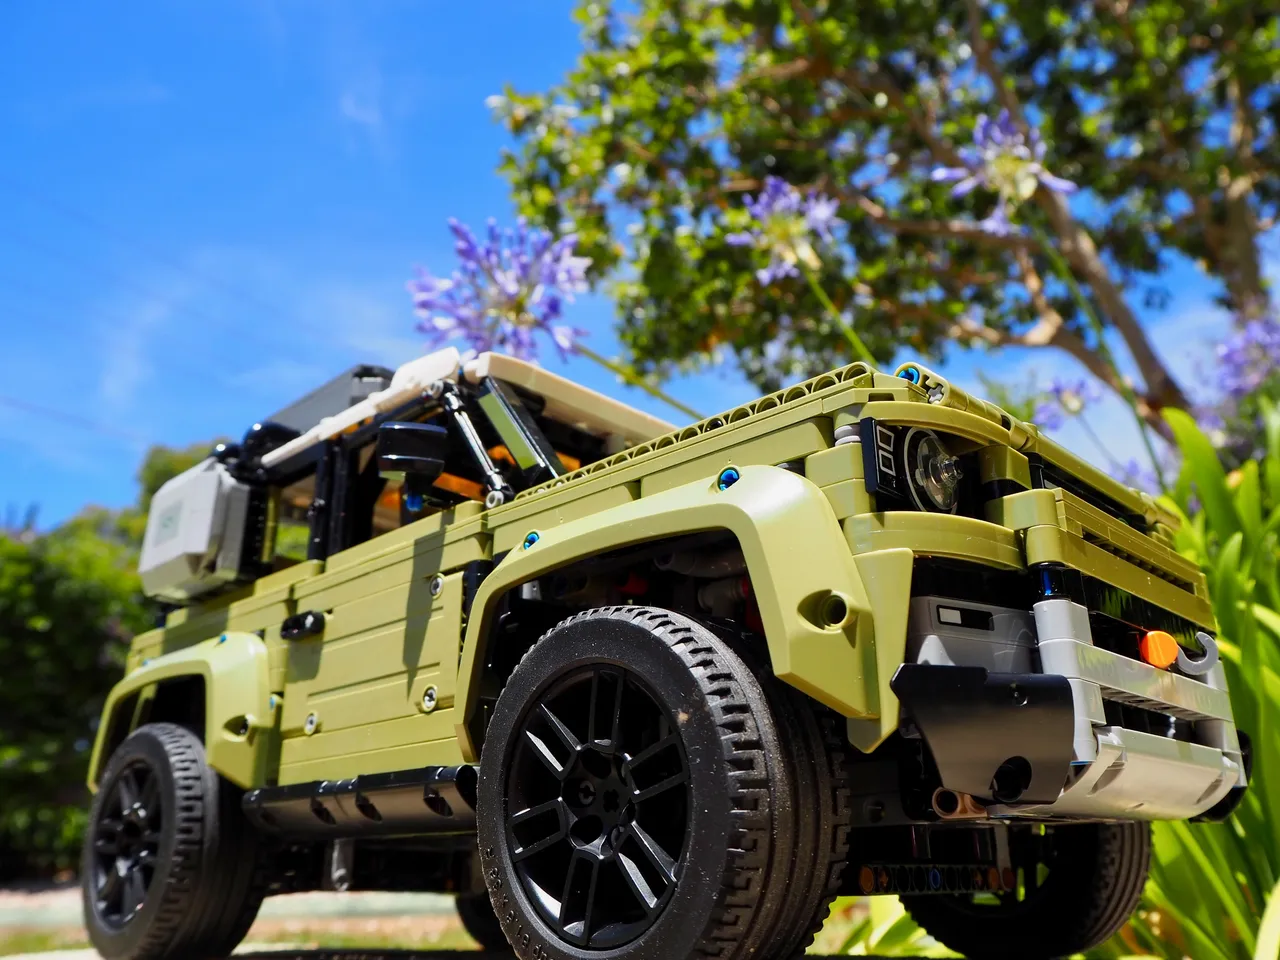
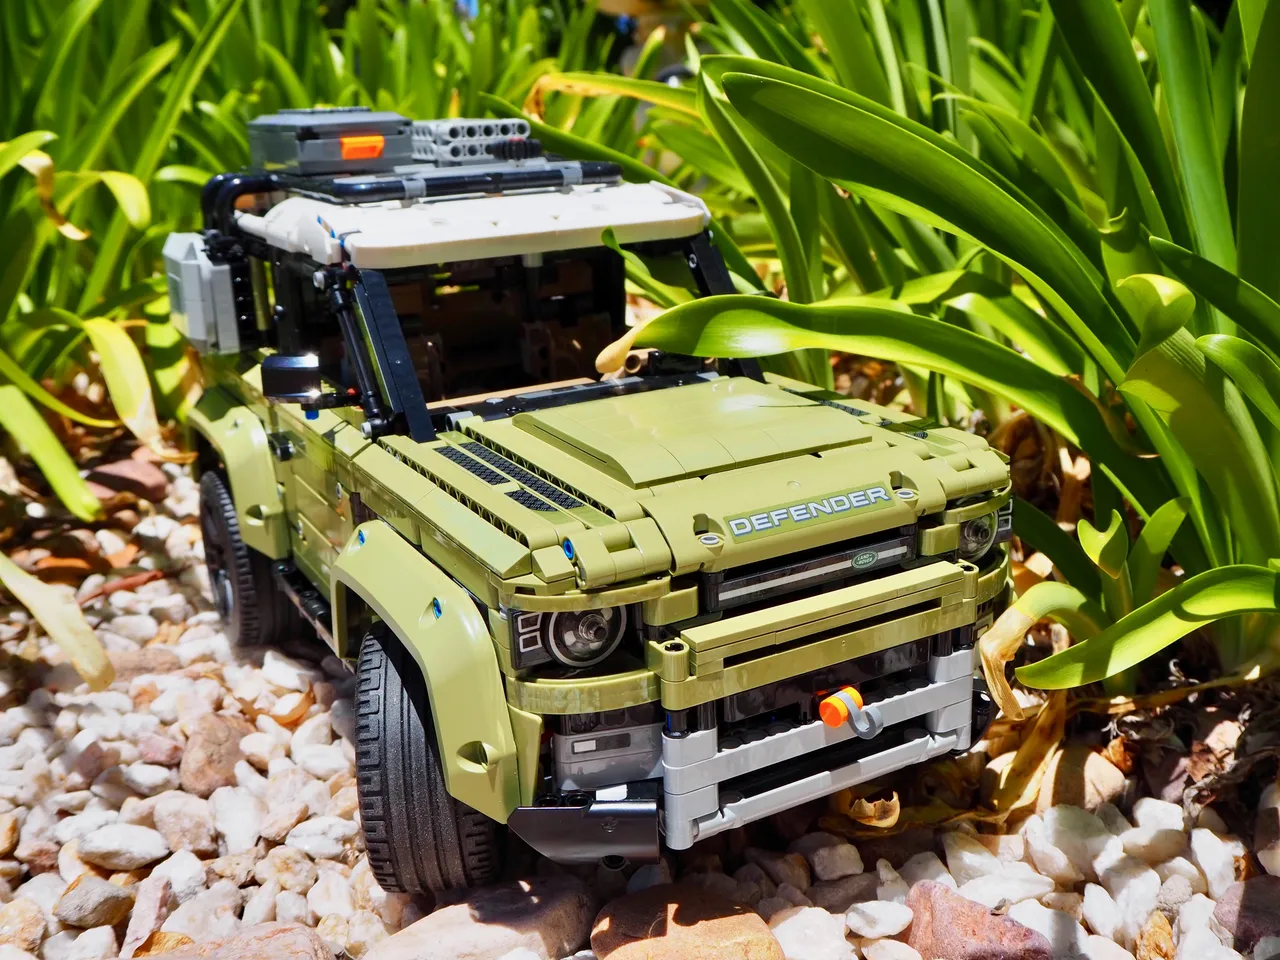
The Lego Landrover Defender is a pretty sweet looking set if you ask me - I chose it because I love off-roading myself and figured it would be fun. It was enjoyable, and will be moving forward as I plan to make a video of it in its natural environment, the outdoors, just as soon as I have a chance. Fun!
Specs:
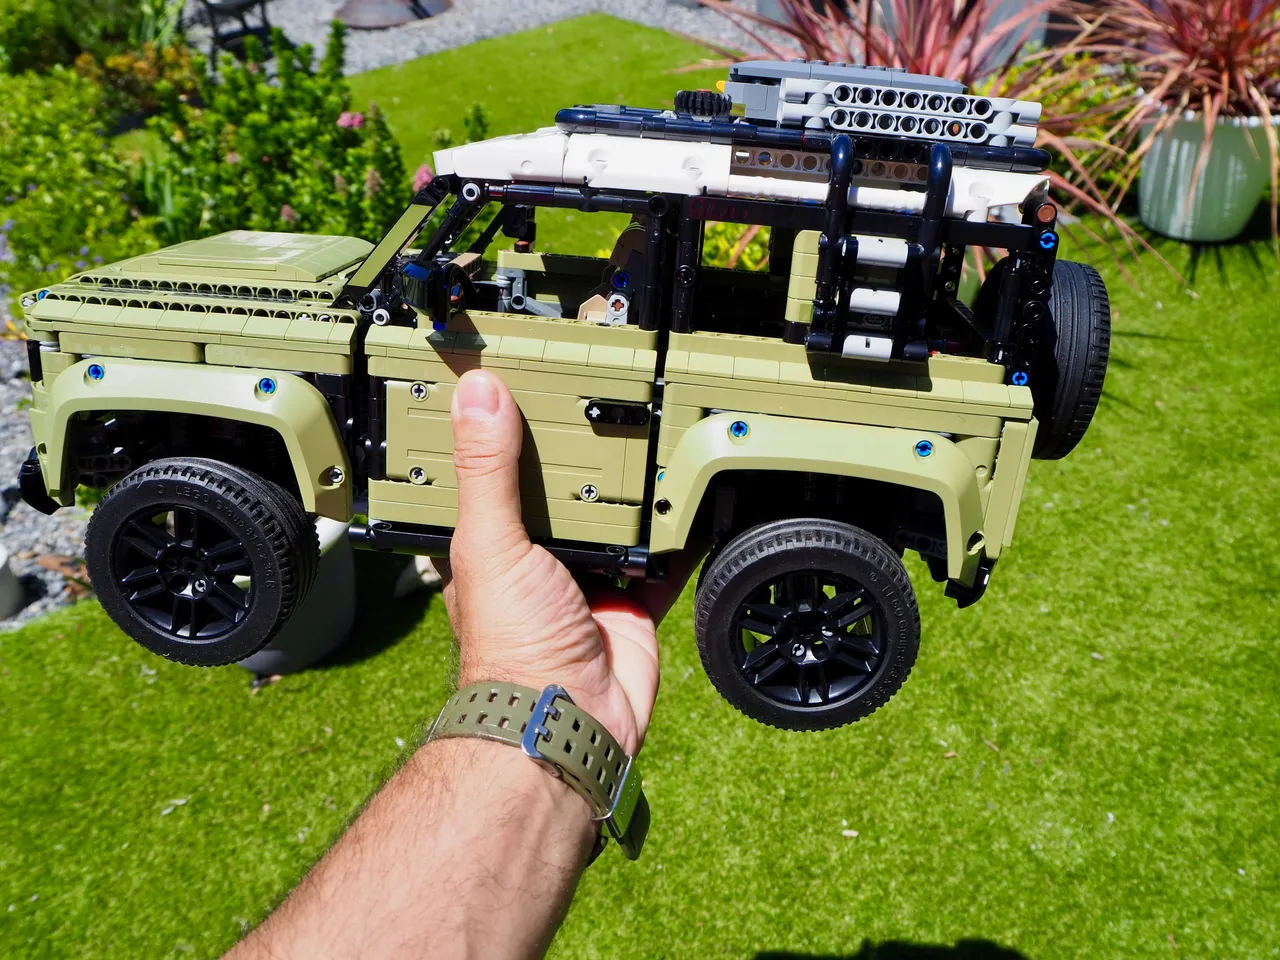
2573 Lego pieces - 43cm long - 22cm high - 21cm wide - 2kg in weight. You can see it held in my hand pictured above which shows the size pretty well I suppose.
What made this model fun was how intricate it was to build. It's difficult to show however you can review the entire build-process in the links below if you are keen. They show each stage in detail.

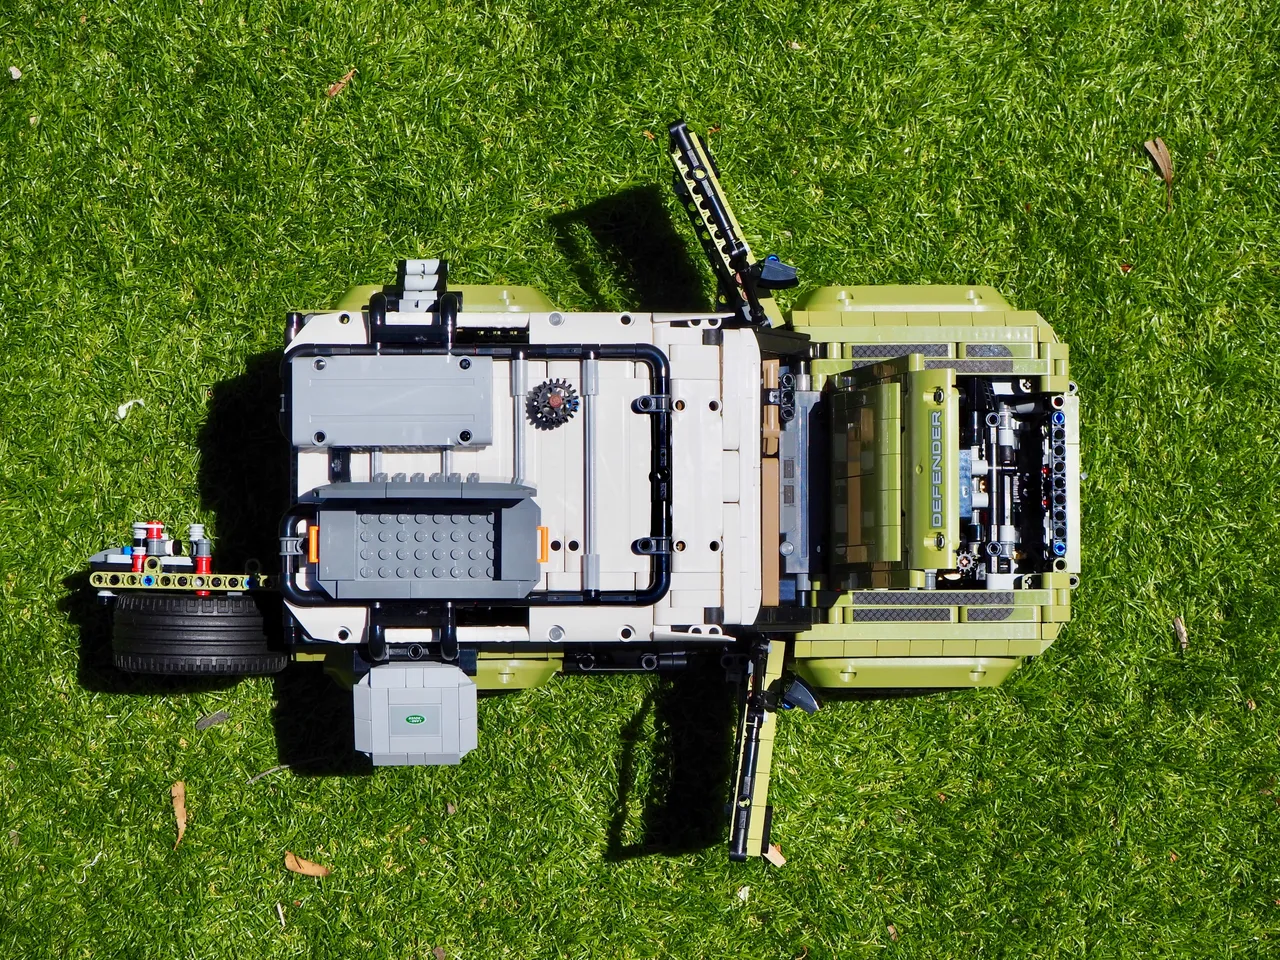
Lego designed the most complex gearbox ever made for this model and I can attest to its complexity. The image above shows the underneath of the vehicle including the gear boxes, differentials, drive shafts, independent suspension and steering systems. It all works too! It goes into drive and reverse gears, high and low range and also into 2 wheel and four wheel drive.
This image below shows the interior of the cabin and the gear-shifters - Two with red bases and the black dial a little lower than the shifters. You can also see two of the drive shafts running beneath, a black one with a grey cog and the red one next to it. The blue cog right above the grey engages or disengages with the grey depending on gear selection.
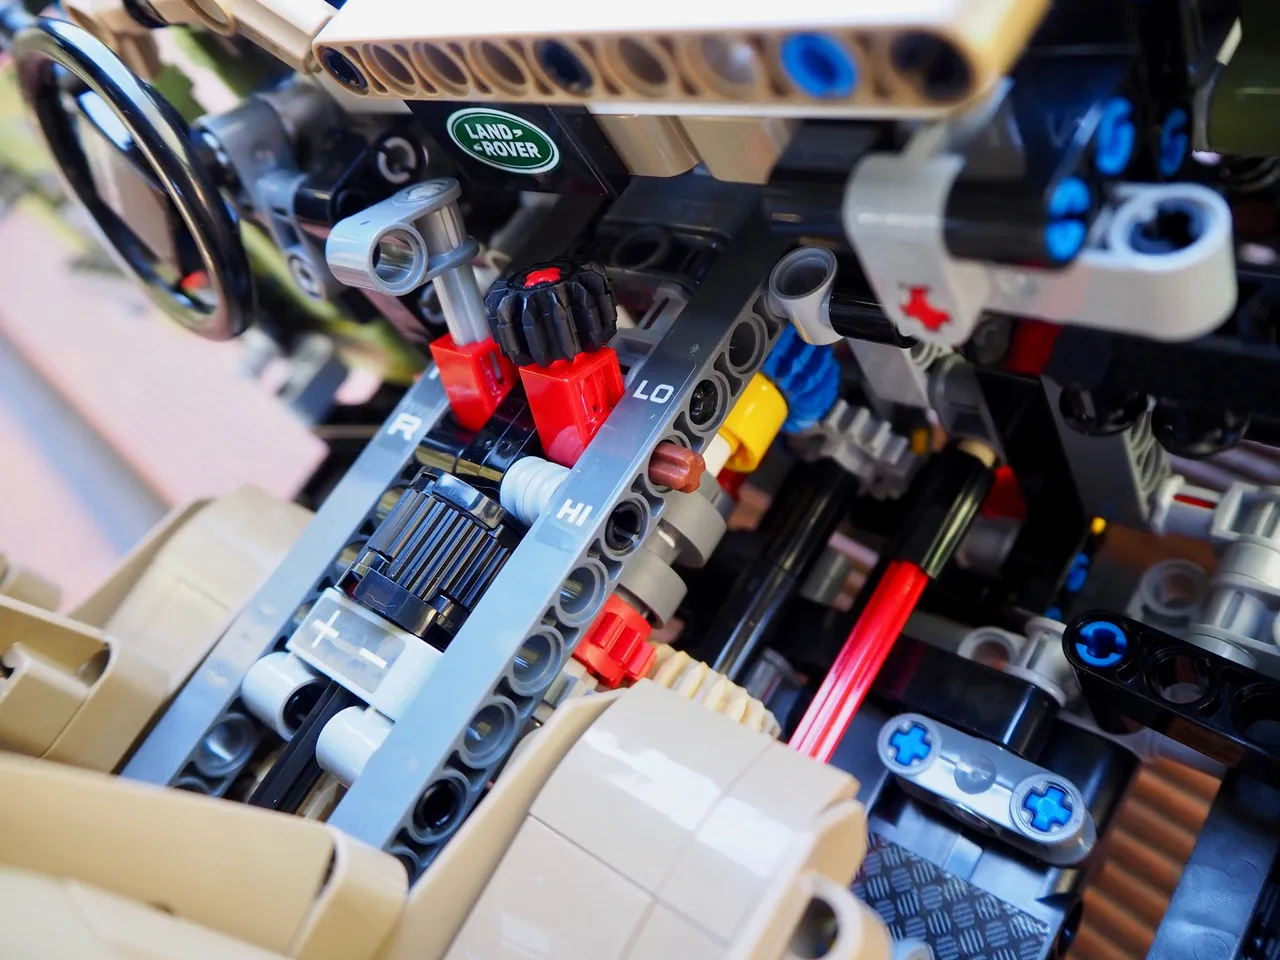
The engine pistons move up and down in a firing order due to the crank shaft and there's a working winch on the front also. It runs out and winds back in via a cog in the engine bay. Engine bay shown below.
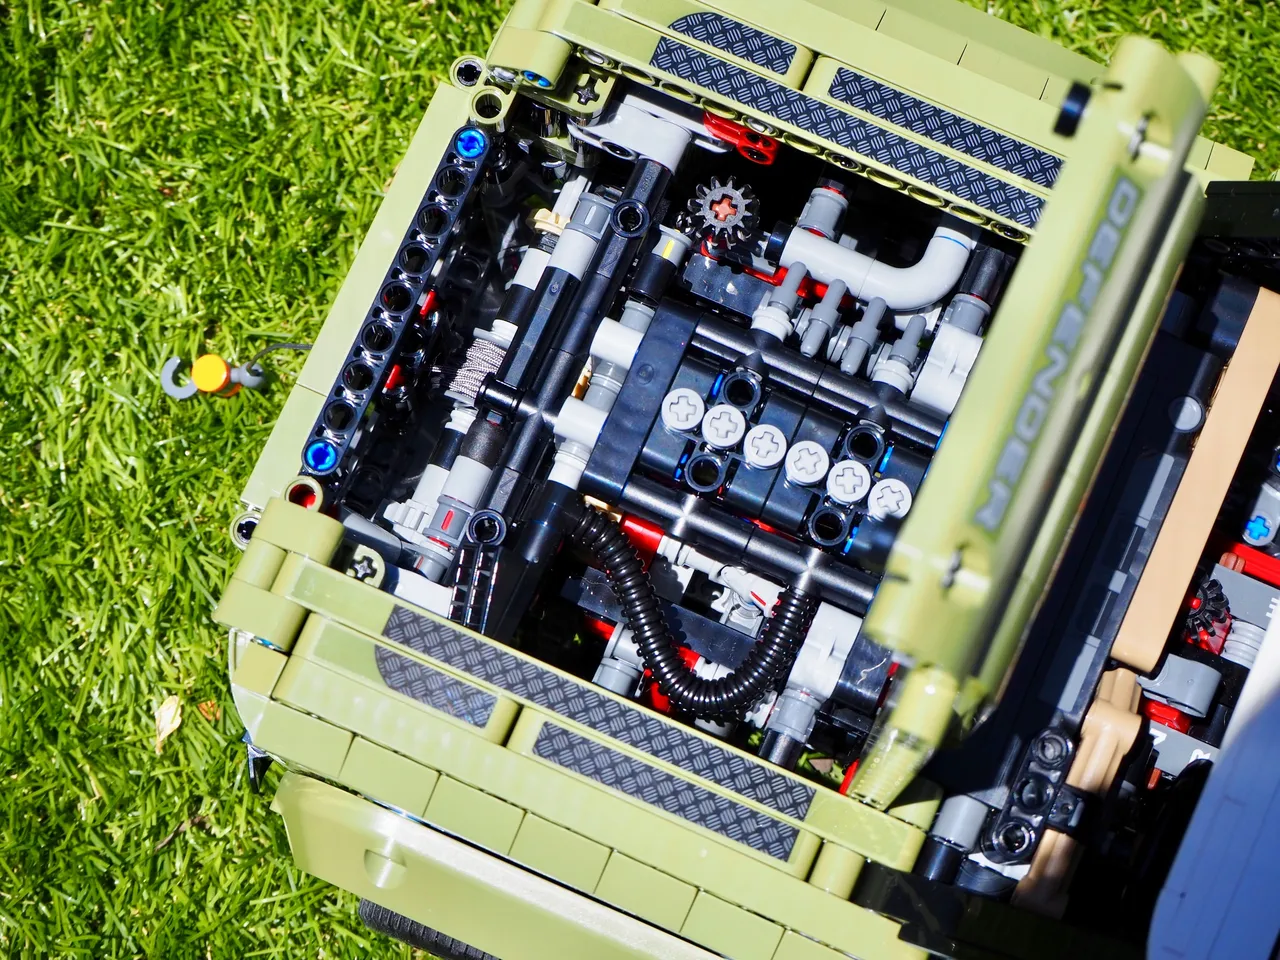
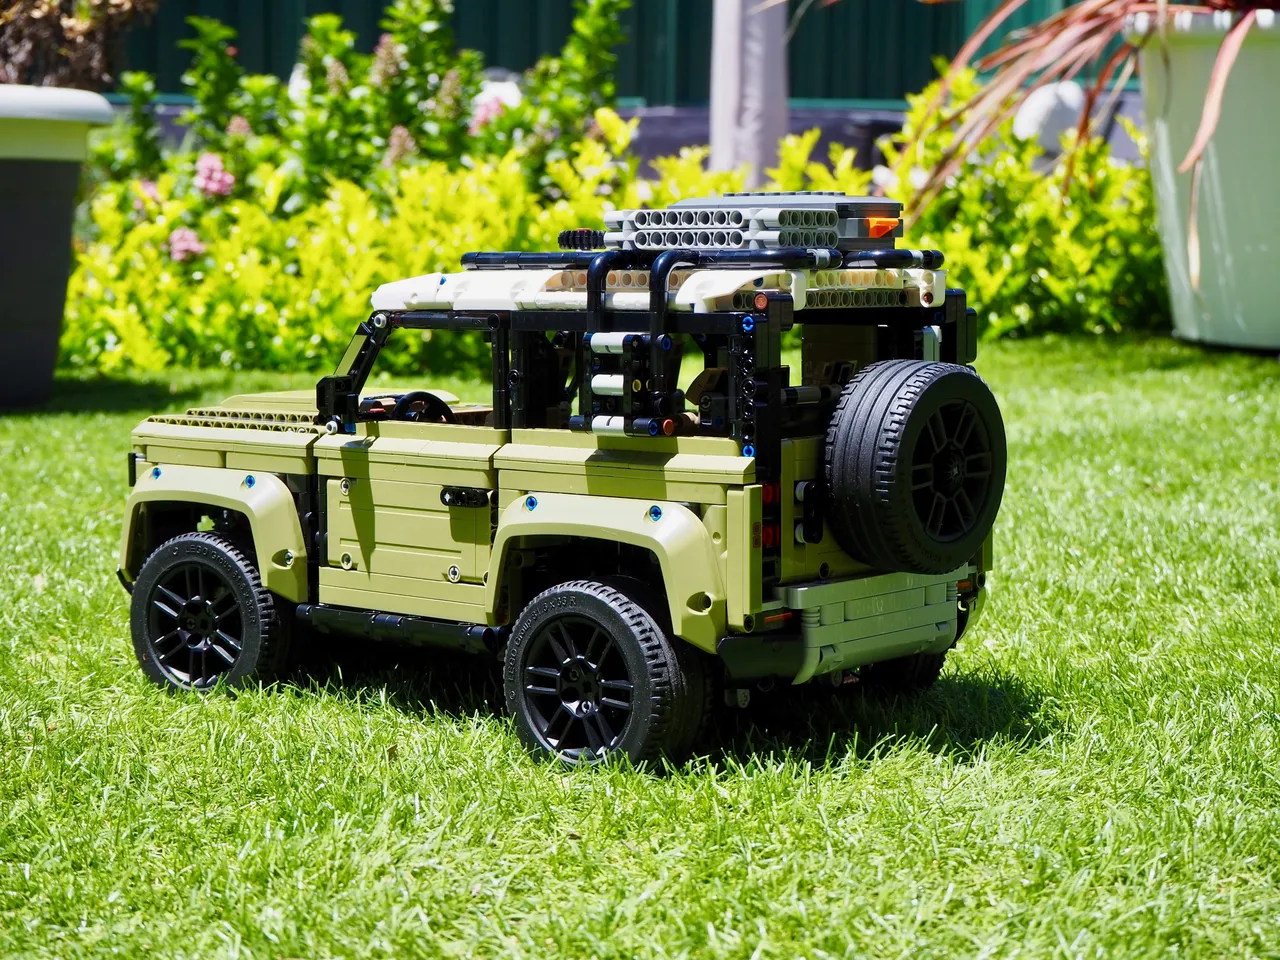
The model also has opening doors including a latch-locking-mechanism for the rear door, roof-mounted storage, roof-mounted recovery tracks and roof-access ladder.
The image below shows the hood up, rear door and cabin doors open plus the roof and side mounted storage areas opened. (Ladder down to rear of vehicle, at top of image)
In real life this vehicle will go literally anywhere if driven by someone with skill and the understanding of the four wheel drive concepts the vehicle contains...This one...Not so much, it's Lego after all.
I'm going to take it to the forest and see if I can get some decent video of it driving around and although it's not mechanised it'll be be a bit of fun I think. Here it is pictured in a section of my garden looking right at home.
I've really enjoyed this build and am yet to wring some more enjoyment out of it with my video shoot. You may be thinking what place an almost 50 year old has building Lego like a kid...That would be your right to do so also...If you're thinking that nothing I say in an attempt to justify it will make any difference to you, or me for that matter so I'll stay silent on why I build Lego.
What I will say is that next to me on the floor, next to my Lego building desk which is my home-office desk, is my next build and I'll be starting it as soon as I can find some time to do so. Its bigger than the Defender in size, some 95cm long but has the same amount of parts roughly. I'm looking forward to it.
Below are the links to the previous build-posts for the Landrover Defender so feel free to take a look if you're interested in the progress photos.
Thanks for hanging around and for those who have commented, or will, I really appreciate your interaction.
Design and create your ideal life, don't live it by default
Discord: @galenkp#9209 🇦🇺
Landrover Defender Lego build stages one to five