
Be sure to check out the previous parts of this series at the bottom of this post.
It looks like the motherboard, ram, and SAS expander should be arriving today. That would leave the CPUs & Drives as the only remaining components I am waiting for.
At this point, there isn't a lot I can do but prep the case and replace the fans. There are a few modifications I want to do to the fan setup, mostly to reduce noise.
Remove front fans
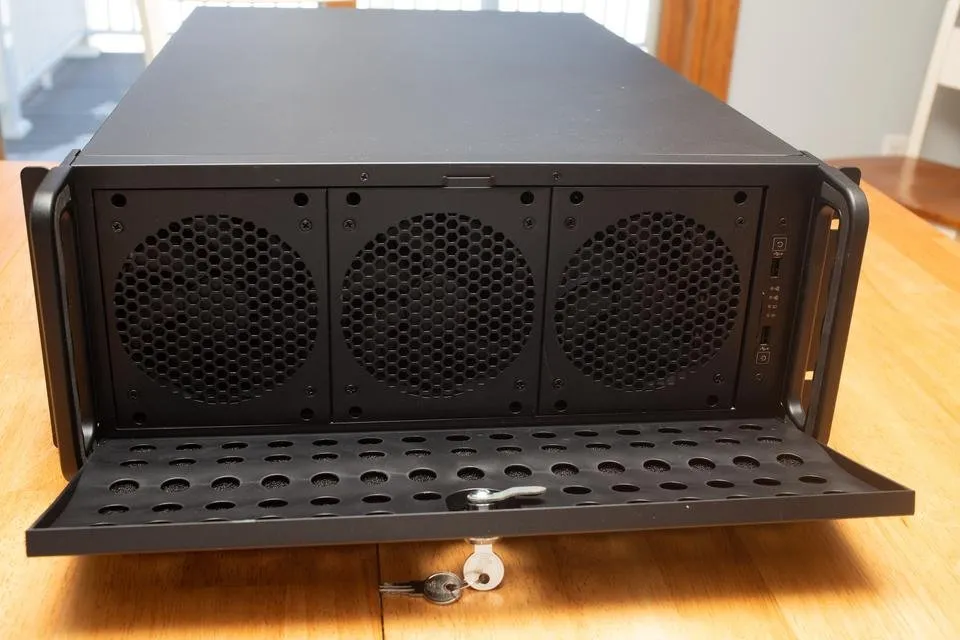
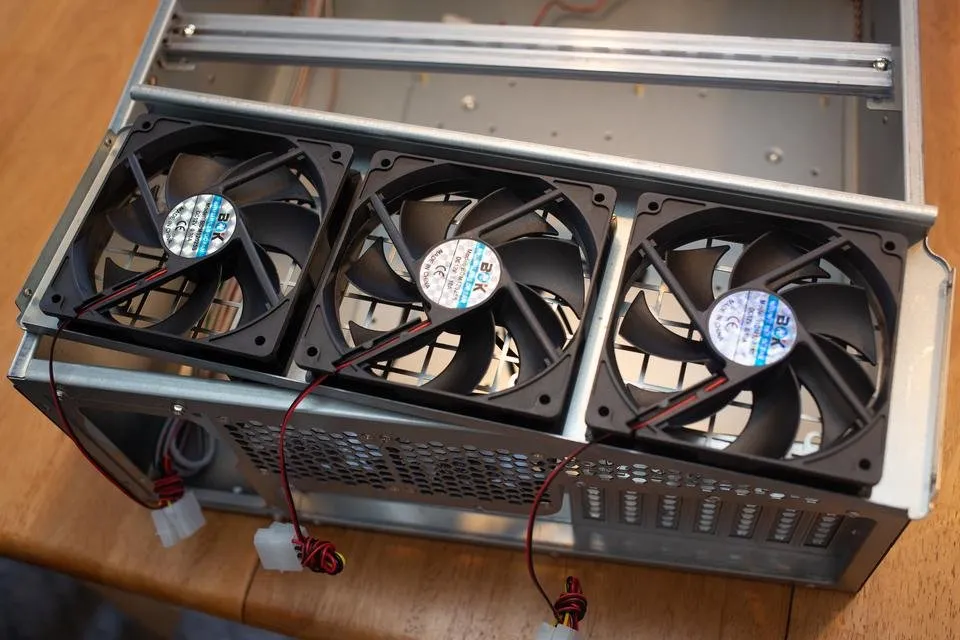
There are three 120mm fans in the front of the case. Not only do these create a lot of noise, but they also do not support variable speed. This means they are on full speed 100% of the time.

Rather than swapping the fans out, I am going to completely remove them. I will have 3 120mm fans on the fan wall pulling the air from the rear of the drives to the back of the case through the 80mm fans.
Fan Wall
I removed the fan wall and I am going to replace the fans with Arctic 120mm fans that support variable speeds through PWM. This will allow the system to adjust the fan speed based on current temperatures and activity.
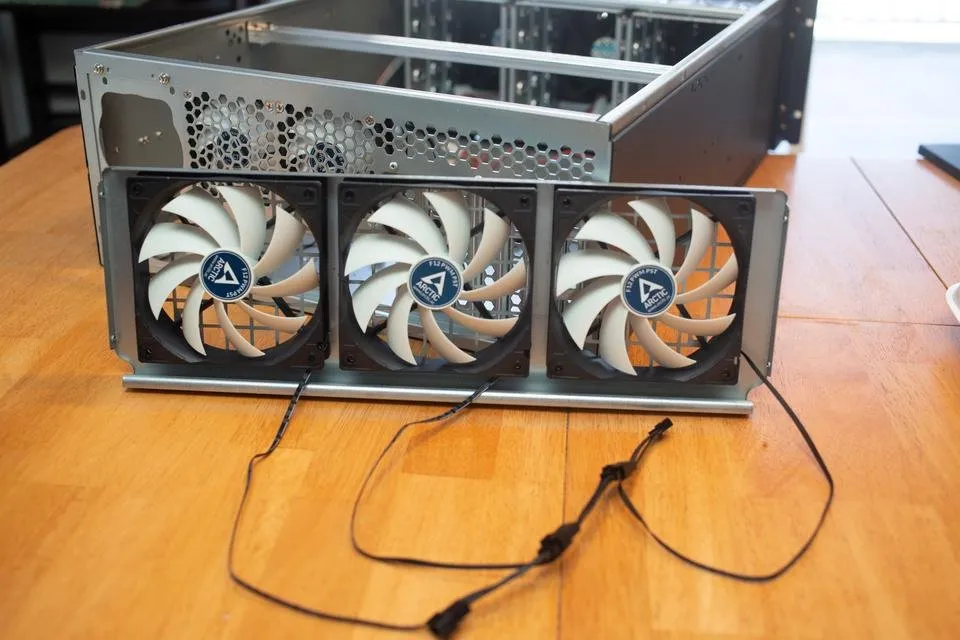
All three 120mm fans have been replaced, they have also been reversed. The idea is that the fans generate more noise if they are pulling air through the grates on the wall. Reversing them will mean I will also need to reverse the wall so the air is still being pushed to the rear of the case.
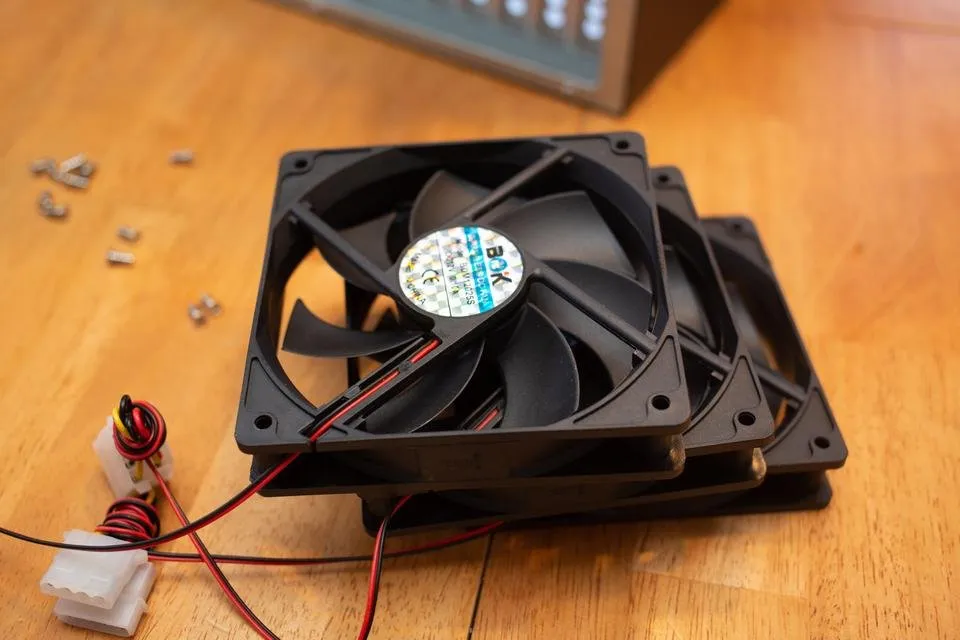
I am going to have a lot of spare fans that I will need to find some project to use them for. I hate to just throw them out, but I can't think of anything to use them for besides a soldering station exhaust system.
Lunch

At this point, I took a break and had some lunch.
Rear Fans
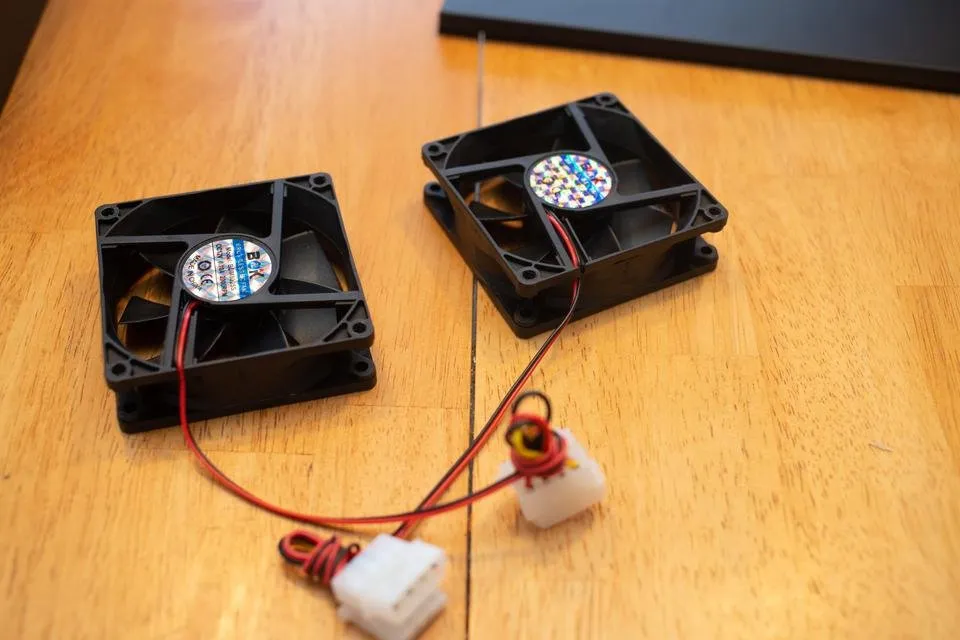
I removed the two rear 80mm fans.
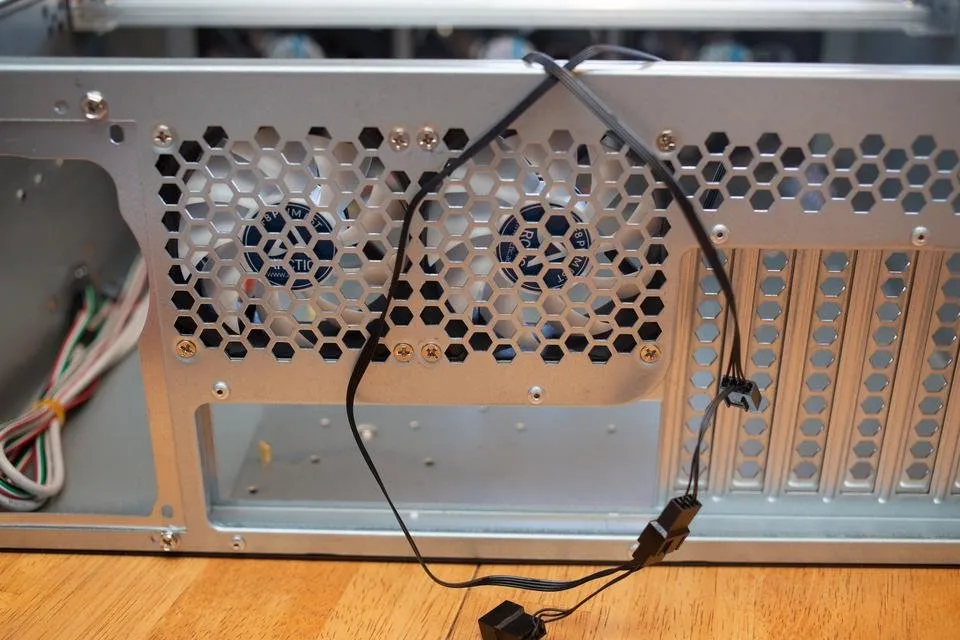
I replaced the two fans in the back with two new Arctic 80mm PWM fans, as you can see they can be daisy chained and support variable speed.
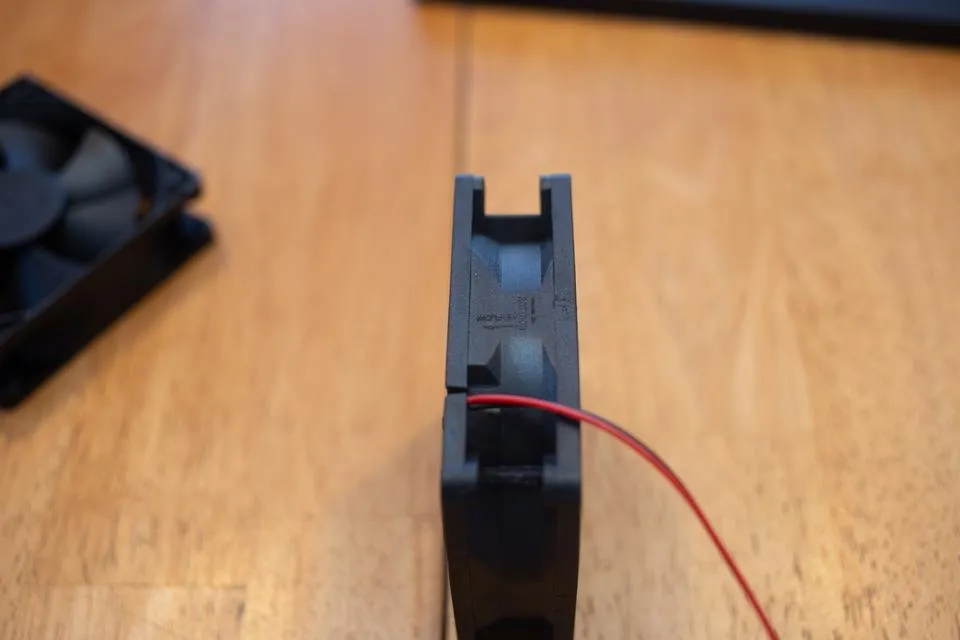
When replacing fans, make sure you inspect the markings that denote the airflow direction. If you install the fans in the wrong direction you can actually create a lot more heat in the case.
Take note of the air flow direction before removing all fans, and keep that in mind when you plan your builds. In most cases, you will want the air pulling from the front and exhausting from the rear.
Don't be screwed!
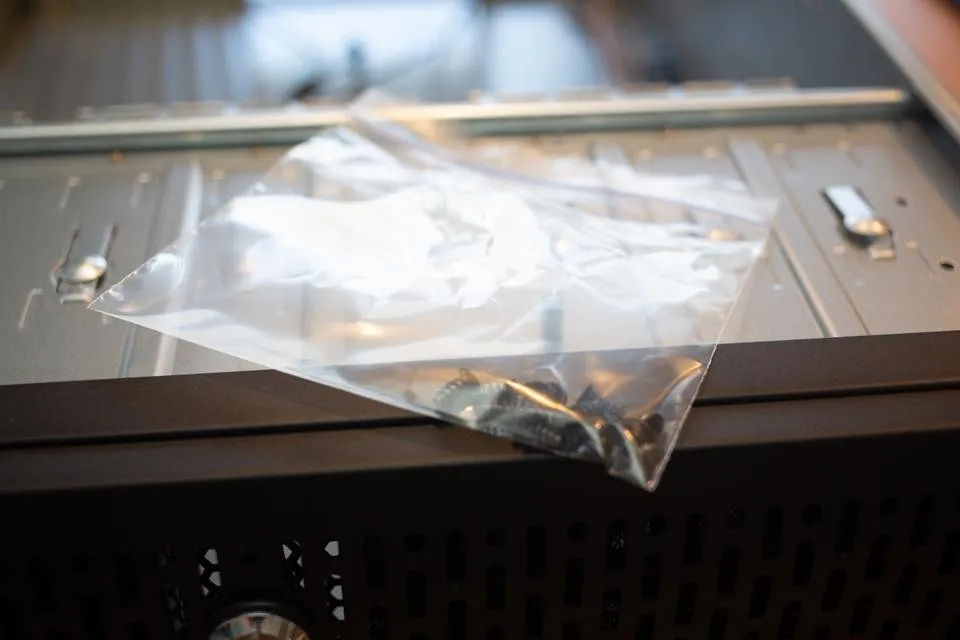
Ziplock bags are very handy for saving spare screws. These screws are from the front fans I removed. If I decide to use them later, I will still have these screws handy.
Once I have the motherboard and CPU, I will be able to test the motherboard and CPUs and install the CPU cooling tower. I will also be able to install the operating system (Ubuntu 18.04) as I already have the two SSD boot drives on hand.
I also have to modify the SATA power cables and install the drives. This is going to be the most difficult and frustrating part of the build. Once that is done, I can do tests on the hard drives and make sure I didn't get any duds.