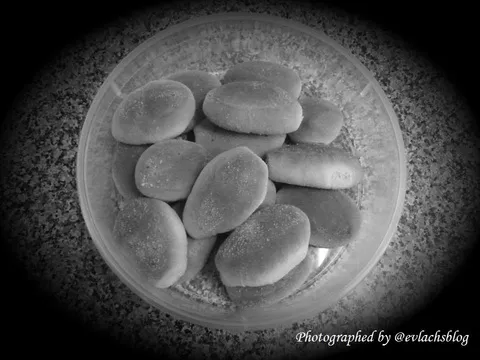
This photo, which was taken about two years ago, is the best batch of pan de sal that I have ever made ever since I have learnt how to bake them. Being in Australia for 8 years now, I would occasionally have cravings for Filipino food and delicacies. I have no choice but learn how to make them or cook them as I can't always go to the city to eat at a Filipino restaurant just so I could satisfy my cravings.
The only problem with my pan de sal is that they don't stay soft. They become hard like a rock and the only way to make them soft again is if I heat them up in the microwave for 10-20 seconds, not longer than that as it will just make them even harder.

Or does it have anything to do with how I prepare the yeast? I tried using active dry yeast (the one that needs to be stored in the freezer to maintain its quality) and dissolving it in warm milk, but still the bread got hard when it cooled down. I also tried the dry yeast, still to no avail.
It is really frustrating. As a Filipina, who grew up eating pan de sal for breakfast almost every day, I love my bread to be toasted on the outside but still soft on the inside. But I just can't make it right!!!
The only time that my pan de sal has ever come close to the quality that I used to eat growing up was a year or two ago, and that was the photo above. I can't seem to replicate it. What must have I done? I can't remember anymore.

All right, I also know that if there's a will, there's a way. Being busy is not an excuse not to do it regularly. I mean, do I really want to master the skill? So I decided to bake pan de sal the other day.

The following is my recipe for Pan De Sal:
Ingredients:
- 4 cups flour
- 1 tsp baking powder
- 1/2 cup sugar
- 1 tsp salt
- 1 pouch of yeast + bread improver (included in the carton of flour)
- 1 egg
- 1-1/2 cup warm milk
- 4-1/2 tbsp melted butter
- 1 tbsp vegetable oil
- bread crumbs for coating
Method:

Note: This is not to advertise or promote the product. :-)
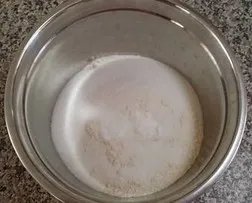
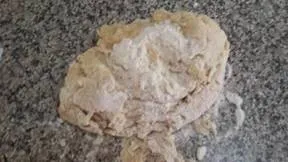
2. Make a hole in the middle to put the rest of the ingredients: egg, melted butter, warm milk and vegetable oil.
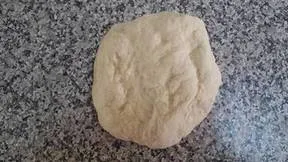

I let it rise for about 2 hours, just failed to take a photo of it.

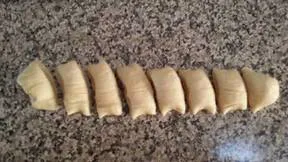
7. Roll each part until it forms into a log or cylindrical shape. Cut each log into equal pieces.
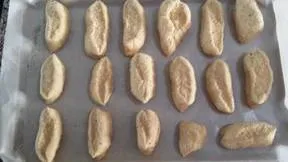
10. Cover the tray with a damp cloth and let it rise for 20 minutes.
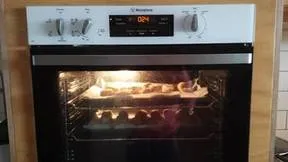
12. Bake for 20 minutes or until it turns to golden brown.
Before I even had the chance to take a photo of the finished product, my husband had already devoured most of it. He loved it obviously, and he was just not saying it when I asked him if the bread was all right. He loved it, and maybe I nailed it this time.
The bread still became hard when it cooled down though, so I just microwaved it for 20 seconds to achieve the desired softness. Maybe it's best that I ate it straight away while it was hot, no wonder my husband ate most of it. He was clever.
"You get wise. You get to church." ~ The Blues Brothers
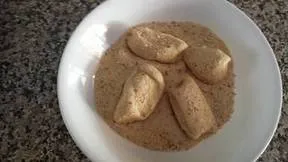
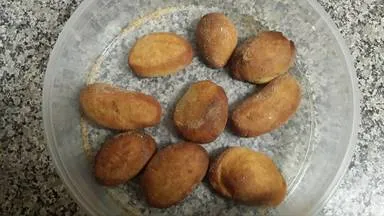
This was what's left when I was going to take a photo of my pan de sal:
I hope I am able to explain my step-by-step procedures clearly. In the Philippines, it's more economical and cheaper to just buy pan de sal from the bakery. The ingredients can be a bit more expensive unless you buy them wholesale if you want to learn to bake it yourself or want to do it more regularly.
If you can suggest any technique in baking bread, please leave a comment below. I would love to learn more about how long should I knead the bread, or what to do with yeast, or how to let the dough rise in a warm place especially in cold weather. I'd love to hear from you and I appreciate your feedback. Thank you for reading.

[My sister, @dynamicshine, told me "You're a certified ulogger now," for having @ulogs posts:
Some people that I follow: @puregrace, @scarletmedia, @shagungupta, @shanu, @dynamicgreentk, @pkalra, @bunnychum, @honeychum, @ntowl, @mhm-philippines, @eaglespirit, @joanna-godfrey, @norma-jean, @quochuy, @yati


Vote @cloh76.witness, @steemgigs, @pharesim, @hr1, @quochuy, @mahdiyari, @yabapmatt, @blocktrades, @utopian-io, @furion, @themarkymark, @qurator, @curie and @ausbitbank for witnesses!
All photos are mine, except for Discord banners (credits to @baa.steemit, @steembulls, and @terminallyill for DynamicSteemians, Steembulls and GreetersGuild, respectively).