
This tutorial is part of a series on ‘How To Build Bot’s Using Steem-JS Open Source Library’ it aims to demonstrate practical applications for bots and demystify the code used to create them.
- part 1- Auto liking bot
- part 2 - Curation trail bot
- part 3 - Auto follow bot
- part 4 - Paid upvote bot
Please check out those tutorials in order before this tutorial as we will build on knowledge learned.
The completed bot code is here - I know some people find it easier to see everything in one block and follow along that way. ⬅️
Outline 📝
One key feature missing from Steemit/Busy.org is a system to notify you whenever you’re mentioned in someone's post or comment. Today we’re going to be building a bot that will notify us whenever we’re mentioned. It’s pretty common on other social media sites to be notified with badge or push notification. Notifications aren’t my favourite things but again it’s a good opportunity to learn about building with Steem-js.
Requirements
- A plain text editor (I use atom.io )
Difficulty
This tutorial is intended to be beginner friendly. (I appreciate feedback on the teaching level)
Learning Goals
- Re-use knowledge learned about Steem-js in parts 1-4 investigating streaming transactions
- Search the content of posts/comments for mentions with Javascript
- Send an AJAX request
- Deploy to Netlify
Step 1 - Setup 💻
For this tutorial, our bot will run in the web browser but we’ll need to deploy it online for everything to work, we’ll get to the later.
Use this template to get started - This is a base file for today's project and will kick things off with the standard streamTransactions() function. Open the file in your text editor and browser to get started.
In this tutorial we’ll need an ACCOUNT NAME, we’ll check to see whenever this account is mentioned.
        // Tutorial 05 - @mention bot
        const ACCOUNT_NAME = ‘your-username-here’
Step 2 - Check content for Mention 👀
steem.api.streamTransactions('head', function(err, result) {
      let txType = result.operations[0][0]
      let txData = result.operations[0][1]
});
Starting with the standard streaming function we’re going to create a function that uses the txType and txData
to check for mentions. lets’s create a function that assumes we have access to that data.
function checkContentForMention(txType,txData) {}
If you remember from proviso tutorials all posts and comments on the Steem network are considered comments even if it is a top-level post on your own blog. First, we’ll check that the transaction type is a comment as we’re not interested in transfers, rewards, votes etc.
          if(txType == 'comment') {
            console.log('CHECKING FOR MENTION: ', txData)
                        let commentBody = txData.body;
          }
We’ll add a console.log so we can see what’s going on and start by storing the content of the post/comment which is stored in the .body property.
Next, we’ll add the @ symbol to the account name as we’re specifically looking for @mentions and not just the use of a name.
        function checkContentForMention(txType,txData) {
          if(txType == 'comment') {
            console.log('CHECKING FOR MENTION: ', txData)
            let commentBody = txData.body;
            let mentionUsername = '@' + ACCOUNT_NAME;
            return commentBody.includes(mentionUsername);
          }
                }
The .includes() function will look if the commentBody contains our selected username. We then return the result so our checkContentForMention will work to give us a true or false answer to the question Does this post contain the username?
Step 3 - Send an Email if mentioned 🏋️♂️
What should we do if we find a post that has the username within it? It depends on the purpose of our bot, for this tutorial we’re going to send an email notifying us of the author and post that mentioned us.
To keep this tutorial shorter and friendly for beginners we’ll use jQuery to send a request to a third party provider to deal with the email. Typically you’d have a backend system setup on a server that deals with sending emails, today building a bot in the browser that’s out of scope so we’ll use the service from formspree.io and they’ll send the email we a simple AJAX request. AJAX or Asynchronous Javascript and XML is a system that allows us to send or receive information to another server without reloading the page.
jQuery was already included in the base template. Let us add the code for an AJAX call to form spree
function sendEmail(txData){
  console.log('SENDING EMAIL')
  $.ajax({
    url: 'https://formspree.io/[email protected]',
    method: 'POST',
    data: { message: `Hey! Looks like @${txData.author} mentioned you in their post http://steemit.com/@${txData.author}/${txData.permlink}` },
    dataType: 'json'
  });
}
The first time you use form spree you’ll get an email asking to verify your email address, after that it will work as expected. It might seem too simple to be true but that’s all that’s needed. Formspree does all the heavy lifting to send emails correctly. Here we’ve created a function that uses our ```txData`` for the author and permalink parts of the email message.
Note, the request might fail at this point
Because we’re dealing with an AJAX request to Formspree just opening the HTML file in our browser won’t be enough for this one. We’ll need to deploy our bot online.
Step 4 Deploying to Netlify 🚀
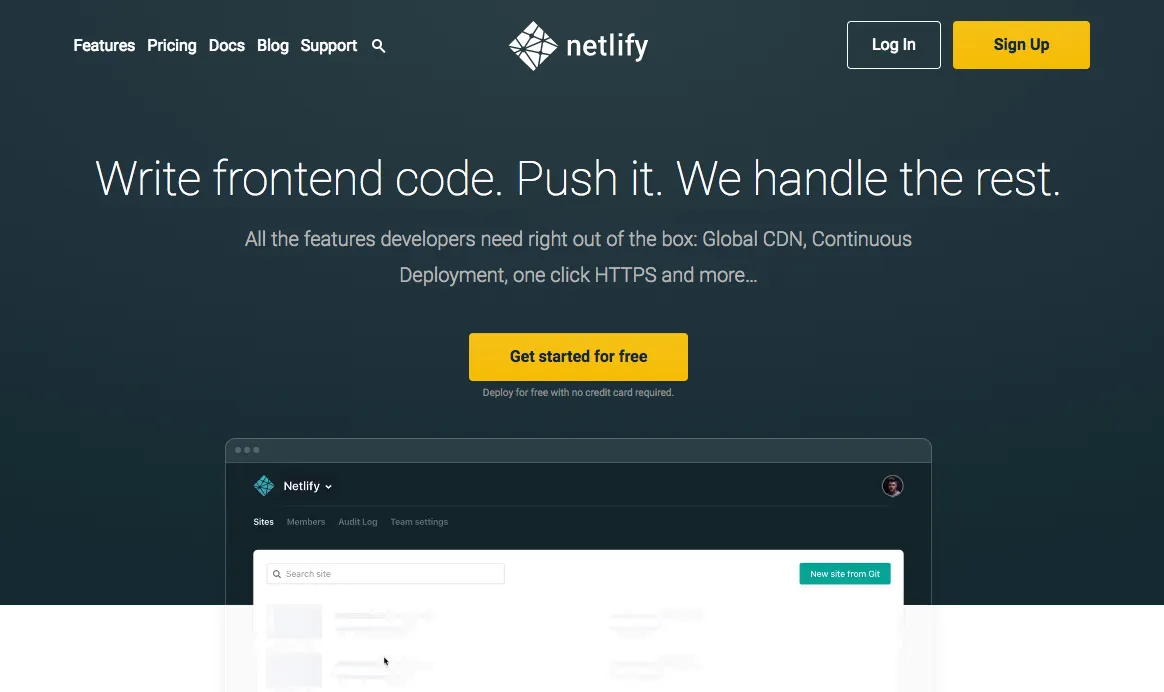
[https://netlify.com] is a modern hosting platform, it allows for super fast deployment of static sites. All you need to do is create an account then drag and drop your project folder. No long configuration, setup or ridiculous settings.

Before dragging your folder lets look at the finished code.
        steem.api.streamTransactions('head', function(err, result) {
          let txType = result.operations[0][0]
          let txData = result.operations[0][1]
          let includesMention = checkContentForMention(txType,txData)
          if (includesMention) {
            console.log('MENTION FOUND: ', txData)
            sendEmail(txData)
          }
        });
That’s our 5th bot in the series if you’ve deployed on Netlify your bot is ready to go. You might have to wait a minute to deploy but then visit the address and open the console. Get a friend to mention you in a comment and watch what happens. Whenever that webpage is open you’ll get notifications. In the next post in the series, it’s time we started working with the command line and node.js.
There’s still a lot more we can do with bots and the Steem API but I hope you find this interesting and useful. If you’re looking into building bots let me know or ask any questions below ✌️
Other Posts in This series
- Part 1 - Beginner friendly - Build your first steem bot in Javascript - 30minutes
- Part 2 - Beginner friendly - Building bots With steem-js #2
- PArt 3 - Copy Follow Bot - Building Bots With steem-js #3
- Part 4 - Paid Voting Bot - Building Bots With steem-js #4
Posted on Utopian.io - Rewarding Open Source Contributors