
The Xeon CPUs arrived and I now have enough components to build the base system without the storage drives (remember I still have SSD drives for booting the core OS).
If this is your first time seeing this series, I recommend starting at the beginning.
You can find all the other posts below, this is the 7th post in the series.
Installing CPUs
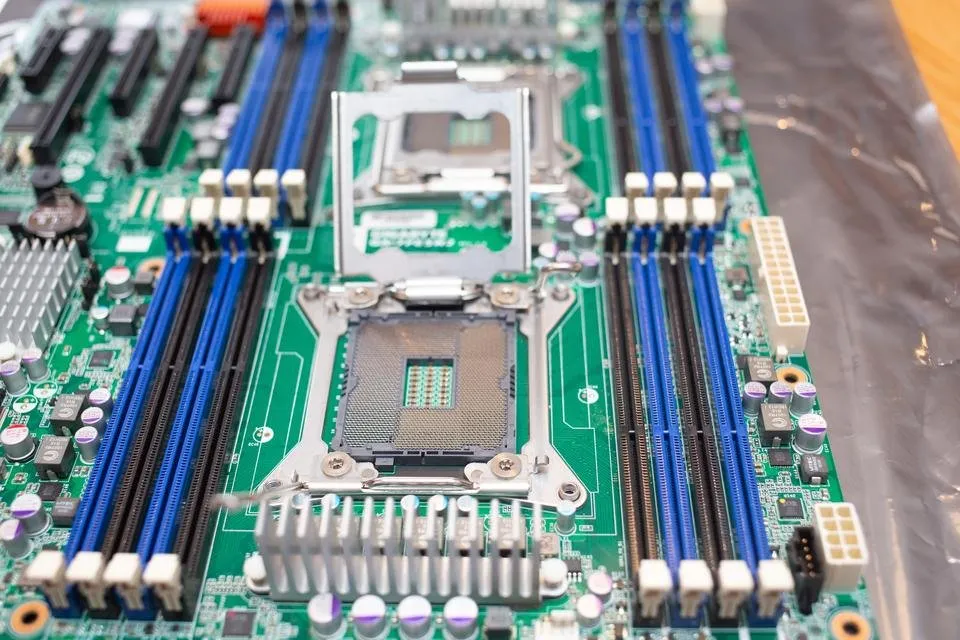
Because these are very large CPU's physically, they use a double lever system. If you look closely you can see the two bars used to lock the plate down.
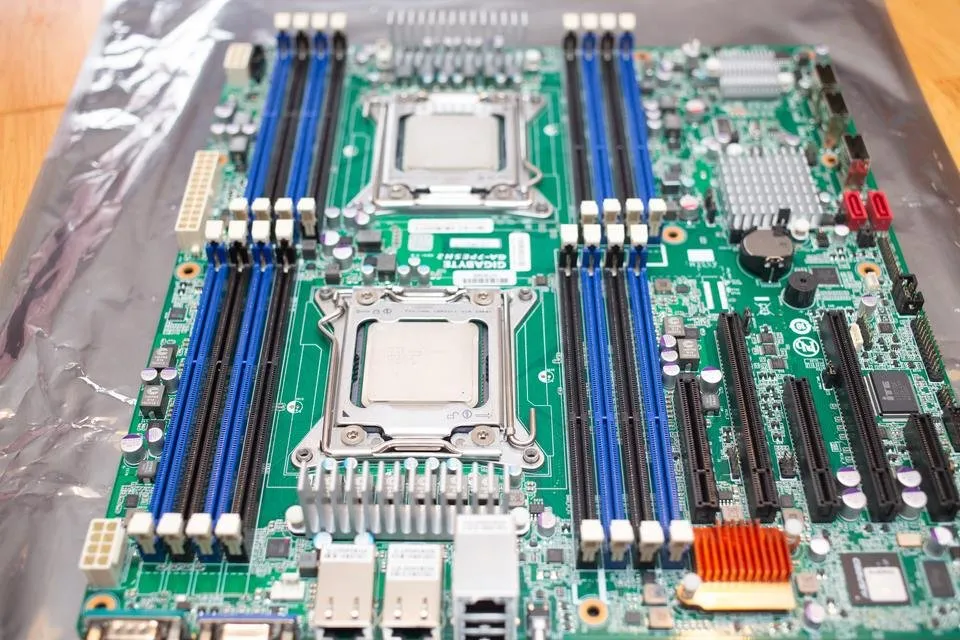
CPUs are installed and seated properly.
Ram Installation
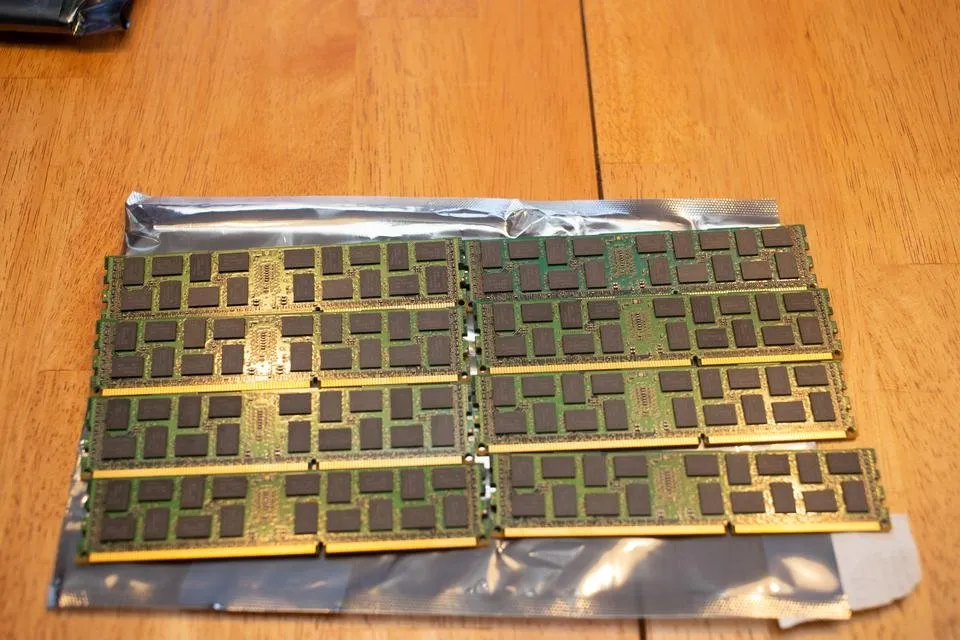
I got eight 8GB DDR3 1600MHz ECC Reg ram for a total of 64GB. To think Bill Gates said no one would ever need more than 640KB of ram!
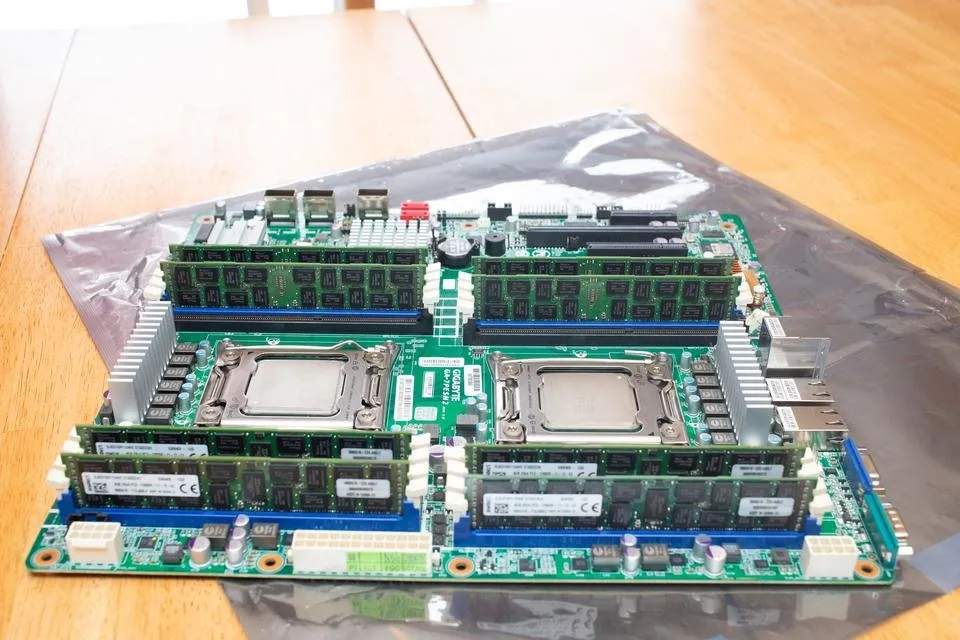
Ram installation is a snap, literally.
CPU Cooler Installation
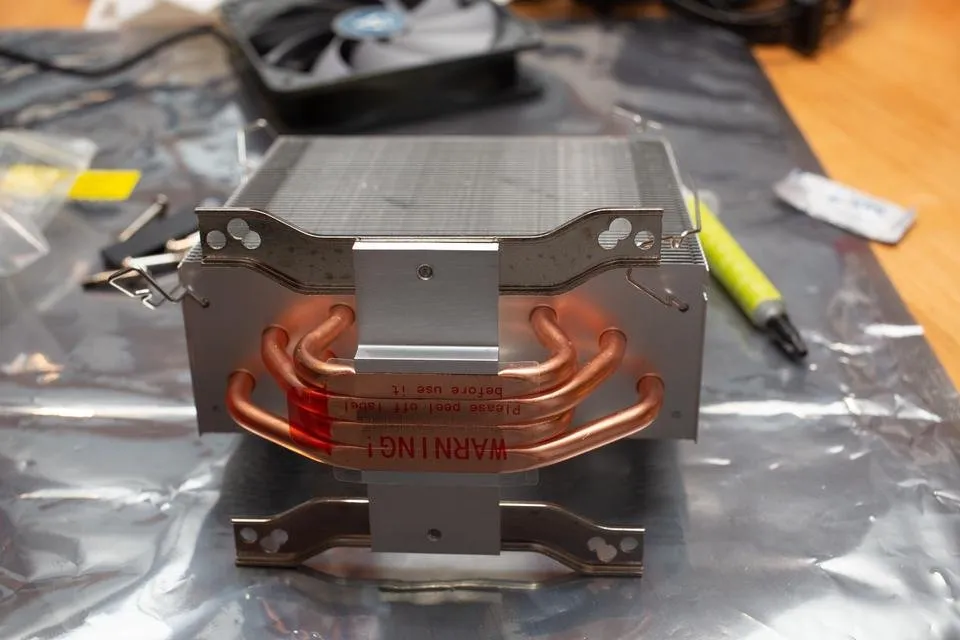
These are some big CPU coolers and installation is a little time consuming but not too difficult.
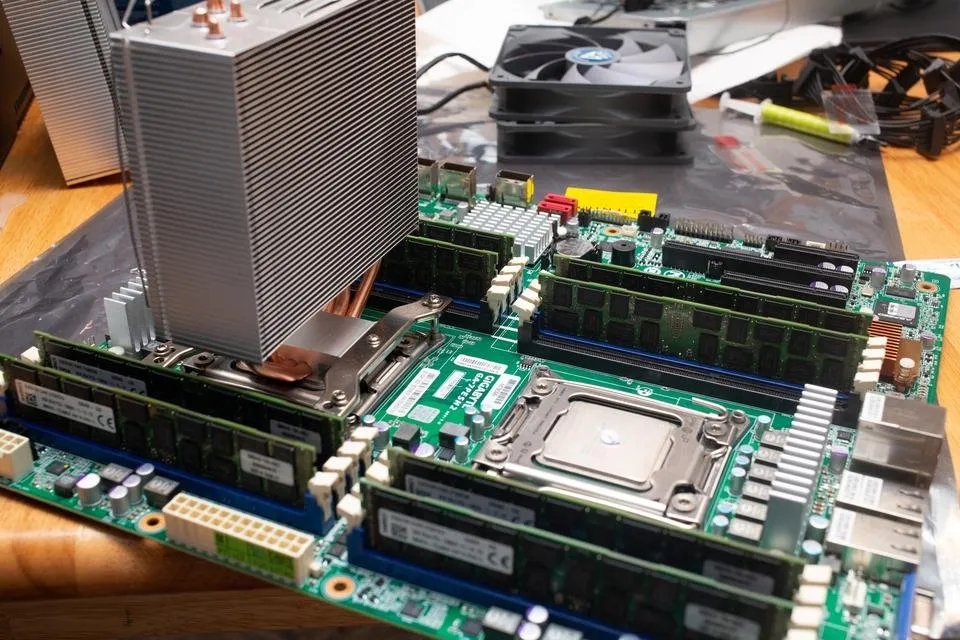
First one is installed, as you can see there is a pretty significant gap between the bottom of the cooler bracket and the socket bracket. This is normal and is just a visual abnormality.
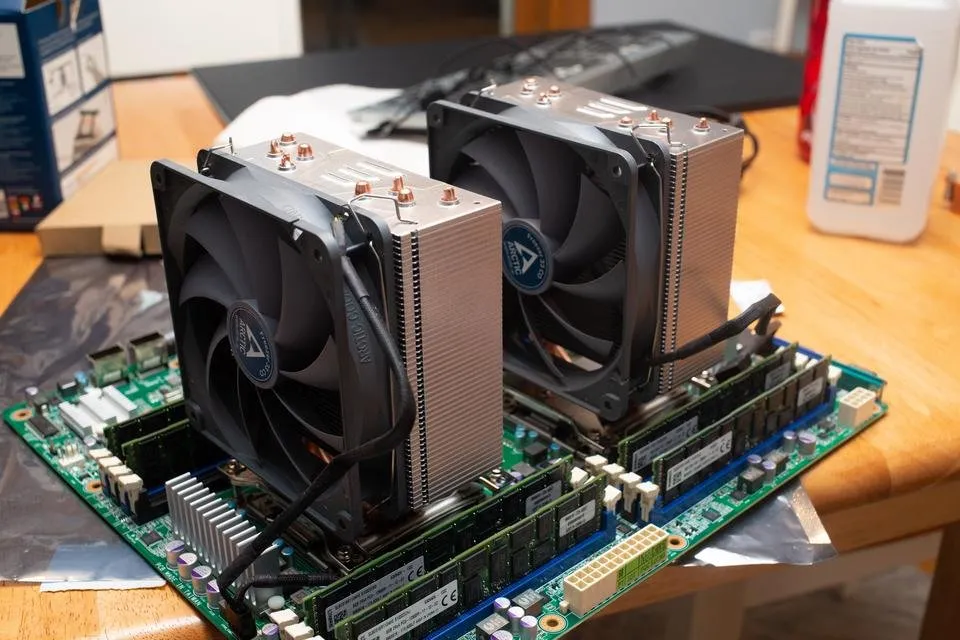
Good to go! This didn't take too long, maybe 15-20 minutes total. The cool is fairly generic and fits a lot of different CPUs so you need to make sure you have the correct screw set. It comes with 3 sets of screws and the mounting bracket has 3 slots where you can attach the screws.
Mounting the motherboard

Now we are starting to build a server. Before I can mount the motherboard, I need to identify which standoffs are correctly installed and which need to be moved. In my case I had to move three mounts.

Having a good toolset is very handy. I love this kit and was super cheap and was presently surprised at the quality. I highly recommend having one of these kits.

I do wish I had one of these, and probably should have ordered it before building this. It would come in handy when doing Raspberry Pi projects as well. For now, I just used zip lock bags so I don't lose any screws.
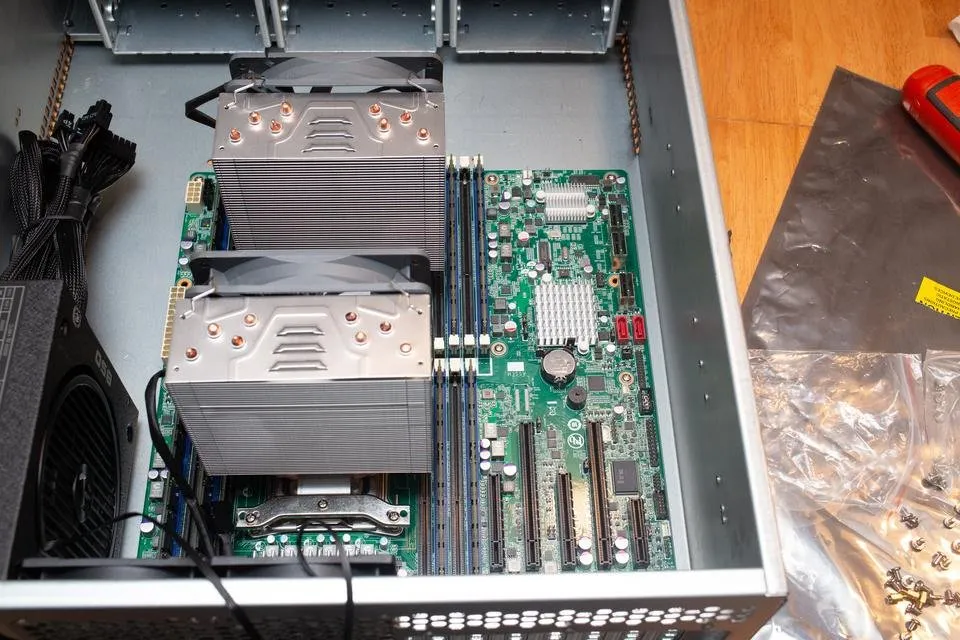
Installation went really well. I do not like not having an IO plate in the back but other than that it fits perfectly and was painless. I should have tested before installing in the case but I tend to just install and go from there.
At this point, I can get the operating system installed and do some testing. I am still waiting for the data hard drives at this point (which at the time of writing this have actually arrived).
CPU Temperatures
Although I am skipping ahead a bit here (system is installed and being tested without data drives) I want to share CPU temps as it is relevant to the CPU cooler installs and thermal compound application.
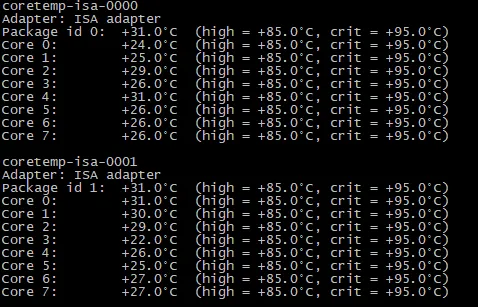
Ideal temperatures on a Xeon 2690 v1 is around 35C idle and around 65C under a full load.
Idle
100% load

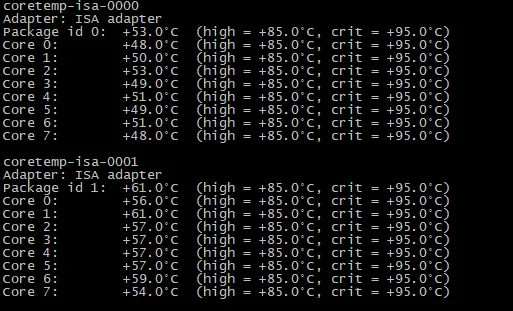
I am quite happy with those temperatures, I was hoping for good results as I used a rather expensive thermal compound solution. Although one CPU is obviously having more temperature issues than the other. Although they are still well within range, I might go ahead and inspect it and see if I can make some improvements.
If you want to
While I have a working machine, I still have a lot of steps to go (some of them I already did but I want to take this in order).