
If this is your first time seeing this series, I recommend starting at the beginning.
You can find all the other posts below, this is the 8th post in the series.
Hard Drives are in!
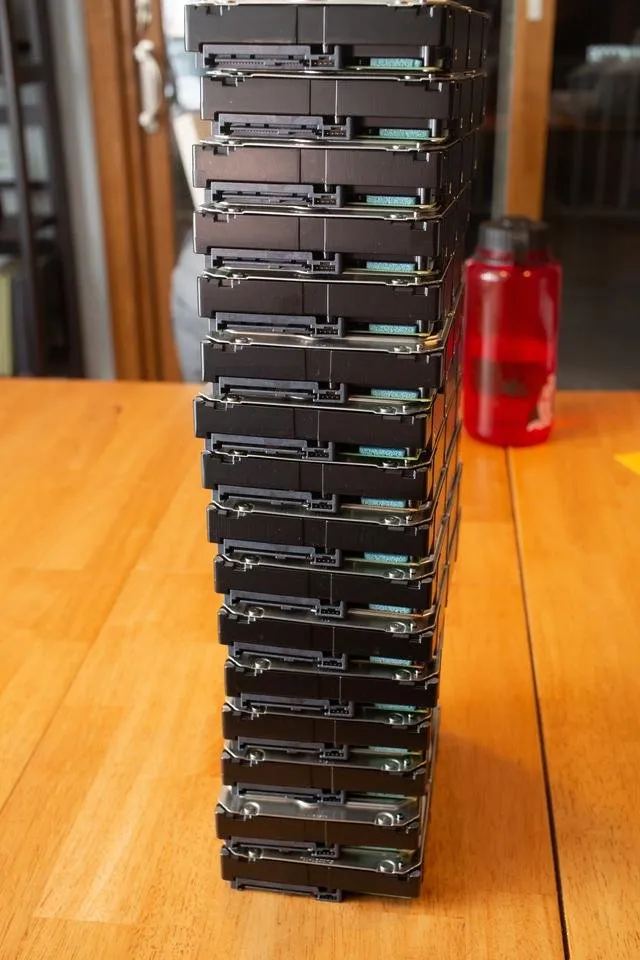
The drives have arrived and have been unpacked.
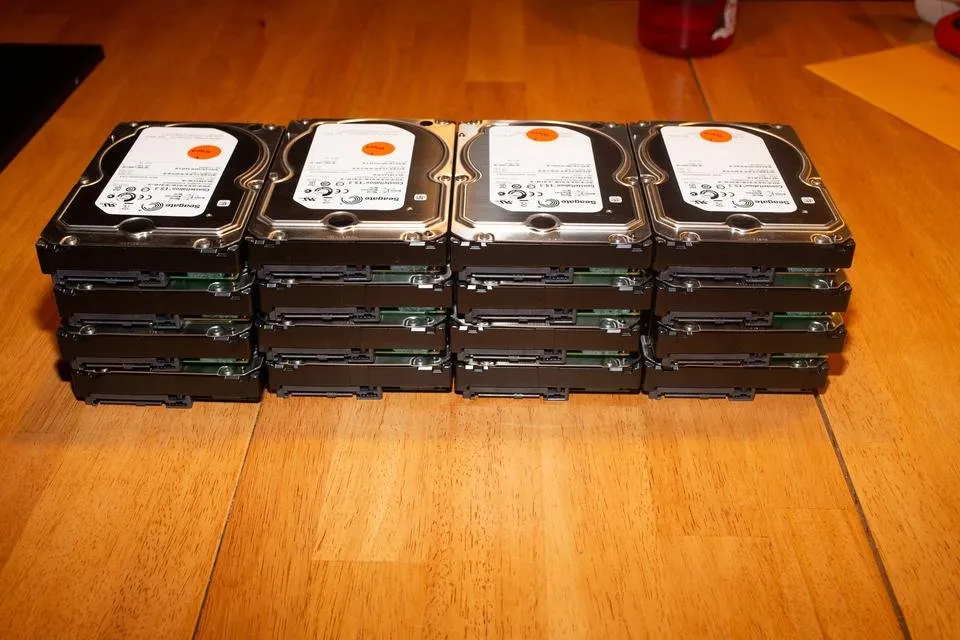
Total storage is 64TB with 16x4TB 7200RPM Enterprise SAS drives. One drive will be a cold spare that will not be used but will remain on hand. I will be using raidz2 in ZFS which is similar to Raid 6 meaning two drives will be parity drives and the rest will be data. This will give me 52TB of usable storage and the ability to lose two drives. I am also considering 3xRaidz or 3 Raid 5 arrays stripped together (Raid 0) for 48TB of total storage and three hard drives dedicated parity across three unique arrays.
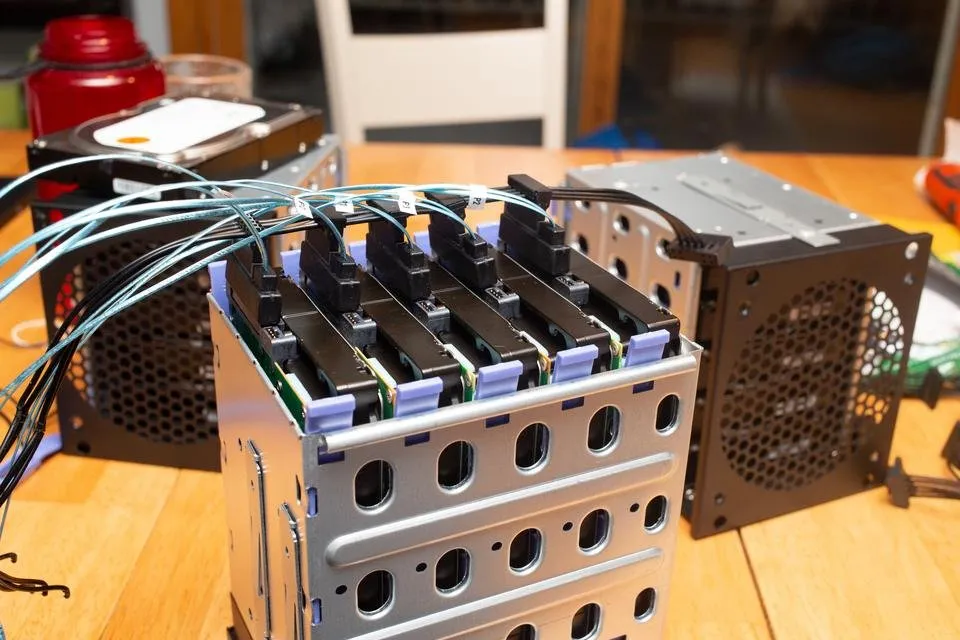
Removing the drive cages
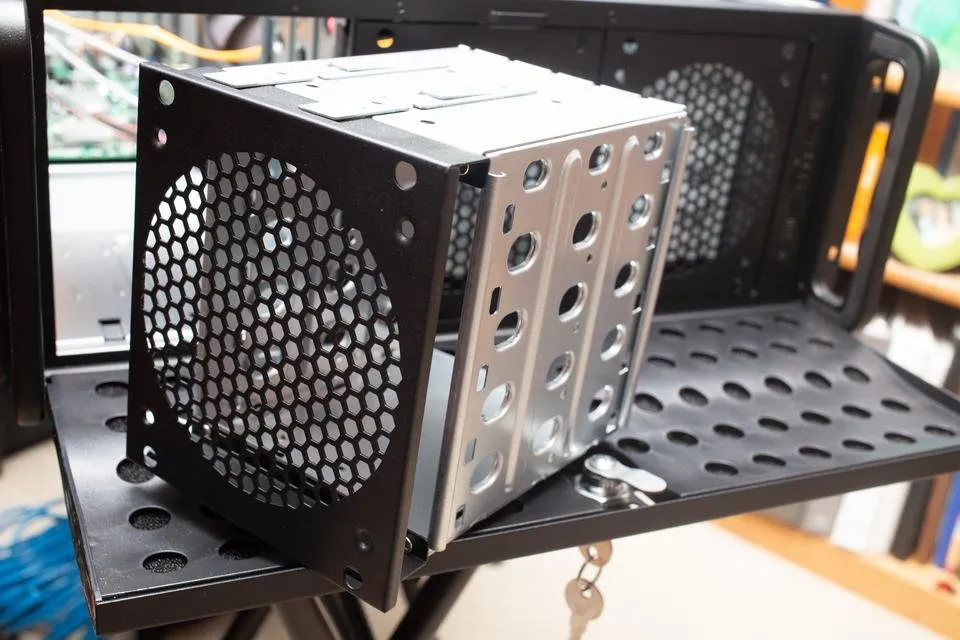
There are three 5 bay drive cases in the Rosewill 4U case. The first one happened to be really hard to get out, the second two came out fairly easily.
As you can see, the bays are not hot swap and will end up being a nightmare for cable management.
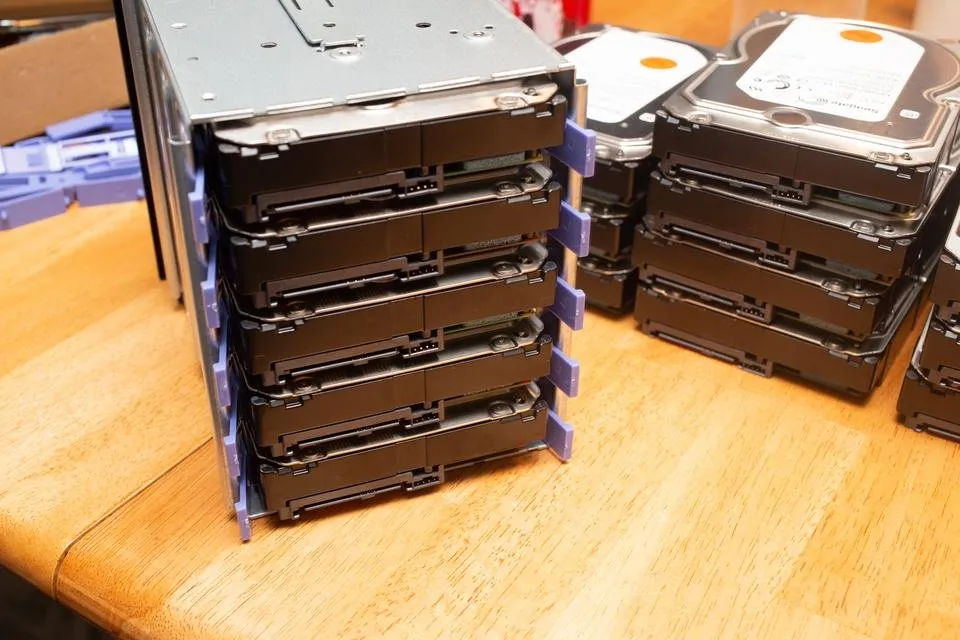
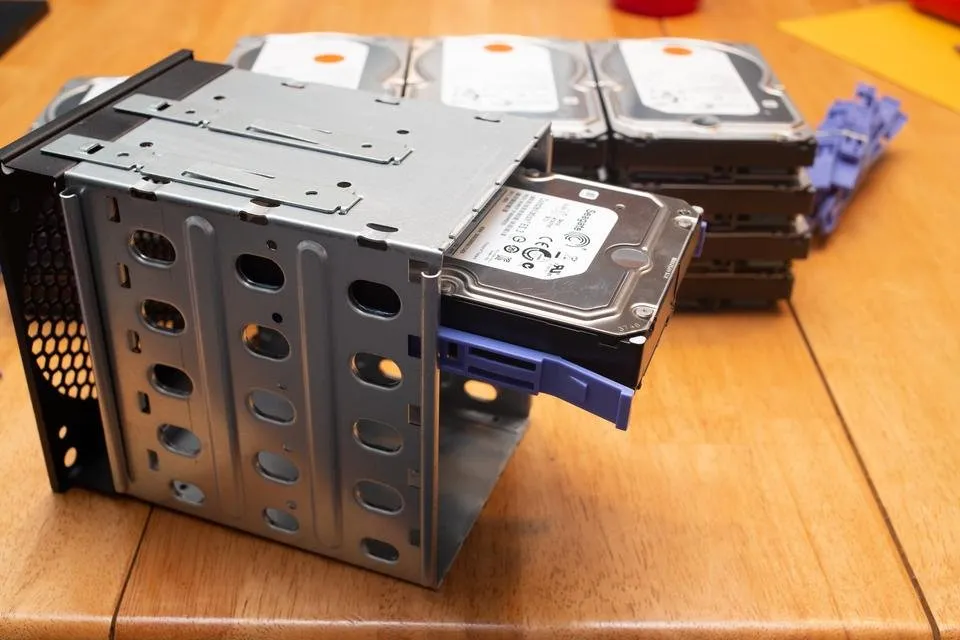
Each cage can fit 5 drives which are mounted using slide rails.
Power Cable
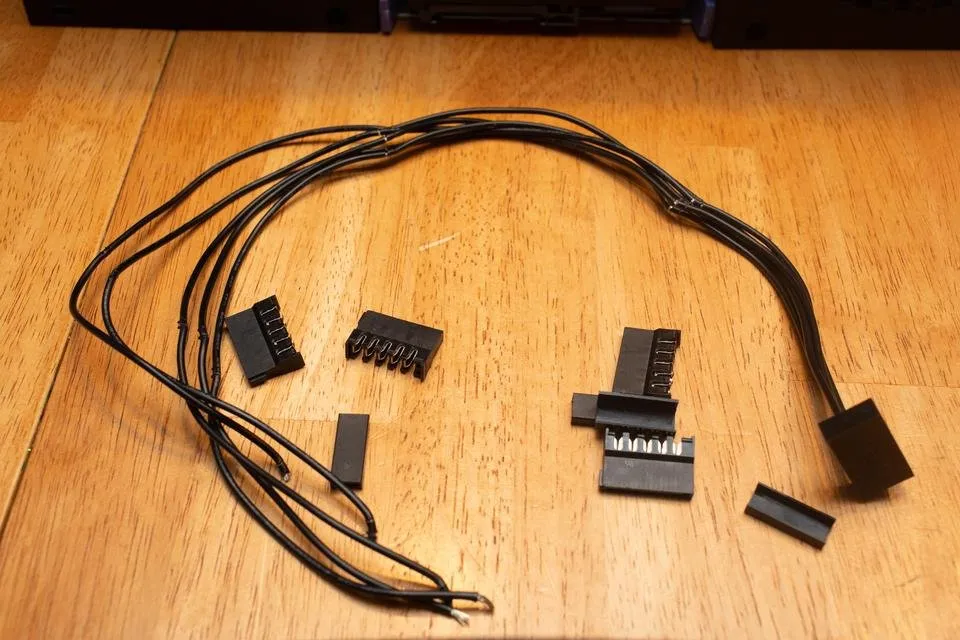
This part I really didn't like. I had to take the four 4X Sata power cords and salvage one of them to get enough connectors to make 3 5X Sata power cables. One for each drive bay.
I found the connectors very difficult to remove. While I am at it, I am removing the 3.3V power line as some drives you shuck will include a 3.3V disable which we don't want. In my case I don't have to worry about this but if I ever use other drives I want the cables to be ready.
You can see once you pop the cap off these cables, the connectors are punch down. Because there is no special tool for it, it's a lot of manual work and frustration.
The goal is to remove two connectors from the three final cables and move them down and use the extra connectors from the unused cable to put 5 connectors perfectly lined up for the drive spacing.
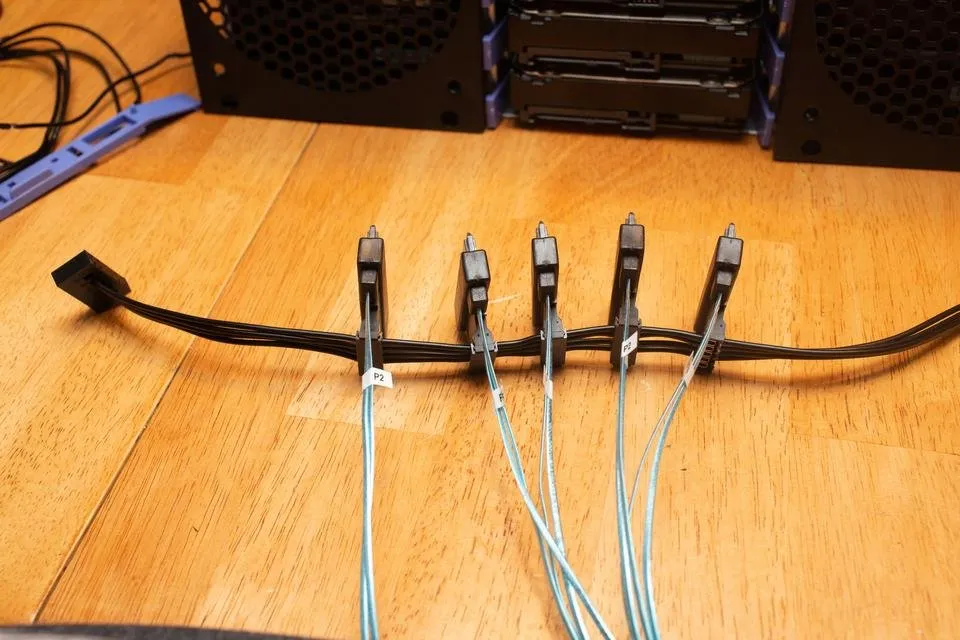
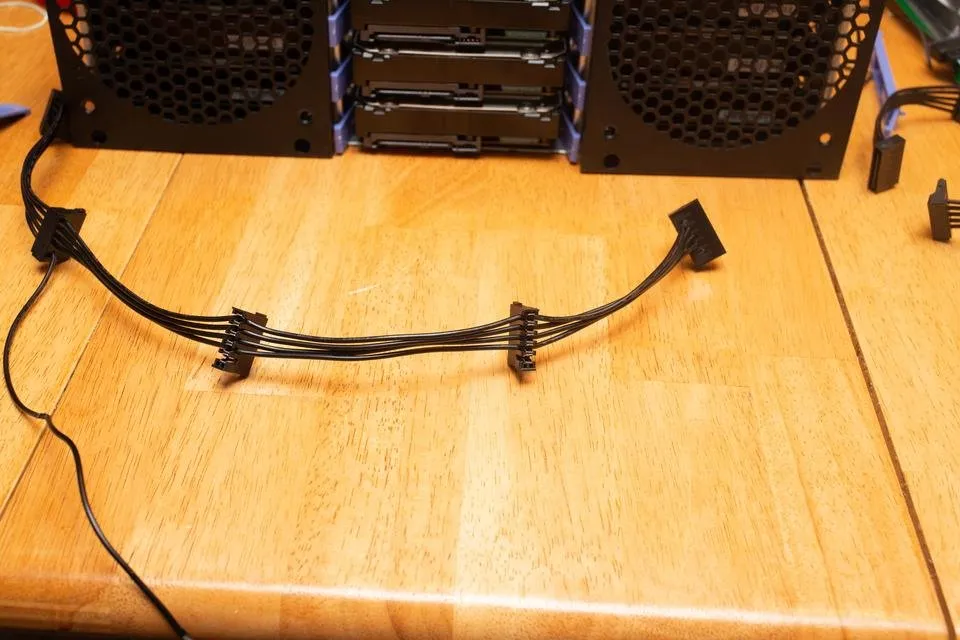
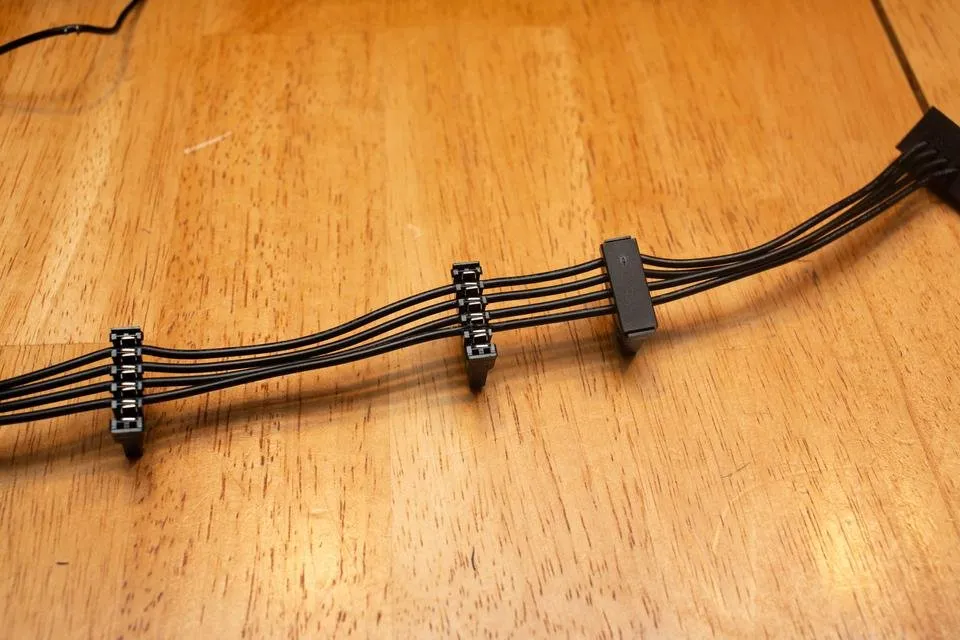
This is what the final cable looks like when attached to the SAS cables.
My spacing was a little off but they line perfectly. Now I have to make two more and install them into the case. This will be a mess of cabling.
I will install one drive bay of 5 drives, then test them. Then I will install the second bay by themselves and test them, and finally test the third alone. Once I know all the drives are good, I will connect all three bays for a total of 15 drives and then I can setup the ZFS pool(s).