
Introduction
This week we are taking a look at melee mayhem. Love this rule set it opens a lot of play styles experiments. One can take advantage and use many  melee units or just the opposite like
  magic because you expect
demoralize for instance.

Ruleset
![]()
Melee units may attack from any position
Official ruleset information from splinterlands: List-of-In-Game-Rulesets
Abilities Synergies / Strategy
 Demoralize - There is an higher chance on melee units therefor you can counter this by using demoralize which gives melee attack -1. You can stack this i sometime tries to triple the demoralize with


 especially with the shield of Harklaw sometimes the damage is reduced to 0.
 Bloodlust - There are many gladius bloodlust melee card that can become now very useful if you own an soulbound summoners units like:


When you do not own an soulbound summoner you can also use


 Double Strike - Also melee units with double strike will extra benefit such as:

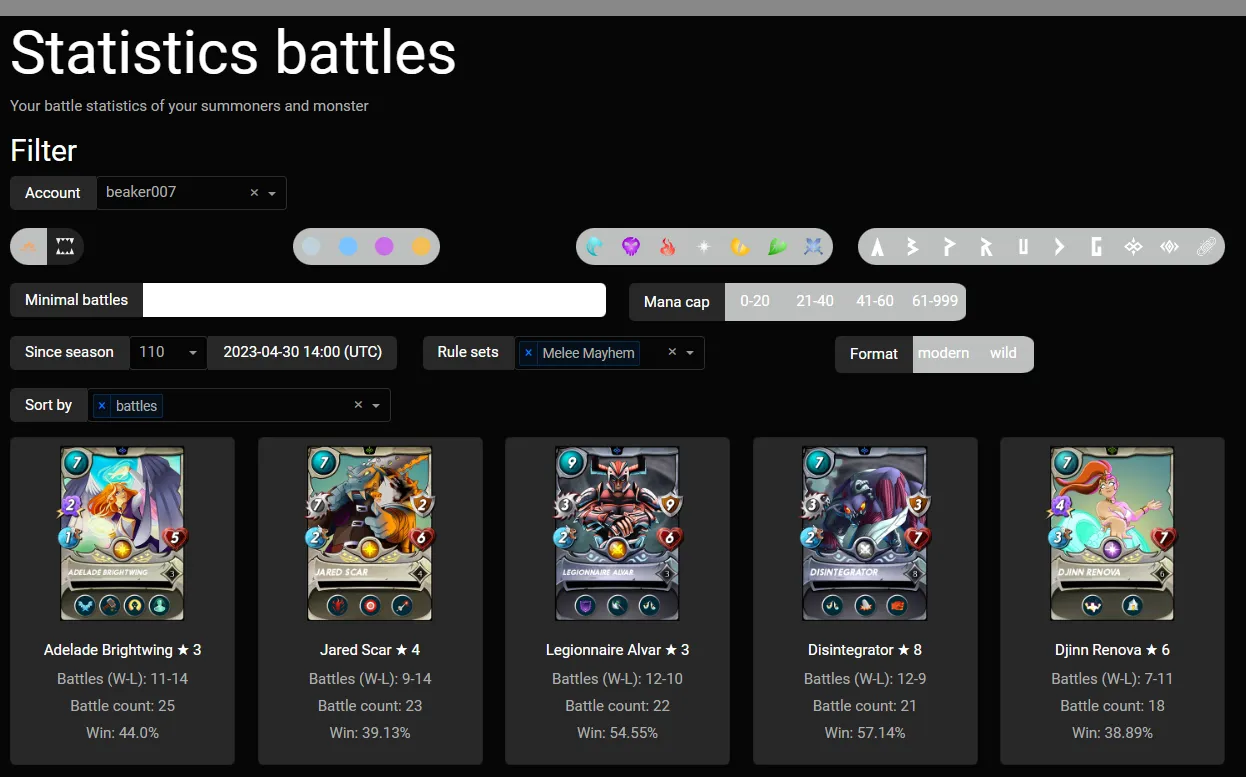
My most played units with this ruleset:
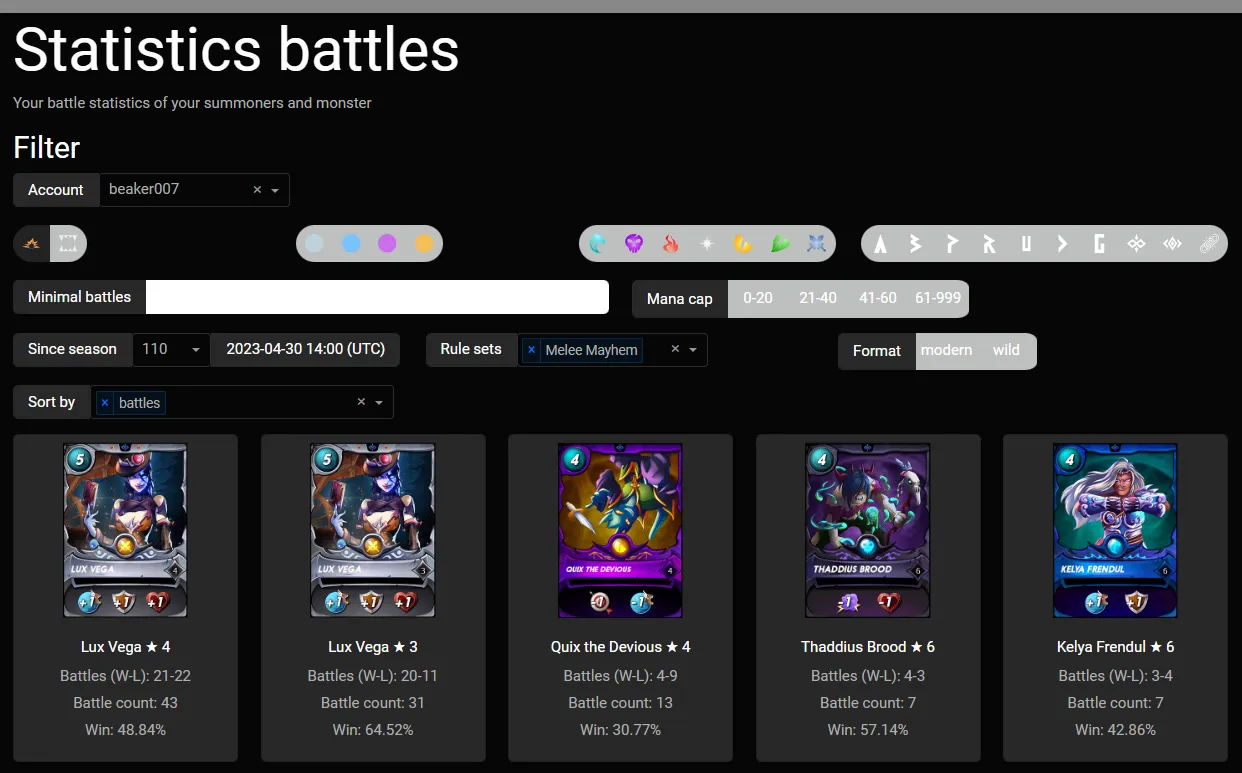
My most played summoners with this ruleset:
Avoid
No direct avoid. Only be aware of the chance on melee is higher think if you want to counter that or just go with the flow and use more melee units for yourself
Example battle
Strategy

Nice medium to high mana cap battle and no sneak so you pretty sure where your opponent will be attacking.
In this battle is want to try out my triple demoralize with shield is sometimes very effective.
Rulesets
![]()
Fog of War:
All units will lose their sneak/snipe and opportunity abilities.
![]()
Melee Mayhem:
Melee units may attack from any position.
![]()
Unprotected:
All armor will be removed from all units also additional armor by protect will not be added. So repair will be useless.

The Lineup
Summoner
| Card | Reason |
|---|---|
 | Extra speed and health will be useful as always. |
Monsters Lineup
| #1 | #2 | #3 | #4 | #5 | #6 |
|---|---|---|---|---|---|
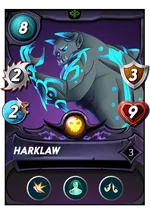 |  |  |  |  |  |
Harklaw (lvl 3)
Here we start with the first demoralize unit. This also has the shield so if attackers are reduced to 1 damage it will do 0 damage.
Corpse Fiend (lvl 3)
meat shield that still can attack from this position because of the melee mayhem rule set.
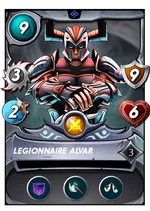
Legionnaire Alvar (lvl 3)
Second demoralize unit. And because of the melee mayhem it can attack with 3 damage.
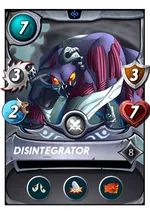
Disintegrator (lvl 8)
Third demoralize units. And because of the melee mayhem it can attack with 3 damage.
you see the strategy 🤣
Venari Bonesmith (lvl 6)
Especially useful for its poison.
Weirding Warrior (lvl 5)
Filler unit that cannot be attack (unless shatter shot is used). It still does 2 damage for only 2 mana.
The Battle
Reference
Link to the battle:
Link to battle

Rounds
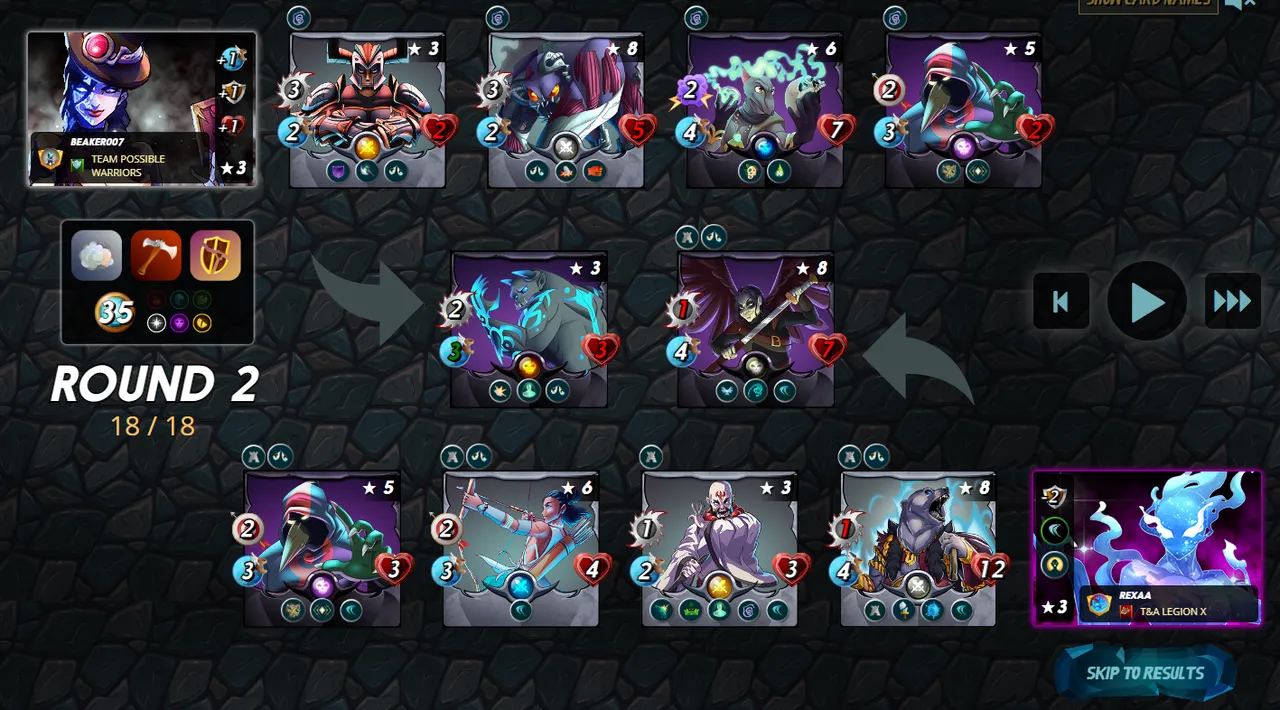
Start :
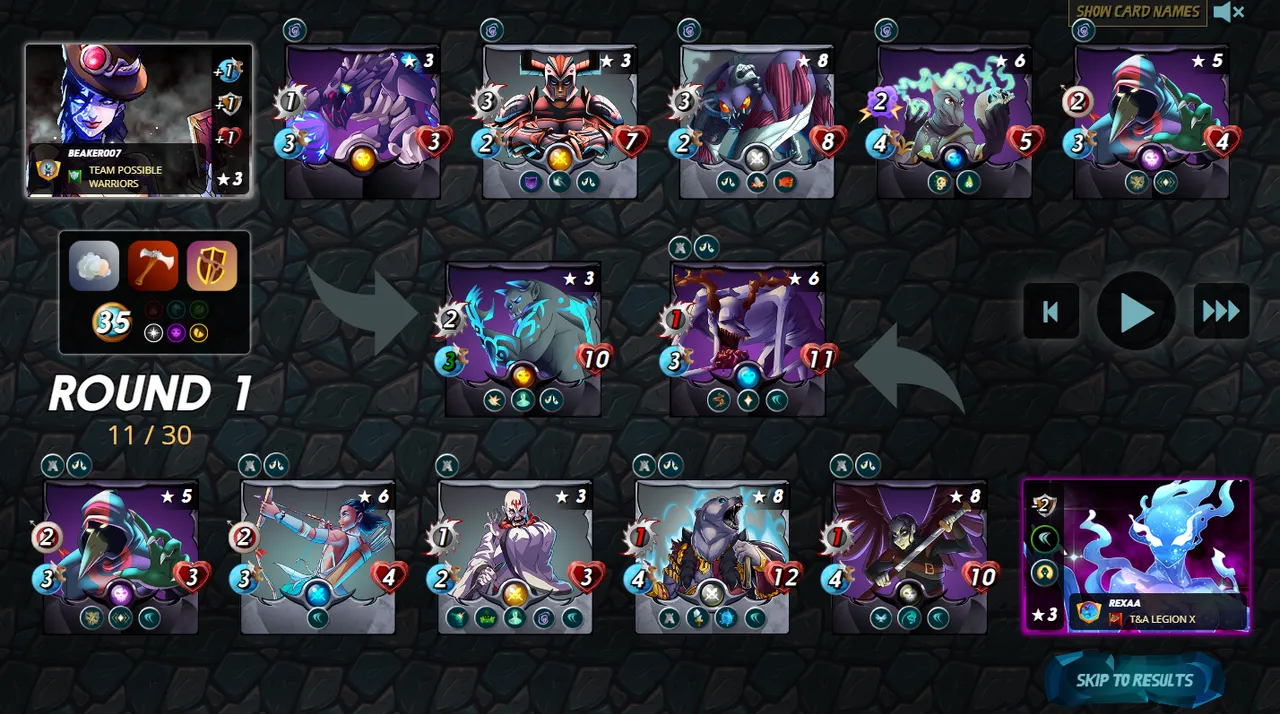
I see some good result with the demoralize there are 3 units that will do no damage against my Harklaw. I do not like the two range units in the back and it has resurrect an dodge so it might be lengthy battle because of the many misses on my side.
Round 1:
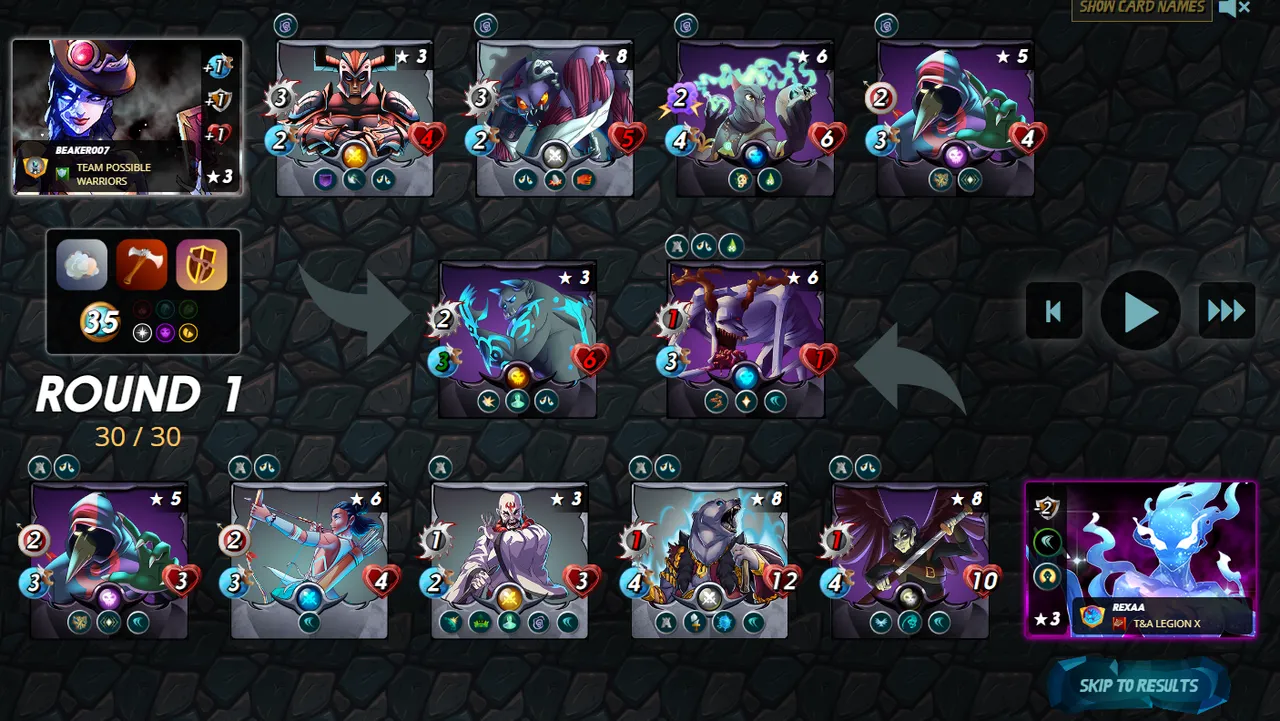
I missed the thorns of the Cursed Windeku in combination with amplify, this is really hurting mine units. If harklaw is killed it might be game over for me. I poisoned his Cursed Windeku so it will be dead in the next round.
Round 2:
Now I missed the backfire in combination with dodge + flying and amplify. I appreciate the strategy of my opponent greatly now I need to kill the Pelacor Deceiver fast to be able to win.
Round 3:
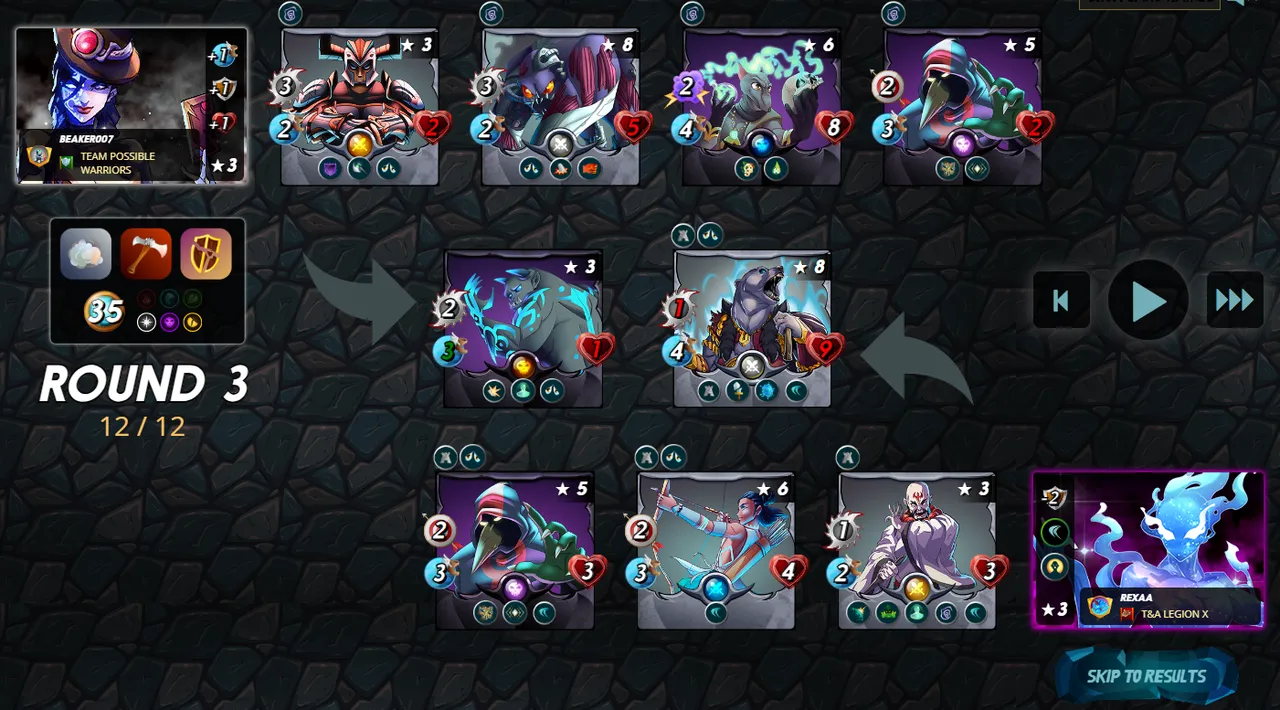
Now it over in my opinion my harklaw stay alive long enough to withstand the tank now the weaker monsters will come.
Round 4:
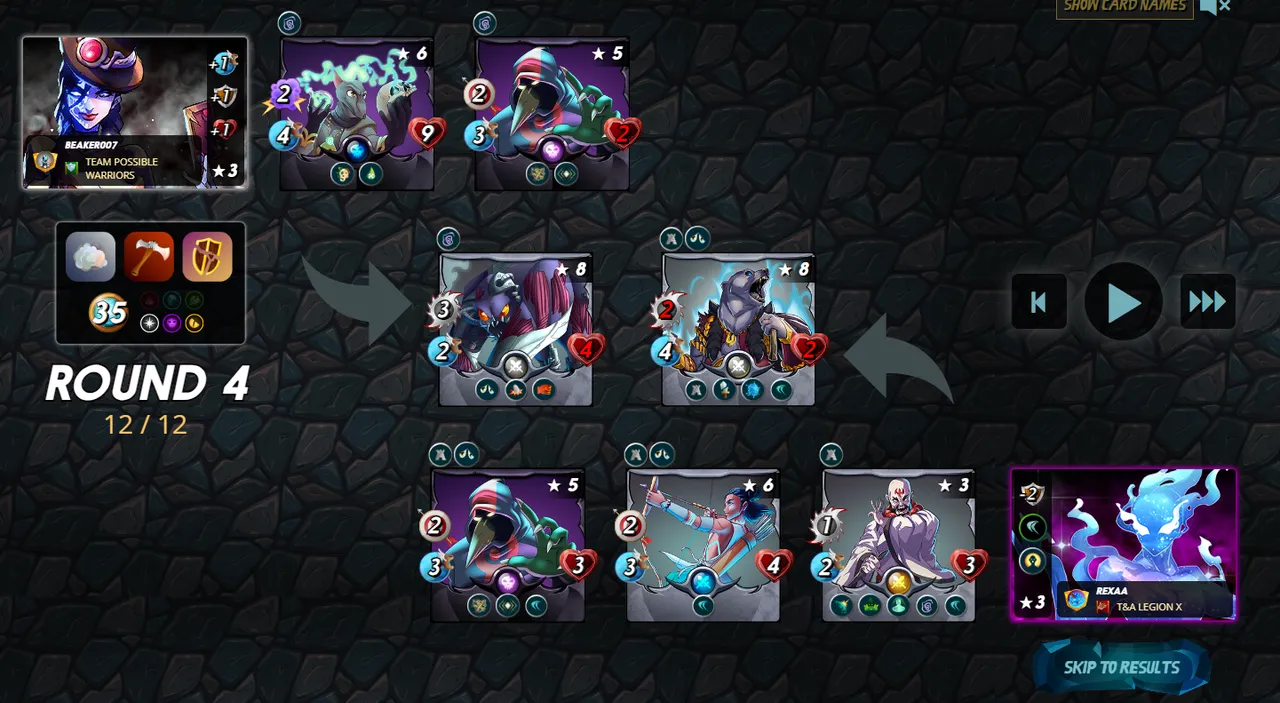
I might have spoken to soon. It forgot that my Legionnaire Alvar was already down a lot.
Not so sure I would win now. need to get the ranged monster in the front so it cannot attack anymore.
Round 5:
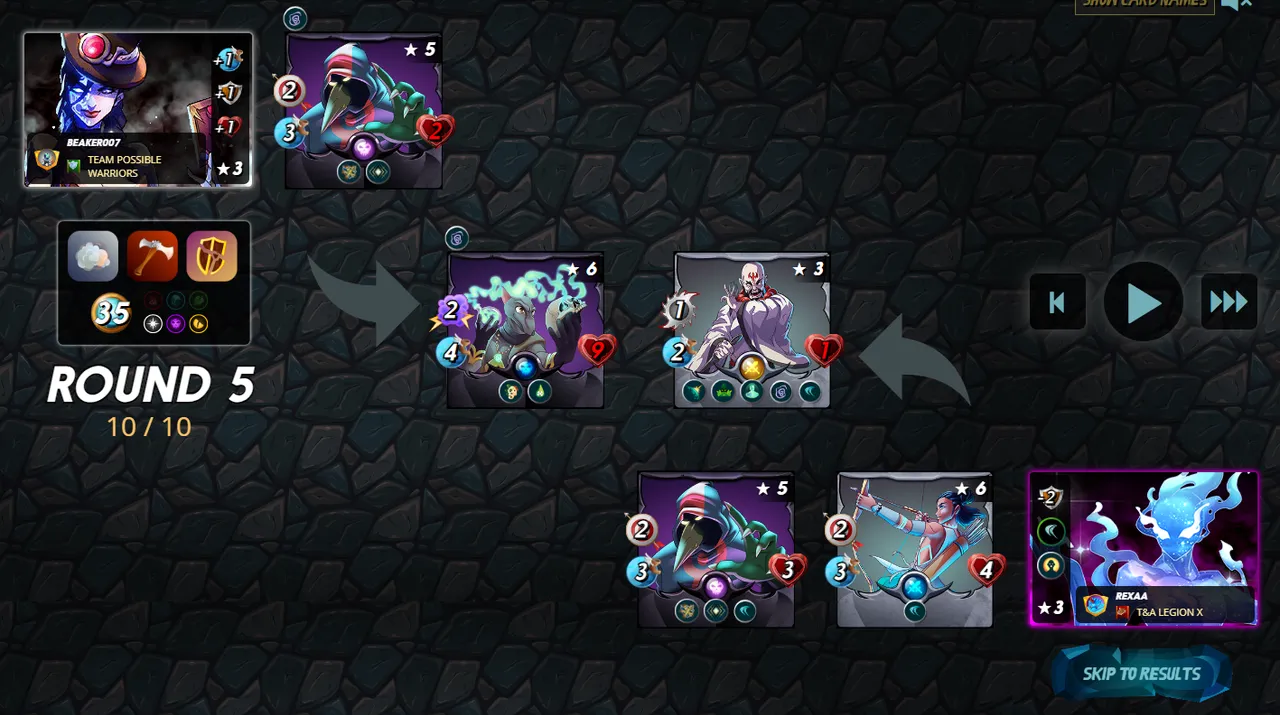
lucky my Venari Bonesmith has collected enough health.
Round 6:
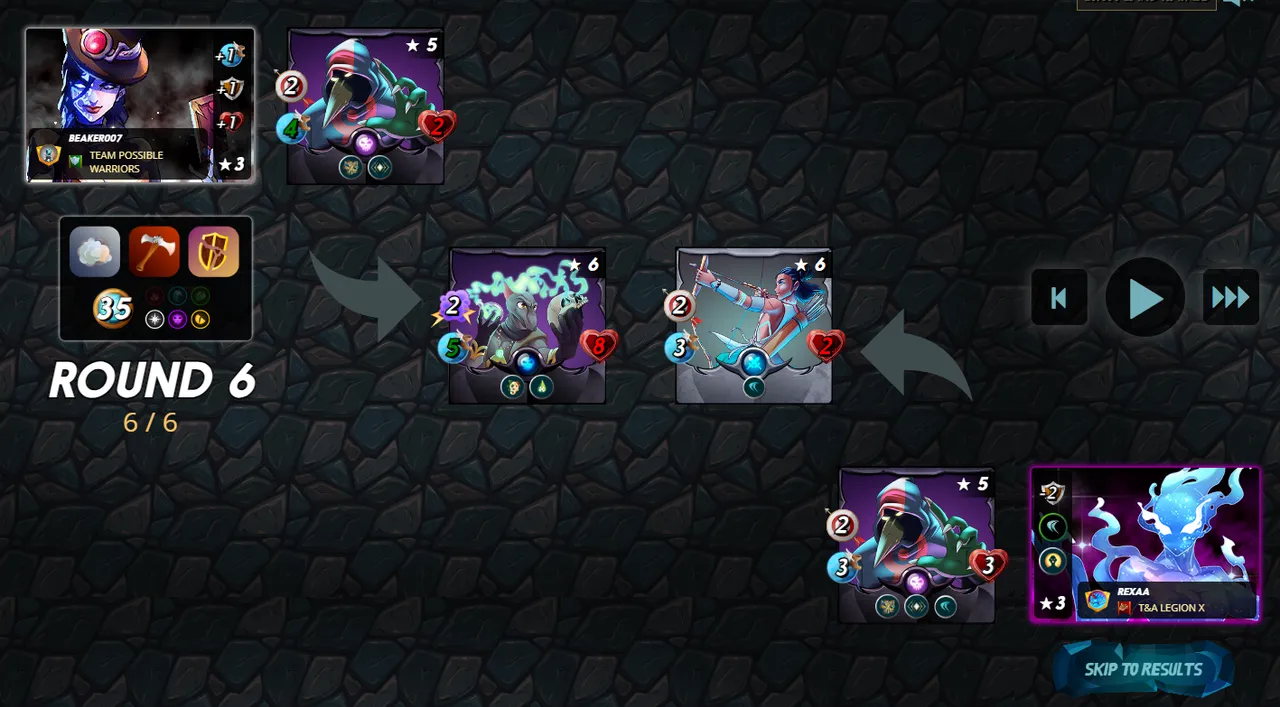
Good to see I have brought Venari Bonesmith me. This save the day in this battle.
Round 7:
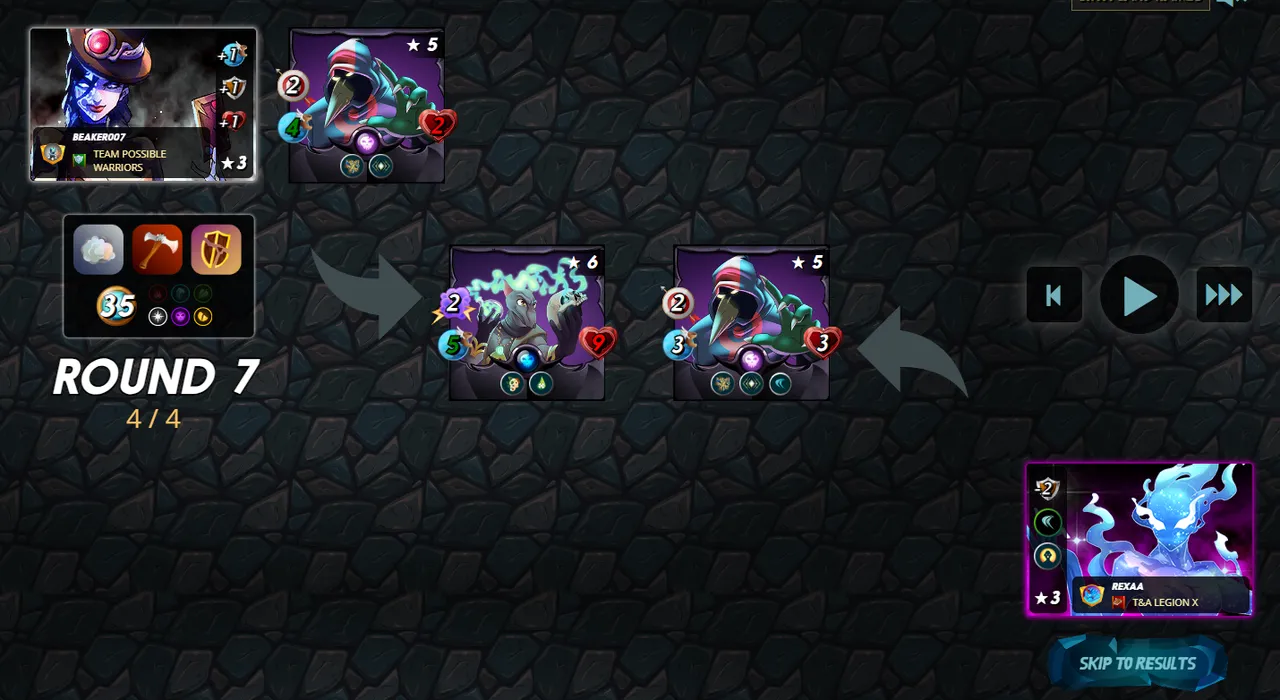
Battle is over now the last ranged unit is in the front. one more round to go.
Round 8:
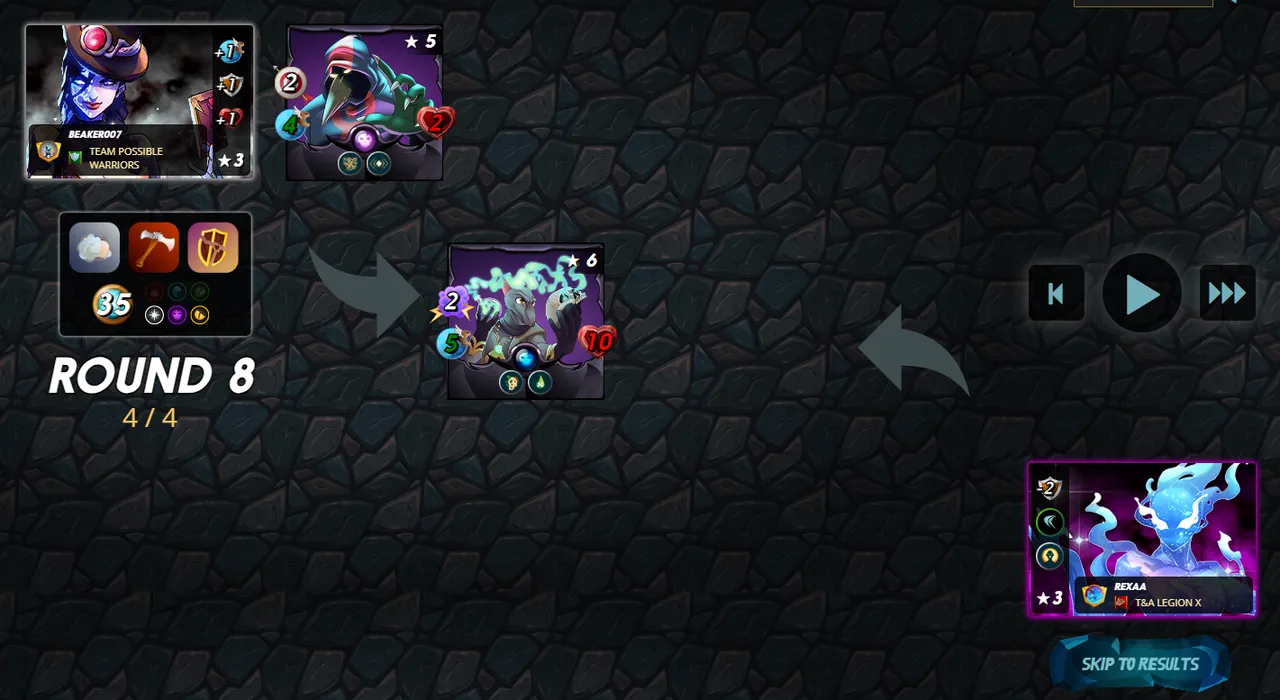
Victory, this was a nice rollercoaster from easy battle to i'm going to lose.
Conclusion
Nice to see what difference strategies can work. My opponent strategy was also very nice. one extra heal or poison would have swing the battle towards him.
But I wanted to demonstrate the triple demoralize and that worked this battle👍.
Previous ruleset strategy posts
The series continues, below you will find references to the other ruleset strategies / analysis posts.
 Briar patch
 Up to Eleven
 Counterspell
 Ferocity
 Going the Distance
That's all for this week hope you enjoyed reading this ruleset strategy/analysis. See you all on the battlefield.
Do you also want to be part of this amazing play to earn game consider using my refferal link.